Squatting is the best way to poop, and a squatty potty is best to help you in this regard. The squatty potty is a stool designed to promote good body position for all your bathroom activities, from number ones to number twos and everything in between. The DIY Squatty Potty Plans have helped improve bowel movements for many people and continue to solve bathroom problems for those who've tried other solutions with no positive results.
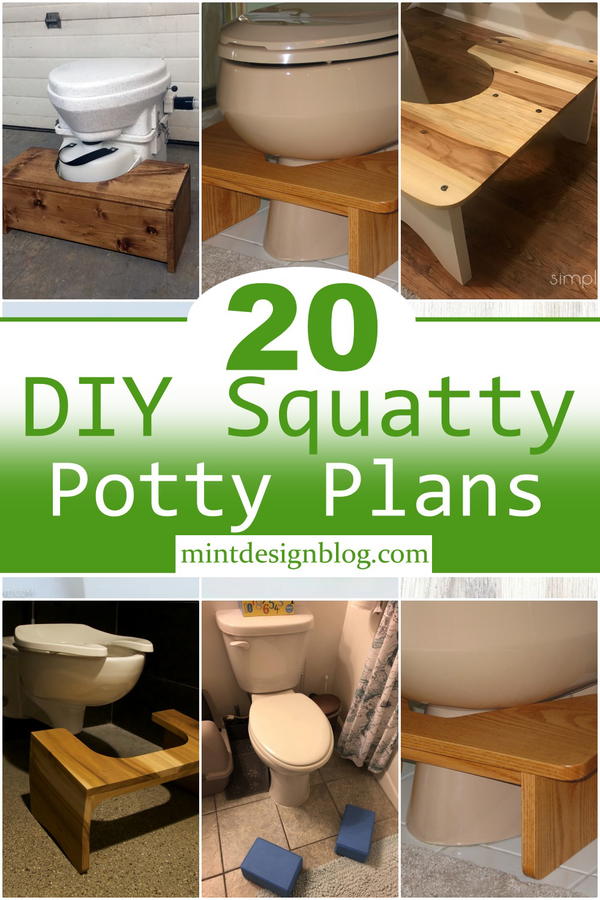
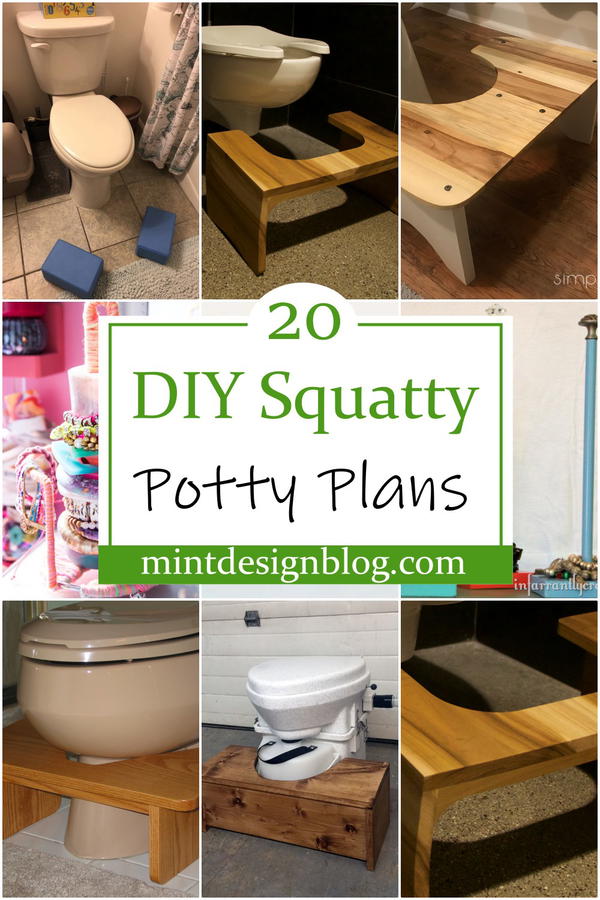
DIY Squatty Potty Plans
The squatty potty is key, but it can be difficult to find the perfect height and angle, especially if you don't have plumbing experience. If you are building your DIY squatty potty, look at these suggestions for how to make a great one. The right design of a squatty potty will allow it to take up less space while also making it easier for you to get into the optimal position when sitting on it. This is medically proven as the natural way to do things. When using a squatty potty, you need to be able to place it close enough for your feet to touch the ground. I have selected these DIY Squatty Potty Plans that are easy, cheap, and fun to assemble.
Collapsible Squatty Potty
This foldable stool is a sturdy alternative to a traditional toilet seat. Made from high-density polyethylene, it can be conveniently stored in the vanity cabinet or under the sink when not in use and be ready to pull out at a moment's notice. It also has rubber feet for stability, so it doesn't slide around on your bathroom floor, plus a built-in finger holds for help when standing up. It will be an innovative lightweight design that lets you raise your legs above your hips as you go; our stool will change how you think about how you wipe forever.
You can also see: DIY toilet paper holder ideas
Make A Squatty Potty From Pallet Wood
Make yourself a toilet perfect for sitting comfortably to do your business! This DIY guide will show you how to build a squatty potty out of pallet wood. While it may seem daunting initially, this project will allow you to learn new skills and have a functional piece of furniture in the bathroom or elsewhere in the house. Building it with your hands will also give satisfaction, especially if you're an enthusiastic DIY-er.
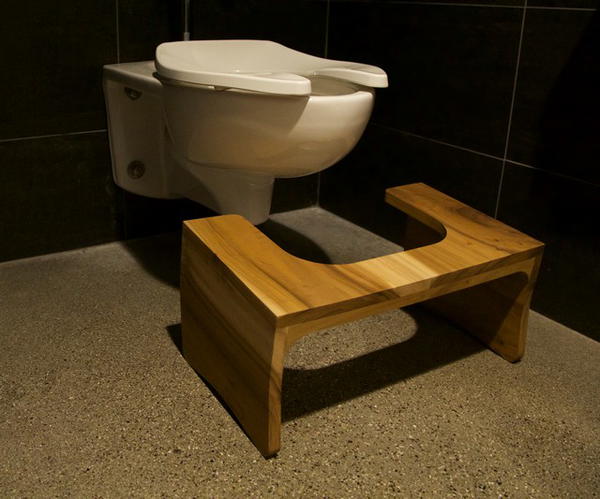
Squatty Potty With Style
Benchmark your toilet squatting height with this DIY Squatty Potty. Start by measuring your toilet seat height, and cut the hardwood boards to size to hold your feet as you sit. Add a 12-inch length of wood as a handle, and seal the whole thing with ¾-inch drawer handles for a fun and funky look. This squatty potty is made with large woodworking tools and a lot of work. The steps are detailed in easy-to-follow directions that you can use to create your squatty potty.
How To Make A Squatty Potty
Learn how to make a Squatty Potty in this video tutorial from the family-owned company that has been making them for over ten years. It will be a great option if you want a better position for bathroom activities. Explore the squatty potty movement. You'll not only feel better after going to the bathroom, but your near-perfect posture will also boost your confidence! Filmed in an unboxing style format, learn how to make a squatty potty from this how-to video. This easy-to-follow guide will show you how to make your own Squatty Potty.
Easy Squatty Potty Plan
This squatting toilet stool is the perfect solution for your bathroom problems. It gives you a more natural way of using the toilet and restores your digestive health. This DIY Squatty Potty is sturdy and easy to clean but beautiful enough to leave out in your bathroom while it's not in use. The Squatty Potty is a wonderful invention that makes poopin' a breeze. It helps those who have trouble getting their knees below their hips when nature calls to poop without any strain or mess.
Fancy Wooden Toilet Stool
If you are looking for a wooden toilet stool, look no further. This DIY stool will give your bathroom a classy look while ensuring your comfort while using the loo. I’ve had difficulty making this step stool, and I hope you don’t have to go through that. This is one of the best DIY toilet stools I have come across. The making process is a bit easy to follow but easier if you have experience with woodworking. It’s a bit easy to make but needs some experience with woodwork.
How To Make Kids Potty Stool
This video guide is for making a squatty potty for your kids that mimics a real toilet. This is a great step toward normalizing their potties and making them comfortable in the bathroom. Making their own personal potty helps them feel like they have control over their toileting experiences and encourages them to take on this new skill easily. This wooden stool is not only durable but also easy to clean as well as maintain throughout its lifespan.
Wooden Squatty Potty Idea
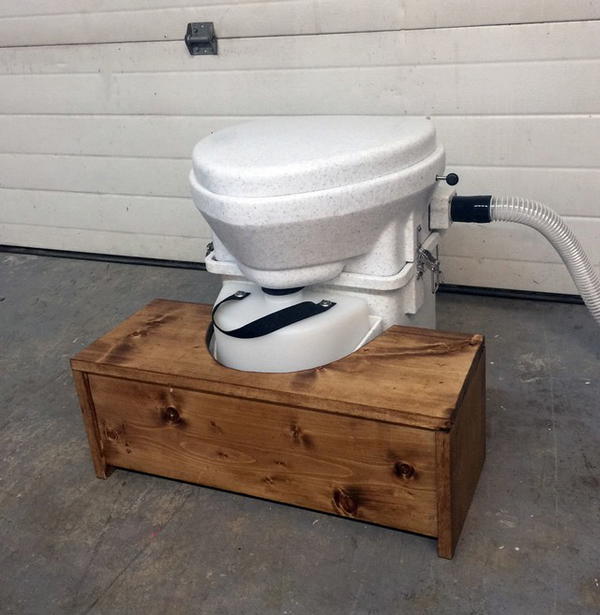
The squatty wooden potty is made of high-quality materials to ensure user comfort. The gaps between the legs will provide maximum comfort during use. It is easy to assemble and disassemble. This simple DIY project is great for your bathroom as well as for your garden. In a hurry? Make it in just a few hours! The hope is that this style will be fun and convenient for you! Follow this amazing pattern, and I hope you'll love it.
Build Your Own DIY Squatty Potty
Watching movies at home is a great way to save money, but finding a screen that meets your needs can sometimes be hard. This hack series will show you how to build a projector screen for about the same price as one movie. If you’re looking for even more ways to save money with DIY projects, check out our article on 20 ways to save money around the house! You can easily transform your backyard or any room of your home into a home theater & enjoy summer movie watching outdoors and winter movie watching indoors with your own inexpensive homemade projector screen.
Homemade DIY Squatty Potty
Squatting when you go to the bathroom, instead of sitting on a conventional toilet seat, can help you with your digestion and elimination. Using a squatty potty makes this possible in the comfort of your own home. However, if you’re new to using it, the Squatty Potty may take some time. Follow these simple tips to ensure you get the most out of your Squatty Potty experience and don’t stress over your next bathroom trip.
Simple Squatting Stool Idea
Looking for an easy way to make a DIY squatting toilet? The DIY Squatting Stool lets you adjust the angle of the seat, so it’s more comfortable and easier to reach. The design allows you to move your feet toward a surface while still squatting. You can also make this stool from recycled materials, such as scrap wood and leftover plumbing parts. This project is so simple that you probably already own everything you need to make it. All you’ll need is a step stool, glue, and saws!
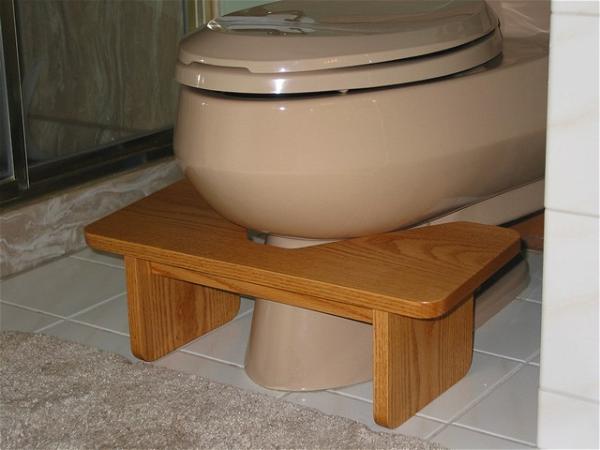
DIY Squatty Potty Step Stool
The squatty potty is a step stool that fits perfectly in front of your bathroom toilet. The step stool is angled at just the right angle so that you can relax and ease into a true squat position — no more straining or bending over! Being able to fully rest your legs on the sturdy base of this simple DIY project will revolutionize how you eliminate. This awesome DIY project is a simple, sturdy, stylish potty bench! This is a great project to build, and I can’t wait to see how it turns out.
How To Make A Squatty Potty
Squatting poop is not only good for your health, but it's also good for the environment! The Squatty Potty is a great way to implement natural elimination into your daily routine. The Squatty Potty eliminates waste from the colon, not down through the rectum, resulting in less strain on the organs and better savings on TP. In addition to being easy on your body and eco-friendly, this DIY project requires only a few supplies and no installation with minimal sawing and cutting!
DIY Squatty Potty Design
This DIY Squatty Potty will help you have comfort while you are taking a squat in the bathroom. This is a perfect way to move up, down, and sideways to get the right angle for a comfortable bowel movement. This squatty potty is made of wood, cork, and ingenuity. It also has an adjustable wood handle so that both tall and short users can use it. It also can be placed under your toilet or even in the shower; this will help you get your feet up while sitting on the toilet, which takes the pressure off your colon and allows it to relax naturally, making elimination easier, faster, and less straining.
Build A Squatty Potty For Kids
If you're looking for a DIY project to do with your kids, this DIY Squatty Potty might be just the thing. The squatting position is recommended for easier and faster elimination as it puts pressure on your colon and allows waste to pass through more easily. This specific version is made so children can use them independently without needing adults nearby. It will be a good option during bathroom remodel projects or can be used as a portable potty chair outside while camping or hiking.
Small Squatty Potty Pallet Project
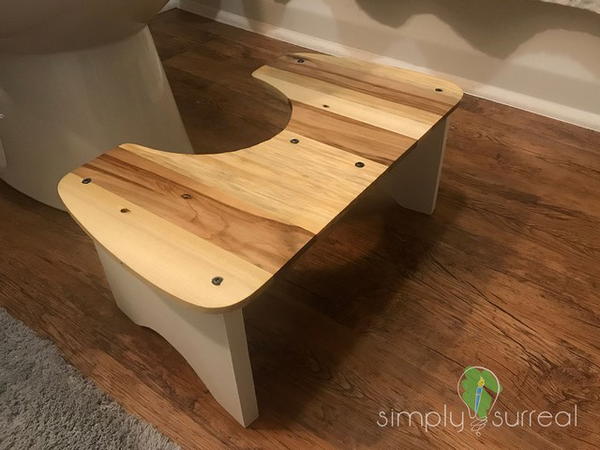
The Squatty Potty is a simple tool to help you improve bowel movements. This Squatty Potty has a built-in dam that holds liquid in the front of the bowl, so you don't have to worry about it going all over your bathroom floor. No more stinky smells! It uses vertical space in your bathroom, which is more likely to be used than horizontal space. The edges are slightly slanted, making it comfortable while sitting. It will be a great DIY piece for your bathroom, and I hope you'll admire it.
Source: simplysurreal.org
Squatty Potty Hack
Create your DIY squatty potty with this simple guide. The instructions are easy to follow and will take a couple of hours to complete. This easy DIY project will give you an idea of creating a squatty potty. The materials needed are simple, and the steps to follow are easy and quick. It offers additional benefits, including retaining more waste in the colon. It is also beneficial for pregnant women as well as women who are recovering from injuries or operations.
Squatty Potty Footstool For Toilet
Although this squatty potty is small, it is perfect for those with restricted space. To make this DIY footstool, you will need only a few tools and materials like wood planks, nuts and bolts, an electric drill, paint, and a hammer. After completing this DIY project, place it in your bathroom near your toilet for convenience. This squatty potty is made from a plastic container and upholstery foam. Adjustable legs let you place it perfectly in front of your toilet.
How To Make Cheap Squatty Potty
Do you have Cheap Squatty Potty for Your Children? This excellent idea can help relieve strained muscles, fatigue, and stress through blood circulation. This helps to improve posture, bowel movements, and bladder control while making the squatty potty very easy to use. It is very helpful for the kids who can not walk and need help while they learn. This is a very simple and affordable project. You will need some materials for this, but finding them is not hard. Let’s get started!
Best Squatty Potty Alternative
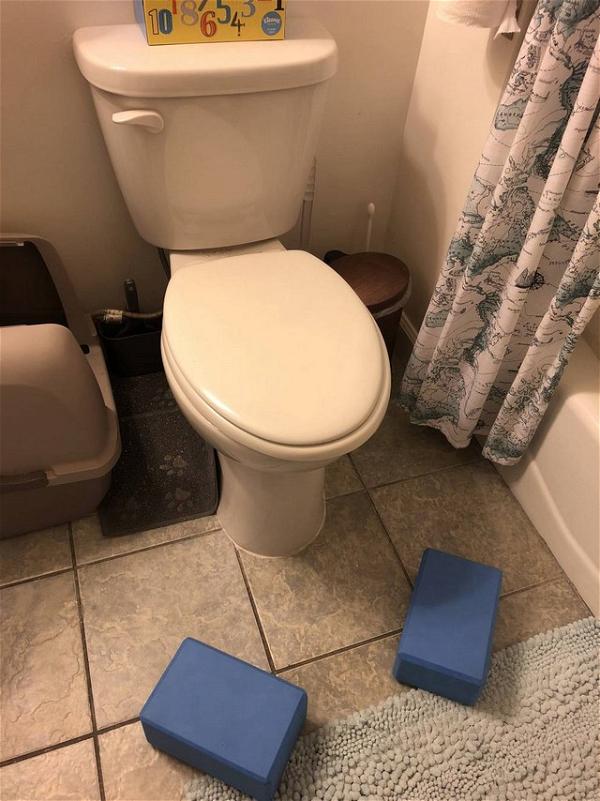
This is a great alternative to the squatty potty. The yoga block is good if you are looking for a more stable and cheaper option. It’s easy to use; just place it on the toilet seat and squat over it as your body would do during nature’s call. They’re inexpensive and can be best than almost any exercise equipment available at the store. While not as sturdy as a squatty wooden potty, this alternative certainly does the job.
See Other Projects
- DIY Bike Shed Plans
- DIY Entry Table Ideas
- 12 Useful DIY Garden Bridge Ideas
- 17 DIY Liquor Cabinet Plans You Can Make Easily