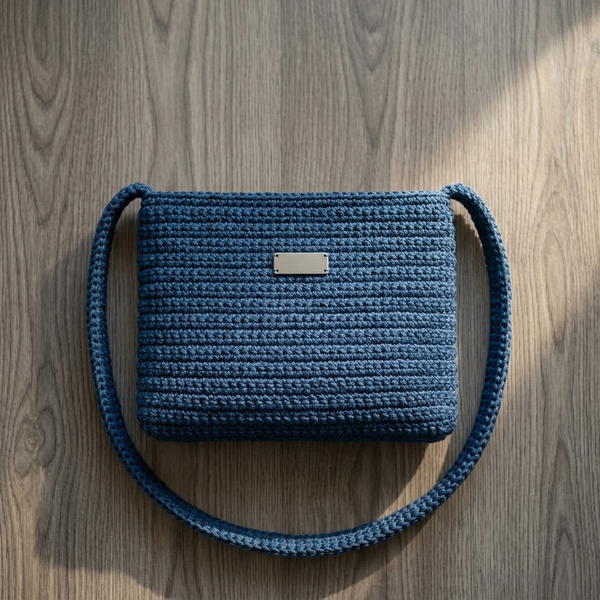
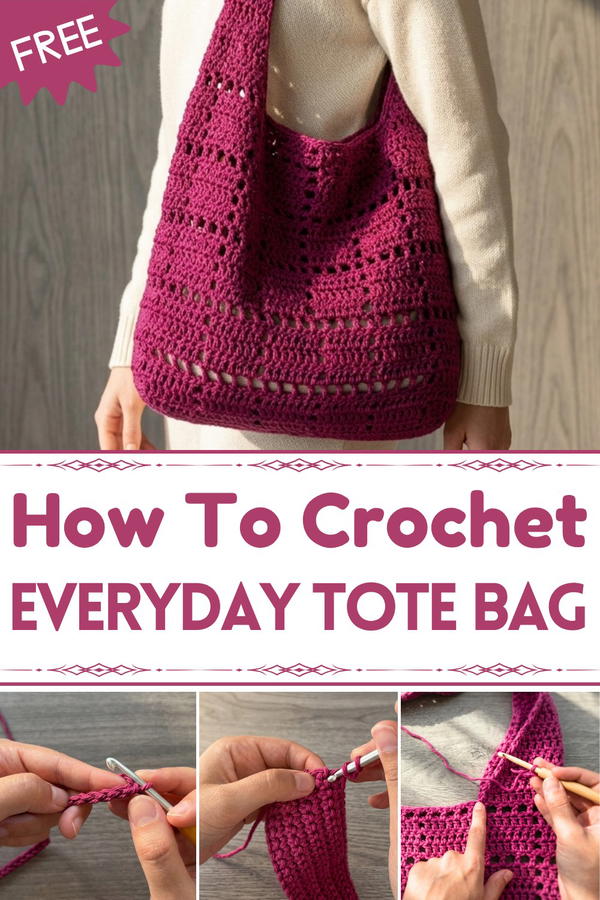
Learn how to make a beautiful crochet tote bag with this free pattern that is easy to follow, perfect for carrying your essentials in style every day.
Carrying something stylish and useful can brighten up your day, especially when it’s handmade. This crochet tote bag is more than just a regular bag; it has a cozy, soft texture and a trendy look that catches the eye. It’s spacious enough to hold your essentials, like groceries, books, or daily items, making it both practical and beautiful. The free pattern lets you choose your favorite colors to match your personal style.
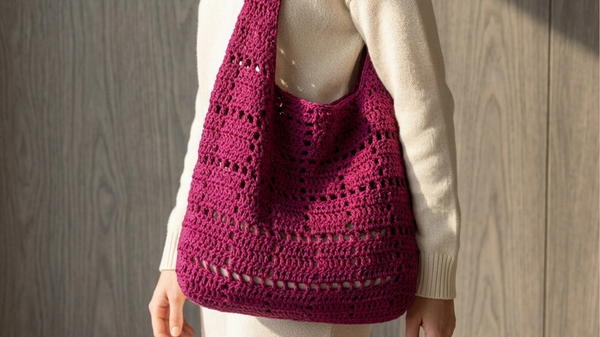
Free Crochet Tote with a Unique 4-Row Repeat Pattern
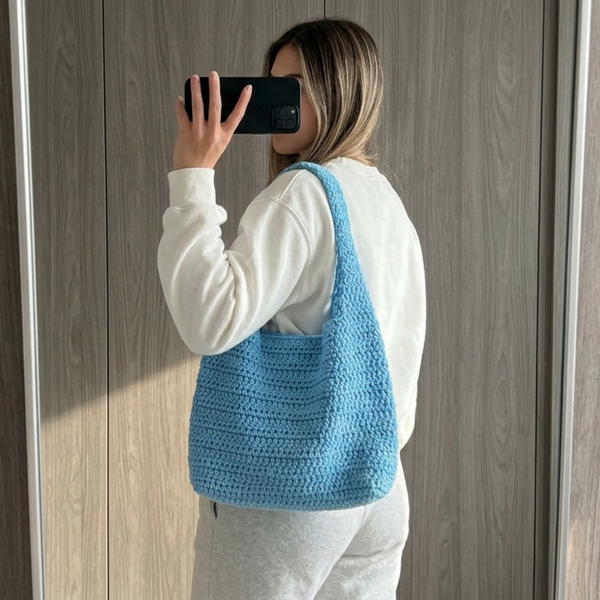
With its durable design, this tote bag is perfect for everyday use, whether for shopping, school, or fun outings. The unique handmade touch makes it stand out, giving it a charm that’s hard to find in store-bought bags. Whether for function or fashion, this crochet tote bag is a simple way to add creativity and usefulness to your daily life.
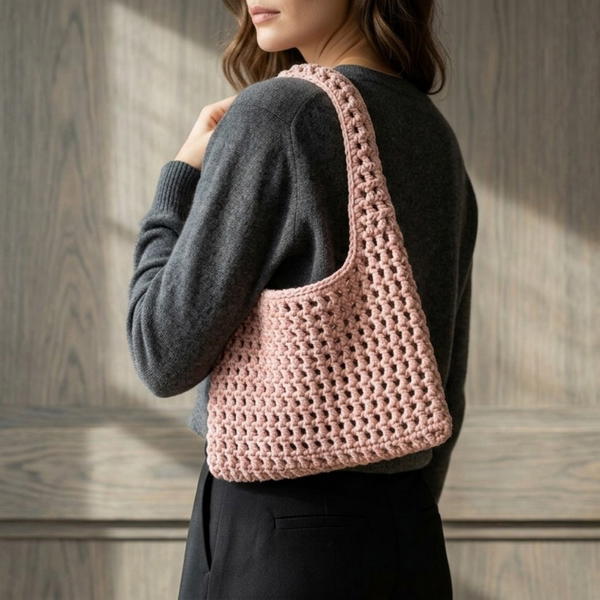
Crochet Mesh Bag Pattern
Materials
To create this crochet mesh bag, you will need the following:
- Yarn:
- 100% cotton yarn, medium weight (#4), approximately 180 g.
- Cotton is preferred for durability, though acrylic yarn can be used (note: acrylic may stretch).
- Hook: 5 mm (H-8).
- Stitch Markers: At least 4, for tracking positions throughout.
- Darning Needle: For weaving in ends and sewing the straps.
- Scissors: For cutting yarn.
Skill Level
Intermediate/Advanced
- Requires familiarity with crochet construction, decreasing, and working in the round.
Abbreviations
The following abbreviations are used in this pattern:
- ch: Chain
- sc: Single Crochet
- dc: Double Crochet
- sl st: Slip Stitch
- dc2tog: Double Crochet Two Together (Decrease)
Key Notes and Tips
- Turning Your Work: After completing each round of the bag's body, turn your work to create a more symmetrical texture. This is optional but recommended for better results.
- Stitch Markers: Always keep a stitch marker in your first and last stitches of each round to maintain accurate stitch counts.
- Customization: You can adjust the bag size by altering the foundation chain length or number of rows/rounds.
Finished Size
- Body: Approximately 12 inches (30 cm) wide × 14 inches (35 cm) high.
- Straps: Adjustable, depending on your chosen length.
Pattern Instructions
Step 1: Foundation Chain
- Create a slip knot and place it onto your hook.
- Chain (ch) 48.
- The loop on the hook does not count as a chain.

- The loop on the hook does not count as a chain.
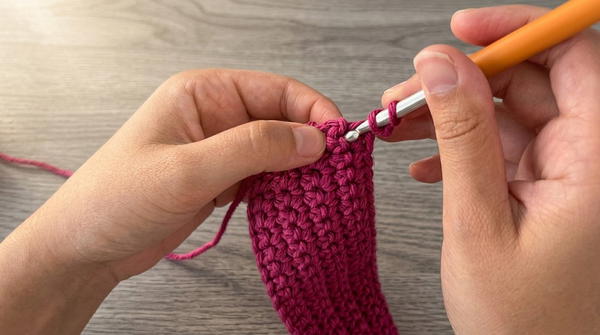
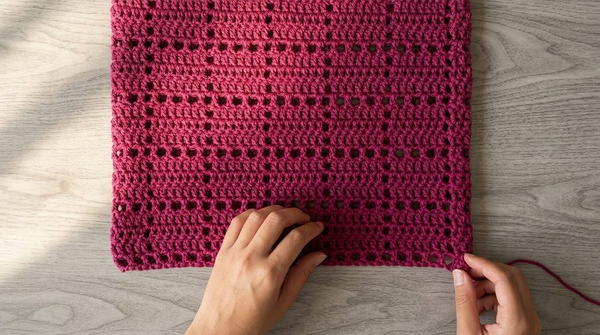
Step 2: Base of the Bag
The bottom of the bag is worked in rows of single crochet.
Row 1:
- Turn the chain to work into the back bars (the bumps on the underside of the chain).
- Skip the first back bar and insert your hook into the second back bar.
- sc: Yarn over, pull through (2 loops on hook); yarn over, pull through both loops.
- Continue making 1 sc in each back bar across the row.
- Total stitches: 47 sc.
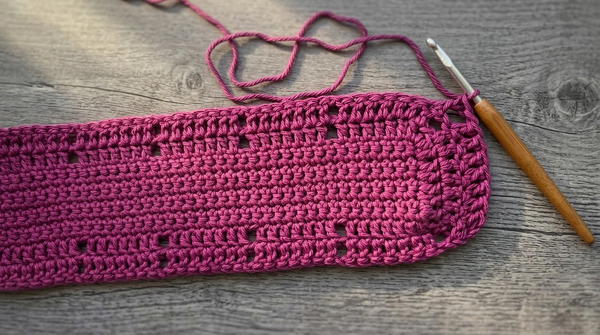
Rows 2–8:
- Ch 1, turn. Skip the turning chain.
- Make 1 sc into the first stitch and then sc in each stitch across.
- Total stitches per row: 47 sc.
- Repeat for a total of 8 rows.
Step 3: Body of the Bag
Round 1: Establishing the Body
- Insert a stitch marker into the last stitch of Row 8.
- Ch 2, turn the base sideways to work along its short edge.
- Identify 7 holes along the short side by pulling slightly on your work:
- Work 1 dc in each of the 7 holes.
- Place a stitch marker in the first dc.
- Ch 1, rotate the base and work along the bottom edge of Row 1:
- Work 47 dc (1 dc in each stitch of the base).
- Repeat for the second short edge:
- Work 7 dc (1 dc in each hole) along this short side.
- Ch 1, rotate and work across the last edge:
- Work 47 dc back along the final side.
- Sl st into the first stitch (marked stitch) to close the round.
You should now have an oval base, with 108 stitches total.
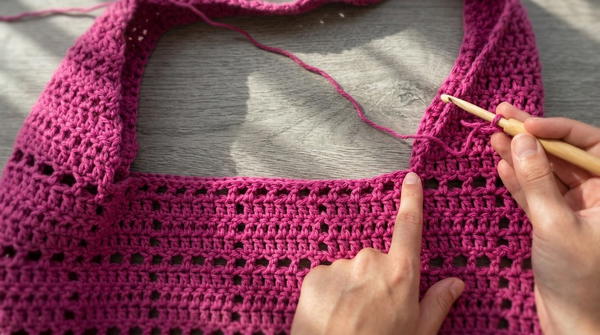
Rounds 2–20: Mesh Pattern
- Each round begins with either a Ch 2 or Ch 3, based on the stitch marker placement (details below).
- Turn your work after completing each round.
- Use this repeating pattern:
- Work 7 dc, ch 1, skip the next stitch, and continue.
- Repeat: [7 dc, ch 1, skip 1] around.
Special Pattern Notes
- At the start of each round:
- If the stitch marker is on a double crochet, ch 2.
- If the stitch marker is on a chain, ch 3.
- Place stitch markers in the first and last stitches of each round.
- Remember to turn the work at the end of every round for symmetry.
Step 4: Straps
Placing Stitch Markers for the Straps
- Lay the bag flat and locate the center 6 squares on each face.
- Mark the 7th stitch on the first and sixth squares to determine strap placements.
- Place stitch markers mirroring these positions on the opposite side.
- Count the stitches between markers to ensure balance:
- 23 stitches between strap placement markers on each side.
- 23 stitches between strap placement markers on each side.
Strap Pattern
For each set of markers:
Row 1:
- Attach yarn at the first marker using a slip knot.
- Ch 2, then work 1 dc in each stitch between the markers.
- Total stitches: 23 dc.
Rows 2–10: Decreasing for Strap
- Ch 2, turn.
- Work dc2tog (a double crochet decrease) over the first 2 stitches and the last 2 stitches of each row.
- This reduces 2 stitches per row.
- Continue decreasing rows until 5 stitches remain (Row 10).
Rows 11–18:
- Ch 2, turn.
- Work 1 dc in each of the 5 stitches across.
- Repeat for a total of 8 rows.
Step 5: Connecting the Straps
- Align the two strap ends, ensuring stitches match.
- Slip stitch the straps together:
- Insert the hook into the back loop of the first strap and the front loop of the second strap.
- Yarn over, pull through both loops, and complete the slip stitch.
- Continue slip stitching across all 5 stitches.
Step 6 (Optional): Single Crochet Border
- Add a border for a polished look:
- Attach yarn at any corner.
- Work 2 single crochets per double crochet row along the edges of the straps.
- Make 1 sc per stitch along the bag opening edge.
- Work evenly around the entire edge of the bag and straps.
Finishing
- Weave in all loose ends securely using the darning needle.
- Gently block the bag to shape it before use.

Conclusion
This beautiful mesh bag is versatile, lightweight, and perfect for everyday use or gifting. The repetitive round structure makes it easy to get into a rhythm while working, and the optional border gives it a polished, finished look.
Pattern Correction and Tips
- Stitch Marker Tip: Be precise in moving stitch markers as instructed to ensure symmetry and accuracy in the mesh pattern.
- Foundation Chain Count: Double-check the stitch count, especially after completing the base and straps.
- Turning Work: While optional, turning your work gives a clean, uniform texture.