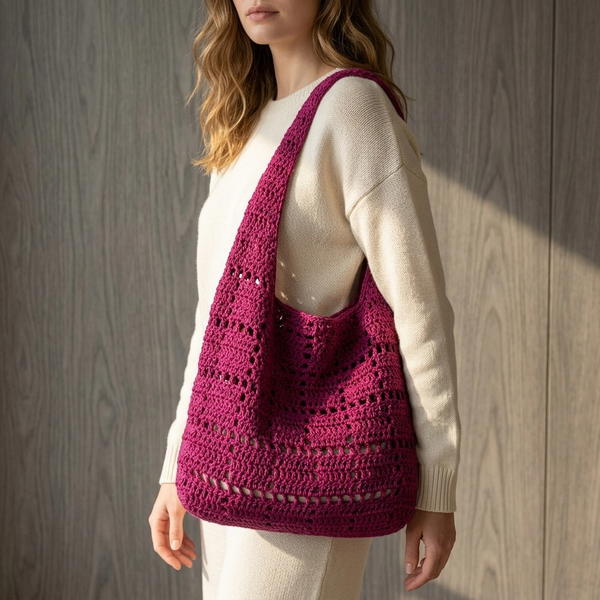
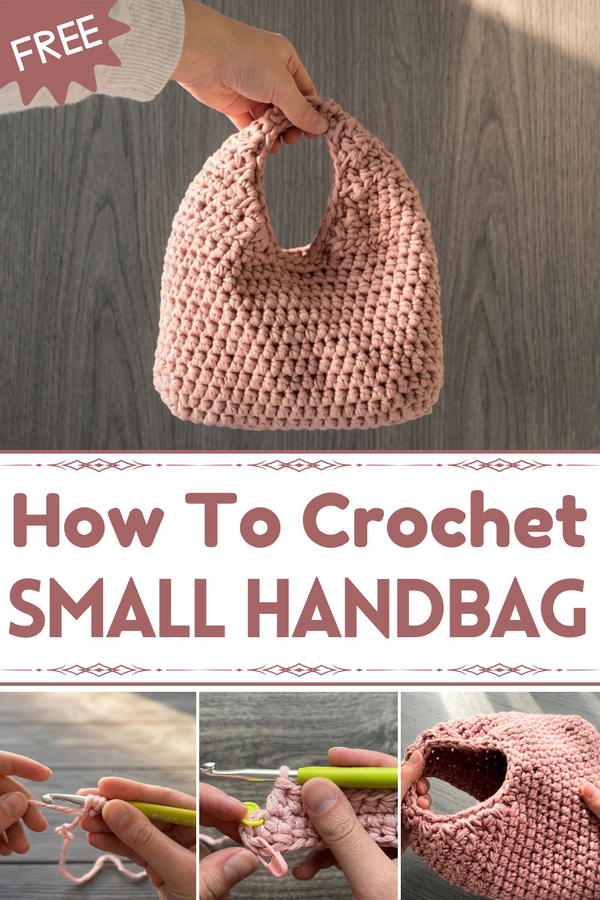
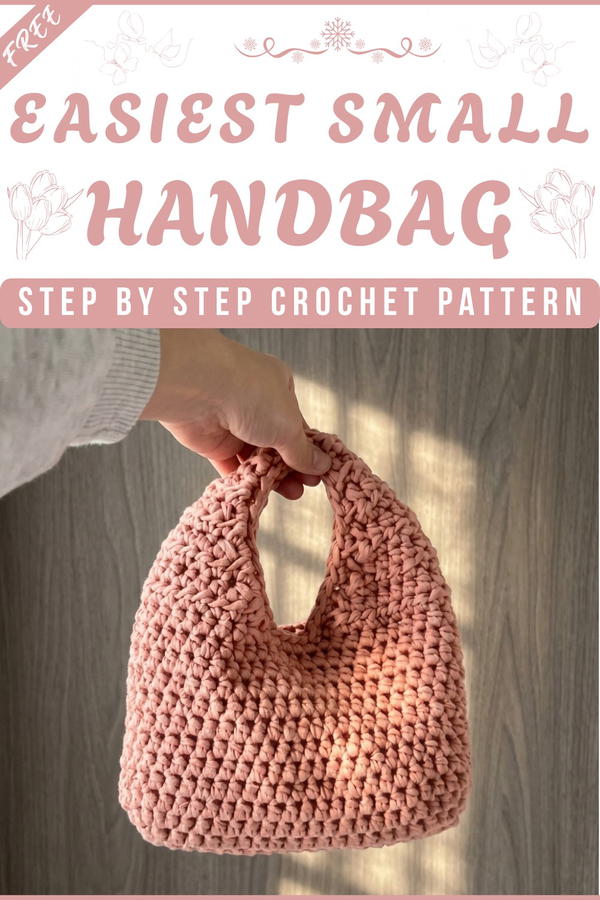
Start your crochet adventure with this stylish handbag pattern that combines elegance and functionality, perfect for carrying your essentials in style.
A handmade handbag is more than just an accessory, it’s a unique piece of art crafted with love and creativity. This particular crochet design features a stylish, timeless look with intricate textures and patterns that make it both elegant and functional. Perfect for daily use or special occasions, this bag blends beauty with utility, providing enough space to carry your essentials in style.
Crochet Handbag Free Pattern for Unique Accessories
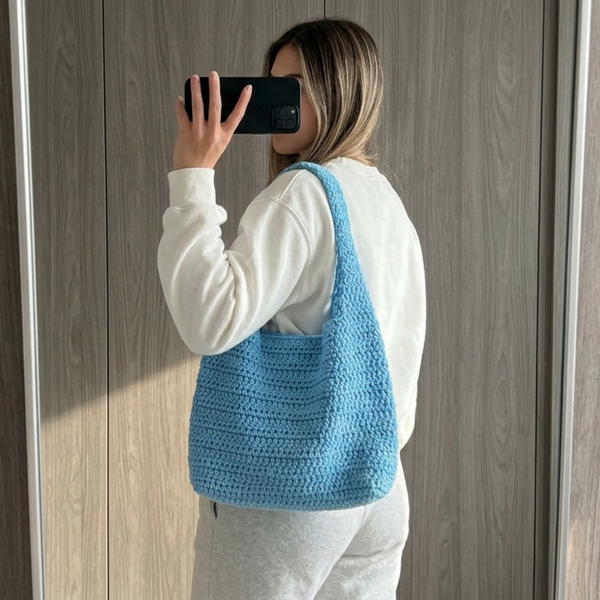
Crocheted with care and attention, its soft yet durable finish ensures it is long-lasting while still being lightweight. Whether carried as a statement piece or a casual companion, this crochet handbag is versatile and complements any outfit effortlessly. The free pattern allows you to create your own version, giving it a personal and unique touch. With its beautiful design and practical use, it’s not just a bag, it’s a reflection of your style and skill, making it both fashionable and meaningful.
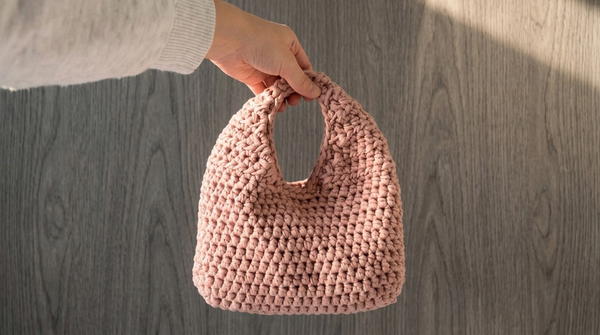
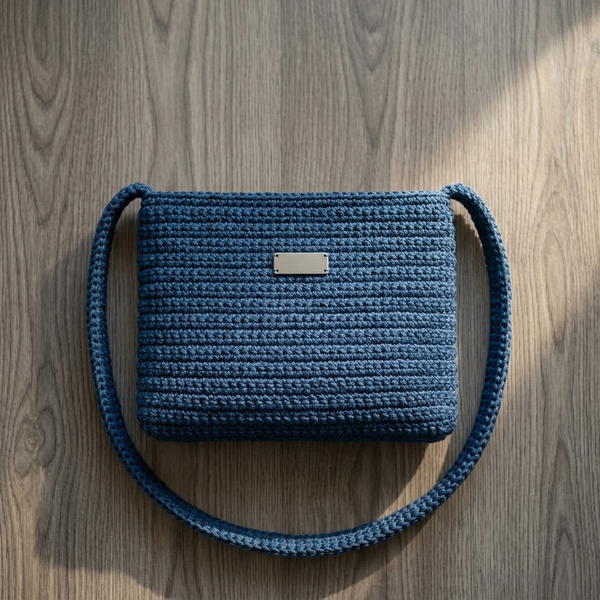
Detailed Crochet Pattern: "The Little Bean Bag"
Finished Size
- Base Length: ~22 cm (8.5 inches)
- Base Width: ~14 cm (5 inches)
- Height: ~21 cm (8.5 inches)
Materials
- Yarn: Ribbon yarn, approximately 150m (164 yards). The tutorial uses "Friends Ribbon Yarn" from Hobby. (Any medium-weight ribbon yarn will work.)
- Hook Size: 6 mm crochet hook (smaller than the recommended hook size to ensure tight, non-flimsy stitches).
- Stitch Markers: At least 6.
- Scissors
- Yarn Needle (for sewing handles and weaving in ends)
Gauge
Gauge is not explicitly provided in the transcription, but the tightness of the stitches is crucial for the bag's structure. Ensure your stitches are firm. Create a small swatch (e.g., 10 half double crochets across 5 rows) to see if the crochet matches the firmness described.
Abbreviations (US Terminology)
- ch: Chain
- sl st: Slip Stitch
- sc: Single Crochet
- hdc: Half Double Crochet
- **{}: Stitches within the brackets are worked into the same stitch.
- inc: Increase (2 hdc in the same stitch)
Tips and Customization Ideas
- Color Customization: Use contrasting yarn colors for the handles to create a trendy look. You can also make stripes on the body by switching colors every other row.
- Handle Options: Modify the length of the handles for a shoulder bag look or use pre-made bag straps.
- Embroidery Option: Add floral embroidery or appliques for a personalized touch.
- Lining: Consider sewing a fabric lining with a zipper to enhance the durability and functionality of the bag.
Step-by-Step Pattern Instructions
Special Techniques
Chainless Foundation:
- Creates a sturdy and stretchy foundation row.
- Detailed instructions are provided in the pattern.
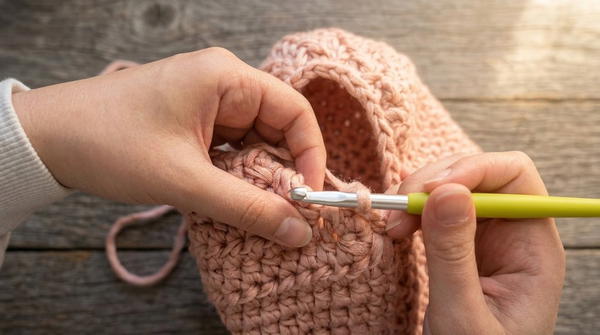
Half Double Crochet (hdc):
Yarn over, insert hook into stitch, yarn over, pull through stitch (3 loops on hook), yarn over, and pull through all three loops on the hook.
BODY OF THE BAG
Setup and Chainless Foundation Row
- Take your tail end of the yarn, measure approximately 1 meter, and make a slip knot on your hook.
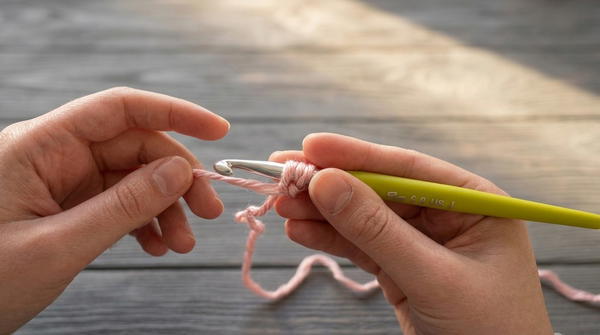
- Begin the chainless foundation:
- Yarn over with the tail yarn, creating a loop (“V” shape).
- Yarn over with the working yarn (from the skein), and pull through the loop.
- This is your first chainless stitch.
- Repeat this process until you have 19 chainless stitches.
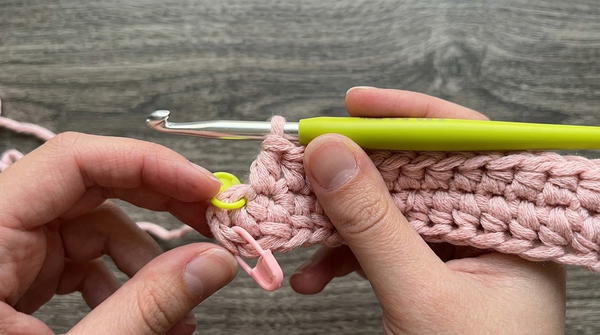
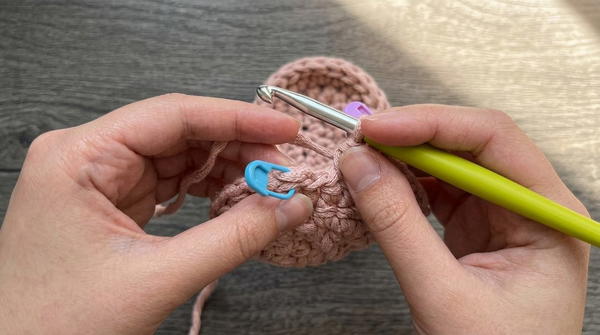
Mark the Corners
- Place stitch markers in the following positions:
- The last chainless stitch.
- The second chainless stitch from the beginning.
- These markers define the starting and turning points for your work.
Round 1: Forming the Oval Base
- Chain 1 to begin.
- Work 1 hdc in each middle braid of the chainless stitches, inserting your hook under both loops.
- Continue for 18 hdc, leaving one chain at the end.
- In the last chain, make an increase (3 hdc in the same stitch). Place a stitch marker in the middle stitch of the increase.
- Transition to the opposite side of the chain and:
- Work 18 hdc along the back loops of the chain.
- At the end of the round, make 2 hdc in the last stitch on this side, then sl st to the first stitch to close the round.
Stitch Count (Round 1): 40 stitches
Round 2: Continue the Oval Base
- Chain 1 and start with an increase (2 hdc in the first stitch). Mark the first stitch of this round with a stitch marker.
- Work 17 hdc to the next stitch marker.
- At the marked stitch, work the following repeat:
- {2 hdc, 1 hdc, 2 hdc} across the middle of the base. Add new stitch markers to the first and last stitches of your increases to keep track.
- Continue working 17 hdc along the other side.
- At the last stitch marker:
- Work 2 hdc, 1 hdc (increase).
- Sl st to the first stitch to close the round.
Stitch Count (Round 2): 44 stitches
Round 3: Final Round with Increases
- Chain 1 and start with 2 increases:
- Work {2 hdc, 2 hdc} in the first two stitches. Place a stitch marker only in the first stitch of Round 3.
- Work 17 hdc, then begin the corner increases.
- For the corner:
- Across 5 stitches, work: {2 hdc, 2 hdc, 1 hdc, 2 hdc, 2 hdc} (mark the starts of each increase for reference).
- Work 17 hdc on the opposite side.
- At the final two stitches of the round, work {2 hdc, 2 hdc}, then finish with 1 hdc in the last stitch before the slip stitch.
Stitch Count (Round 3): 52 stitches
Rounds 4–12: Build the Body
- Work 52 hdc in each round, with no increases.
- Join each round with a slip stitch, and chain 1 to begin the next.
- After completing Round 12, your cylinder-shaped bag body will be complete.
Final Stitch Count: 52 stitches per row
HANDLES
Handle Construction (Each Side):
- Flatten the bag and mark the middle stitches on each side. Place 5 stitches between the markers for the handle base.
- Attach new yarn at the left-most marker and work 1 hdc in each of the 21 stitches (from marker to marker).
- Turn and decrease at the start and end of every row, while working hdc in between:
- Row 1: 19 hdc
- Row 2: 17 hdc
- Row 3: Continue decreasing until only 3 stitches remain.
Finish Handles:
- Work 3 rows of 3 hdc to create a sturdy flat strap.
- Repeat on the opposite side to create two handles.
Assembly
Joining Handles:
- Flip both handles inward so their ends meet at the center.
- Work slip stitches across 3 stitches, joining the ends of the handles together.
- Weave in any ends securely.
Optional: Border
- Work single crochets (sc) around the entire top edge of the bag. Insert stitches evenly, aiming for smooth and neat edges.
Finishing
- Weave in all remaining ends to secure the yarn.
- Optionally, line the bag with matching or contrasting fabric for extra support.
Conclusion
Your "Little Bean Bag" is complete! This adorable, compact handbag is perfect for casual outings or as a gift. Its minimalist design can be easily customized with colors or added patterns to suit your personal style.