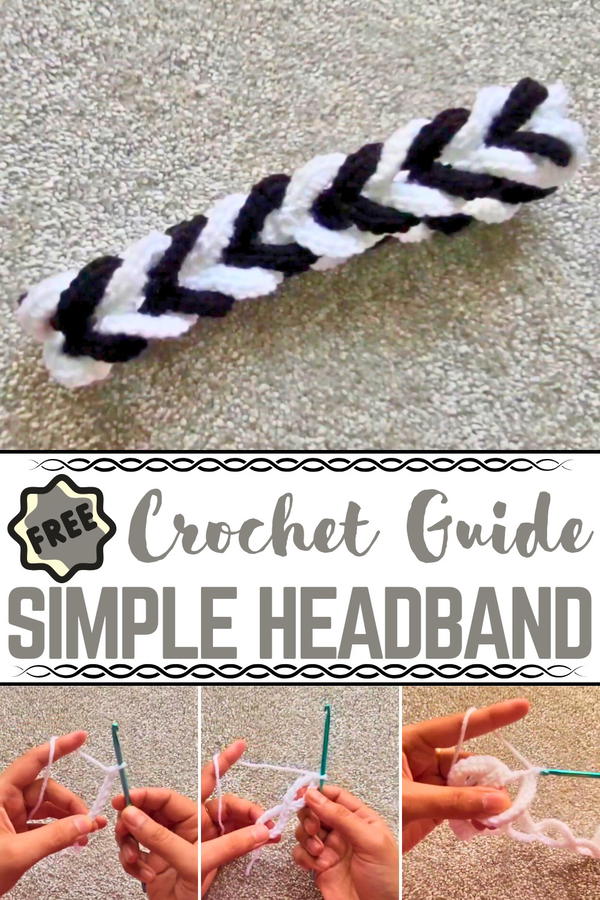
Stay stylish and cozy with the Crochet Headband pattern, a soft, comfortable, and versatile accessory perfect for any outfit or occasion.
On a crisp morning, a simple strand of yarn can become more than just a material—it can turn into a stylish accessory that brightens any outfit. The Crochet Headband pattern offers a versatile and charming way to combine comfort with fashion. Each headband features soft, stretchable yarn that fits snugly while remaining gentle on the skin, making it ideal for all-day wear. Its texture and intricate stitching provide a subtle yet noticeable accent, adding personality to casual outfits, outdoor adventures, or chilly winter days.
Unique Crochet Headband Accents for Everyday Glam
Lightweight and durable, it holds hair in place while maintaining comfort, making it perfect for children, adults, or as a thoughtful gift for friends and family. The process of following the pattern encourages focus and mindfulness, as each stitch builds toward a finished accessory that is both functional and visually appealing. Beyond practicality, the headband adds a touch of elegance and charm, serving as a stylish statement piece for everyday wear.
It combines warmth, comfort, and aesthetics seamlessly, transforming a simple yarn project into a personal accessory that enhances confidence and style. With each finished headband, the wearer enjoys both functionality and a subtle sense of handmade beauty, making it a treasured addition to any wardrobe.
Materials Needed
To crochet the braided hair band, you will need:
- Yarn: Two different colors for a contrasting braided effect (lightweight or medium yarn).
- Crochet Hook: Suggested size is 4mm for this project.
- Tapestry Needle: For weaving in ends and joining the hair band.
- Scissors: For trimming excess yarn.
- Optional: Stitch markers to track beginning points in stitches.
Special Features
- Braided Effect: The interwoven loops create a unique and elegant textured look.
- Versatility: Can be worn as a fashion statement or functional hair accessory.
- Customizable Design: Choose different colors, adjust the number of loops, and create the desired size for adults or kids.
- Two-Tone Colors: Using two contrasting yarn colors enhances the braided effect, making it visually appealing.
Level of Difficulty
Beginner to Intermediate:
- This project uses relatively simple stitches such as the double treble crochet and single crochet, but it does require good attention to detail for the weaving and finishing steps.
- Beginners can practice their stitch consistency, while intermediates will master loop creation and assembly techniques.
Step-by-Step Instructions
Part 1: Creating the Loops
1. Start with the Foundation
- Begin with a slip knot on your hook.
- Chain 6 stitches: 1, 2, 3, 4, 5, and 6.
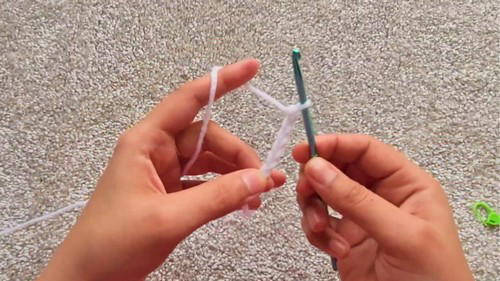
2. Make the Double Treble Crochet
- Yarn over three times: 1, 2, 3.
- Insert your hook into the first chain.
- Work the double treble crochet:
- Yarn over and pull up a loop (you have 4 loops on the hook).
- Yarn over, pull through two loops (now 3 loops remain).
- Yarn over, pull through two loops again (2 loops remain).
- Yarn over and pull through the final two loops.
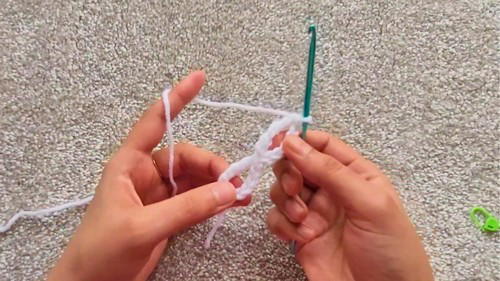
3. Create Multiple Loops
- Repeat the process to make a total of 13 loops (or adjust the number based on your desired headband size).
- After completing each double treble crochet, chain 5 and prepare for the next loop.
- Yarn over three times again and insert the hook into the pair of loops created earlier.
- Repeat the pattern: Chain 5 → Double Treble Crochet → Repeat.
2: Adding Single Crochets to Loops
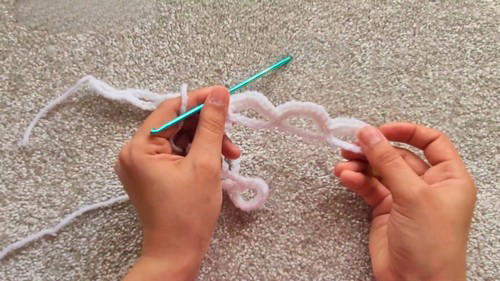
1. Begin Working on Loops
- After completing all 13 loops, chain 1 and start working single crochets into the first loop.
- Place 10 single crochets in each loop across the top side:
- Insert hook into the loop.
- Yarn over, pull up, yarn over, and pull through two loops.
- Use a stitch marker to track the first single crochet of each loop.
2. Work the Last Loop
- In the last loop, place 20 single crochets (10 on one side and 10 on the other):
- Rotate the loop as needed to work both sides evenly.
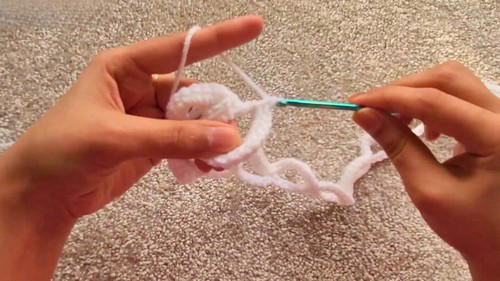
3. Crochet on the Opposite Side
- Now work 10 single crochets on each loop along the opposite side.
- Securely weave over the yarn tail from the starting end to tidy up loose ends.
- Continue until reaching the starting point.
4. Join and Finish
- Slip stitch into the first stitch made and chain 1.
- Fasten off, leaving a long tail for assembly.
Part 3: Making the Second Piece
- Repeat the process to craft a second hair band piece, ensuring it has the same number of loops (13 loops as in the first piece).
- Use contrasting yarn colors to create the braided effect—this enhances the design.
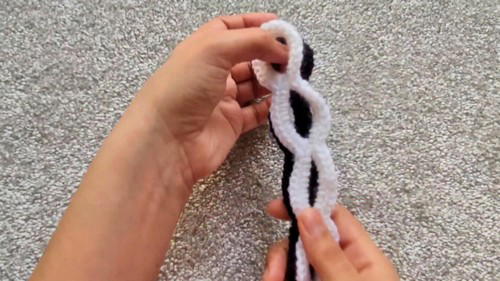
4: Braiding and Joining the Hair Band
1. Begin Weaving
- Place the two pieces side by side:
- Choose which piece will go in front and which will stay at the back.
- Skip the first loop of the front piece. Start with the second loop:
- Pull the first loop of the back piece through the second loop of the front piece.
2. Alternate Braiding
- Pull the front loop through the next back loop and bring the back loop forward.
- Alternate between the front and back loops:
- White → Black → White → Black (or whichever colors you're using).
- Continue weaving until you reach the end of both pieces.
3. Straighten the Band
- Check for any curling of loops and straighten them as necessary.
- Ensure the braid maintains a consistent pattern and visual symmetry.
5: Joining the Ends
1. Secure the Ends
- Use the long yarn tail left earlier to join the ends of the two pieces together.
- Knot securely, trimming excess yarn while ensuring stability.
2. Repeat for the Second Side
- Use the yarn tail from the second braided piece to join the ends on the opposite side.
- Knot and trim for a clean finish.
Tutor’s Suggestions
- Contrast Colors: Use two strikingly different yarn colors to make the braided effect pop.
- Adjust the Loop Count: Feel free to vary the number of loops to fit different head sizes.
- Be Patient While Braiding: Straightening the loops and maintaining a uniform braid might take some practice but makes a big difference in the final look.
- Expand Creativity: Experiment with different yarn textures or even multi-colored skeins for a unique touch.
Uses of the Hairband
- Fashion Accessory: Use it as a stylish headband or hair tie.
- Gift Idea: Handmade crochet hairbands make thoughtful gifts for friends and family.
- Personal Use: Match different colors to your wardrobe and personalize your look.
Tip for Success
Straighten the loops carefully before braiding to ensure a consistent braided appearance. Also, try using stitch markers at key points to keep track of your progress.
Conclusion
The Crochet Hairband project combines creativity with functionality, creating an accessory that is both stylish and practical. With simple stitches and carefully crocheted loops, this pattern inspires you to explore color combinations and crochet techniques. Whether you're a beginner or an experienced crocheter, the braided hair band is a fun and rewarding project that adds elegance to your crochet repertoire.