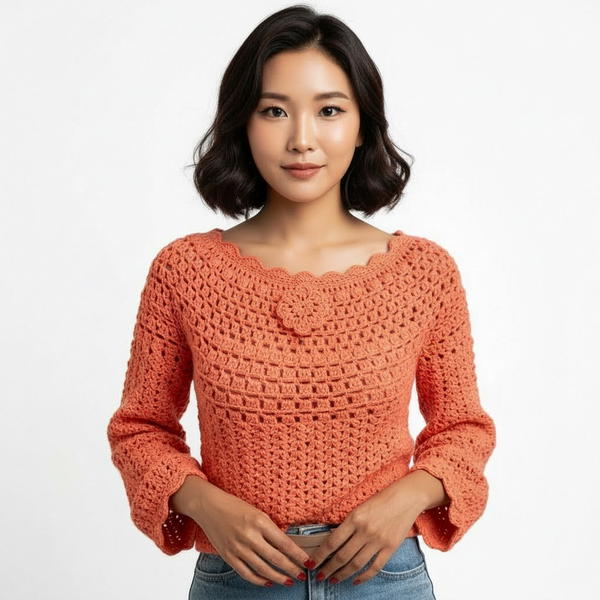
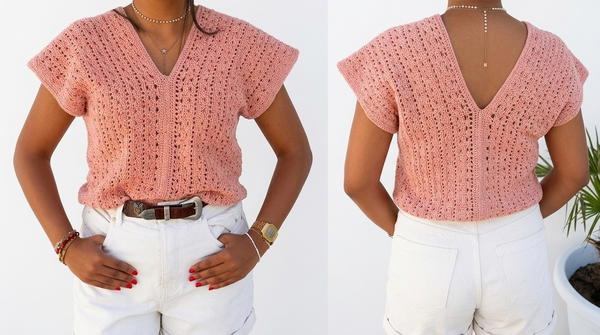
Design a lightweight and charming summer top with this free crochet pattern that's for warm weather, it adds a touch of elegance to your everyday style.
Looking for a fun and airy outfit perfect for warm days? A crochet summer top is an ideal choice to add style and charm to your wardrobe without sacrificing comfort. Using a free crochet summer top pattern, anyone can create a lightweight, breathable design that is both fashionable and practical.
Crochet Summer Top Tutorial That’s Perfect for Beginners

The beauty of this top lies in its delicate stitches and unique textures, which create eye-catching details that elevate your casual wear. Whether paired with shorts, skirts, or jeans, this handmade top becomes a versatile addition to your clothing collection. It’s perfect for beach outings, poolside relaxation, or sunny outdoor adventures.
Crafting your own crochet summer top is not only satisfying but also allows for customization. You can choose colors that suit your personality and even adjust the fit to make it truly yours. With simple guidance provided in the free pattern, it’s easy to follow along, making it a great project for beginners or experienced crocheters alike. A crochet summer top connects you to a soft, lightweight, and stylish creation perfect for sunny vibes.
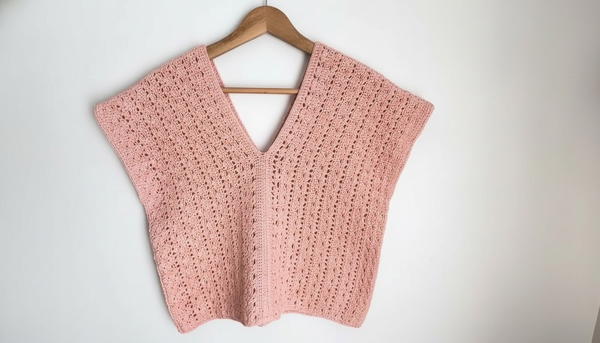
Crochet Simple Two-Rectangle Top
Materials Needed
Yarn:
- Aquarelle Cotton Yarn (or 100% mercerized cotton).
- Weight: Approx. 50g per ball, 125m per ball.
- Quantity:
- Size 38 (medium): 7 balls of yarn (~350g).
- Add 1 extra ball per size increase, and an additional 2 balls if making the top longer (e.g., hips-to-buttocks instead of hips).
Hook:
- 3 mm crochet hook (or size needed to obtain gauge).
Notions:
- Stitch markers
- Tapestry needle for seaming
- Scissors
Skill Level
Beginner to Advanced Beginner. You should be comfortable with:
- Chain stitch (ch)
- Half double crochet (hdc)
- Slip stitch (sl st)
- Basic seaming techniques
If you are a complete beginner, this pattern is perfect for practicing as it's just two rectangles.
Gauge
Your gauge will depend on the number of stitches in your chosen yarn and hook. Adjust as needed to create the desired size.
- 1 row of half double crochets (hdc) = ~1 cm in height.
- 5 hdc or stitches = ~2 cm in width.
Make a swatch approximately 10 cm x 10 cm and ensure your gauge matches your body measurements before proceeding.
Custom Sizing
To adapt this top to your size:
- Length (Top to Bottom): Measure from shoulder to hips (or further for a longer top). This will determine the starting chain's length.
- Width (Bust/Chest): Measure the widest part of your torso (either hips or chest). Divide this measurement by 2 to get the width of each rectangle.
For example:
- Length: Shoulder to hips = 80 cm → Chain approx. 200 stitches.
- Width: Chest (86 cm) ÷ 2 = 43 cm for each rectangle → Work rows to a height of 22 cm.
Use the measurement instructions below to guide your sizing.
Pattern Overview
This pattern is composed of:
- Two identical rectangles worked from a foundation chain upward (vertical).
- A simple stitch sequence: half double crochet rows interspersed with decorative fan stitch rows.
- Basic seaming at the shoulders and sides to create the finished top.
Pattern Instructions
Step 1: Take Your Measurements
Length Measurement:
Measure from your shoulder to your desired hemline (e.g., hips or lower).
Example: 80 cm for a medium-length top.Width Measurement:
Measure the widest part of your body (hips or chest). Divide this number by two for the width of one panel.
Example: Chest measurement = 86 cm → Rectangle width = 43 cm.
Step 2: Create the Rectangles
Both rectangles are worked identically. Follow the steps below:
Foundation Chain
Work a chain that matches your length measurement (e.g., 80 cm). Ensure the chain is a multiple of 5.
Example: 200 chains.
Add 2 extra chains to accommodate the edge stitches for the decorative rows later.
Rows 1–2: Half Double Crochet Edging
These rows create a neat top and bottom edge for your top.
Row 1:
- Yarn over, insert your hook into the 3rd chain from the hook. This counts as your first hdc.
- Work 1 hdc in every chain across the row.
- At the end, ch 2 and turn your work.
Row 2:
- Work 1 hdc in each stitch across the row.
- At the end, ch 2 and turn your work.
Row 3: Fancy Stitch (Fan Row)
To create the decorative element:
Begin the Row:
- Hdc in the first stitch.
- Skip 2 stitches, and in the 3rd stitch, work 5 hdc in the same stitch. (This forms the fan.)
Repeat Across the Row:
- Skip 4 stitches, and in the next stitch, work 5 hdc again.
- Continue this sequence until the end of the row.
End the Row:
- Skip 4 stitches and finish with 2 hdc in the last stitch.
- Skip 4 stitches and finish with 2 hdc in the last stitch.
Row 4: Half Double Crochet
This row resets the base for the decorative stitches.
- Work 1 hdc in each stitch across the row, keeping an even stitch count.
- Ch 2 and turn your work.
Row 5: Alternating Chains (Decorative Row)
- Begin with 1 hdc in the first stitch.
- Chain 1, skip the next stitch, hdc in the next stitch.
- Continue the pattern of hdc, ch 1, and skip 1 stitch across the row.
Repeat Rows 3–5
Continue alternating rows of fans, hdc, and chain-separated hdc rows until you reach the desired width of your rectangle. End with two rows of hdc (Rows 1–2 repetition) to match the beginning sequence.
Step 3: Make the Second Rectangle
- Repeat all steps above to create a second, identical rectangle.
Step 4: Assemble the Top
Join the Rectangles:
- Lay the two rectangles flat.
- Fold them inward at the shoulders.
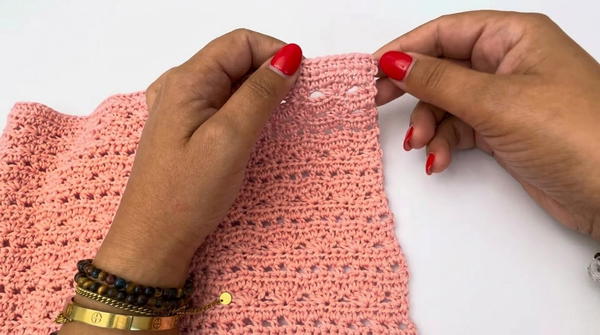
- Use stitch markers to pin/seam the edges of the front neckline, back neckline, and side seams, leaving openings for the neck and arms.
Neckline Depth Tip: For a deeper neckline in the front, sew together fewer rows at the top center front.
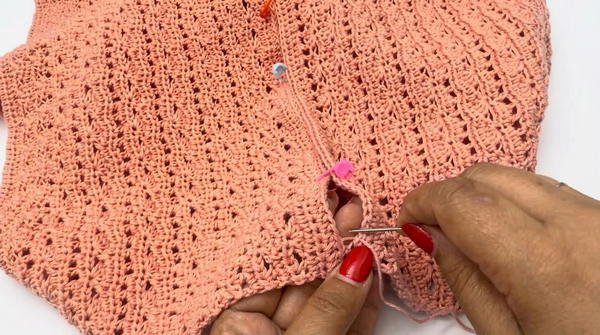
Sew the Seams:
- Use a tapestry needle and whip stitch or mattress stitch.
- Leave openings for the arms (use approx. 23 cm for armholes).
Step 5: Finishing Touches
Bottom Edge Finishing (Optional):
- Work a row of slip stitches around the bottom edge to give a polished look.
- Keep your slip stitches loose to maintain flexibility.
Post-Seaming Touch-Ups:
- If needed, add a final row of single crochet around the neckline and armholes for additional structure.
Customization Suggestions
- Different Stitch Patterns: Replace the fan stitch with your own favorite decorative stitch, such as shells or lace.
- Length: Extend the rectangles beyond the hips for a tunic or dress-length top.
- Oversized Look: Add extra width to each rectangle for a looser fit.
Final Words
Congratulations on completing your simple two-rectangle top! This project demonstrates how basic crochet techniques can create beautiful, wearable fashion items. With its adaptable design, you can recreate this in various colors, sizes, and yarn types for an entirely unique look.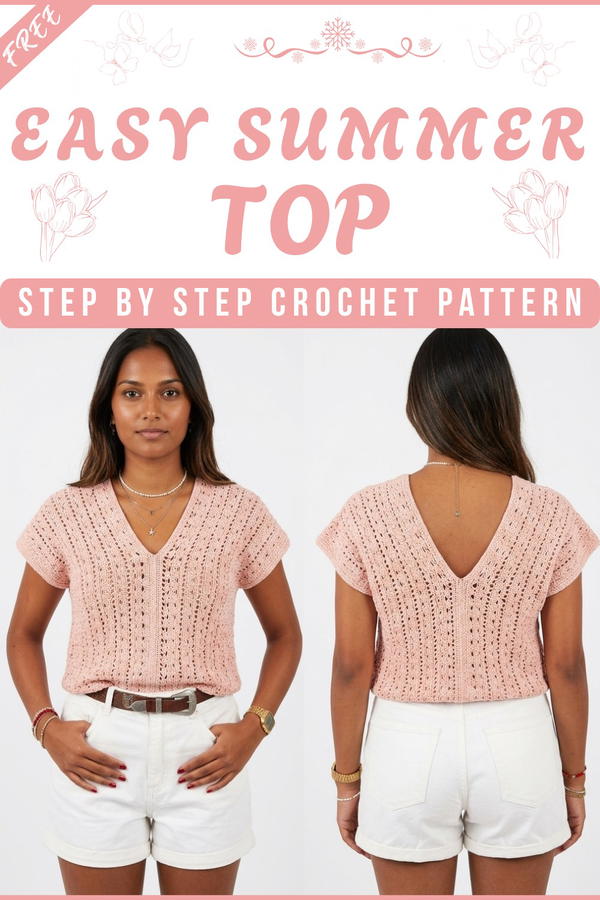
Tips for Maintaining Your Crochet Top
- Washing: Hand wash in cold water with mild detergent to preserve the cotton's texture and color.
- Drying: Lay flat to dry to avoid stretching.
- Storage: Fold your crochet top to avoid long-term stretching from hanging.