Celebrate success with this Crochet Graduation Doll Pattern full of charming details cheerful design and a playful handmade touch perfect for gifting.
Simple & Adorable Crochet Graduation Doll Pattern for All Ages
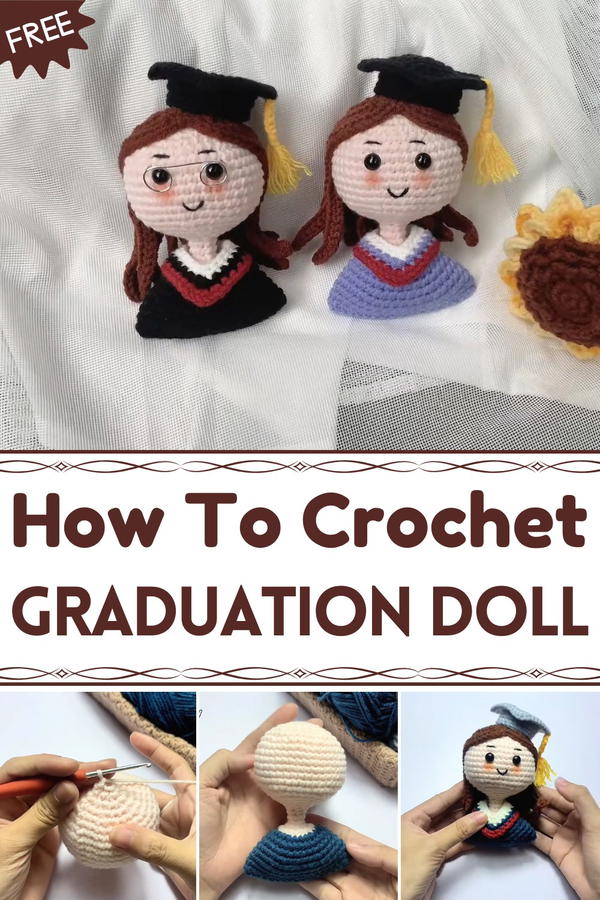
A special doll dressed for celebrating big achievements makes every graduation moment extra joyful! This cute handmade doll wears a tiny cap and gown, just like the graduates do, making it a perfect gift to say “Well done!” Its soft yarn body and colorful outfit bring warmth and happiness, making the doll both fun to look at and hold. With its friendly smile and bright eyes, it’s a little friend that cheers you on during important times.
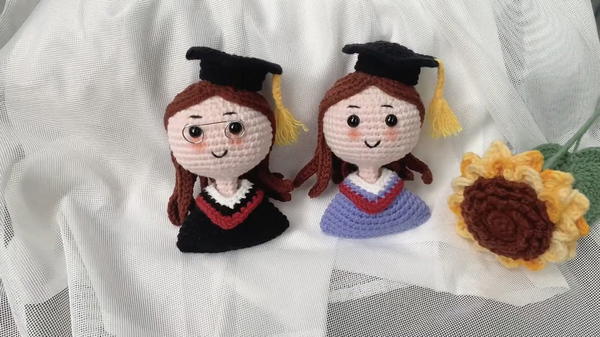
Whether sitting on a shelf as a proud trophy or carried around for good luck, this doll captures the excitement and pride of graduating. Small enough to keep close, it reminds everyone of hard work and bright futures. Giving this charming doll is a sweet way to celebrate success and spread smiles, making graduation celebrations even more memorable and special.
Crochet Nine-Tailed Fox Graduation Doll Pattern
Special Features
- Intricate shaping of head and body using magic circle, increases (V stitches), and decreases (X stitches).
- Detailed elements including collar, hair styled in a bun, graduation cap with tassel, and tiny glasses.
- Color changes for lifelike effect.
- Multiple assembly steps for a complete, polished look.
Materials
- 2.5 mm crochet hook
- Cotton yarn in five colors (~50 g total), including skin tone, blue, white, red, yellow
- 7 mm safety eyes
- Fiberfill for stuffing
- Tapestry needle
- Optional: wire or craft materials for glasses
Abbreviations
- ch = chain
- sc = single crochet
- sl st = slip stitch
- inc (V stitch) = increase – 2 sc in one stitch
- dec (X stitch) = decrease – sc 2 stitches together
- BL=back loop (for back loop only stitches)
- magic ring = adjustable ring to start crocheting in rounds
Difficulty Level
Intermediate to Advanced
Step-by-Step Pattern
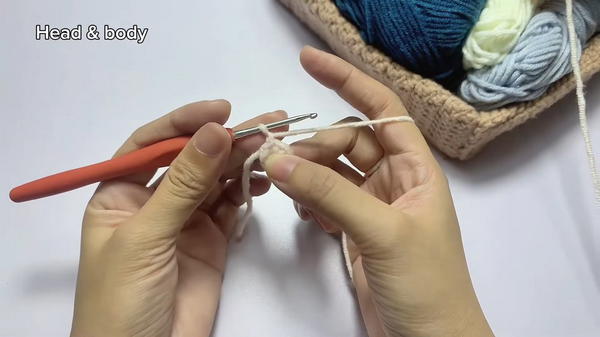
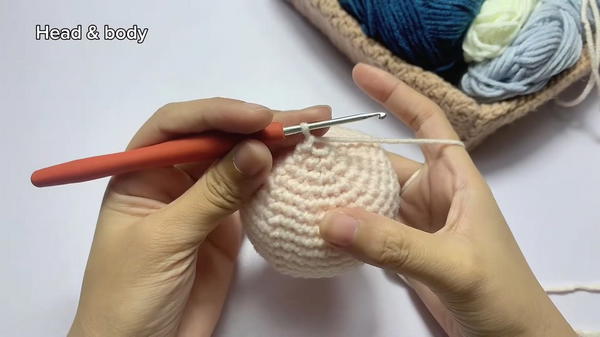
Part 1: Head and Body (Skin-colored yarn)
- Round 1: Magic ring with 6 sc. Pull tight.
- Round 2: V stitch in each stitch (inc in every stitch), total 12 stitches.
- Round 3: (1 dec, 1 inc) repeat 6 times (12 stitches).
- Round 4: 1 sc, 1 inc, 1 sc repeat 4 times (18 stitches).
- Round 5: Similar shaping with combinations of dec and inc, increasing/ decreasing stitches to sculpt body and head silhouette — follow the detailed pattern with repeats of X and V stitches as indicated (e.g., sequences of 3 X, 1 V, repeats).
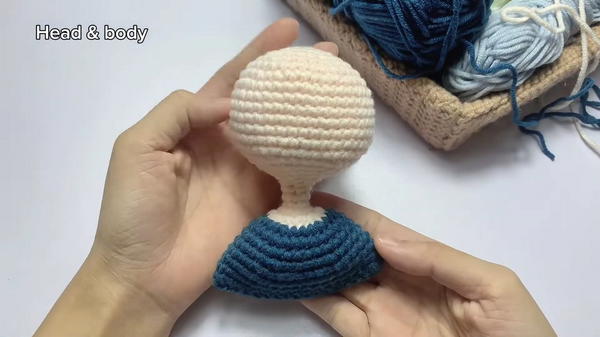
- Rounds 6-14: Continue shaping to form neck and body using the crochet formula: alternating rows of increases and decreases keeping stitch count balanced.
- Rounds 15-20: Gradually decrease stitches for tapering; stuff firmly before closing body.
- Rounds 21-28: Maintain steady stitch count (e.g., 30 stitches) to complete torso shaping.
- Join body parts (if made separately) and finish stuffing. Close with slip stitches and weave in ends.
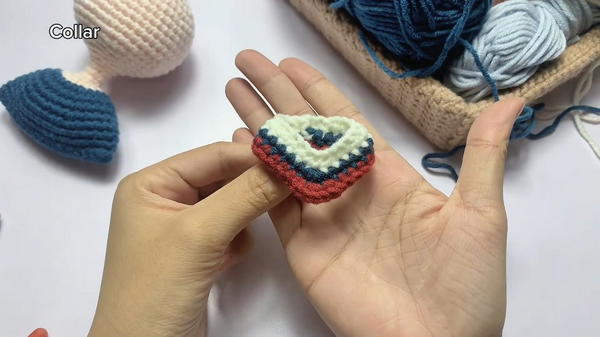
Part 2: Collar (White and Blue Yarn)
- Chain 21 stitches. Crochet 1 sc into each chain, turning at end.
- Switch yarn color per instructions (white to blue).
- Work 2 rows of 10 stitches, alternating colors at corner stitches for striped collar effect.
- Finish with slip stitch and cut yarn.
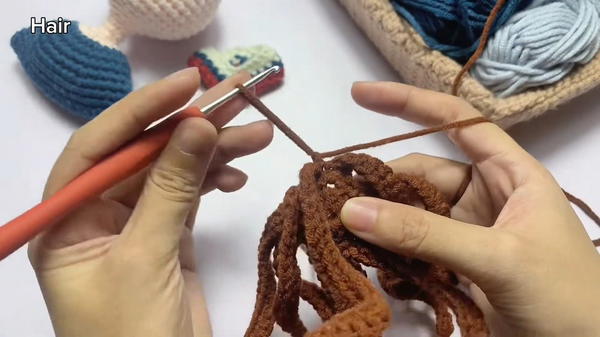
Part 3: Hair Bun (Skin-colored yarn)
- Magic ring with 2 stitches base.
- Crochet multiple rounds of sc and chains (such as chaining 31 stitches and crocheting back) to form rectangular strips representing hair strands.
- Make two strips and sew together side-by-side creating a bun shape.
- Sew securely to head.
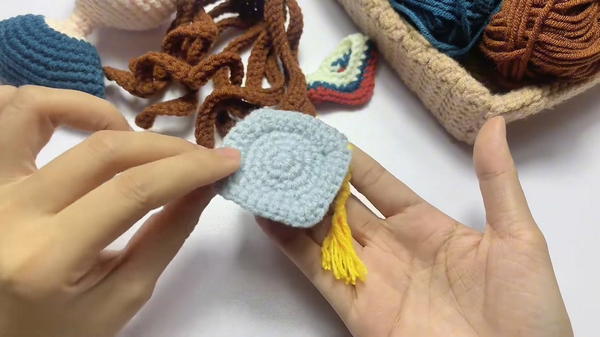
Part 4: Graduation Cap and Tassel
- Cap: Magic ring with 6 sc, pull tight.
- Work 2 rounds increasing evenly to form circular base.
- Subsequent rounds: alternate sc and cluster stitches (BL sc, etc.) to form solid square top with stable edges.
- Crochet the brim by working sc stitches and "W" formula (five X stitches, one W stitch) for decorative edges.
- Sew tassel made by looping yellow yarn securely on one corner of the cap.
Part 5: Glasses (Optional)
Use thin wire or craft materials to form glasses and attach with glue or sew lightly.
Final Assembly
- Sew collar around neck.
- Attach hair bun onto head securely.
- Put graduation cap on head; sew/glue in place.
- Attach safety eyes securely and embroider or sew on the mouth.
- Attach optional glasses.
- Weave in all loose ends carefully.
Tutor’s Suggestions
- Use stitch markers to track increases and decreases when shaping the head and body to maintain symmetry.
- Stuff parts firmly but gently to keep soft shape without bulging stitches.
- When changing yarn colors, pull new yarn through loop of last stitch to get smooth joins and minimize ends.
- Take time sewing parts on well to avoid loose attachments.
- For glasses, use flexible wire for best fit and safety.
Uses
- Unique handmade gift for someone graduating.
- Display piece or collector’s doll.
- Teaching project to master amigurumi shaping and colorwork.
Tip
Work slowly through shaping rows; counting stitches precisely after each round avoids errors, ensuring a smooth silhouette for the doll.
Conclusion
This charming Nine-Tailed Fox graduation doll combines beautiful crochet technique and creative detailing for a standout handmade gift or decor. Follow the detailed instructions for an impressive finished piece full of personality and style.