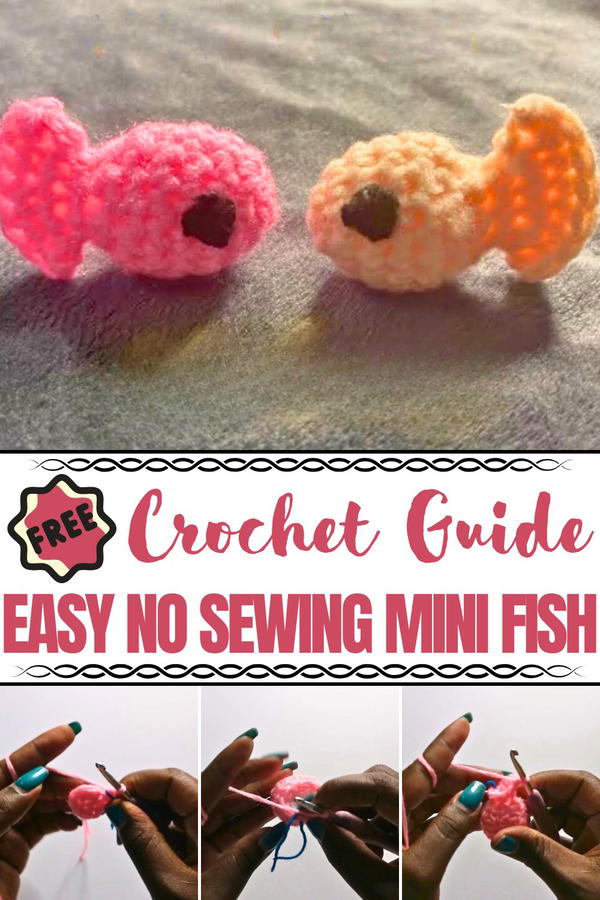
Whip up cuteness in no time with this Free Crochet No Sewing Mini Fish Pattern that's perfect for quick gifts, fun décor, or stash-busting yarn scraps.
Tiny, hand-held projects are becoming increasingly popular among crocheters seeking quick wins and minimal finishing work. The Free Crochet No Sewing Mini Fish Pattern fits this trend perfectly by offering a seamless design that eliminates the need for stitching parts together. Ideal for beginners and seasoned crocheters alike, it provides an easy yet satisfying way to use up yarn scraps while making something irresistibly cute.
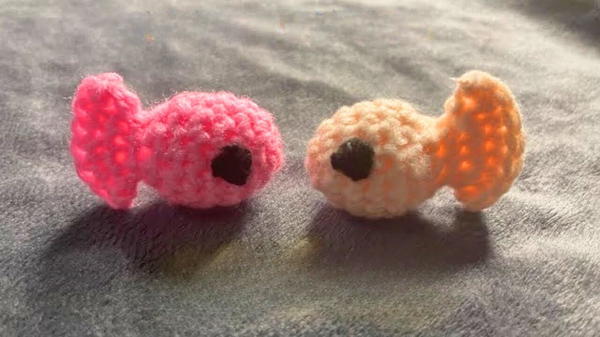
Free Crochet No Sewing Mini Fish Pattern With Scrap Yarn
Worked in one continuous piece from tail to nose, the mini fish uses simple stitches like single crochet and basic shaping techniques to form its plump, playful body. Its no-sew structure means less time spent on assembly and more time enjoying the finished result. The finished fish is soft, palm-sized, and packed with character, making it a fun addition to keychains, kids’ toys, mobiles, or festive bunting.
The versatility of this project makes it a favorite for gift-giving or last-minute market items, and its compact size ensures it can be finished in a single sitting. With its bright charm and beginner-friendly approach, this little fish brings joy without complication, just grab your yarn and hook, and watch something delightful swim to life.
Materials Required
Before starting, the tutor mentions gathering the necessary materials. While the video doesn’t explicitly list them during your scrape, common materials usually include:
- Yarn in your preferred color
- A crochet hook (appropriate for the yarn size)
- Stitch markers
- A yarn needle
- Scissors
- Stuffing (polyfill)
- Embroidery thread (for detailing, such as eyes and mouth)
Step-by-Step Instructions
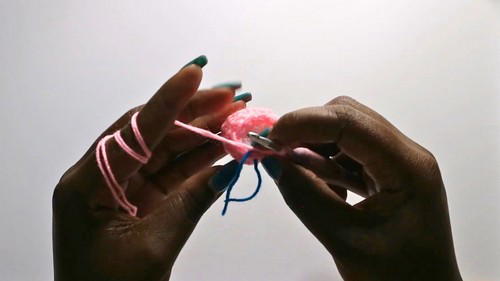
1: Make the Magic Ring
- Start with a magic ring (a foundational technique in crochet).
- Crochet five single crochets into the magic ring.
- Pull the yarn tightly to close the ring, ensuring there’s no gap.

- Use a stitch marker to mark your starting point.
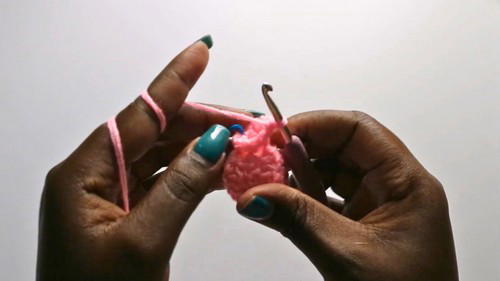
2: Second Round - Increase Stitches
- Begin crocheting an increase in every stitch around the ring.
- You’ll end up with a total of 10 stitches at the end of the round.
3: Third Round - Single Crochet and Increase
- In this round, alternate between a single crochet and an increase.
- Repeat this pattern around the ring.
- At the end of the round, you’ll have a total of 15 stitches.
4: Rounds 4, 5, and 6 - Single Crochets
- For the next three rounds, work only single crochets in each stitch.
- Continue this for three rounds, maintaining a total of 15 stitches.
- At this point, the fish’s body will start to take shape.
5: Seventh Round - Single Crochet and Decrease
- Alternate between a single crochet and a decrease stitch.
- Repeat this pattern throughout the round.
6: Eighth Round - Decrease
- This round focuses entirely on decreasing every stitch.
- By the end of this round, you’ll have five stitches.
- Tip from the tutor: Before completing this round, stuff the body of the fish with polyfill to give it shape.
7: Ninth Round - Start the Tail
- To create the fish’s tail, work an increase in every stitch.
- By the end of this round, you’ll have 10 stitches.
8: Tenth Round - Refine the Tail
- Alternate between a single crochet and an increase.
- Continue this pattern for the round, ending with 15 stitches.
- Remove the stitch marker and stitch the edges of the tail together.
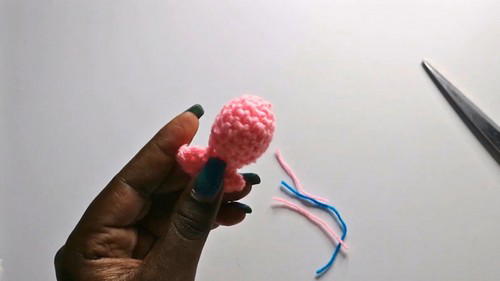
Finishing Touches
Closing the Tail Gap:
- Use single crochets to stitch the two sides of the tail together.
- Slip stitch at the end to secure, then fasten off and cut the yarn.
Adding Details:
- Use embroidery thread to stitch two small eyes onto the fish.
- Optional: Add an embroidered mouth for extra character.
Special Features
- Cute and Compact Design: The fish is small, making it perfect for decorations, gifts, or even kid-friendly toys.
- Versatile Pattern: The basic design allows viewers to modify the fish’s size or add their creative touches.
Level of Difficulty
- Beginner-Friendly: The instructions are clear and explained at a pace suitable for beginners. However, viewers should be familiar with basic techniques like the magic ring, single crochet, and increases/decreases.
Tutor’s Suggestions
- Use a stitch marker to keep track of rounds and ensure accuracy.
- Stuff the fish before the body is completely closed to ensure its shape is firm and rounded.
- Feel free to customize your fish by using different yarn colors or patterns.
Uses
This little crocheted fish can be used for:
- Keychains
- Bag charms
- Room decorations
- Children’s toys
- Gifts for friends and family
- Teaching beginners basic crochet techniques
Conclusion
This tutorial provides an easy-to-follow guide to creating an adorable No Sewing Mini Fish. By the end of the tutorial, you’ll have a small yet lovely handmade piece perfect for various uses. The tutor encourages viewers to try this simple pattern and explore their creativity.
Tip for Success
Practice the magic ring and stitching techniques beforehand if you’re a beginner. This will ensure the process goes smoothly and results in a polished, professional-looking fish.


