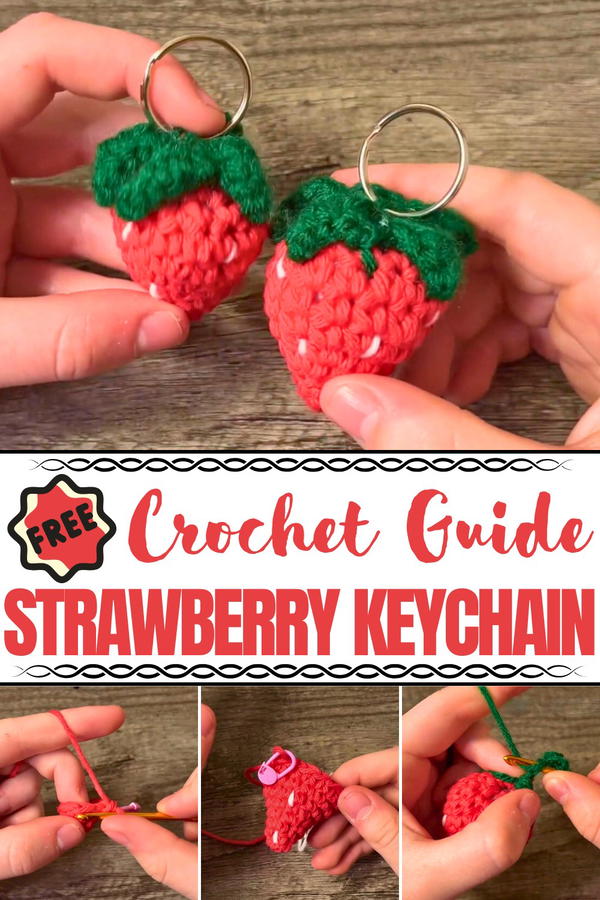
Carry sweetness everywhere with this Crochet Strawberry Keychain pattern, a cute and fun design to create fruity charm for gifts or daily use.
Bright red strawberries have always been admired for their cheerful look and sweet charm, often seen as a symbol of joy and freshness. The Crochet Strawberry Keychain pattern captures that playful spirit in a lasting form, turning yarn into a delightful accessory that can be carried anywhere. With its plump red body, tiny seed-like details, and leafy green top, it reflects the beauty of nature while adding personality to daily essentials.
Colorful Crochet Strawberry Keychain for Everyday Use
Lightweight and durable, it keeps keys organized while serving as a charming accent on bags, purses, or backpacks. More than just practical, its detailed form makes it stand out from ordinary accessories, often sparking smiles and compliments. This little treasure is also perfect as a heartfelt gift, offering something unique and meaningful for friends, family, or loved ones.
Unlike fragile trinkets, it holds its shape, remains vibrant, and requires no upkeep, making it reliable for everyday use. Its compact size carries both style and sentiment, reminding one of the sweetness of simple joys. The Crochet Strawberry Keychain pattern is more than an accessory—it is a touch of whimsy, beauty, and function combined into one charming piece.
Materials Needed
- Yarn Colors:
- Red: For the main body of the strawberry.
- White: To create the strawberry seeds.
- Green: For the leaves on top.
- Crochet Hook: 3.5 mm crochet hook.
- Stuffing: Only a small amount is needed to give the strawberry its shape.
- Stitch Marker: To track your rounds accurately.
- Crochet Needle: For stitching details (e.g., seeds and assembling parts).
- Scissors: For cutting yarn when necessary.
- Key Ring (optional): If you want to turn the strawberry into a keychain.
Special Features of the Crochet Strawberry Keychain
- Realistic Design: Includes textured green leaves, small seeded detailing, and a vibrant red body.
- Customizable: Make changes to the leaf design or pick different yarn colors to reflect other fruit (like yellow for a mango).
- Compact and Practical: Its small size makes it a perfect keychain accessory or decorative piece.
- Beginner-Friendly: The tutorial keeps instructions detailed and easy to follow for new crocheters.
Level of Difficulty
This tutorial is designed to be easy and approachable, making it suitable for beginners while leaving room for creativity. The project primarily focuses on foundational stitches like single crochet, slip stitch, half-double crochet, and double crochet. The creative freedom with the leaves and seeds also leaves room for experimentation and fun.
Step-by-Step Instructions
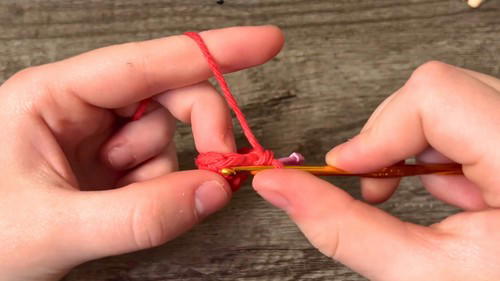
1. Making the Base of the Strawberry
Start with the Magic Ring
- Use the red yarn to make a magic ring.
- Crochet 4 single crochets into the ring, then pull the tail to tighten the loop.
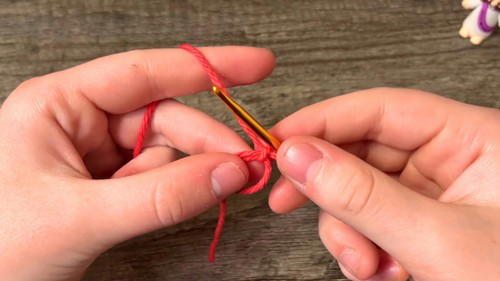
- Attach a stitch marker to the loop on your hook.
Building the Strawberry’s Shape
- Round 2: Increase in the first stitch, single crochet in the next, and repeat the pattern (total: 6 stitches).
- Round 3: Increase in the first stitch, then single crochet in the next 2 stitches. Repeat (total: 8 stitches).
- Continue to increase following the pattern:
- Round 4: Increase, 3 single crochets.
- Round 5: Increase, 4 single crochets.
- Round 6: Increase, 5 single crochets.
- Round 7: Increase, 6 single crochets.
Single Crochet Around
- Once you’ve finished increasing through Round 7, crochet one single crochet in each stitch all the way around to create height for your strawberry.
- Once you’ve finished increasing through Round 7, crochet one single crochet in each stitch all the way around to create height for your strawberry.
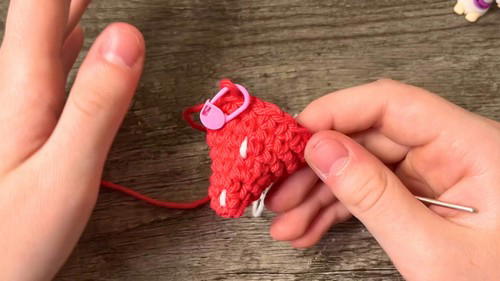
2. Adding the Decorative Seeds
Preparing White Yarn and Needle
- Cut a small strand of white yarn and thread it through the crochet needle.
Adding the Seeds
- Insert the needle through the crochet loops and skip stitches as you sew small, evenly spaced “seeds” onto the strawberry.
- Add around 10–12 seeds or as many as you prefer, tying a knot on both ends of the white yarn after securing the seeds. Push the knot inward to hide it within the strawberry.
3. Shaping the Strawberry
- Decreasing and Stuffing
- Begin decreasing the loops in this pattern:
- Decrease, 2 single crochets (repeat).
- Stuff the strawberry with fiberfill as you close the top.
- For the final round, perform decreases all the way around until the hole is completely sealed.
- Fasten off by sewing the top closed with a secure knot, and weave in the ends with a needle.
- Begin decreasing the loops in this pattern:
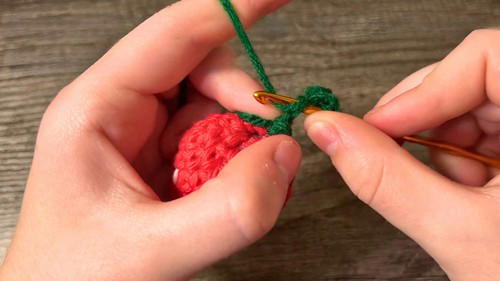
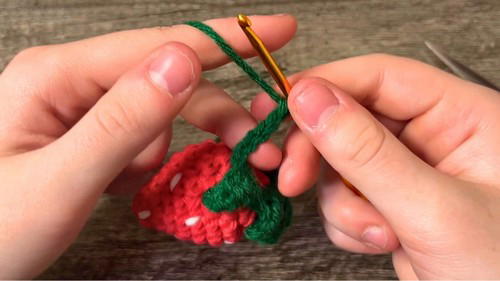
4. Crocheting the Leaves (Green Yarn)
Making Leaves
- Attach the green yarn to the top of the strawberry with a slip knot.
- Chain stitches to create leaves of varying lengths (5–6 chains per leaf).
- For each chain:
- Second chain: Slip stitch.
- Next chain: Single crochet.
- Next chain: Half-double crochet.
- Final chain: Double crochet.
- Flip the leaf and secure it onto the top of the strawberry with a slip stitch before creating the next leaf.
Adding More Leaves
- Create 4–5 green leaves and attach them evenly around the top of the strawberry.
Final Assembly for Leaves
- Use the long green yarn tail to secure the leaves together in the center by sewing them into place. Tie a knot underneath the largest leaf to secure the yarn.
- Use the long green yarn tail to secure the leaves together in the center by sewing them into place. Tie a knot underneath the largest leaf to secure the yarn.
5. Attaching the Key Ring (Optional)
- Thread the key ring onto the strawberry through one of the green leaves by stitching it into place with your needle.
- Reinforce the key ring attachment by going through the same loop twice, creating a strong and durable connection.
- Tie a secure knot near the loop, weave your stitch tail through the strawberry to hide it, and trim the excess yarn.
Tutor’s Suggestions
- Take Your Time: Pay careful attention during the decreasing rounds to maintain the strawberry’s shape.
- Get Creative with Leaves: Experiment with different lengths and shapes to give the strawberry a unique look.
- Make It Secure: Reinforce your knots and key ring attachment for durability, especially if it will be used as a keychain.
Uses of the Crochet Strawberry
- Keychain Accessory: Add it to your keys, backpack, or handbag for a touch of cuteness.
- Decorative Décor: Use as a charming decoration on shelves or gift packages.
- Gifting: A sweet handmade token perfect for friends and family.
Pro Tip
When sewing the white seeds, don’t pull the thread too tightly – this ensures the strawberry retains its plump shape without creating uneven areas.
Conclusion
This crochet strawberry keychain pattern offers a delightful and rewarding project suitable for crocheters of all skill levels. With simple stitches, minimal materials, and room for customization, you can easily create an adorable keychain or mini décor piece.


