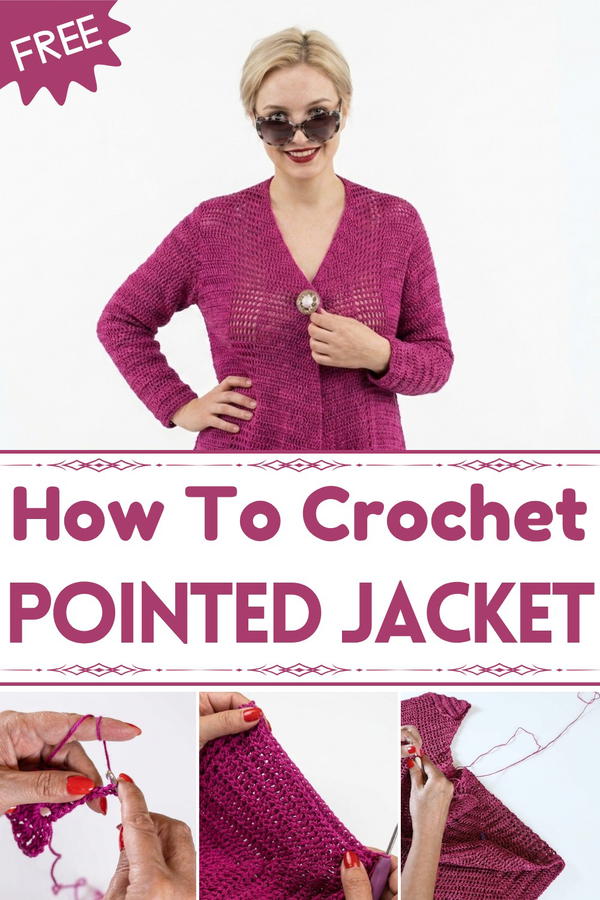
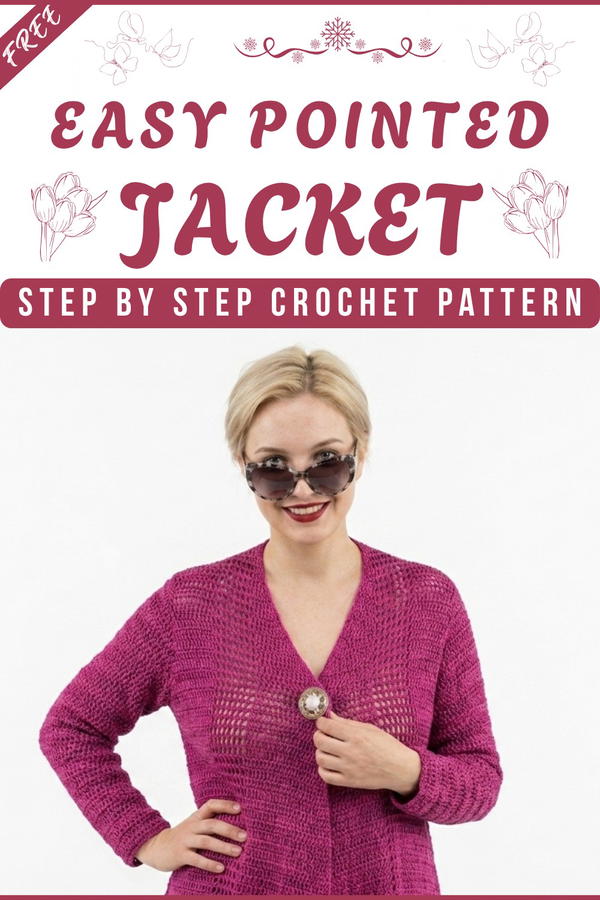
Put your skills into action with this free crochet project for a lovely pointed jacket, ideal for adding charm and a touch of elegance to your outfits.
On some days a woman wants a garment that feels light, hides extra weight, and still looks very feminine. A free crochet pointed jacket pattern helps with exactly that. This jacket has a soft, swinging A-line that falls loosely over the body, so the waist, belly, and hips look slimmer without feeling tight. The pointed shape at the bottom gives the jacket a flowing look, making it move beautifully when walking or turning.
Free Crochet Pointed Cardigan Pattern for a Light Wear
Worked mainly in double crochet with simple boxes and increases, it grows from a small ring at the neck into a wide yoke, then down into a long, flattering shape. The sleeves are added directly to the jacket and can be narrowed softly toward the wrist, giving a neat, elegant arm.
This jacket is useful for everyday wear over T‑shirts, dresses, or tops, and it also works well as a light layer in cooler weather. Single crochet edging around the front and bottom makes the front line smooth and tidy. Even with simple stitches, the final look is stylish, graceful, and suitable for many sizes, from smaller to fuller figures.

Swinging Pointed Crochet Cardigan Pattern
Materials Needed
Yarn:
- Type: For best results, choose a soft, medium-weight yarn (Category #3 or DK-weight).
- Amount: Approximately 600–1000 grams, depending on your size (sizes covered: 36–50). Check your yarn consumption and purchase extra to ensure consistency.
Hook Size:
- 4 mm crochet hook (adjust hook size according to the yarn weight or your tension).
Notions:
- Scissors.
- Yarn needle (for weaving in ends).
- Stitch markers (optional, especially for marking sleeve sections and middle stitches).
Gauge:
- 12 double crochets and 7 rows in a 4-inch square (10 cm x 10 cm).
Skill Level
Intermediate: Includes shaping, working in rows and rounds, creating squares (open stitching), and customizing garment fit.
Finished Size
Adaptable to sizes 36–50. Adjust yoke height and sleeve width as per guidelines provided in the pattern for your specific size.
Key Abbreviations
- ch: Chain
- sc: Single Crochet
- dc: Double Crochet
- sl st: Slip Stitch
- yo: Yarn Over
Special Notes:
- US crochet terminology is used in this pattern.
- Always use stitch markers to identify critical areas like sleeve joins, middle stitches for increases, and fitting sections.
- Turning rows are essential for creating even fabric flow.
Pattern Instructions
Foundation and Yoke
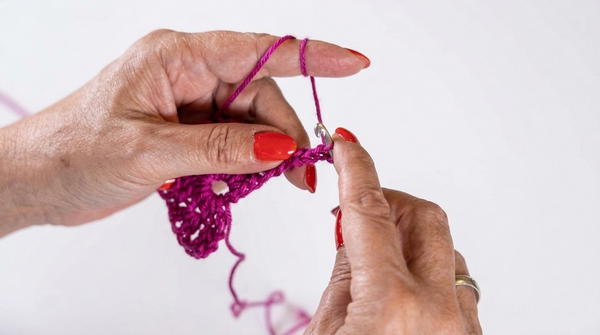
Foundation Ring
- Ch 5, sl st into the first chain to form a ring.
- Begin with a “spare” double crochet:
- Ch 1, make 1 sc into the ring, ch 1, and pull up from the left loop of the sc to create what acts as your first double crochet.
- Dc 12 times into the ring (this includes the spare double crochet for 13 total stitches).
Row 1
- Do not close the ring completely.
- Turn your work. Start with the spare double crochet in the first stitch, followed by another dc in the same stitch. This forms 2 dc in the first stitch.
- Ch 1, skip 1 stitch, and work 3 dc into the next stitch.
- Repeat the following across the row:
- Ch 1, skip 1 stitch, 3 dc into the next stitch.
- At the end of the row, ch 1, skip 1 stitch, and dc 2 times into the last stitch.
Result:
- First and last stitches have 2 dc each.
- There are 5 groups of 3 dc separated by ch-1 spaces in this row.
Row 2
- Turn your work and begin with the spare double crochet. Work another dc in the same stitch (2 dc in the first stitch).
- On the first dc from the previous row, work 1 dc, then 3 dc into the middle dc, and end with 1 dc on the third dc. (Group of 5 dc formed)
- Repeat this for each 3-dc group across the row.
- Between each group of 5 dc, work ch 1 and skip 1 stitch.
- At the beginning and end of the row, form groups of 3 dc using the above method.
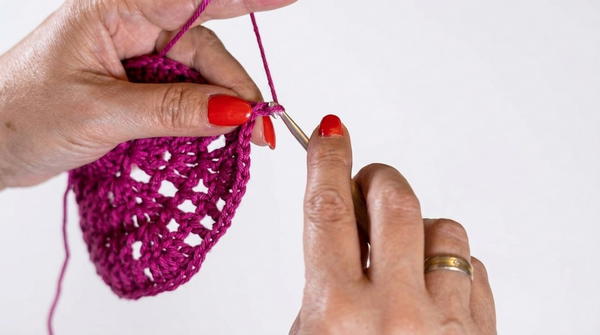
Establishing Square Increases
Turn your work. Every pattern row should begin with the spare double crochet followed by an increase (another dc in the same stitch).
Work chain spaces (squares) between groups of double crochets by skipping 1 stitch and making:
- Ch 1, dc into the next stitch.
Increases: Always place 3 dc in the middle of grouped stitches from the previous row.
Each pattern repeat involves alternating rows of increased “open squares” followed by grouped double crochets.
- Squares increase by 2 per row following the pattern.
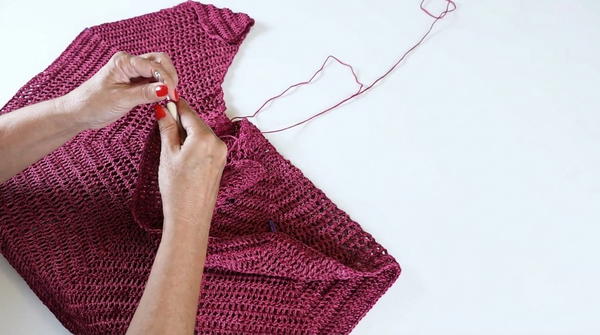
Separating the Sleeves
Once the yoke has reached the required width:
Step 1: Mark the Sleeves
- Place markers at the center of each double crochet group from the increases to define the sleeve sections.
Step 2: Sleeve Separation
- Crochet to the first stitch marker.
- Make a yarn over and join the first sleeve:
- Dc into the marker from the front piece, skip the sleeve section, and dc into the marker from the back piece.
- Repeat the same for the second sleeve, joining it seamlessly with the back.
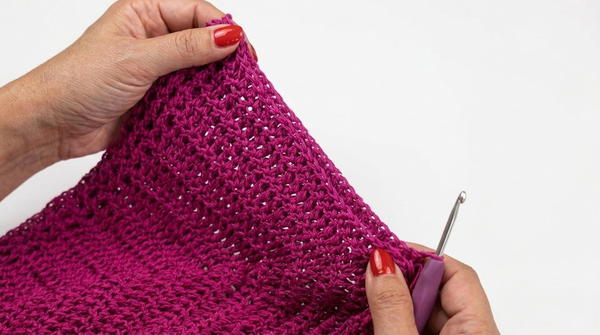
Continue the Body
- Work in established pattern rows but eliminate sleeve sections.
- Keep following the increase structure at the beginning, center back, and end of rows until the cardigan reaches the desired length.
- Guideline for Length: Measure from the center back. For size 40–42, aim for approximately 80 cm (31.5 inches).
Edging
Once the cardigan body is complete:
Step 1: Front and Bottom Edges
Starting on the right front edge, work sc evenly along the edges.
- Place 2 sc along each row edge and 1 sc in the gaps of chain spaces.
At corners (center front/bottom intersections), work 3 sc into the same stitch to create a smooth turn.
Step 2: Sleeves
Attach yarn at the underarm.
- Determine if the last row of the sleeve is on the right side or wrong side:
- If the last row is on the wrong side, start from the inside of the sleeve.
- Determine if the last row of the sleeve is on the right side or wrong side:
Crochet rounds of dc, decreasing stitches at each square segment (before and after).
- Perform a decrease every 3rd or 4th row for tapering. Stop decreases when the desired fit is reached.
Finish with a round of sc on the right side.
Finishing Touches
- Weave in all loose ends with a yarn needle for a polished look.
- Block your cardigan gently to even out stitches and create professional shaping.
Tips for Success
- Use Stitch Markers: Mark key areas (like sleeve joins and middle double crochets) to track increases and ensure symmetry.
- Test Fit Frequently: Try the yoke after a few rows to confirm it fits comfortably.
- Customize Length: Add or remove rows to achieve your preferred length.
Conclusion
Congratulations on completing your Swinging Pointed Crochet Cardigan! This feminine and figure-flattering design is a timeless addition to your wardrobe. The flowing A-line combined with meticulous shaping makes it a versatile project suitable for many occasions.