Adopt a tiny friend with this Crochet Mini Cat Pattern full of cute details playful charm and a delightful design perfect for gifts or cozy decor.
Trendy Crochet Mini Cat Pattern for Amigurumi Lovers
Small, soft, and full of charm, this tiny crochet cat makes a perfect little friend for anyone. With its round eyes and delicate whiskers, it looks so gentle and sweet, just like a real kitten. The smooth yarn gives it a cuddly touch, making it a lovely companion to hold or keep on your desk. This mini cat is not only beautiful but also very handy—it can brighten up your room, sit quietly on a shelf, or even become a special gift for someone you care about.
Its simple and cute shape brings joy with just one look. Whether you’re a cat lover or just like pretty things, this little crochet cat will bring happiness and warmth. Its soft texture and adorable face make it a favorite for kids and grown-ups alike, making every day a bit more cheerful and cozy.
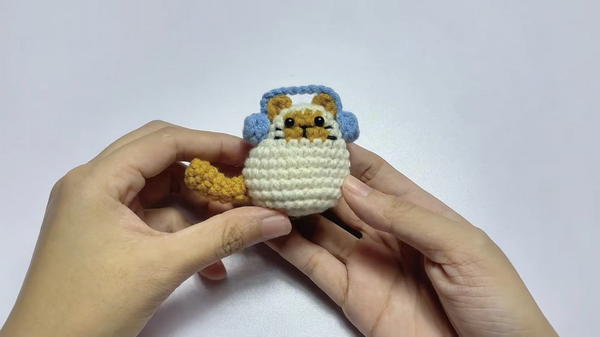
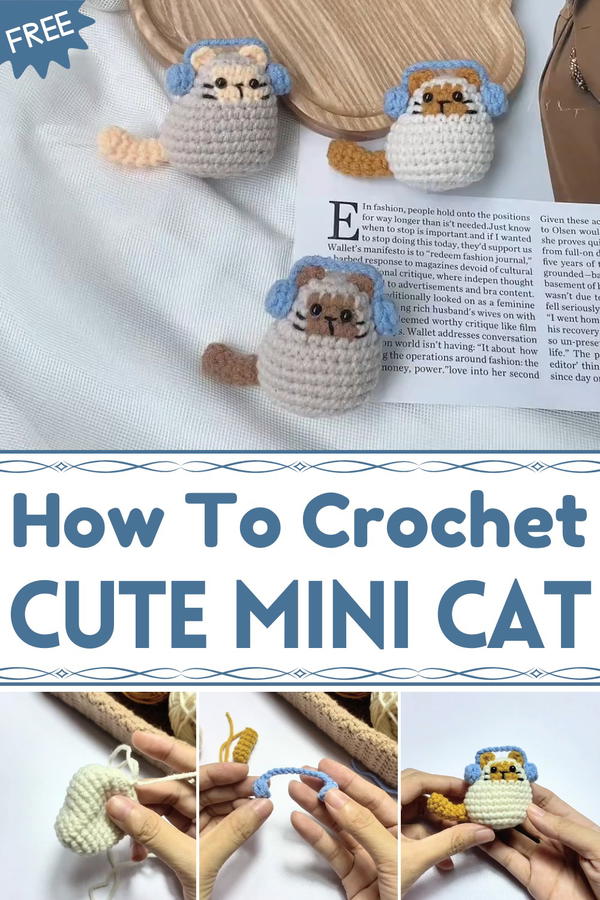
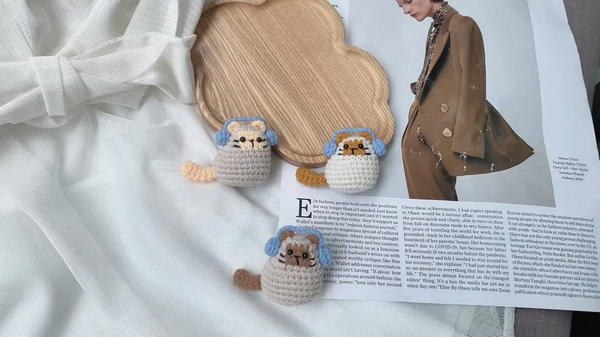
Crochet Mini Cat Wearing Headphones Amigurumi Pattern
Special Features
- Realistic shaping using increases (V stitches) and decreases (X stitches).
- Colorwork switching between white, brown, and other yarns for playful accents.
- Adorned with headphones for a trendy and fun touch.
- Small, portable size suitable for decoration or gift.
- Includes assembly instructions for ears, tail, and headphone parts.
Materials
- Cotton yarn in three colors: white (main body), brown (accents), and optional third color.
- Crochet hook 2.5 mm.
- Safety eyes, size 5 mm.
- Stuffing fiberfill.
- Tapestry needle.
- Scissors.
Abbreviations
- ch = chain
- sc = single crochet
- sl st = slip stitch
- inc (V stitch) = increase – 2 sc in one stitch
- dec (X stitch) = decrease – single crochet 2 stitches together
- magic ring = adjustable ring for starting in the round
Difficulty Level
Intermediate – Familiarity with amigurumi basics, color changes, and assembly required.
Step-by-Step Pattern
Part 1: Cat Body
Magic Ring with White Yarn:
Create a magic ring. Crochet 8 sc stitches into ring. Pull ring tight.Round 2:
Crochet 1 sc into each stitch around (8 sts).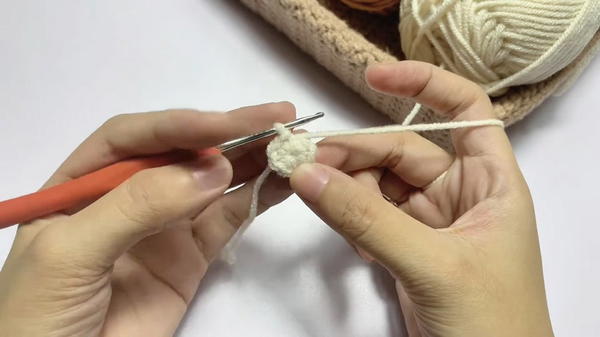
Round 3:
Work 1 inc (2 sc in one stitch), 1 sc around, total 12 sts.Round 4:
2 sc, 1 inc, repeat around, total 16 sts.Round 5:
Crochet 1 sc in each stitch (16 sts).Rounds 6-12:
Continue following the video’s increase and shaping instructions, alternating V and X stitches (inc/dec) to form a rounded body.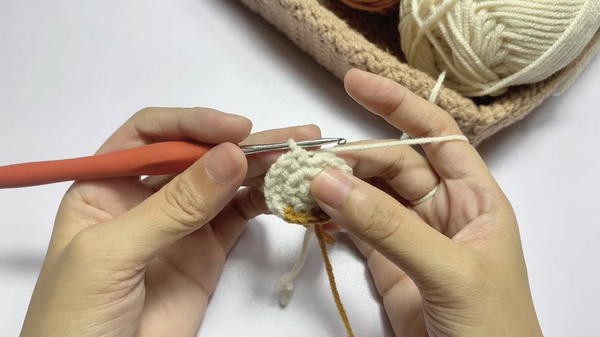
Color Change to Brown Yarn:
Switch yarn colors to brown as per pattern, working with two strands together to create accents.Further Shaping:
Continue rounds as shown for the neck and shoulders, maintaining shaping formula.Final Rounds (13-14):
Reduce stitch count to close the body. Stuff firmly during last rounds.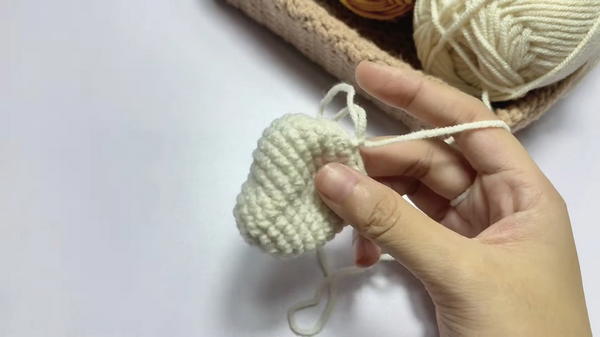
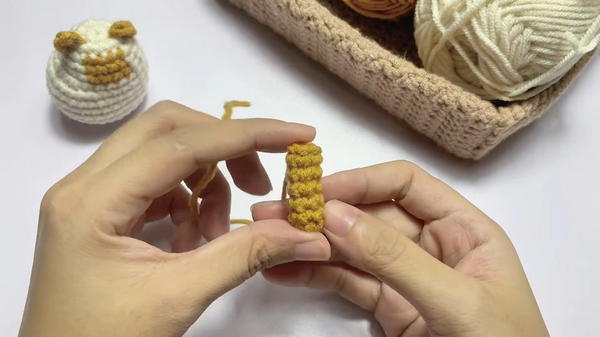
Part 2: Ears (Make 2)
Using brown yarn, start with a magic circle; chain 2 to begin.
Crochet 2 sc in first stitch, then 1 sc in next stitches to create a small triangle.
Work 3 rounds total, following increases and decreases to shape pointy ears.
Fasten off, leaving long tails for sewing.
Part 3: Tail
Using brown yarn, create a magic circle with 6 sc.
Work 5 rounds of 6 sc each, forming a small tubular tail.
Fasten off and stuff lightly.
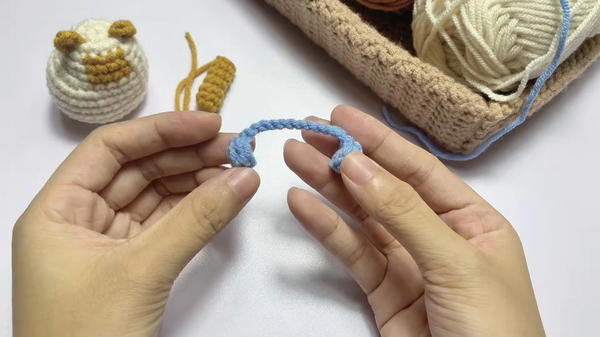
Part 4: Headphones
Using blue or desired color yarn, make a magic ring and 6 sc.
Work 2 rounds of 6 sc each into back loops only to create headphone cushions.
Make two identical cushions.
Create connecting band with chains and sc for the headphone top.
Fasten off and prepare to assemble.
Assembly
Sew ears to top side of cat’s head.
Attach tail at the back bottom of the body, bending upwards slightly.
Insert safety eyes securely on the face.
Using black yarn, embroider nose and mouth on the face.
Attach headphone cushions on both sides of the head and connect with the headband.
Weave in all yarn ends neatly.
Tutor’s Suggestions
- Always keep your stitches tight for a firm, neat amigurumi.
- Use stitch markers to track your rounds precisely.
- When changing yarn colors, crochet with two strands for smooth transitions.
- Stuff parts gently but firmly for proper shape retention.
- Adjust ear and tail placement and shape to suit your preference.
Uses
- Cute collectible or toy accessory.
- Gift for cat lovers and amigurumi enthusiasts.
- Decorative piece for desks, shelves, or bags.
Tip
Before attaching eyes or headphones, try placing pieces with pins to get the best positioning and symmetry. This avoids uneven or crooked assembly and enhances the finished look.
Conclusion
With careful shaping and color changes, this mini cat wearing headphones is an irresistibly cute amigurumi project combining fun details and classic crochet techniques. Enjoy bringing this little character to life, perfect for gifts or your own collection.