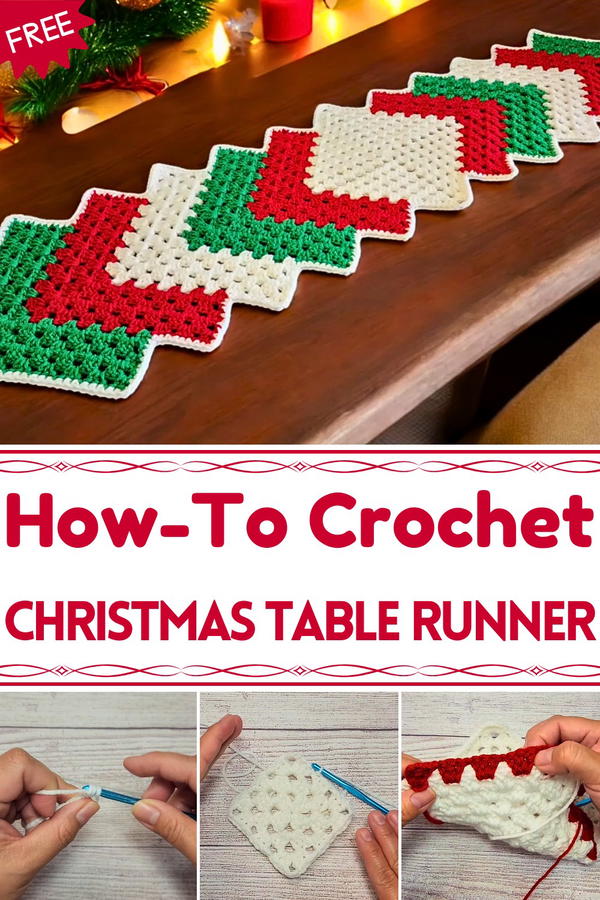
Deck your dining space with festive charm using this Free Crochet Christmas Table Runner Pattern, adding handmade elegance and holiday warmth.
Under the glow of holiday lights, a dining table transforms into the center of warmth and celebration, inviting family and friends to gather. A handmade table runner can enhance this festive atmosphere, adding charm, texture, and color to the setting. The Free Crochet Christmas Table Runner Pattern offers a creative way to bring elegance and functionality to holiday décor, perfect for showcasing dishes, centerpieces, or seasonal decorations.
Free Crochet Christmas Table Runner to Add Cozy Feeling
Durable and easy to store, it can be used season after season, providing a lasting handmade accent that adds warmth and festive cheer to holiday gatherings. With minimal materials and careful stitching, this crochet table runner becomes both a functional piece and a beautiful seasonal heirloom.
The runner begins with a foundation chain of the desired width, forming the base for the main body. Rows are worked using a combination of double crochet stitches and chain spaces, creating a delicate openwork texture.
Repeating motifs ensure a consistent, balanced pattern, while careful attention to the edges produces a neat, polished finish. Once the main portion reaches the intended length, a simple border frames the piece, enhancing its structure and visual appeal.
This project is approachable for crocheters with varying levels of experience. The lightweight, flexible fabric lays smoothly across tables, protecting surfaces while allowing glimpses of the table beneath to create a layered effect.
Its lace-like construction adds sophistication without overwhelming other décor elements, and the runner can be customized in color or length to suit any table size or style.

🎄 Crochet Christmas Table Runner (Camino de Mesa Navideño) Tutorial
Introduction
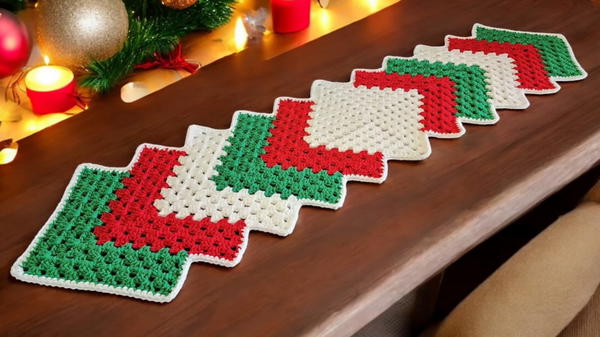
This tutorial guides you through creating a beautiful and modular Christmas Table Runner using the classic granny square technique. The project begins with a large central square and is then extended outward in alternating color blocks to form a long, rectangular shape. This piece is a festive and customizable addition to your holiday decor.
Materials and Stitches
The materials and stitches required are suitable for an intermediate crocheter familiar with basic pattern repeats:
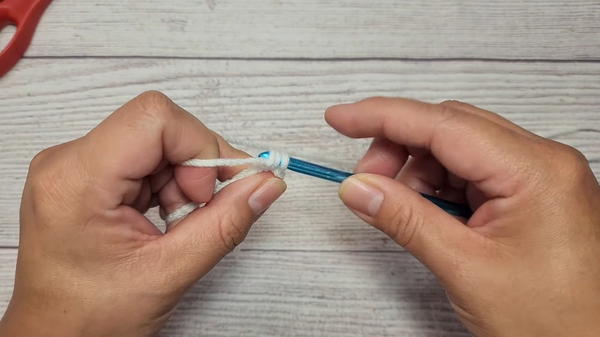
Hook Size: 5 mm.
Yarn: Medium-weight yarn in three Christmas colors: Green, White, and Red.
Notions: Scissors, Yarn Needle, and Stitch Markers (recommended for marking start/stop points for rectangular sections).
Stitches Used:
Chain (Ch)
Slip Stitch (Ss)
Double Crochet (Dc)
Magic Ring (MR)
Granny Cluster: A set of 3 Double Crochet stitches worked into a single chain space.
Special Features, Difficulty, and Uses
Level of Difficulty: Intermediate. While the basic stitch (Double Crochet) is simple, the project requires counting for the increases in the initial square and attention to detail when switching to the rectangular shape and changing colors frequently.
Special Features:
Modular Design: The runner is created by building out from a central square, allowing for flexible sizing.
Classic Stitch: Utilizes the timeless, lacy texture of the traditional granny square.
Two-Part Construction: The pattern seamlessly transitions from crocheting in the round (square) to crocheting in rows (rectangle).
Suggested Uses: An elegant and handmade centerpiece for Christmas and holiday tables. The length can be customized to fit any dining table or console.
Tutor's Suggestions
The tutor provides essential guidance on customization and repetition:
Color Choice: You can choose any color combination, such as beginning with red or mixing colors every round, but the demonstrator chooses to work in solid color blocks of 5 rows/rounds at a time.
Length Customization: The runner can be made as long as desired by simply continuing to crochet more 5-row blocks with the alternating colors on both ends.
Sizing: The central starting square should be crocheted until it reaches 8 rounds before beginning the rectangular extension.
Step-by-Step Instructions
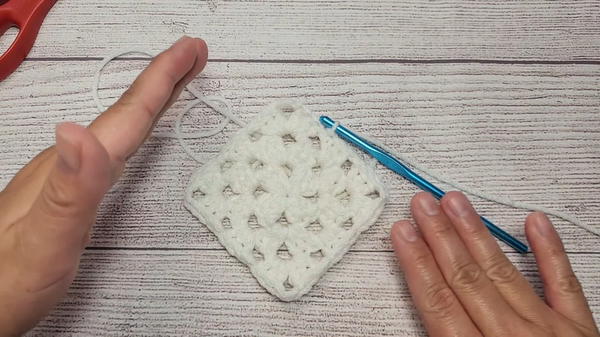
1. Part 1: Initial Square (Central Green Section)
Round 1: Start with a Magic Ring (MR). Ch 3 (counts as 1st Dc). Work 2 Dc into the ring (first cluster). [Ch 3 (corner), 3 Dc] three times. Ch 3. Close the ring by joining with a Ss into the 3rd starting Ch. (This creates 4 clusters of 3 Dc and 4 Ch-3 corners).
Round 2: Slip Stitch to the nearest Ch-3 corner space. Ch 3. In the corner space, work 2 Dc, Ch 3, and 3 Dc (first corner complete). Ch 1 (separation). Repeat the corner sequence: [3 Dc, Ch 3, 3 Dc] in the next Ch-3 space. Ch 1. Continue around. Join with Ss.
Round 3 and Beyond: Slip Stitch to the corner. Work the Corner sequence [3 Dc, Ch 3, 3 Dc] in the corner space. Ch 1. Work a Granny Cluster (3 Dc) in every Ch-1 space along the side. Ch 1. Work the next Corner sequence. Continue this pattern. With each round, you will add one more Granny Cluster on each side.
Finish Square: Continue this pattern until the square reaches 8 rounds in total. Fasten off the green yarn.
2. Part 2: Rectangular Extension (Color Blocks)
The extension is worked in rows, not rounds, only on two opposing sides of the square. Each color block is 5 rows long.
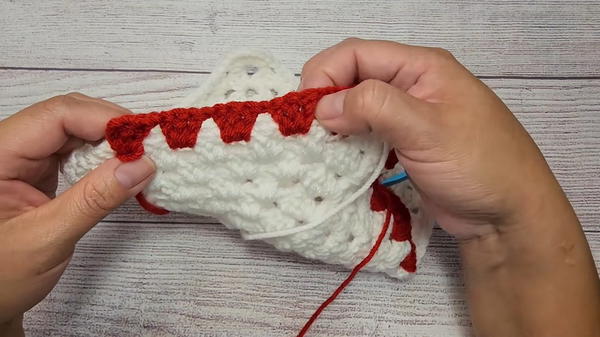
Setup and Marking (Red Yarn): Count three Granny Clusters in from the center of the side where you want to start the extension. Attach the Red yarn in the Ch-1 space after the third cluster.
Row 1 (Starting the Block): Ch 3 (counts as 1st Dc). Work 2 Dc in the same Ch-1 space. [Ch 1, 3 Dc in next Ch-1 space] across the side until you reach the corner. In the corner, work the Corner sequence [3 Dc, Ch 3, 3 Dc]. Continue [Ch 1, 3 Dc] along the next side until you reach the Ch-1 space after the next corner. Ch 4. Turn.
Row 2 (Turning Row): Skip the first space. [3 Dc in the next Ch-1 space, Ch 1] across the side until the corner. In the corner, work the Corner sequence [3 Dc, Ch 3, 3 Dc]. [Ch 1, 3 Dc in the next Ch-1 space] across the row. End with a Ch 1, then work 1 Dc into the 3rd chain of the turning Ch-4 from the previous row. Ch 3. Turn.
Row 3: Work 2 Dc in the first space (3 Dc total). [Ch 1, 3 Dc] across. Corner Cluster. [Ch 1, 3 Dc] across. End with a Ch 1, then work 1 Dc in the top of the turning chain. Ch 4. Turn.
Rows 4 and 5: Repeat the instructions for Row 2 and Row 3, respectively.
Color Change: After Row 5, fasten off the Red yarn. Repeat the 5-row process with the White yarn, then the Red yarn, and continue alternating until the desired length is achieved.
Second Side: Once the length is right for one side, attach the yarn to the opposite side of the central square (at the same marked points) and repeat the color block process.
3. Part 3: Edging (White Yarn)
Border: Join the white yarn anywhere on the edge. Ch 1. Work Single Crochet (Sc) evenly around the entire perimeter of the table runner.
Corners: In the four original Ch-3 corner spaces (which are now along the longer sides), work 3 Sc into the space to maintain a flat edge.
Finish: Work Sc along all sides, joining with a Ss to the starting Sc. Fasten off and weave in all ends.
Conclusion
The finished table runner is a beautiful representation of holiday crafting, using simple repetitions of the granny square technique to create a large, colorful, and elegant piece of home decor. The customizable length ensures it will fit your space perfectly.
Tip
Due to the size of the project and the nature of granny clusters, the runner can curl or warp slightly. To ensure your table runner lies perfectly flat, give it a final steam block. Pin the finished runner to a blocking mat (or flat surface) and gently apply steam from an iron without touching the yarn. Allow it to cool completely before unpinning.


