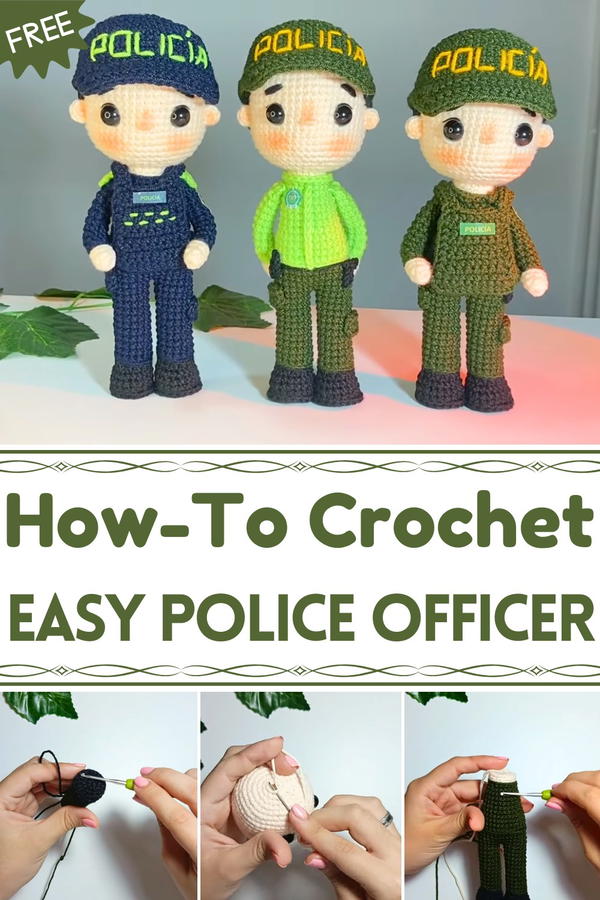
Serve playful charm with this Free Crochet Police Officer Pattern, bringing character, detail, and a touch of law-enforcement fun to any collection.
Its detailed features, from the uniform to accessories, create a visually engaging and realistic miniature representation, perfect for both play and display. The figure’s durable yet lightweight construction makes it suitable for handling by children, while also serving as a collectible for enthusiasts or a thoughtful handmade gift. Beyond its aesthetic appeal, this project encourages careful attention to detail, fine motor skills, and patience for crocheters, making the process as rewarding as the finished product.
With opportunities to personalize colors, badges, or subtle features, each police officer doll can carry a unique personality and style. It can be used in storytelling, role-playing games, or as a decorative accent on shelves and desks, adding charm to any space. This handmade police officer combines creativity, functionality, and playful education, resulting in a figure that delights, teaches, and inspires simultaneously.
Materials Needed
- Yarn: Variety of colors, including:
- Skin-color yarn (e.g., Colombian brand “Copito”)
- Black (for hair and pants)
- Military green, burnt yellow, or bug-green (uniforms)
- Dark blue or navy (for blue uniform)
- White yarn (for highlighting the eyes)
- Hooks: 2 mm and 2.5 mm hooks, depending on the thread thickness
- Threads: Macramé thread and/or snowflake thread (both 2 mm)
- Tools:
- Stitch markers
- Scissors
- Darning/yarn needle
- Safety eyes (11 mm)
- Pipe cleaners (for arm movement)
- Cold silicone for attaching accessories
- A lighter (optional, for securing the safety eyes)
- Stuffing: Polyester fiberfill
Special Features
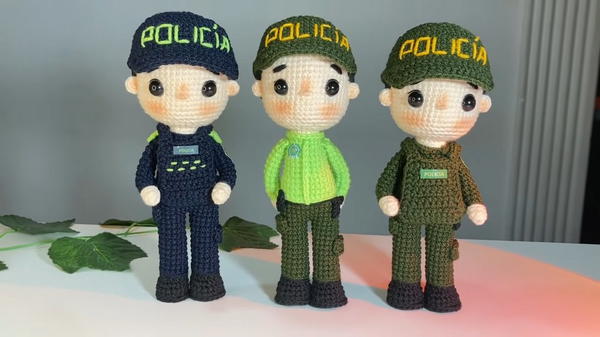
- Customizable Design: Three distinct police uniform styles—military green, green with a jacket, and dark blue.
- Detailed Accessories: Includes weapons, embroidered logos, belts, and hats for added realism.
- Movable Arms: Pipe cleaners provide flexibility for posing.
- Textured Details: Back-loop crochet stitching creates textured collars and shoes.
- Personalization Options: Adjust colors, facial features, logos, and blush for added uniqueness.
Level of Difficulty
- Intermediate Level:
Requires knowledge of basic amigurumi techniques such as making a magic ring, single crochet, increases, decreases, and color changes. Additional embroidery, shaping, and assembling parts add a layer of complexity.
Tutor’s Suggestions
- Color Changes: Always perform a slip stitch row when changing yarn colors for a seamless transition.
- Customization: Adjust the hook size to achieve different finishes based on the thread type.
- Precision: Use stitch markers to track rounds accurately, especially when creating individual parts.
- Symmetry: Pin parts (e.g., head, arms) in place before sewing to ensure even alignment.
- Embellishments: You can print badges for the uniforms or embroider the word Police directly for a handmade touch.
Step-by-Step Process
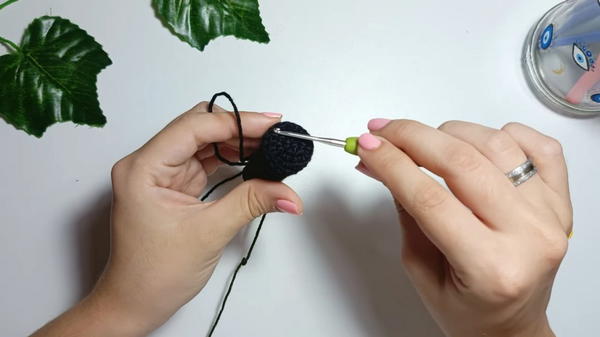
1. Legs
- Start with black yarn and create a magic ring with 6 single crochets (sc).
- Work increases for even shaping:
- Round 2: 6 increases (12 sc).
- Round 3: Alternate 1 sc + 1 increase (18 sc).
- Continue shaping the legs with stitch-over-stitch rounds (adjusted for color changes and decreases for shaping):
- Round 7: 5 sc, 4 decreases, 5 sc.
- Change to green (or blue for the blue uniform) at the end.
- Round 7: 5 sc, 4 decreases, 5 sc.
- Create two legs and join them with chain stitches for the body base.
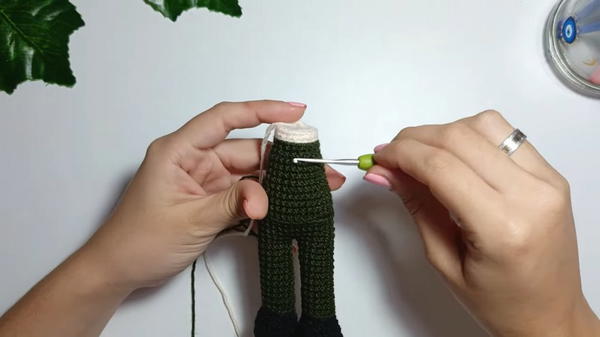
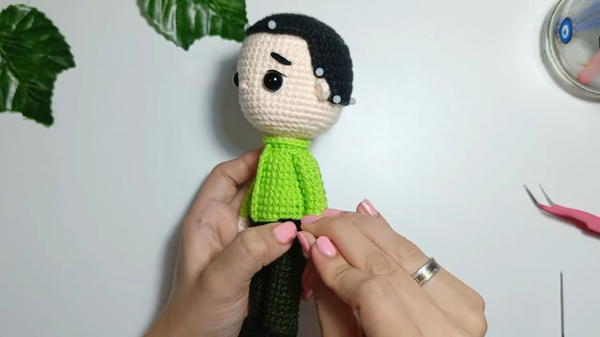
2. Body
- Build up the uniform:
- Work multiple rounds of stitch-over-stitch in uniform colors (green/blue).
- Add shaping details with strategic decreases after every few rows.
- Transition to skin-color yarn to crochet the neck.
- Add details like the collar: Use back-loop threads from the body’s last row for a realistic effect.
3. Arms
- Start with skin-color yarn and make a magic ring with 7 sc.
- Continue with stitch-over-stitch rounds, transitioning to uniform colors after several rows.
- Insert pipe cleaners inside the arms for structure and movement.
- Sew arms to the body after assembly.
4. Head
- Start with skin-color yarn and create a magic ring with 6 sc.
- Increase evenly until you have 48 sc.
- Work multiple rounds at 48 sc (maintaining shape) and add stuffing progressively.
- Insert safety eyes between rows 15–16 with 10 stitches between them.
- Add realistic touches using embroidery:
- White thread for eye highlights.
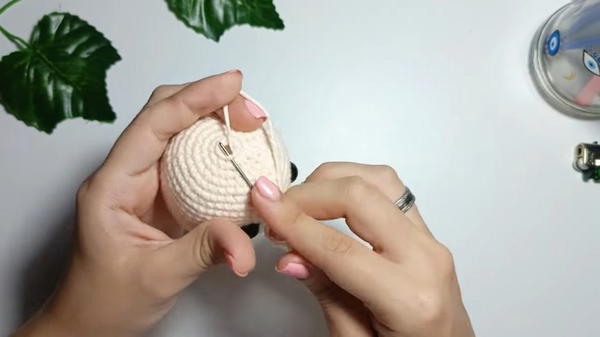
- Black thread for eyeliner, eyebrows, and a nose.
- White thread for eye highlights.
5. Hair
- Crochet an oval-shaped piece for the hair base and shape it with decreases and rows of stitch-over-stitch.
- Align and attach hair to the head with cold silicone. Use pins to position for accuracy.
6. Uniform Details
- Vest: Crochet a piece shaped with chains and slip stitches. Add straps and stitch it to the body.
- Pockets: Crochet small squares and attach them to the pants.
- Collar: Work single crochets around the neck’s back-loop stitches.
7. Hat
- Create a base using the same increase method as the head but add an extra round.
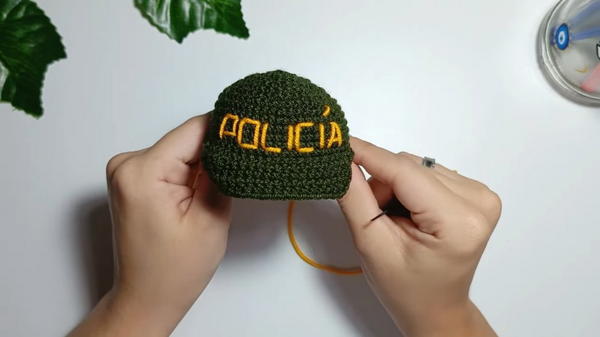
- Build the brim by working slip stitches along the front loops. Create decreases for shaping the front.
8. Accessories
- Weapon: Chain 4, return with slip stitches, and create three smaller chain pieces for an L-shape.
- Straps and Logos: Embroider or print logos for a professional finish.
Uses
This project makes an excellent gift for kids, amigurumi collectors, or anyone who works in law enforcement. It can also be used as decor, an office charm, or a creative display piece.
Tip
For a cleaner finish, use invisible stitches when sewing different parts together. This ensures seamless transitions and makes the joints look professionally made.
Conclusion
The police officer amigurumi tutorial is an engaging and rewarding project that brings creativity to life. With its customizable uniforms, movable arms, and detailed accessories, this pattern allows you to develop your crochet skills while creating a piece that radiates personality and charm.


