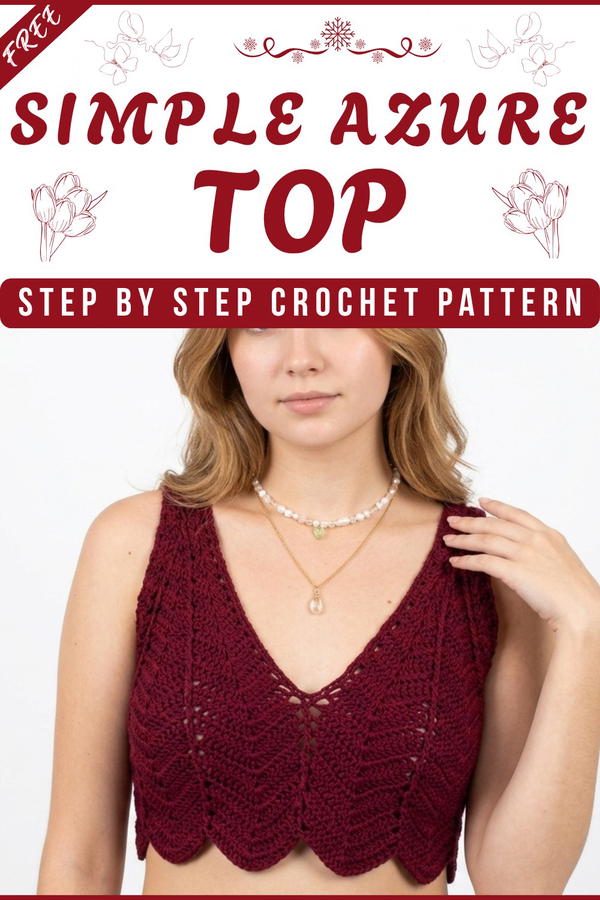
Stitch a breezy Free Crochet Azure Top Pattern for effortless summer style, light comfort, and a handmade touch that suits casual outings daily wear.
A light summer top can look simple at first, but careful stitch work and a calm rhythm of loops can turn it into a stylish piece that feels easy to wear and eye-catching. A Free Crochet Azure Top pattern starts with shaping the main body using basic chains and repeated stitches, building two front panels or cups that gently follow the body line. These parts are then joined neatly to form a fitted shape, while straps or edges are added to keep it secure and comfortable. The process stays simple because the same stitch steps are repeated, making it easy to follow from start to finish.
Crochet Azure Top Pattern Free Easy Repeat Stitch Method

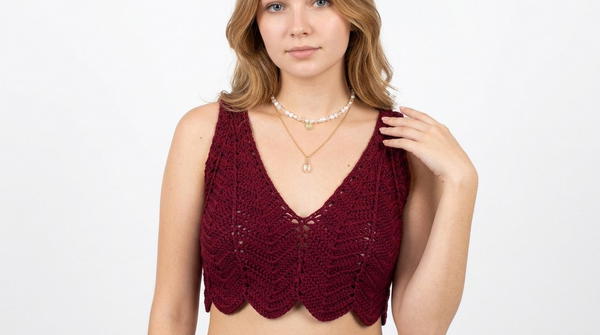
The Free Crochet Azure Top pattern shows how a few basic stitches can create a modern and fashionable look. Its appearance is light, fitted, and slightly textured, giving it a clean and elegant summer style. The beauty comes from its smooth shaping, soft structure, and the way color can make it look bold, fresh, or calm like ocean tones. It is used for warm weather outfits, beach wear, and casual styling where comfort and fashion both matter. Its neat finish, graceful fit, and simple design make it a standout handmade top.
Crochet Top Pattern: Step-by-Step Guide
Materials:
Yarn: Granny Day yarn, 50% viscose and 50% recycled polyester; approximately 150 grams for size Small-Medium (SM).
- Color: Pink
- Approximate run: 50g ball equals 120m
Crochet Hook: Size 3.0 mm
Optional Tools:
- Scissors
- Tapestry needle (for weaving in ends)
Techniques Used:
- Chain Stitch (ch): Foundation and separation stitches.
- Double Crochet (dc): Primary stitch used.
- Raised Double Crochet (Front/Back Post Double Crochet): Worked around the post of the stitch.
- Fan Stitch: Composed of two double crochets, a chain, and two more double crochets worked into the same space.
- V-Stitch: Two raised double crochets separated by a chain in the same space.
- Joining Pieces: Combining cups and panels into a seamless design.
Pattern Instructions:
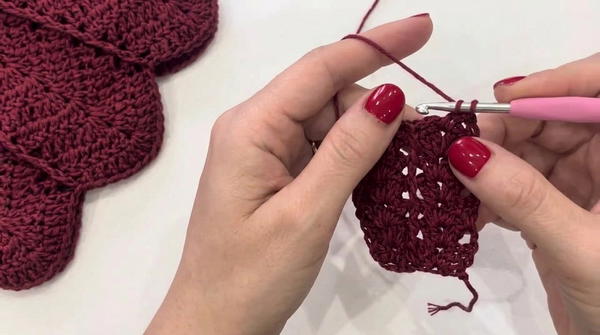
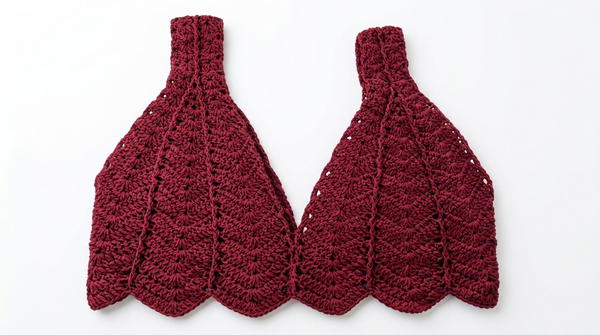
Step 1: Create the Cups
Each top consists of four individual cups. These will form the front and back panels. Begin by working one cup, following the steps below:
Cup Foundation:
- Start by chaining 14 stitches.
- Skip the first 6 chains, and insert your hook into the 7th chain.
- Create a fan stitch (2 dc, ch1, 2 dc) in the 7th chain.
First Row:
- Skip 2 foundation chains, and in the third chain, work a single dc.
- Skip 2 foundation chains, and in the next chain, work another fan stitch (2 dc, ch 1, 2 dc).
- Skip a single chain and complete the row by working one dc in the final chain.
Subsequent Rows (Building Height):
- Turn your work. At the beginning of each row, work 3 chains, which count as the first dc.
- For the fan stitch sections, work 2 dcs, ch 1, 2 dcs in the chain-space of the fan from the previous row.
- Wherever the single dc appears from the previous row, work a raised (post) double crochet around the stitch.
- Continue for a total of 7 rows, including the first foundation row.
Step 2: Adding Increases
Size Adjustment:
This cup design is suited for sizes XS to SM. If adjustment for larger sizes is needed, incorporate additional increases post-Row 7.
Increase Round:
- Begin by working 3 chains as the first dc, then work a fan stitch (as established earlier) in the chain-space.
- In the raised dc section, create a V-stitch using two raised double crochets separated by a single chain.
- Proceed with fan stitches and raised stitches across the row.
Settling Round (Post-Increase):
- Make a round without increasing. Work stitches as they appear, maintaining symmetry.
Continue Increasing:
- Work alternating increase rounds (adding additional dc stitches to fan sections) and settling rounds until each fan section consists of 7 double crochets separated by a chain.
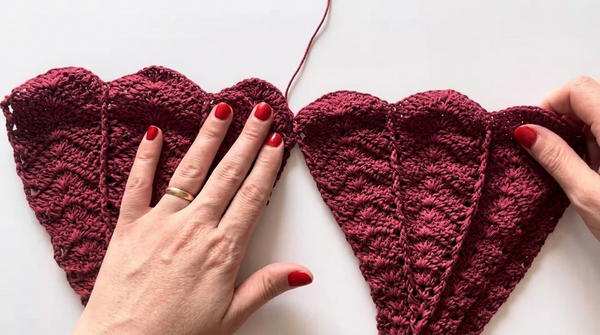
Step 3: Repeat for Remaining Cups
- Repeat the above process to create four individual cups. Once finished, ensure each cup is identical in size, shape, and stitch count.
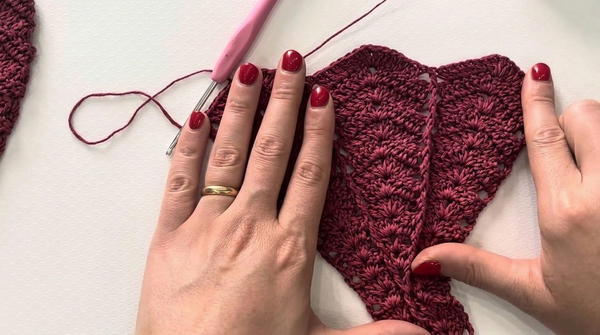
Step 4: Joining Cups
- Arrange your cups in two pairs:
- One pair for the front panel.
- One pair for the back panel.
- Join the cups together by connecting them at the edges using double crochets between their sides.
Step 5: Creating the Body Length
Base Rows:
- After joining the cups, work continuous rows along the bottom edge of the connected panels:
- Use the established fan stitch pattern across the row.
- Continue working in a seamless, single-piece manner (no sewing required).
Extending Length:
- Continue working rows of fan stitches until the desired length is achieved for the top or shirt. For reference, roughly 4 cm of extra rows were added for the top.
Step 6: Finishing Touches
- Cut the Yarn: Once the desired length is complete, fasten off and cut the yarn.
- Weaving in Ends: Use a tapestry needle to hide the loose yarn ends within the stitches. This ensures a clean and polished finish.
Final Words:
Congratulations on completing your crochet top! The seamless panel design and elegant fan stitch pattern create a lightweight and versatile garment.
Tips for Maintaining Your Pattern:
- Blocking: Consider gently steaming or blocking the top to enhance the stitch definition and shape.
- Care Instructions: Handwash with mild detergent and lay flat to dry to preserve the yarn.
- Customization: Use different colorways or yarn textures to create unique variations.
Additional Information:
In the video preview, there is another variant of the top where raised stitches were worked in the center for added texture. You may follow that approach if you wish to explore the alternative styling.