Style a chic Free Crochet Ariel top Pattern for beachy vibes, offering light comfort, trendy fit, and handmade flair for summer outfits. for daily wear.
A graceful summer outfit can be made from simple stitches that slowly shape into a fitted top with a light, stylish look. A Free Crochet Ariel top pattern starts with forming two small cup shapes using basic chains and repeated stitches, then each cup is shaped carefully to follow the body line for a neat and flattering fit. The lower part is joined with simple rows or decorative stitch work, and straps are added to hold the top comfortably in place. This step-by-step method keeps the making process easy to follow and clear for beginners.
Crochet Ariel Top Pattern Free Simple Cup Shape Tutorial
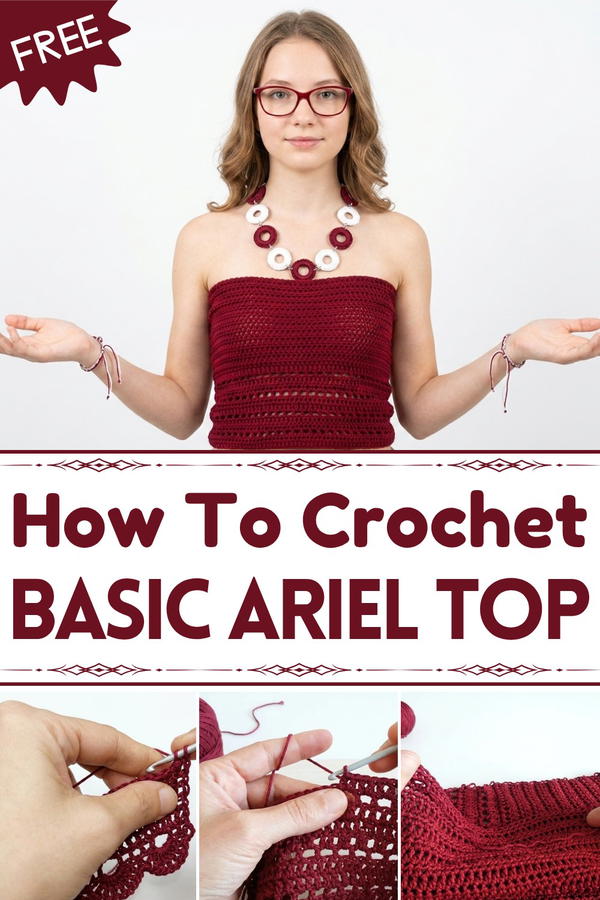
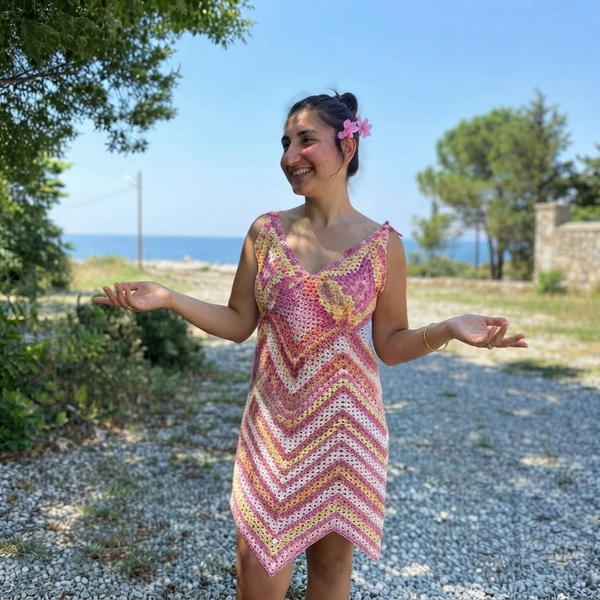
The Free Crochet Ariel top pattern gives a soft, beach-inspired style that looks both modern and elegant. Its appearance is fitted at the top with a gentle curve and open detailing that gives it a delicate and airy feel. The beauty comes from its clean shape, balanced design, and the way color choice can change it from simple wear to a bold fashion piece. It is used for summer outings, beach days, or casual wear where a light and stylish look is preferred. Its neat structure, attractive shape, and graceful finish make it a charming handmade outfit that stands out easily.
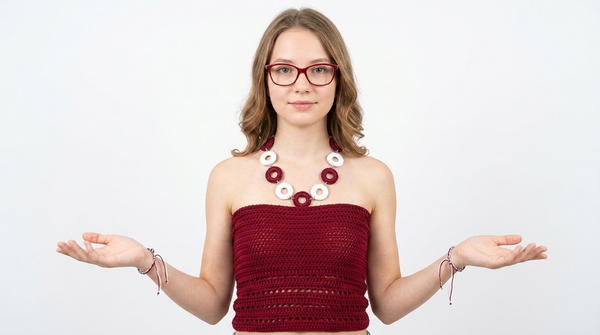
Step-by-Step Crochet Summer Top
Materials Needed
- Yarn: 100g of lightweight cotton yarn
- Suggested Yarn: Schachenmayr "Catania" or any 4-ply light cotton yarn.
- Approximate Yarn Length: ~120m (per ball).
- Hook Size: 3.5mm (US E/4).
- Tapestry Needle: For sewing panels and weaving in ends.
- Scissors: For cutting yarn.
- Optional: Silicone straps for additional support.
Skill Level
Intermediate to Advanced:
- Familiarity with working in rows using a combination of basic stitches and modifications (e.g., skipped stitches and openwork patterns).
Gauge
- 10 stitches x 10 rows of half double crochet (hdc) = 4 inches x 4 inches (10cm x 10cm).
- Check gauge before starting the project and adjust hook size if necessary.
Key Abbreviations (US Terminology)
- ch = chain
- st = stitch
- sl st = slip stitch
- hdc = half double crochet
- dc = double crochet
- sp = space
- rep = repeat
Special Notes
- The pattern uses two panels: a front panel using an alternating solid and openwork stitch pattern, and a back panel worked in half double crochets with a contrasting direction for texture.
- Adjust the size of your top by increasing or decreasing the starting chains and rows to fit your bust circumference and height.
- The design is slightly fitted. If you prefer a looser fit, add a few chains to your foundation or additional rows to your panels.
Finished Size (Based on video details)
- Length of Front Panel: ~28cm (height).
- Back Panel Height: ~35 rows (~70cm total length).
- Size: Instructions are for a size XS/S. Adjust starting chains or rows for larger or smaller sizes.
Pattern Instructions
Step 1: Front Panel - Foundation Row
- Chain 65 for the width of the top. Adjust this number to your desired width (odd numbers work best for the pattern).
- Row 1: Starting in the 3rd chain from the hook, work 1 dc in each chain across. Turn your work.
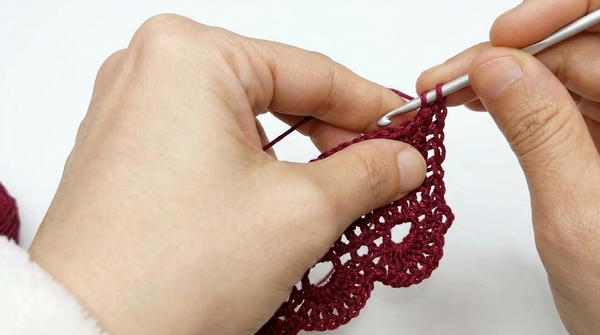
Step 2: Alternating Solid and Openwork Rows
Repeat the following row sequence:
Row 2:
- Chain 2 (counts as 1st dc), turn.
- Work 1 dc in each stitch across.
Row 3 (Openwork Row):
- Chain 2 (counts as 1st dc), turn.
- Skip the first st, work 1 dc in the next st.
- Chain 1, skip 1 st, 1 dc in the next st; repeat from * across the row.
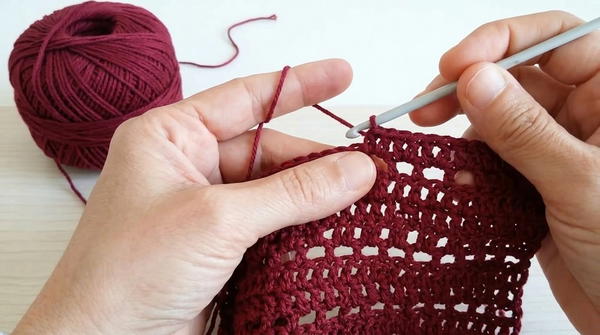
- End with 1 dc in the last st.
Row 4: Repeat Row 2 (solid stitches).
Row 5: Repeat Row 3 (openwork).
Step 3: Continue the Front Panel
- Repeat the alternating pattern of 2 rows of solid stitches and 1 row of openwork until the panel measures approximately 28cm.
- Finish with 2 rows of solid stitches for a clean edge.
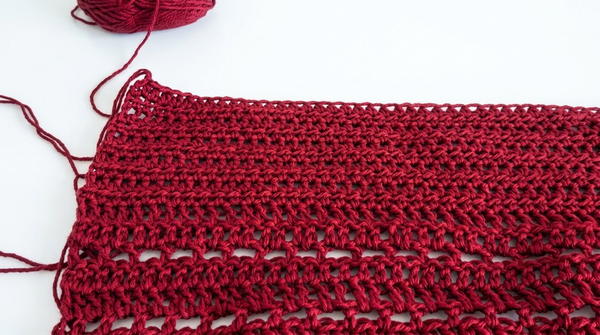
Step 4: Back Panel
The back panel is worked entirely in half double crochet for a contrasting texture.
- Chain 65 for the width of the back panel (or match the number of chains used for the front panel).
- Row 1: Work 1 hdc in each chain across. Turn your work.
- Row 2-Onwards: Chain 1 to turn, work 1 hdc in each st across.
- Repeat rows of hdc until the back panel matches the height of the front panel's tallest point (approximately 35 rows or 70cm total length).
Step 5: Joining the Panels
- Fold each panel in half to find the midpoint and align the edges of the front and back panels.
- Use a slip stitch (sl st) or a single crochet (sc) seam to join the panels along the sides, leaving enough space at the top for the armholes (example: 10-15 stitches unseamed, depending on your desired armhole size).
- Seam the shoulders by slip stitching the last stitches of the front and back panels for additional structure.
Step 6: Top Band
- Reattach yarn to the top edge of the front panel.
- Work hdc evenly across the top edge for 22 rows (or until you feel comfortable with the band height for breast coverage). This provides a denser texture while maintaining flexibility.
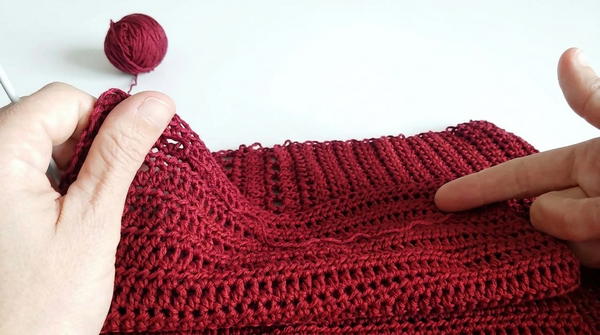
Step 7: Optional Textured Side Seams
Turn the body of the top sideways and work in back loop only (BLO) along the side seams to create a decorative texture. This subtle vertical contrast adds visual interest.
Step 8: Finishing Touches
- Weave in all loose ends with a tapestry needle.
- Trim any excess yarn for a polished finish.
- Lightly block the top by pinning it to shape and steaming or spritzing with water for a professional look.
Conclusion
This crochet summer top is both functional and stylish, made with a breathable design for warm days. The alternating rows and compact upper band create a balance for practicality and elegance. Perfect for an advanced beginner looking to refine skills or an intermediate crocheter desiring a quick wardrobe addition.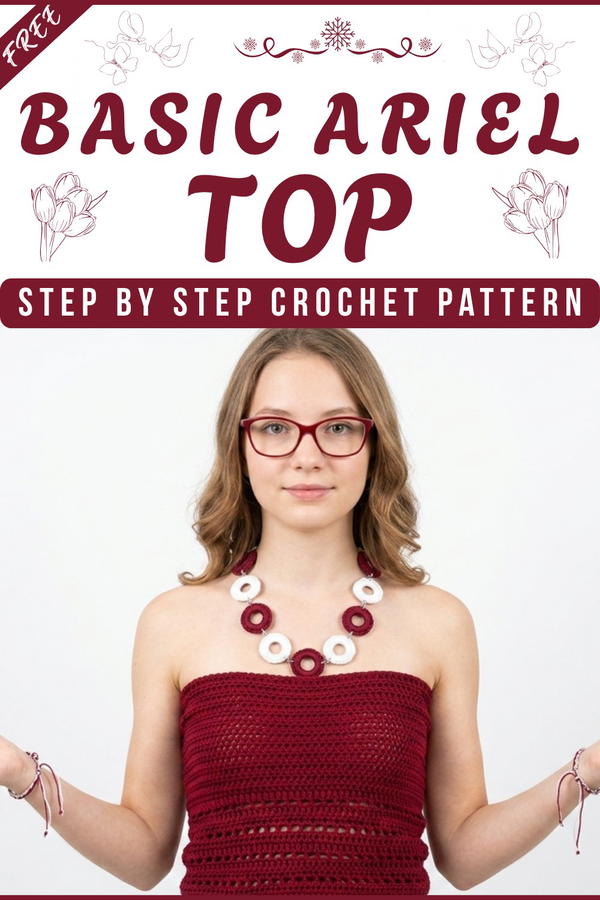
Pattern Corrections
- Ensure you maintain consistent tension, especially transitioning from openwork to solid rows. This avoids unwanted gathering.
- Always count stitches at the end of rows to ensure uniformity. Add or reduce stitches as necessary to maintain rectangular panels.
Tips to Maintain the Top
- Washing: Wash in cold water on a gentle cycle or hand-wash. Lay flat to dry.
- Storage: Fold and store flat to prevent stretching.
- Custom Fit: Create a more secure fit with optional straps or stitches along the edges for personal preferences.