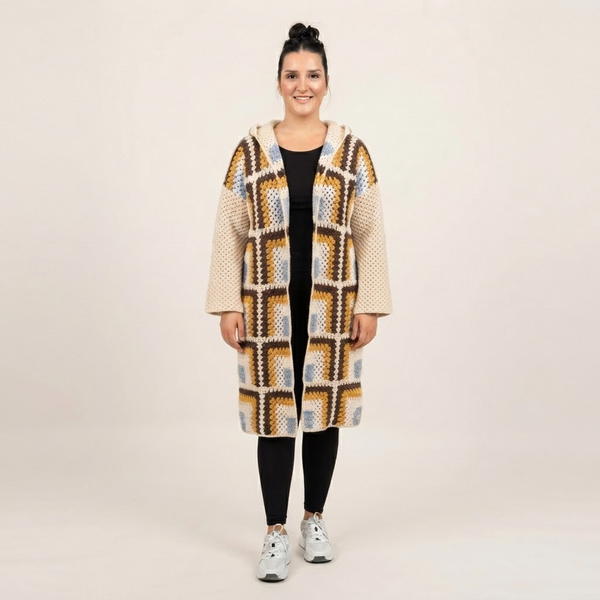
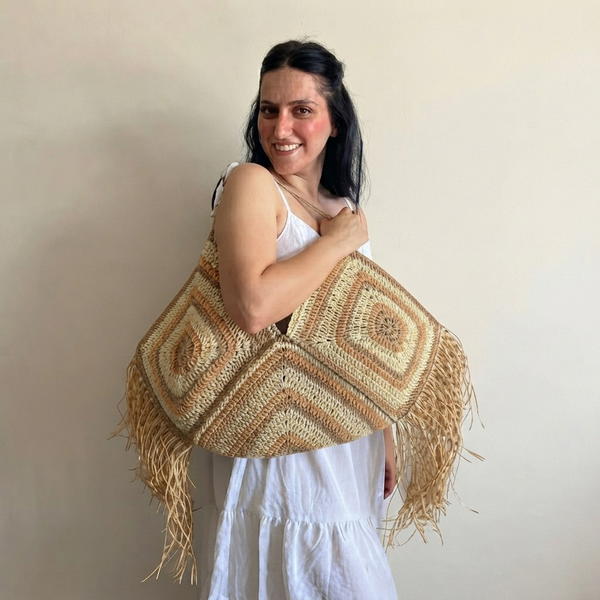
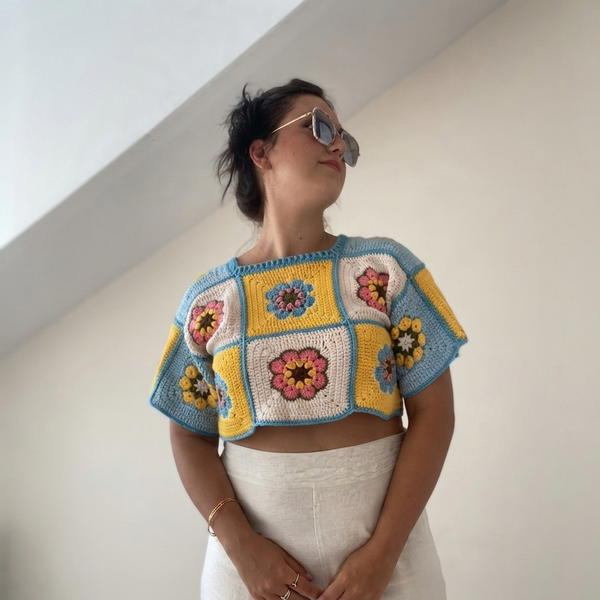
Stitch together colorful granny squares into a breezy maxi dress with this Free Crochet Granny Square Maxi Dress Pattern perfect for sunny days out.
Gülşah Özcan Filiz offers an excellent and easy-to-follow guide for creating a long, elegant dress made from colorful square pieces joined together to fit the body perfectly. This dress is ideal for warm weather and special events because it combines style with comfort. The method allows adjusting the size by adding or reducing the number of rows on the top, making it suitable for different body shapes. Simple stitches are used to make small square motifs, which are then connected carefully to form the bodice and sides.
Stylish Free Crochet Granny Square Maxi Dress Pattern You’ll Love
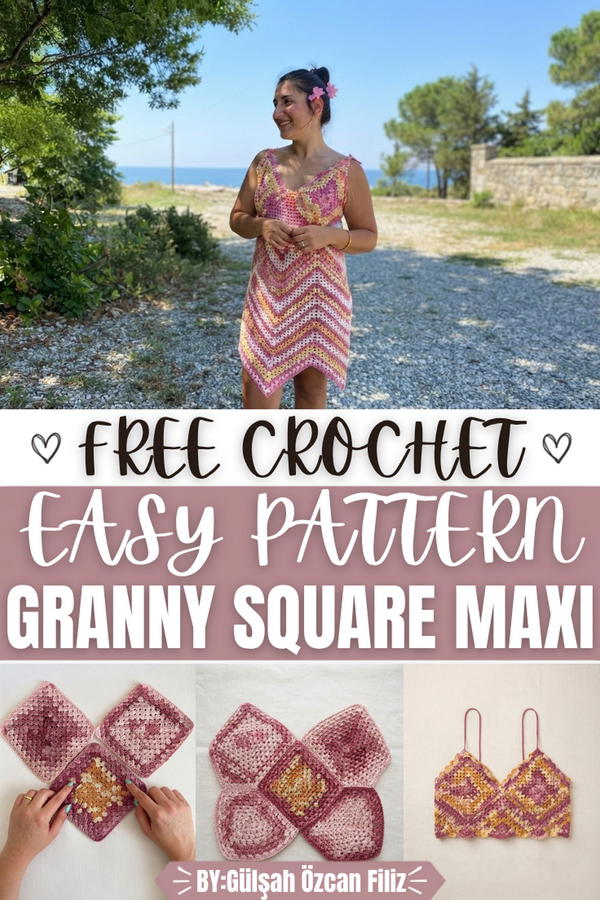
This maxi dress is perfect for spring and summer, providing coverage while keeping you cool. The joining of square pieces creates a beautiful patchwork effect with bright colors and eye-catching patterns. The skirt flows gracefully as more rows are added around the dress, giving it a wide and comfortable shape that moves easily. The stitches increase at the corners, which helps maintain the skirt’s full and smooth look without any bunching.
The dress stands out with its classic square motif design combined with a long, flowing shape that suits many occasions. Neat edging and chain straps finish the look, adding both function and style.
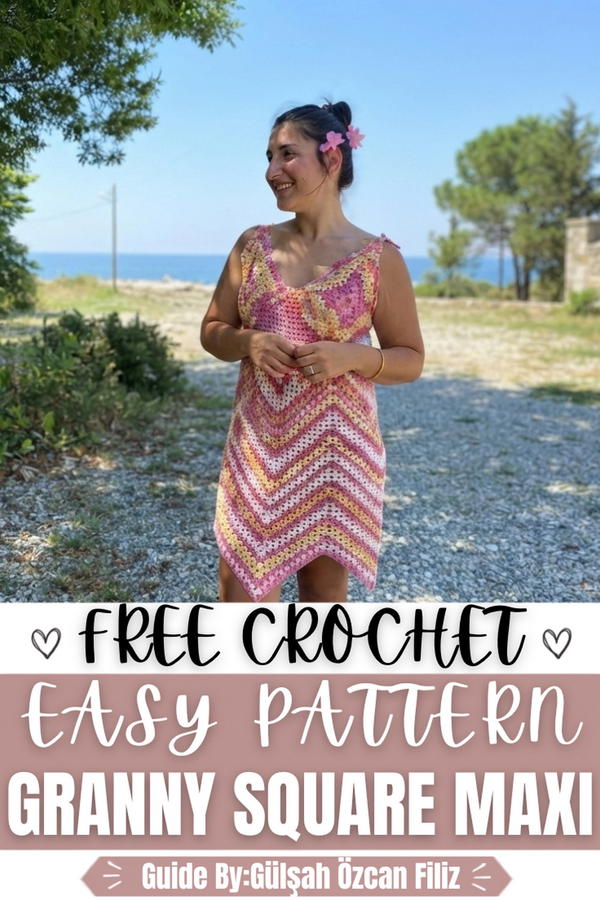
Crochet Granny Square Dress Pattern
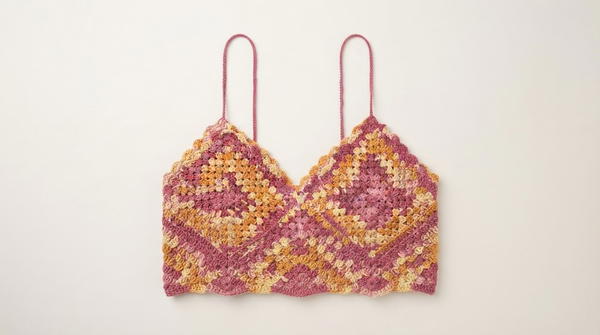
This pattern creates a stylish and elegant dress constructed from granny square motifs assembled into a fitted bodice and an expanded skirt section. The bodice is built using individual motifs arranged and sewn together to form the body structure, while the skirt is worked directly from the bottom edge of the assembled bodice using rows of double crochet clusters with deliberate corner increases and strategically placed gaps that allow the skirt to flare outward naturally without folding or bunching. The neckline is finished with a decorative shell stitch border and chain ties at each shoulder, creating a clean and feminine collar detail. The dress works equally well in variegated yarn for a colorful effect or in a single solid color for a more refined and classic look.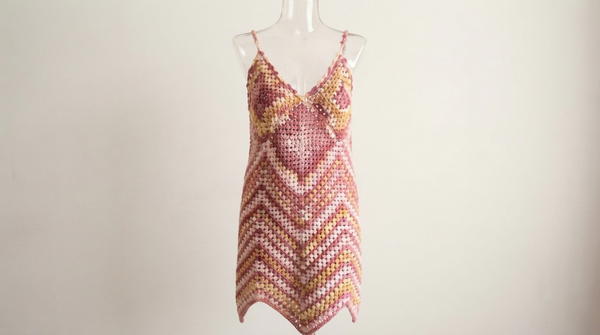
Skill Level: Intermediate — This pattern requires comfort with granny square motif construction, needle joining techniques, working in the round from an assembled base, and executing decorative shell stitch edging. Crocheters with prior experience in motif-based garment construction will find this pattern straightforward and enjoyable to complete.
Materials
- Yarn: Box yarn or mercerized cotton yarn in variegated or solid colors (2 to 3 colors can be combined for a multicolor effect; yarn quantity will vary based on dress length and body size)
- Hook: Size appropriate to the chosen yarn weight (use the hook size recommended on the yarn label for best results)
- Tools:
- Tapestry needle for motif assembly and shoulder joining
- Scissors
- Measuring tape
- Stitch markers
Special Stitches
- Granny Square Motif: A square worked from the center outward using groups of 3 dc clusters with ch-1 sp at the corners, forming the structural building block of the dress bodice.
- Corner Increase: Worked as 3 dc, ch 1, 3 dc into the same corner chain space, creating an outward-expanding corner used throughout the skirt section to add width with each row.
- Skirt Gap Construction: A deliberate technique where the center gaps between two sides of the dress are left empty in every skirt row, allowing the front and back of the skirt to remain separate and flat rather than folding inward at the joining points.
- Shell Stitch: Worked as 5 dc all into the same stitch or space, creating a fan-shaped decorative cluster used along the neckline border.
- Chain Tie: A long chain worked at each shoulder point of the neckline and used as a drawstring-style tie to secure the dress at the shoulder or connect both sides together.
- Needle Join: A sewing technique using a tapestry needle and matching yarn threaded through corresponding loops on adjacent motif edges simultaneously, joining pieces together from the outside with a flat and nearly invisible seam.
Stitch Abbreviations
- ch — chain
- sl st — slip stitch
- sc — single crochet
- dc — double crochet
- sp — space
- st(s) — stitch(es)
- rep — repeat
- tch — turning chain
- inc — corner increase
Useful Tips
- Fold each motif in half before placement to identify the exact center point, which will help align adjacent motifs accurately during needle joining and ensure the bodice sits symmetrically when worn.
- When sewing motifs together with a needle, always work from the outside with both motif faces facing each other so the finished seam remains on the inside of the garment after assembly.
- Use stitch markers to identify and keep track of the corner spaces on each motif throughout the skirt construction rows, particularly at the points where increases are worked.
- Always leave the designated center gaps empty in every skirt row without exception — filling these gaps will cause the skirt to pull inward and fold rather than hanging correctly.
- Try the dress on after every 10 rows of skirt construction to assess the length and adjust the total row count to your personal height and preference before fastening off.
- When working the shell stitch neckline border, adjust the skipping pattern slightly at the center neckline point to create a natural curve — skip 2 stitches instead of 1 at the midpoint to maintain the correct visual shape.
- The chain ties at the shoulders can be made as long or as short as preferred — measure across the shoulder width and add extra length for tying before cutting.
Pattern Instructions
Granny Square Motif Construction
Foundation — Starting Ring
- Create a starting ring using your preferred method (magic ring or ch 4 joined with sl st).
- Ch 3 (counts as first dc).
- Work 2 dc into the ring.
- Ch 1.
- Rep working 3 dc, ch 1 into the ring three more times.
- Sl st to join into the top of the beginning ch-3.
- Pull the ring closed if using a magic ring.
- Total: 4 clusters of 3 dc with ch-1 sp between each cluster
Round 1 — First Square Round
- Sl st into the nearest ch-1 sp.
- Ch 3 (counts as first dc).
- Work 2 dc into the same sp.
- Ch 1.
- Work 3 dc into the same sp (first corner complete).
- Ch 1.
- Work 3 dc into the next ch-1 sp (side cluster).
- Ch 1.
- At the next ch-1 sp, work 3 dc, ch 1, 3 dc (second corner).
- Ch 1.
- Work 3 dc into the next ch-1 sp (side cluster).
- Ch 1.
- Rep corner and side cluster sequence for remaining two corners.
- Sl st to join and fasten off.
- Total: 4 defined corners and 4 side clusters
Additional Rounds
- Join new color yarn into any corner ch-1 sp.
- Work 3 dc, ch 1, 3 dc at every corner sp.
- Work 3 dc with ch 1 between clusters along each side.
- Sl st to join and change color as desired between rounds.
- Continue adding rounds until the motif reaches the desired size for the dress bodice.
- Fasten off and weave in all ends on each completed motif.
- Make the total number of motifs required for the bodice:
- 3 motifs for the back panel
- 2 motifs for each side panel
- 3 motifs for the front panel (adjust counts based on body size)
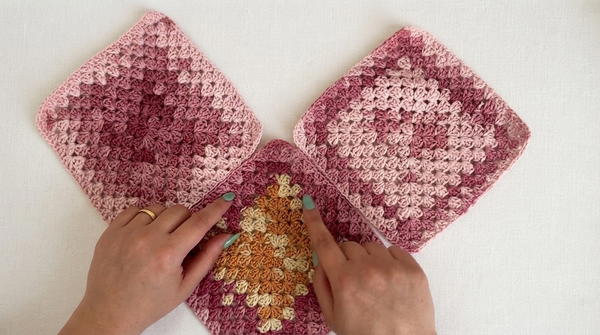
Bodice Assembly
Motif Placement
- Fold each motif in half to identify the center point.
- Place motifs with their right sides facing each other during needle joining so seams fall on the inside of the garment.
- Arrange the back motifs in a horizontal row of 3 and the front motifs in a matching horizontal row of 3.
- Position the 2 side motifs to connect the front and back panels at each side.
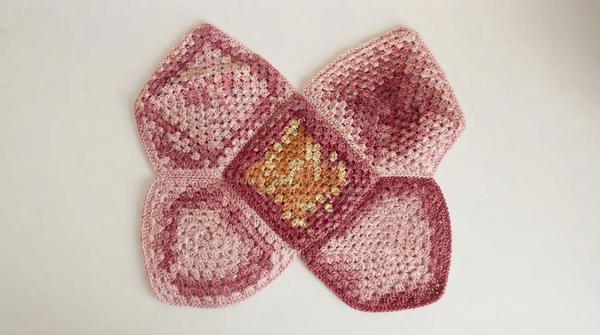
Needle Joining Method
- Thread a tapestry needle with matching yarn and secure with a knot at the starting corner sp.
- Insert the needle through the corner gap of the first motif from the outside.
- Insert the needle through the corresponding corner gap of the adjacent motif from the outside.
- Pull the yarn through both layers to connect.
- Continue threading the needle through corresponding loops on both motifs simultaneously, working stitch by stitch along the full shared edge.
- Pull the yarn firmly but not too tightly after each stitch to keep the seam flat.
- Fasten off and weave in ends after each seam.
- Rep the joining process along all shared motif edges until the full bodice is assembled as a complete tube.
- Join the shoulder edges of the front and back panels using the same needle join method, leaving the neckline opening unsewn.
Skirt Construction
Setting Up the Skirt
- Turn the assembled bodice so the lower edge faces upward for working.
- Join yarn into any corner sp at the lower edge of the bodice.
- Ch 3 (counts as first dc).
Row 1 — First Skirt Row
- Work 2 dc into the starting corner sp (first cluster of 3).
- Work 3 dc into every gap around the lower edge of the bodice.
- At every corner sp, work 3 dc, ch 1, 3 dc (corner increase).
- At the designated center gaps on each side where front and back panels meet, skip the gap entirely and do not work any stitches — leave these spaces empty.
- Sl st to join at the top of the beginning ch-3.
- Ch 3, turn the work.
Row 2 and All Subsequent Skirt Rows
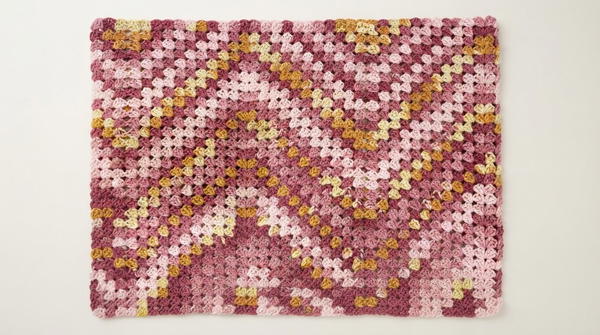
- Work 3 dc into every gap around the row.
- Work 3 dc, ch 1, 3 dc at every corner sp (maintaining corner increases in the same positions as Row 1).
- At every center gap (same positions as Row 1), skip the gap and do not install any stitches — leave these gaps consistently empty in every row.
- Sl st to join at the end of each row.
- Ch 3, turn the work.
- Rep Row 2 continuously, maintaining the same corner increase and center gap positions throughout.
- Continue knitting until the skirt reaches the desired length:
- The creator worked 40 rows of skirt for a full-length dress
- Adjust to 35 rows for a shorter version or 45 rows for additional length
- Try on the dress every 10 rows to assess the length before proceeding
- Fasten off at the end of the final skirt row and weave in all ends.
Neckline Finishing
Shell Stitch Collar Border
- Join yarn at the neckline opening edge.
- Work 1 sc into the first gap.
- Skip 2 sts.
- Work 5 dc into the next st (first shell made).
- Skip 1 st.
- Work 1 sc into the next st.
- Skip 1 st.
- Work 5 dc into the next st (second shell made).
- Rep the sequence of skip 1 st, sc, skip 1 st, 5 dc around the neckline opening.
- At the center front neckline midpoint, adjust by skipping 2 sts instead of 1 before and after the center shell to create a natural curve at the neckline.
- Continue working the shell stitch border pattern around the full neckline opening until returning to the starting point.
- Fasten off and weave in ends.
Shoulder Chain Ties
- Join yarn at one shoulder edge point on the neckline.
- Insert the hook into the 5th dc of the corner shell stitch.
- Ch 80 or to the desired length for the tie (adjust based on shoulder width and preferred tie length).
- Fasten off and weave in the chain end.
- Rep on the opposite shoulder edge to create the matching tie.
- Use the chain ties to secure the dress at the shoulders by tying or connecting both sides together.

Assembly and Sizing
Bodice Sizing
- The pattern uses 3 motifs on the back, 3 motifs on the front, and 2 motifs on each side as a standard adult fit for a size 40 to 42.
- For a larger size, add one additional motif to the back and front rows, or add extra rounds to each individual motif before assembly.
- For a smaller size, reduce to 2 motifs on each side panel or reduce the number of rounds per motif.
- The bodice depth is determined by the number of rows worked on each motif — adjust the motif size to match the desired bodice length from shoulder to waist.
Skirt Length Reference
- 35 rows — above the knee length
- 40 rows — midi or below-knee length (as used by the creator)
- 45 rows or more — full-length maxi dress
- Body height and proportions will affect the final length — always try on and assess before fastening off the skirt section.
Skirt Flare and Shape
- The corner increases worked at the 4 motif corner points in every skirt row naturally add width to the skirt as it grows downward.
- The empty center gaps on each side prevent the skirt panels from folding inward and maintain the correct drape and shape throughout the full length.
- No additional shaping or decreasing is required — the skirt construction is entirely straight rows with corner increases only.
Conclusion
This granny square dress pattern demonstrates how a simple and familiar motif format can be elevated into a complete and wearable garment through thoughtful assembly and a straightforward skirt expansion technique. The combination of the structured bodice motifs and the gradually widening skirt rows produces a silhouette with natural shape and movement that suits a variety of body types and personal styling preferences. The decorative shell stitch neckline border and chain tie shoulder detail add a refined finishing touch that elevates the overall appearance of the completed dress beyond basic motif construction. The adjustable row count throughout both the bodice and skirt sections ensures that this pattern can be comfortably adapted to any height or size without requiring significant modifications to the core construction method.