Keep your phone close with this Free Crochet Mini Phone Bag Pattern for a slim pouch with textured stitches, a cream strap and a matching round button.
Pockets can be hard to rely on when you are wearing a dress or carrying things in both hands. This Free Crochet Mini Phone Bag Pattern gives your phone a spot of its own. The sample is about 14 centimeters wide and 20 centimeters tall. Measure your phone with its usual case on, so you know how much room it needs to slide through the opening.
Free Crochet Mini Phone Bag Pattern
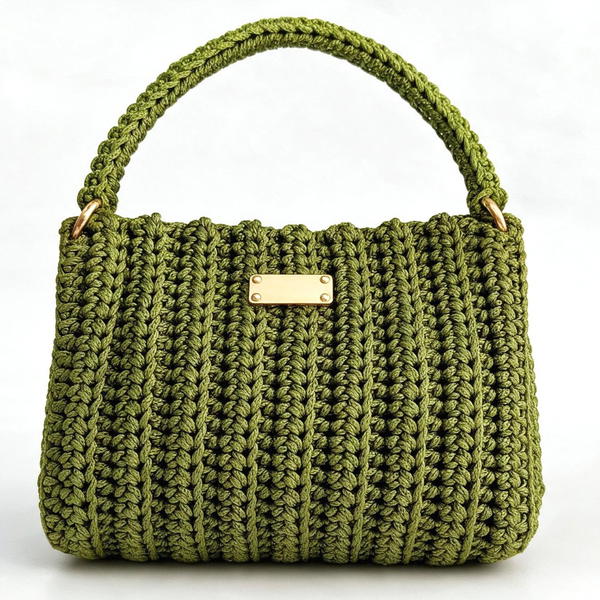
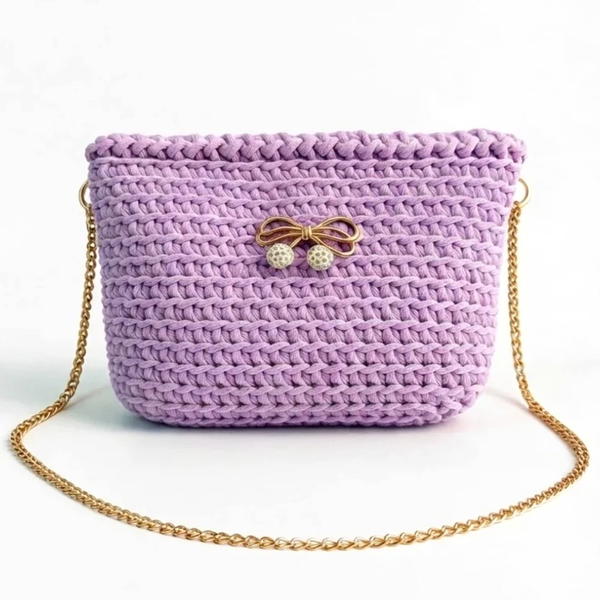
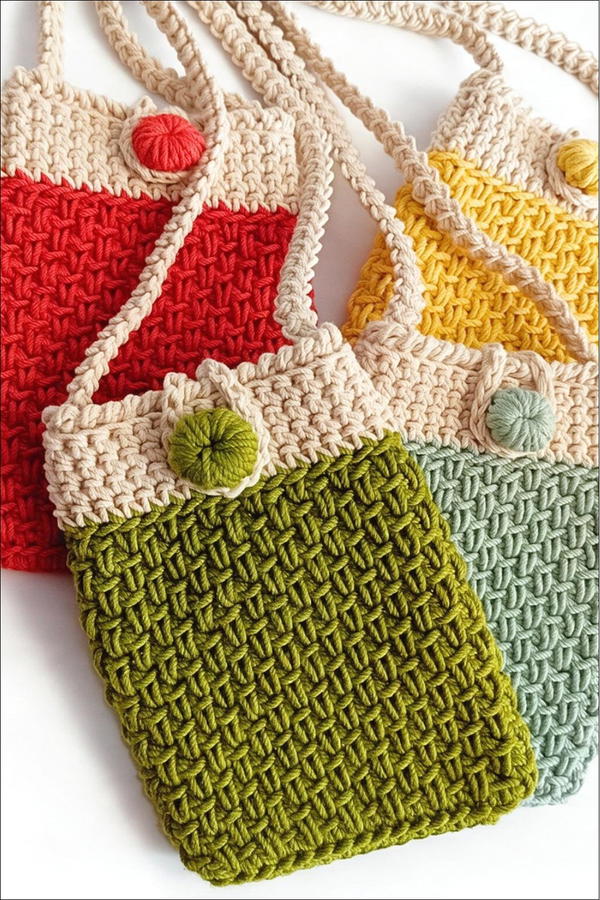
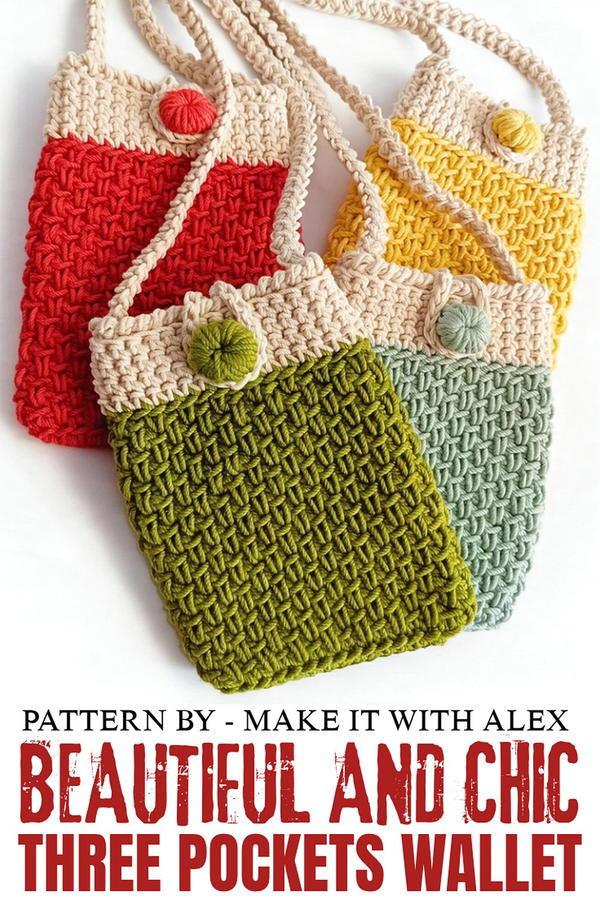
Cream stitches run across the top of the pouch and continue into the narrow strap. Below that band, short raised stitches cover the body. A round button in the same shade as the pouch ties the two sections together, and a small loop slips over it to close the opening. The olive, yellow, red, and pale blue samples show how much a single color change can do while the cream stays the same. Soft blue pairs well with light denim, while yellow stands out against a plain navy dress.
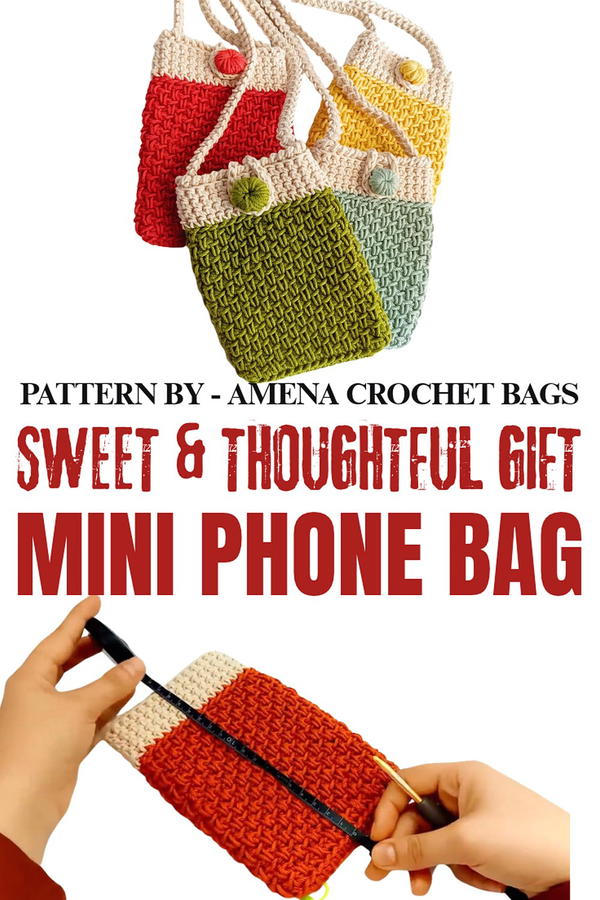
The cotton macrame cord gives the pouch enough body to hold its tall shape. It is handy for a short walk or a day out when you want your phone within reach. For a birthday gift, pick a shade the recipient already wears and check the size of their phone before deciding how wide to work the pouch.
Meet the Phone Bag Designer
Small accessories are part of the range on Amena Crochet Bags. With the phone pouch, Amena shows several samples in different shades, so viewers can see what changes when the strap and upper band stay cream. The description gives the width and height, which helps with checking a phone’s fit.
Crochet Phone Case Pattern
This crochet pattern allows you to create a simple yet functional phone case with a beautiful textured finish and a unique button closure. It is a small, stylish bag suitable for quick outings or as a thoughtful handmade gift.
Skill Level
Intermediate
The pattern involves creating and maintaining an even stitch count, alternating single crochet (SC) and long single crochet, and working with thermal single crochet for added durability and texture.
Materials
- Yarn: Cotton macramé thread, approximately 2.5 mm thickness.
- Hook Size: 5 mm crochet hook.
- Additional Tools:
- Scissors.
- Stitch markers to mark rows or important stitches.
Stitch Abbreviations
- Ch: Chain
- Sc: Single Crochet
- Long Sc: Long Single Crochet (worked into the row below the previous row).
- Thermal Sc: Single Crochet worked into the back loop and the back loop of the stitch in the previous row.
- Slip St: Slip Stitch
Useful Tips
- Consistent Tension: Work with even tension to ensure a neat fabric, especially when switching between regular Sc and long Sc stitches.
- Markers: Always mark the first stitches of your rows to avoid losing your place, particularly in rounds without joins.
- Check Stitch Count: Frequently check for a total of 33 stitches per round to ensure accuracy throughout the project.
- Test Fit: Measure your phone or device before starting to customize the fit as needed.
Pattern Instructions
Body of the Phone Case
Foundation Chain:
- Make a slip knot and crochet 15 Ch stitches.
Round 1:
- Starting in the second chain from the hook, crochet 13 Sc stitches along the chain.
- In the last chain, crochet 3 Sc stitches into the same space to form a rounded edge.
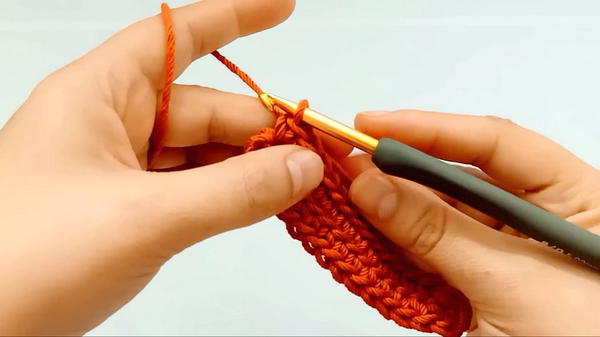
- Continue working 13 Sc stitches along the underside of the foundation chain.
- In the starting chain, work 3 Sc stitches into the same space (to form the other rounded edge).
- At the end of this round, you should have 32 stitches.
Round 2:
- Crochet 1 Sc into the back loop of every stitch around.
- Place a stitch marker at the first Sc stitch of the round.
- At one side of the case, skip making an increase, but on the opposite rounded edge, make 1 increase (2 Sc stitches into the same loop) to achieve an odd stitch count.
- By the end of this round, there will be 33 stitches in total.
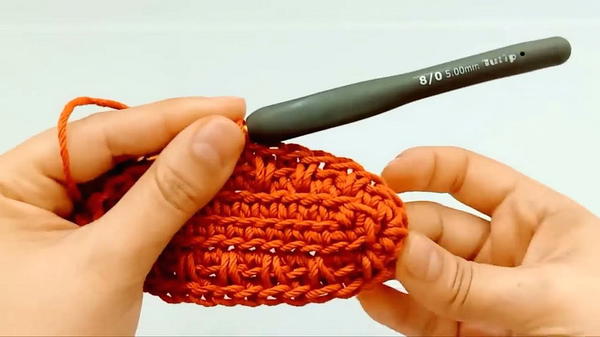
Round 3:
- Begin by crocheting 1 Sc into the back loop.
- Crochet a long Sc stitch into the stitch below the Sc from the previous row. This creates a unique texture.
- Alternate between Sc in the back loop and long Sc stitches for the full round.
Round 4:
- Start the row with a long Sc stitch worked into the single crochet of the previous row.
- Above each long Sc stitch, work 1 Sc into the back loop.
- Continue alternating these stitches for a round.
- The rows are worked continuously without joining.
Repeat Rounds:
- Alternate between the Sc back loop and long Sc patterns until you have completed 21 rows or obtained a height of 14 cm.
- After completing the final row, cut the thread, and close the row above the marked stitch.
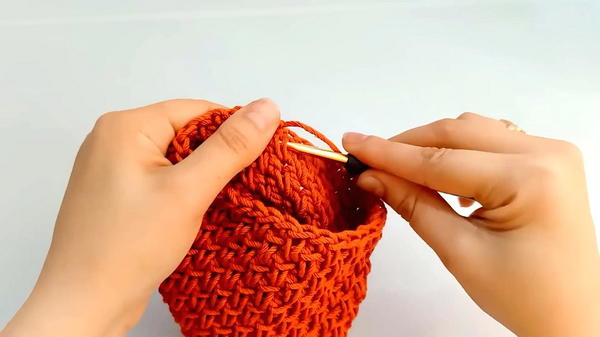
Color Change and Additional Rows
Adding a New Color:
- When starting a new color:
- Attach the new thread to the stitch using a loop that isn’t in the front or back loop but uses the loops between those.
- Crochet 1 Ch stitch to start.
Round 1 (New Color):
- Work 1 Sc stitch into each stitch using the method described above.
- At the last stitch: Sl St into the starting chain.
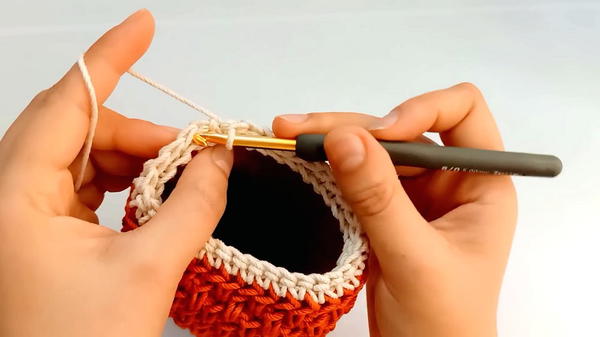
Round 2–9:
- Chain 1 at the beginning of the row and turn your workpiece.
- Work Thermal Sc stitches for durability:
- Insert the hook into the back loop and the back loop of the stitch from the previous row.
- Crochet 1 Sc stitch and repeat for the full round.
- To close the row, insert the hook into the first Sc stitch of the row, not the starting chain.
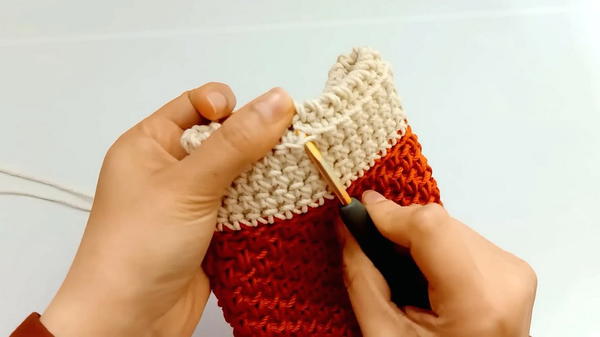
- Continue working and turning your piece for 9 rows, maintaining 33 stitches per row.
Final Row and Edge
- After completing the thermal Sc rows, crochet the final row to create a decorative edge:
- Chain 1, twist the crochet hook slightly before making each Sc stitch for a unique, twisted edge.
- Work this edge around the entire top of the bag.
Creating the Button Closure
Button:
- Create a magic ring, and crochet 6 Sc stitches into the ring.
- Pull the thread to close the ring, leaving it loose for stability.
- Slip into the first stitch and chain 1.
- Crochet 12 Sc stitches into the magic ring.
- Pass the thread through all stitches and secure the shape.
Button Hole:
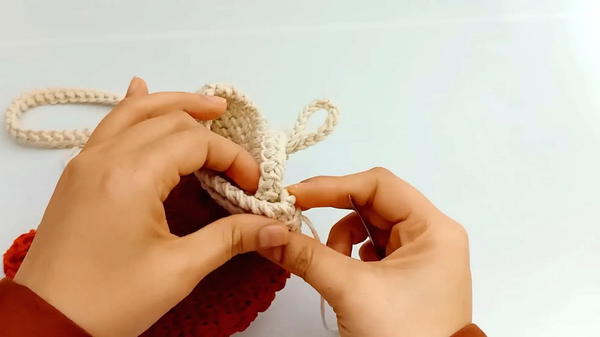
- Cut approximately 40 cm of thread, and tie it into a stitch on the penultimate row at the back middle portion of the bag.
- Crochet 20 Ch stitches, adjusting the number to match the button size and position.
Bag Strap
Roman Lycée Rope Method:
- Create the strap separately using the Roman Lycée rope stitch method to your desired length.
Attaching the Strap:
- Attach the completed strap to the edges of the bag. Use a needle or slip stitches for clean alignment.
Final Touches
- Attach the button to the corresponding buttonhole position using a needle.
- Hide any loose threads neatly by weaving them into the body of the bag.
- Ensure every row is securely fastened, and the bag opening is tightly finished.
Finished Measurements:
- Bag Height: Approximately 19 cm.
- Bag Width: Adjustable based on phone size; the example begins with 14 cm width.
- Bag Strap: Customize as desired for a crossbody or handle-length strap.
Conclusion
This lightweight macramé phone case is both beautiful and practical. The textured thermal stitches and elegant edge give the project a polished appearance, while the addition of straps and closure make it fully functional. Adjust colors, strap length, or button design to match your taste and preference.