Carry your book and wallet in a white and beige cotton bag when you follow this Free Crochet Tote Bag project with a rounded flap and a flower on the front.
Between a book, a wallet, and a case for your glasses, the things you take on a quick outing can pile up. This Free Crochet Tote Bag is a cotton project for those everyday items. The white body has rows of visible stitches, and a beige flap comes down over the middle. A flower on the flap draws your eye to the front and leaves plenty of the white crochet on show.
White and Beige Free Crochet Tote Bag in Cotton
About the Tote Designer
Working with cotton is part of the appeal of this Maison Hanin project. The channel pairs a white bag body with a contrasting front flap. You can see how those two areas fit together and why the flower sits where the eye naturally goes first on the finished cotton tote.
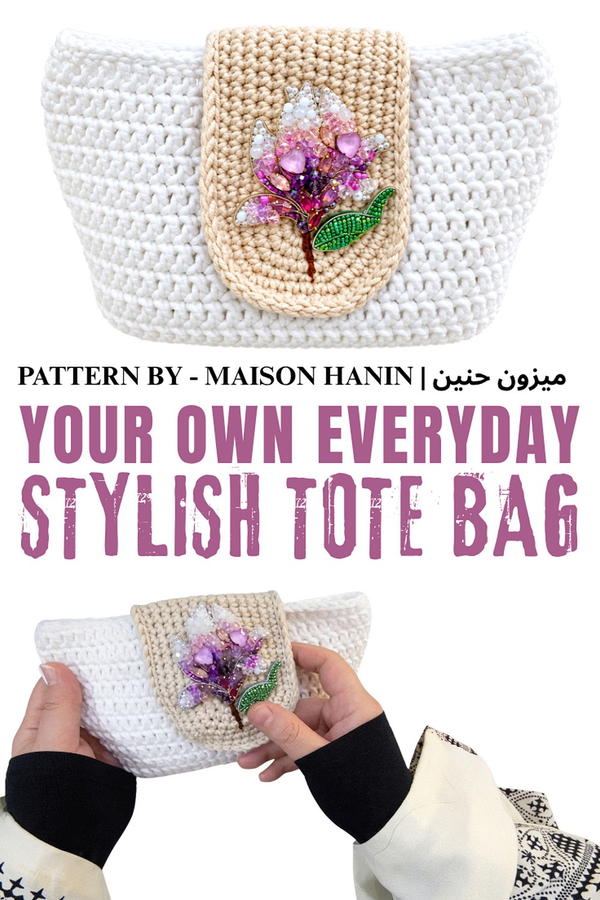
The two shades are close enough to wear with most casual clothes, but the change in stitch texture still gives the flap a clear outline. Look closely at the lower corners of the flap and you can see how the rounded edge softens the shape of the tote. That detail also gives a flower or other small decoration a natural place to sit.
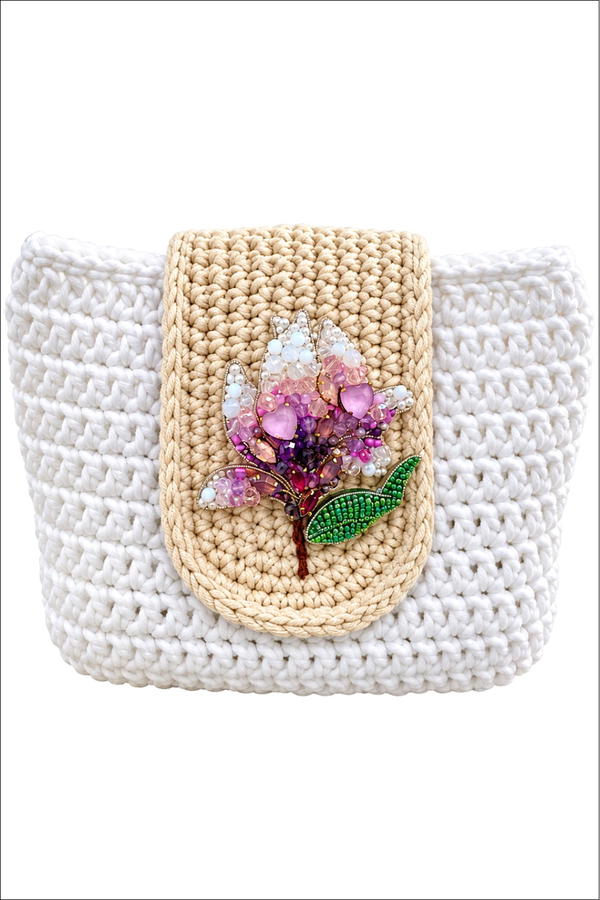
When working with cotton, take a moment to check the width of the bag against the things you expect to carry. A paperback is an easy size reference, especially when you want something for a short trip to the library. You can also lay out the body and flap together before assembly to see how the proportions look. For a personal gift, choose a flap color that suits the recipient and tuck a book inside before wrapping it.
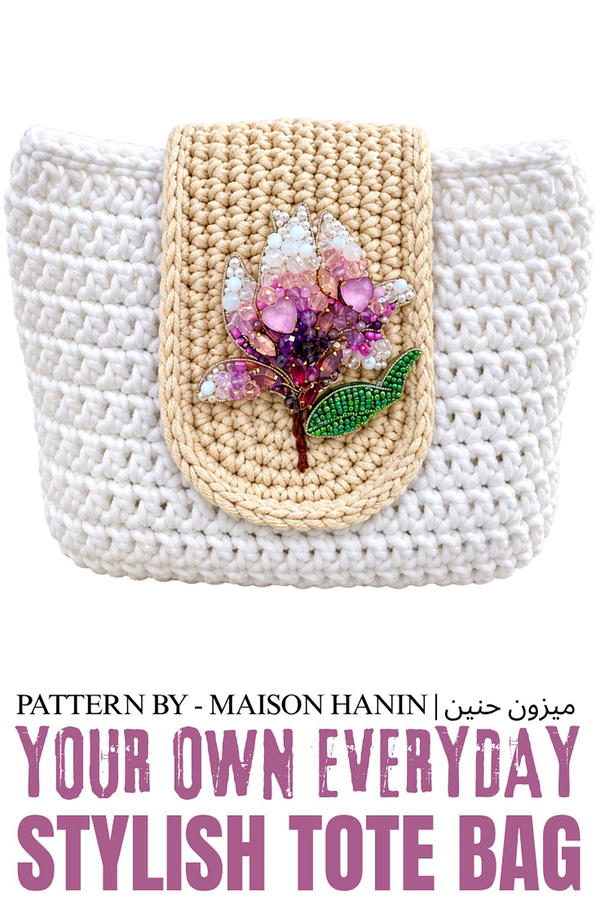
Crochet Tote Bag Pattern
This crochet tote bag combines functionality and style, making it perfect for everyday use. Using a cotton-blend yarn, the bag is worked seamlessly from an oval base to its vertical wall structure, featuring single crochet stitches for durability. This bag also includes optional decorative embellishments, allowing for personalization.
Skill Level
Beginner
The pattern primarily uses single crochet stitches, working in rounds to create a simple yet structural tote bag. Beginners who are comfortable with basic stitches and increasing will find this project manageable and enjoyable.
Materials
- Yarn: YarnArt Jeans Plus (cotton-blend yarn) or similar medium-weight (category 4) yarn.
- Crochet Hook: 5 mm hook, suitable for the yarn weight.
- Other Tools:
- Tapestry needle for weaving in ends.
- Scissors for cutting yarn.
- Stitch marker to track the beginning of rounds.
- Optional: Floral embellishments or other decorative elements for finishing touches.
Stitch Abbreviations
- ch = chain
- sc = single crochet
Useful Tips
- Tracking Rounds: Use a stitch marker to identify the beginning of each round, especially in the base and subsequent rows.
- Tension: Maintain consistent tension to ensure the bag’s structure remains even throughout.
- Customization: Adjust the base's size and body height according to your preference by adding or reducing rounds.
- Decoration: For added flair, customize the bag with embroidery, buttons, or embellishments.
Step-by-Step Pattern
1. Starting the Base
Foundation:
- Begin by working ch 20 stitches.
Row 1:
- Work 19 sc across the chain until you reach the final stitch.
- In the last stitch, work 3 sc (to turn the corner).
- Continue along the other side of the foundation chain:
- Work 18 sc.
- In the final stitch (opposite corner), work 2 sc.
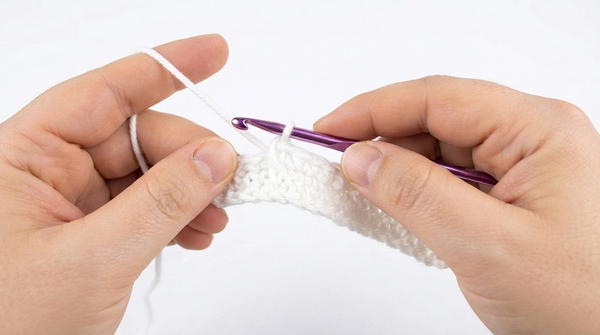
Rows 2-7:
- Continue working in rounds while increasing at the corners to form the oval-shaped base. The increases will help expand both width and length.
- Round 2: Work 1 sc in each stitch along the sides, and 2 sc in each corner stitch.
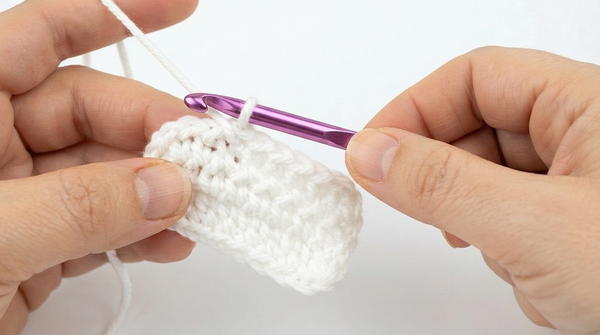
- Round 3: Continue working evenly around the sides, increasing in corners as needed (e.g., 2 sc in each corner stitch).
- Round 4-7: Repeat the pattern of working “even stitches along the sides and increases in the corners” until the base reaches the desired size.
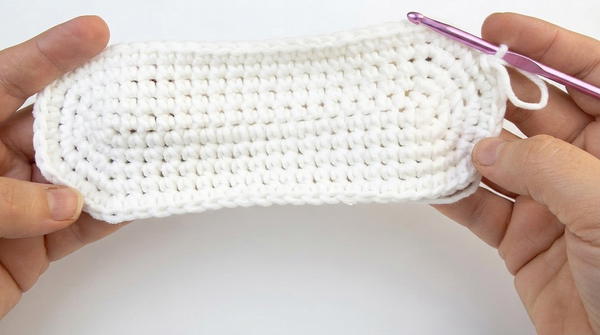
- Round 2: Work 1 sc in each stitch along the sides, and 2 sc in each corner stitch.
- Adjust the number of stitches for each round as the base grows, ensuring it remains flat without curling.
2. Working the Body
Transition:
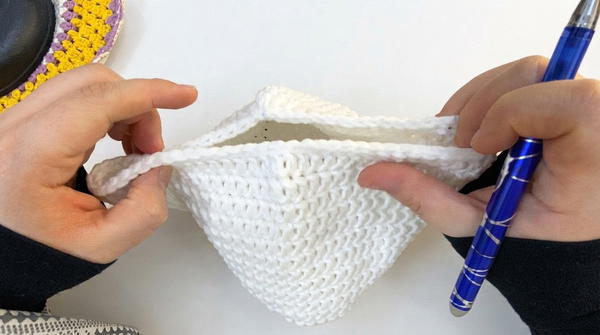
- Once the base is complete, stop increasing and begin working even sc stitches around the perimeter to start forming the bag’s vertical walls.
Pattern Stitches:
- Work in continuous rounds for 66 stitches (or the stitch count of your final base round).
- Use a stitch marker to mark the beginning of each round.
- Continue working sc stitches for both width and height, round by round, until the bag reaches your preferred height.
3. Finishing Touches
Cleanup:
- Fasten off your yarn and secure all tails by weaving them into the inside of the bag using a tapestry needle.
Decoration:
- For personalization:
- Attach a floral embellishment, button, or applique to the front of the bag.
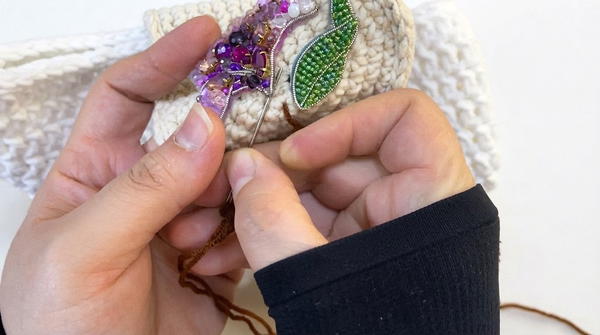
- Use adhesive or sew securely into place for a decorative finish.
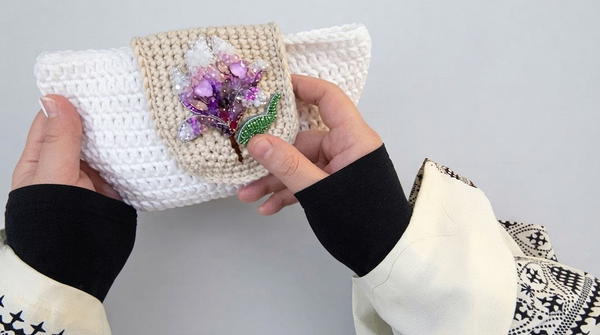
- Attach a floral embellishment, button, or applique to the front of the bag.
- Optional: Add inner linings or small pockets for functionality.
Conclusion
This crochet tote bag pattern is ideal for beginners looking to create a stylish and practical accessory. The durable design, created with single crochet stitches, allows for customization in shape, size, and decoration. With a sturdy base and seamless construction, the tote bag can serve a variety of uses while showcasing the maker’s creativity.