Sort cards and folded notes with this Free Crochet Pattern for an organizer wallet with a front flap pocket and an inside divider to keep everything tidy.
Receipts can quickly bury the card you need at the checkout. With this Free Crochet Pattern for an Organizer Wallet, you have a front pocket with a flap and a zippered main opening with a divider inside. Each part of the wallet gives you a different way to sort the small things you carry during the week.
Simple Crochet Organizer Wallet Free Pattern
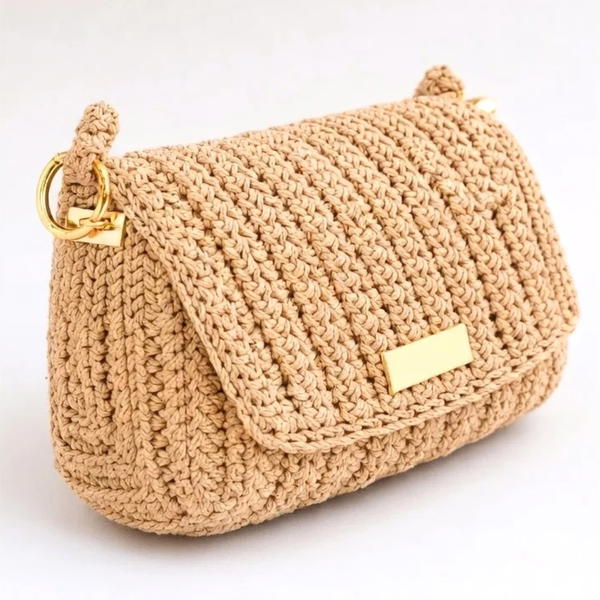
Use the front section for a card you reach for often. Behind the zipper, fold cash on one side of the divider and slip recent receipts on the other. When you open the wallet, you can see where one group ends and the next begins. The flap gives the front a visible shape, and the zipper draws a straight line across the top. Both details show clearly against the ridges in the crochet.
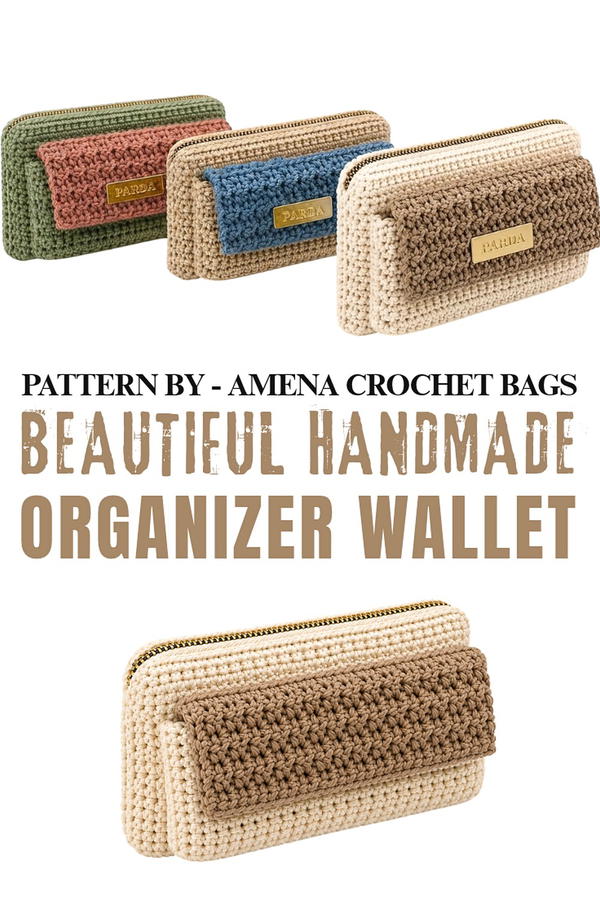
Think about where you’ll keep the finished piece. Someone who moves between a work bag and a weekend purse can shift the entire wallet over in one go and keep the same order inside. At home, it can also hold spare loyalty cards or gift cards you want to remember to use. Cotton macramé yarn gives the stitched body a clear texture. Take a moment to check how the divider sits before filling each side, especially when you plan to carry folded paper as well as cards.
Small Accessories on Promlatex
Smaller accessories have a place on Promlatex. Шнур для вязания. alongside the bags. One project is a mini purse described as a little wallet. Its scale is a useful comparison for readers deciding between a piece they can carry on its own and one they can tuck inside a purse.
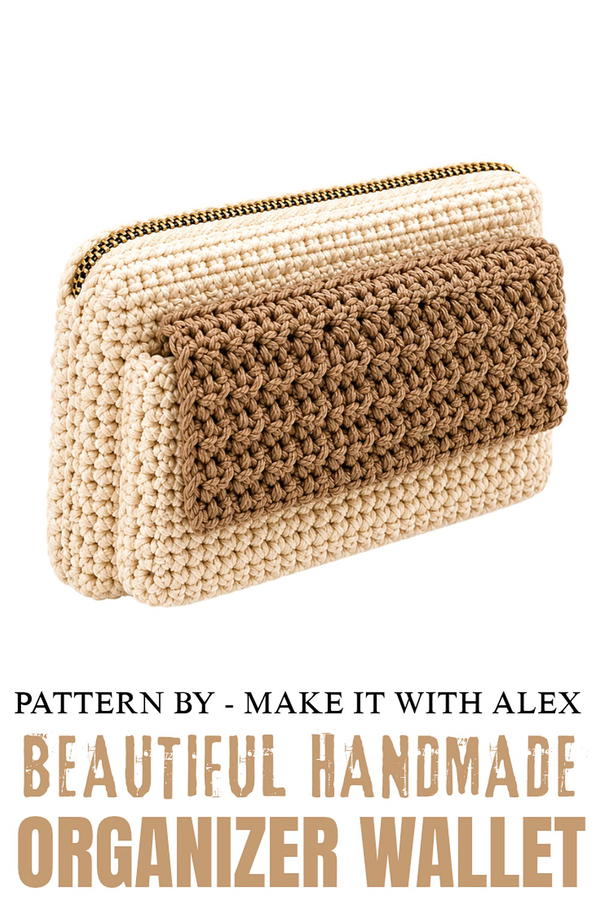
Multi-Pocket Crochet Wallet Pattern
This multi-pocket crochet wallet is a versatile and elegant accessory that combines functionality with a chic appearance. It is lightweight yet spacious, thanks to multiple compartments, a secure zipper, and a stylish magnetic closure. Made using cotton macramé yarn, this wallet is both durable and visually appealing.
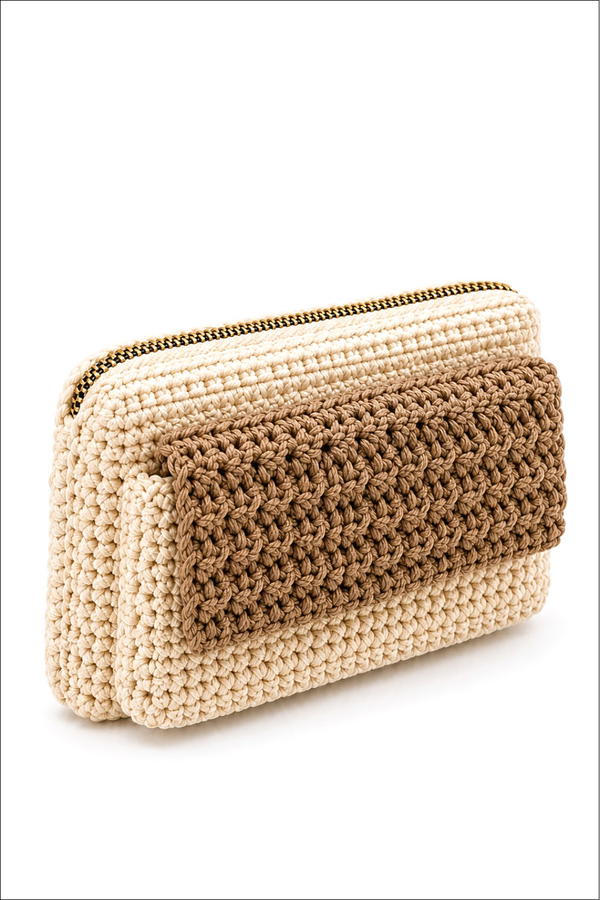
Skill Level
Intermediate – While the individual stitches are basic, assembling the pockets, sewing the zipper, and securing the sides require precision and careful attention to detail.
Materials
- Yarn: Cotton macramé yarn (approximately 250 grams).
- Hook Size: 5 mm crochet hook.
- Magnetic closure: 1 piece.
- Zipper: About 6 cm longer than the wallet's width.
- Thread for sewing: Clear plastic thread for securing the pockets and zipper.
- Tapestry needle: For sewing and finishing the wallet.
- Scissors.
Stitch Abbreviations
- ch = chain
- sc = single crochet
- hdc = half double crochet
- sl st = slip stitch
Useful Tips
- Consistent Tension: Maintain an even stitch tension throughout to ensure the wallet retains its shape and that all sections fit together properly.
- Sewing the Zipper: When sewing, ensure stitches are evenly spaced and in a straight line for a clean look.
- Aligning Pockets and Flap: Use markers or pins to maintain accurate positioning when joining or sewing parts together.
- Macramé Thread Finishing: Always secure knots and hide thread ends neatly for a polished final product.
Step-by-Step Instructions
1. Front Pocket
Foundation Chain
- Make a slip knot and ch 31.
Row 1
- From the second ch from the hook:
- Work 30 sc across.
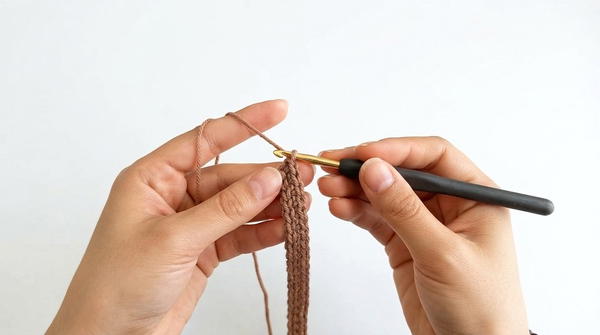
- Work 30 sc across.
Rows 2–14
- Ch 1, turn.
- Work 30 sc in both loops (standard sc) for a total of 14 rows.
2. Adding Depth to the Pocket
Side and Bottom Edges
- Work along the side edge of the pocket:
- Begin by making 1 ch as the first stitch.
- Skip the first row edge and place sc in the second row edge.
- Work 1 sc in each row edge for a total of 14 sc on the side.
- At the bottom edge (starting chain):
- Work 30 sc into the back loops of the chain.
- Move up the second side:
- Work 14 sc, one for each row edge.
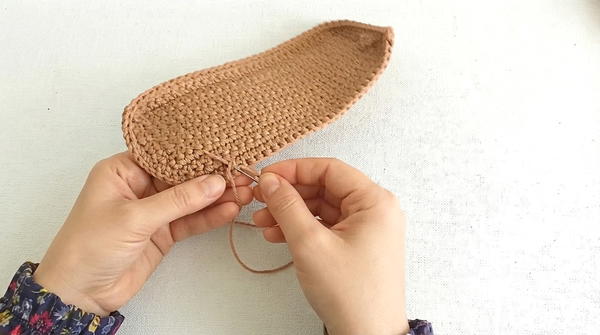
- Work 14 sc, one for each row edge.
Total stitches per round: 58.
Optional Extra Depth
- Work another 1 or 2 rounds of 58 sc to add depth to the pocket, depending on your preference.
Finishing
- Cut the yarn and weave in the ends.
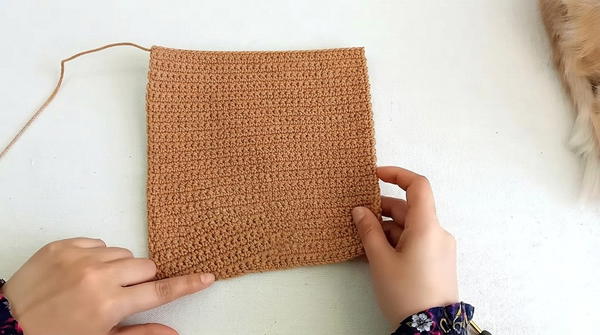
3. Magnetic Closure on the Pocket
- Attach one part of the magnetic closure directly to the pocket:
- Mark the center of the pocket width to ensure alignment.
- Place the closure securely in the middle.
4. Pocket Flap
Foundation Chain
- Switch to a contrasting yarn color (optional).
- Make a slip knot and chain 31.
Row 1
- From the second ch from the hook, alternate the following stitches:
- Hdc in the first chain, and
- Sl st in the next chain.
- Repeat across the row.
- End with a sl st and ch 1, then turn.
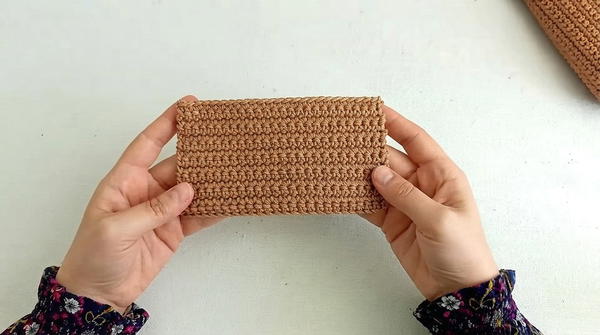
Rows 2–14
- For each row:
- Begin with an hdc, then sl st in the next st. Alternate the two stitches across.
- End with a sl st and ch 1 at the end of each row.
Finishing
- Cut the yarn and weave in the ends.
5. Main Wallet Body
Foundation Chain
- Make a slip knot and ch 37.
Rows 1–44
- Start in the second ch from the hook:
- Work 36 sc across.
- Ch 1, turn, and repeat for a total of 44 rows.
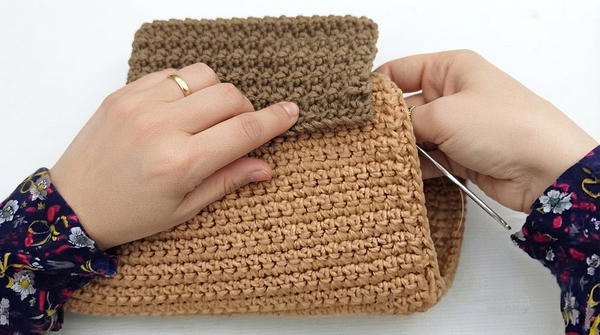
6. Adding Depth to the Main Body
Side and Bottom Edges
- Work along the first side:
- Begin with 1 ch, skip the first row, and place 18 sc evenly along the edge.
- Create rounded corners:
- Alternate between 1 sc in 3 rows and 2 sc in 2 rows.
- Repeat this pattern until reaching the midpoint.
- Bottom edge:
- Work 36 sc into the back loops of the starting chain.
- Second side:
- Repeat the same pattern on this side:
- 18 sc in the first section, alternate increasing as above, and finish with 36 sc at the bottom.
- Repeat the same pattern on this side:
Finishing
- Cut the yarn and secure it by pulling through.
7. Inner Pocket
- Create a separate panel:
- Work a piece 26 sc wide and 14 rows high.
Attaching the Inner Pocket
- Position the pocket:
- Place it 4 rows from the top edge and 5 stitches from the side.
- Sew the pocket:
- Use clear plastic thread and a needle.
- Sew row-to-row and stitch-to-stitch, ensuring neat alignment.
8. Zipper Installation
- Trim the zipper to be 6 cm longer than the wallet width.
- Sew the zipper into place:
- Keep stitches evenly spaced and straight.
- Attach the zipper to both sides using plastic thread.
- Attach the zipper pull and secure both ends by sewing the edges of the zipper closed.
9. Attaching the Pocket Flap
- Position the flap 3 stitches from the side and approximately on the fourth row.
- Sew the flap into place:
- Use stitch-to-stitch sewing, ensuring alignment with the pocket.
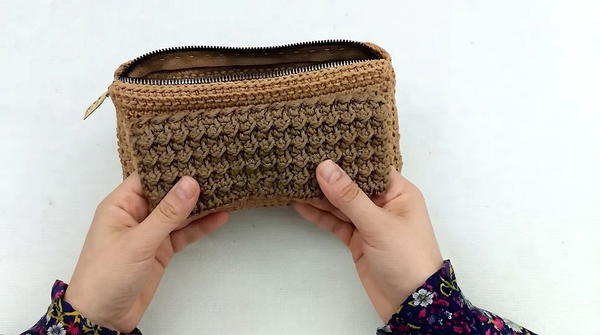
- Use stitch-to-stitch sewing, ensuring alignment with the pocket.
10. Closing the Wallet Sides
- With macramé yarn:
- Skip 2 middle stitches to create a gap for folding.
- Sew the sides stitch by stitch.
- Leave the last 2 stitches unsewn, then secure the end:
- Tie a knot, hide the end, and repeat on the other side of the wallet.
Conclusion
This multi-pocket crochet wallet is practical, lightweight, and stylish. With dedicated sections for cards, a zipper compartment, and a flap pocket secured with a magnetic closure, it is perfect for organizing small essentials. Experiment with different yarn colors and closures to personalize the design!