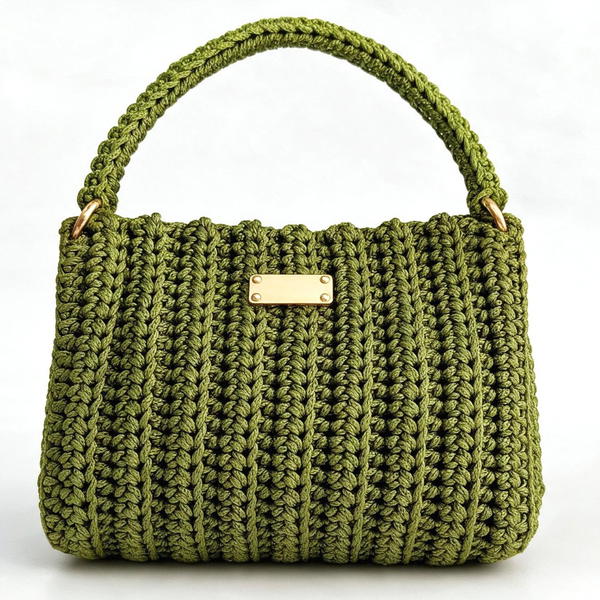
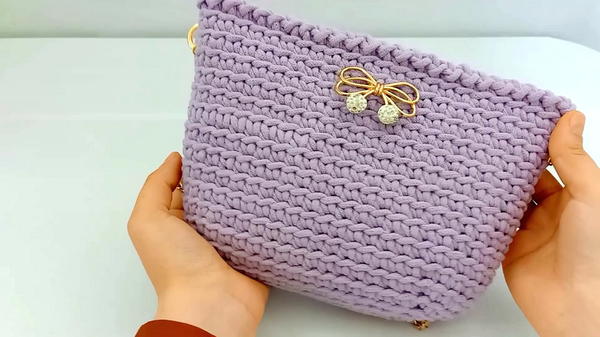
Dress up for Eid with this Free Crochet bag Pattern for a lilac purse with a gold bow, a slim chain and rows of raised stitches that give the front texture.
Gold hardware can set the tone for an outfit, even when it takes up very little space. In this Free Crochet bag Pattern, a slim chain and a bow on the front give the lilac piece a dressier look. The bow sits just below the top edge, where its two small ends catch the light. Horizontal rows of raised stitches run across the front and around the softly rounded lower corners.
Eid Outfit Idea With This Free Crochet bag Pattern
Originally presented as an Eid bag, the piece works well when you need only a few items for a visit or a meal out. The finished body measures about 22 centimeters wide and 17 centimeters tall. Think of the things you usually take to a gathering, such as a flat card case and a lipstick, when deciding how much you want to carry. The chain links are finer than the stitches, which keeps the strap from drawing attention away from the bow.
Behind the Lilac Bag
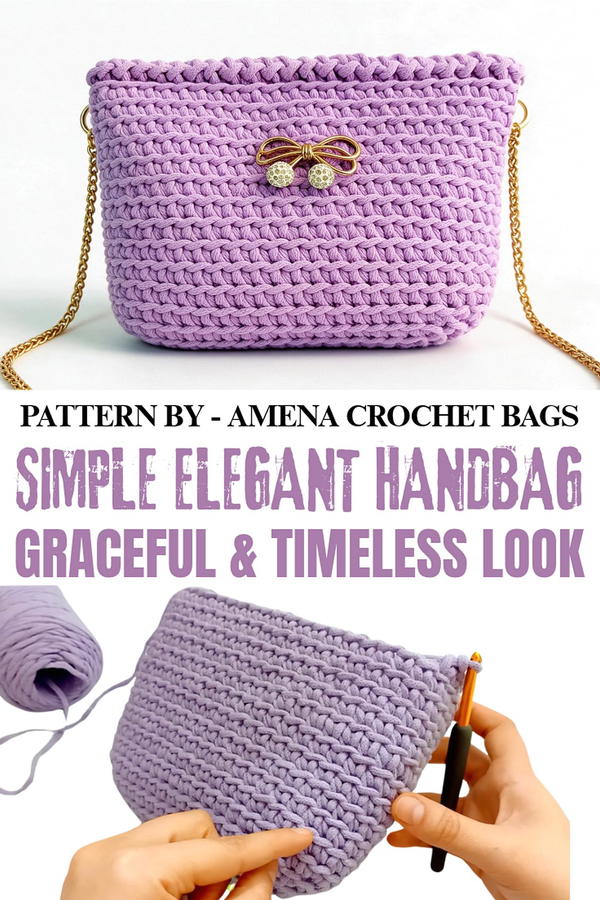
For a look at finishing choices, Amena Crochet Bags pairs the lilac stitches with a gold chain and a bow. Amena presents this as a beginner project and lists the cord size alongside the bag measurements. Those details help viewers plan the body and understand the scale of the hardware.
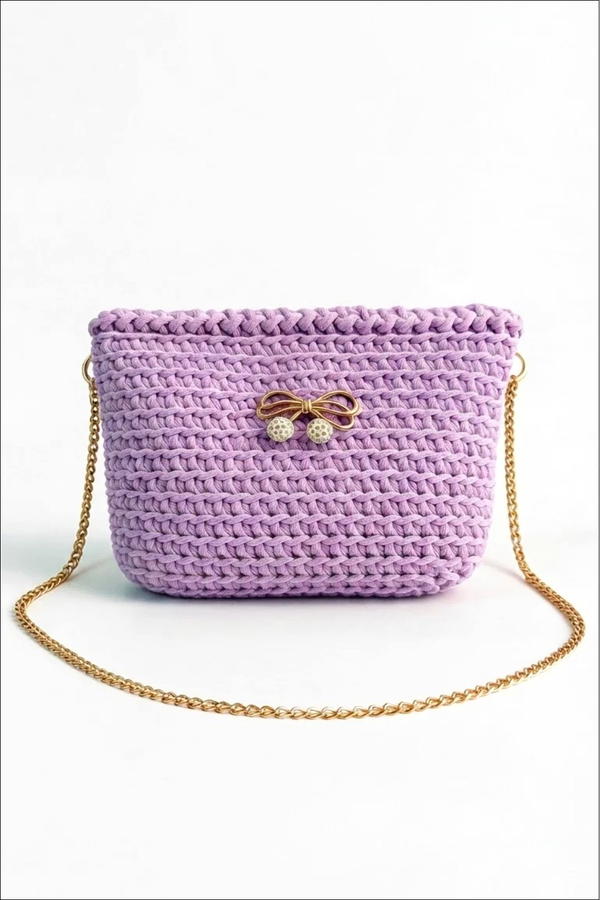
Lilac sits nicely next to a cream blouse or a gray coat, so the bag can work with clothes you wear throughout the year. With a solid dress, small gold earrings can pick up the color of the chain. Thick cotton cord gives the body its shape, and the simple rows leave a clear space for the bow to stand out.
Crochet Round Bag Pattern
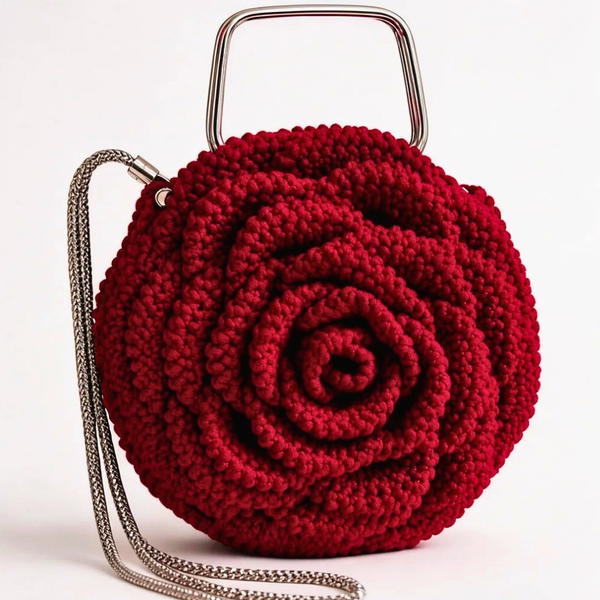
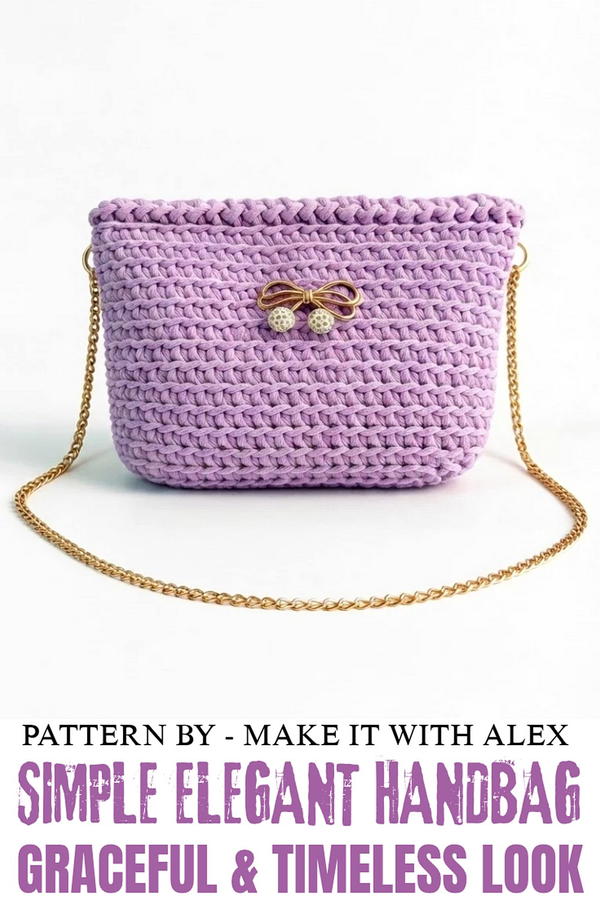
This crochet pattern guides you through creating a simple yet elegant round bag, perfect for Eid or any festive occasion. The design features basic stitches, allowing crocheters to achieve a smooth and professional finish. The addition of a zipper provides practicality while enhancing its aesthetic appeal.
Skill Level
Beginner to Intermediate
This pattern requires knowledge of single crochet (SC), increases, slip stitches, and working in rounds.
Materials
- Yarn: Cotton cordon thread, 5 mm thick (approximately 250 grams or 80 meters).
- Hook Size: 6 mm crochet hook.
- Additional Tools:
- Scissors.
- Zipper of suitable length (customizable based on bag size).
- Needle and thread for sewing the zipper.
Stitch Abbreviations
- Ch: Chain
- Sc: Single Crochet
- Sl St: Slip Stitch
Useful Tips
- Mark Stitch Beginnings: Use a stitch marker for the first stitch of each round to ensure accuracy when working in continuous rounds.
- Consistent Tension: Maintain an even tension throughout to create a clean, uniform bag structure.
- Zipper Precision: Measure the zipper length before attaching it to ensure proper fitting and alignment.
- Bag Size Customization: Adjust the base rounds or the total number of rows to change the size of the bag.
Pattern Instructions
Bag Base
Foundation Chain:
- Start with a slip knot and crochet 14 Ch stitches.
Round 1:
- Starting in the second chain from the hook, crochet 12 Sc stitches along the chain.
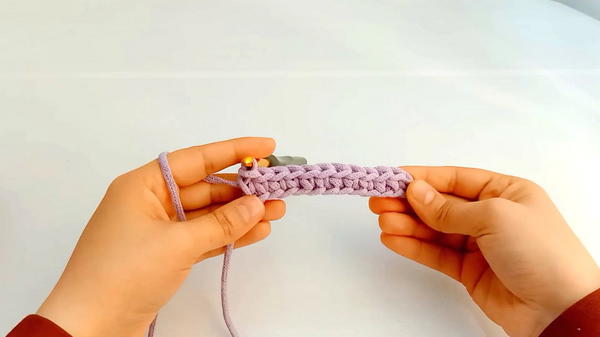
- In the last chain, work 3 Sc stitches into the same space to form a rounded edge.
- Continue crocheting 12 Sc stitches along the underside of the chain.
- In the starting chain, crochet 3 Sc stitches into the same space to complete the round.
- The first round should have 30 stitches total.
Round 2:
- Begin the round with 1 Sc into the back loop of the first stitch. Mark this stitch to indicate the beginning of the round.
- Continue working 12 Sc stitches into the back loops along the flat side of the bag.
- On the rounded edge, make 3 increases (2 Sc stitches into the same stitch for each increase). The stitch count for the rounded side increases from 3 to 6 stitches.
- Crochet 12 Sc stitches into the back loops on the opposite flat side.
- Make 3 increases on the opposite rounded edge to match the previous one.
- By the end of this round, the stitch count should increase to 36 stitches.
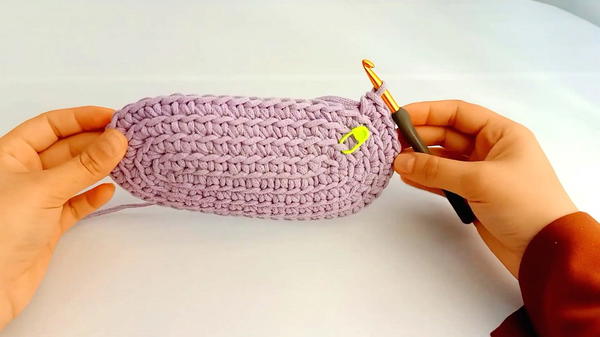
Round 3:
- Begin crocheting 12 Sc stitches, then on the rounded edge:
- Alternate 1 Sc and 1 increase (2 Sc in the same stitch) for 3 times.
- The number of stitches on the rounded edge increases from 6 to 9 stitches.
- Continue working 12 Sc stitches along the flat side.
- Repeat 1 Sc and 1 increase (2 Sc) for 3 times on the opposite rounded edge.
- The total number of stitches for Round 3 will be 42 stitches.
Round 4:
- Crochet 12 Sc stitches along the flat side.
- On the rounded edge, alternate 2 Sc stitches and 1 increase (2 Sc into the same stitch) for 3 times. This increases the number of rounded edge stitches from 9 to 12 stitches.
- Continue working 12 Sc stitches along the opposite flat side.
- Repeat 2 Sc stitches and 1 increase for 3 times on the opposite rounded edge.
- The total number of stitches in this round will increase to 48 stitches.
Body of the Bag
Round 5 through Round 15:
- Work 1 Sc stitch into each stitch around, without any increases or decreases.
- Continue to crochet until the height of the bag reaches approximately 16 cm.
Final Round for Edge
- Begin with Sl St in the first stitch, followed by 1 Ch stitch.
- Work Sl St into the next stitch, then 1 Ch stitch.
- Repeat this sequence (Sl St, Ch) to create a neat edge around the top of the bag.
- After completing the round, cut the thread and finish the edge securely.
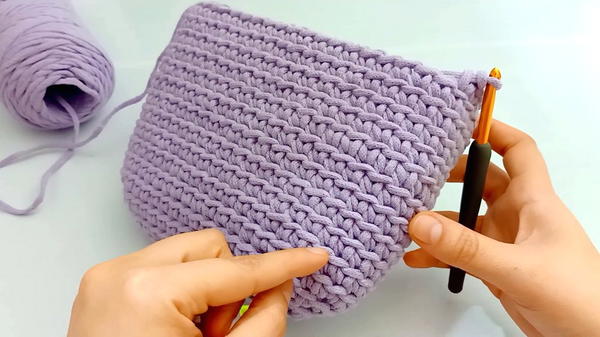
Zipper Attachment
- Measure the required zipper length to fit the bag’s opening. Trim or adjust the zipper if necessary.
- Align the zipper with the bag opening. Bend the starting end of the zipper downward for a clean finish.
- Use a needle and thread to sew the zipper along the edge of the bag. Ensure the stitching is even and secure to prevent gaps or misalignment.
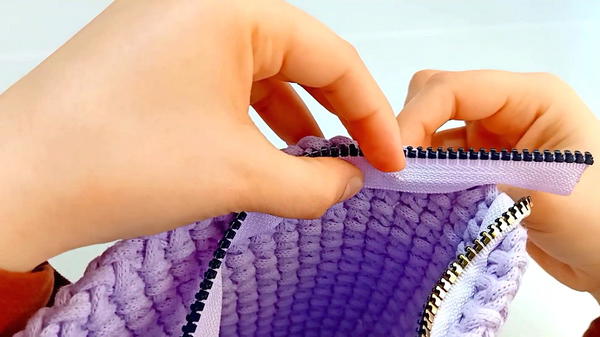
Finished Dimensions
- Bag Height: Approximately 16 cm.
- Bag Diameter: Customizable following the foundation and base rounds.
Conclusion
This Eid bag combines simplicity with elegance, making it a functional option for festive or everyday use. Its sturdy cotton cordon thread ensures durability, while the neat slip stitch edge and zipper closure add a polished finish. The pattern is adaptable, allowing for changes in size, color, or additional embellishments based on personal preference.