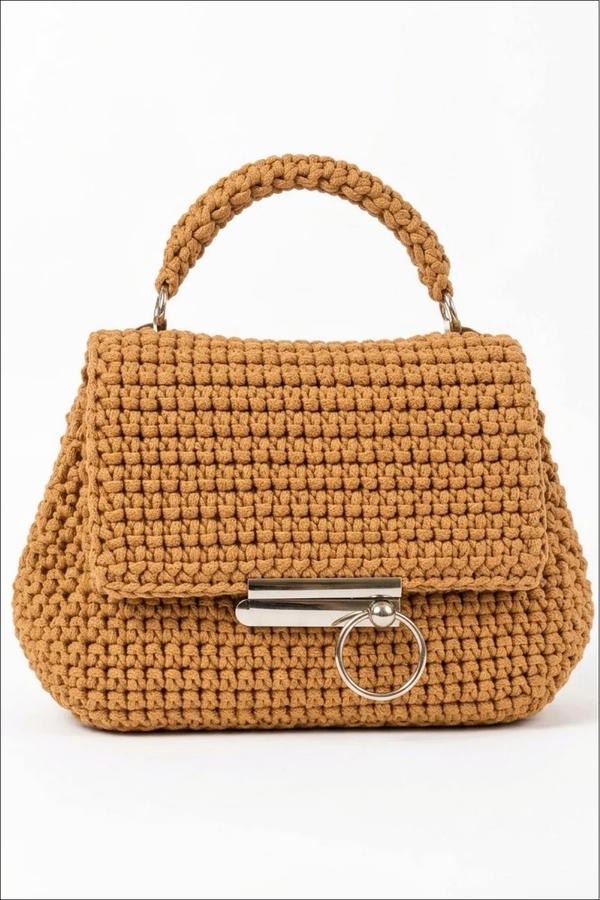
Give your next accessory a neat finish with this Free Crochet Handbag with Lining featuring a curved handle, a front lock, and room for your daily essentials.
Loose keys and small items can be awkward to carry in a bag with exposed stitches inside. With this Free Crochet Handbag with Lining, a separate fabric interior covers the back of the crochet. Outside, the warm tan cord gives the bag a tidy, even texture. Its curved top handle and wide front flap draw the eye to the metal lock.
Caramel Free Crochet Handbag with Lining and a Front Lock
At roughly 25 by 18 by 8 centimeters, the sample has enough depth for a small wallet and other items you carry often. Check the size of your phone and glasses case before deciding what to put inside. A compact shape like this works well when you want to carry a few things in one hand. It also goes well with a buttoned coat or a plain dress for lunch out.
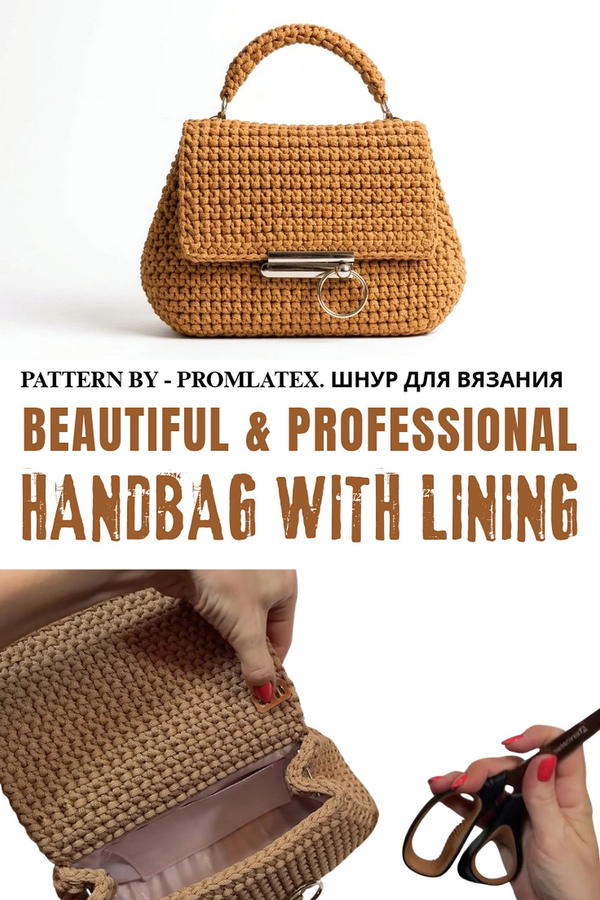
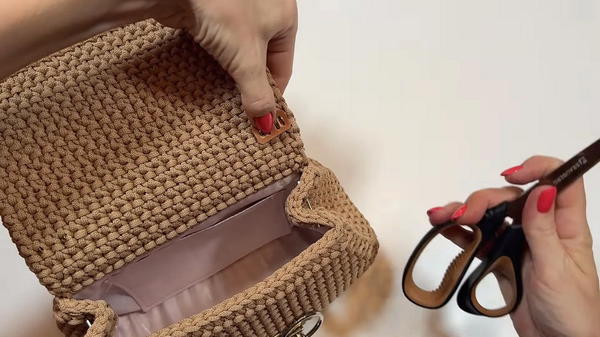
The outer bag is worked with 4 mm polyester cord and a 4 mm hook. After the crochet is finished, several details still need attention, including the handle fittings and the sewn lining. Before sewing, fit the fabric inside and smooth it into the lower corners. This is a good time to check where the lining meets the flap so the bag closes cleanly. Once everything is fitted, the rows of crochet stay visible outside and the inside looks tidy whenever you open it.
The Channel Behind the Lined Bag
Finishing is a large part of this Promlatex project. The channel covers the cord body along with the fabric interior, handle fittings, and front lock. Viewers who mainly work with yarn can see how hardware and sewing fit into a crochet bag while keeping the stitches visible across the outside.
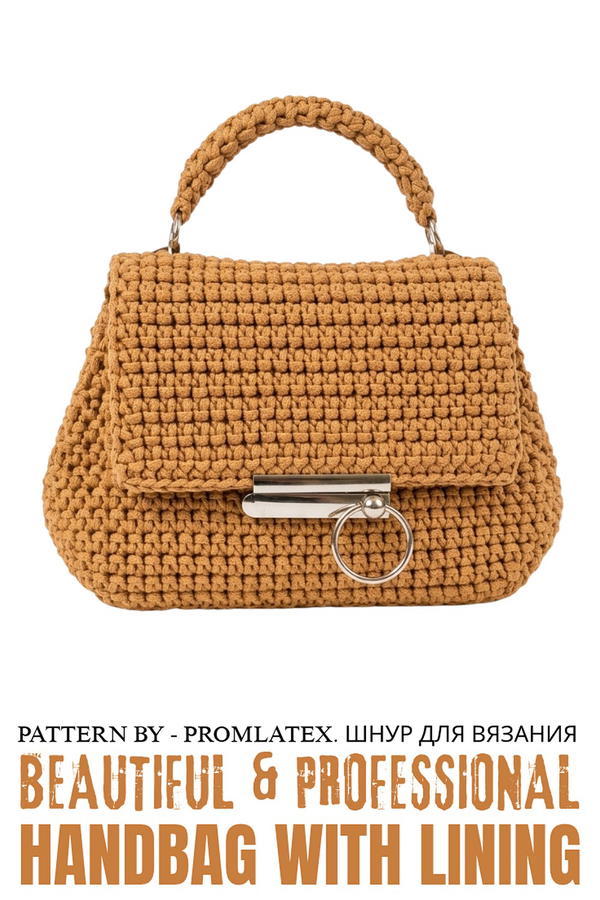
Crochet Lined Polyester Cord Handbag Pattern
This guide details the steps to create a sturdy, elegant handbag using polyester cord, complete with interior lining and hardware settings for a refined finish. The handbag is an excellent accessory characterized by a compact and durable design with options for both hand and shoulder carrying. The finished size is approximately 25 x 18 x 8 cm, making it versatile for everyday use.
Skill Level
Intermediate
This project is ideal for crocheters with experience working with polyester cord and assembling pieces. The pattern involves shaping trapezoidal panels, lining assembly, using hardware, and basic sewing skills.
Materials
- Polyester Cord: 4 mm thick (approximately 350 meters).
- Crochet Hook: 4 mm.
- Bag Hardware:
- Bag lock (screw-in type).
- 2 handle holders.
- 2 rods.
- 2 carabiners.
- Lining Fabric: Fabric for lining and interfacing. Interfacing is recommended to reinforce the pocket.
- Additional Tools:
- Markers for panel alignment and sewing.
- Needle and thread for hand sewing.
- Scissors.
- Lighter to seal the cord ends.
Stitch Abbreviations
- ch = chain
- sc = single crochet
- sl st = slip stitch
Useful Tips
- Sealing Cord Ends: Use a lighter to gently melt and seal the ends of the polyester cord to prevent fraying.
- Shaping: Pay close attention to the increases and decreases in the panels for ensuring the bag’s trapezoidal shape.
- Lining Assembly: Pin or use markers to hold the lining fabric in place before sewing to achieve clean and accurate edges.
- Ergonomics: Crochet with a relaxed grip to manage the stiffness of polyester cord, reducing strain on your hands and wrists.
- Hardware Installation: Use a screwdriver for securely fastening the lock and handle hardware, ensuring all components are tightly fixed.
Step-by-Step Pattern
1. Front and Back Panels
These panels form the main body of the handbag.
Foundation:
- Begin by working ch 25 stitches.
Row 1:
- Work 25 sc into the back humps of the chain.
- This creates a clean edge for the bottom of the bag.
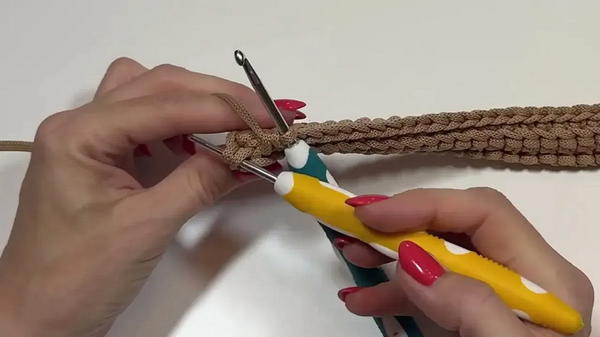
Rows 2-8 (Expansion):
- Increase at both the start and end of every row by adding 1 stitch.
- This gradual increase will create a trapezoidal shape, crucial for the bag’s structure.
- Ensure the stitch counts for each row progressively increase to match this shape.
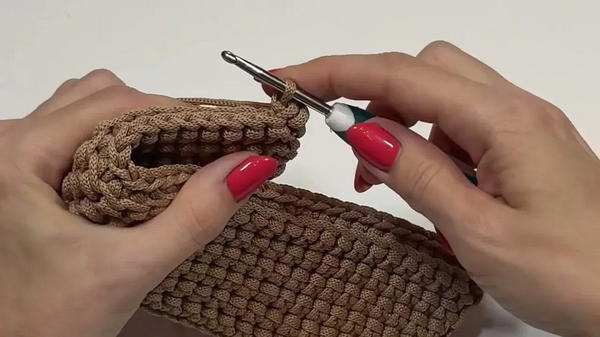
Rows 9-13 (Main Body):
- Work evenly without increasing (33 stitches in each row).
- These rows define the main section of the panel.
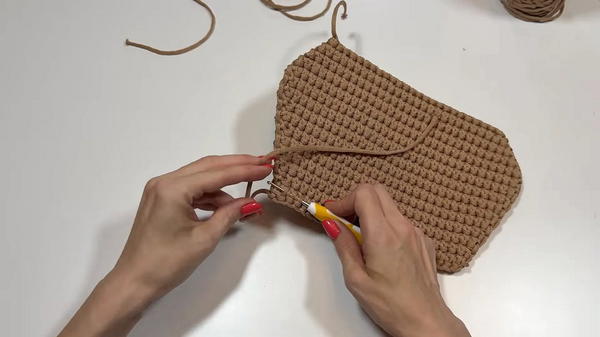
Rows 14-26 (Tapering):
- Start tapering the shape by decreasing stitches at the beginning and end of each row using sl st as needed.
- Continue until the row count decreases down to 25 stitches, restoring the original foundation width.
Rows 27-29 (Closing):
- Complete the shape with 25 evenly worked sc stitches in each row.
2. Side and Bottom Panel
This panel connects the front and back panels while providing the bottom base of the bag.
Foundation:
- With a double-stranded cord, work ch 10 stitches for the base width.
Body:
- Work 94 rows of 10 sc each to create a single continuous strip.
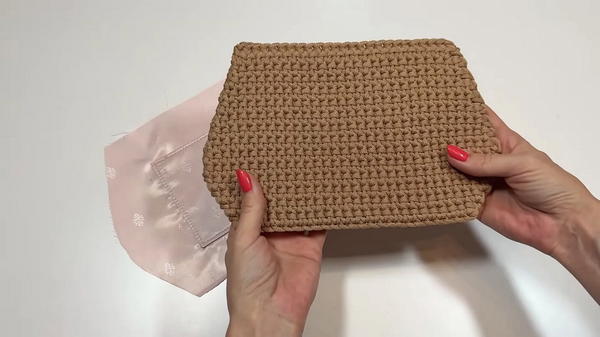
- This strip will run along both sides and the bottom of the bag, forming an uninterrupted panel.
Closure:
- Finish the 95th row with a decorative edge of sl st across the strip.
- This step provides a smooth transition and seals the base panel edges.
3. Lining and Assembly
Pocket:
- Cut a piece of lining fabric to 17 x 24 cm for the pocket.
- Sew the pocket onto the larger lining fabric, reinforcing the edges with interfacing for durability.
Attaching the Lining:
- Pin or use markers to secure the lining to the inside of each crocheted panel.
- Sew the lining to the crocheted fabric, ensuring clean edges for a professional finish.
Panel Construction:
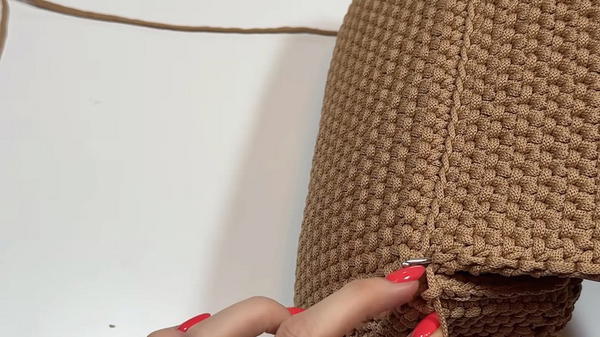
- Use markers or pins to align the rows of the front and back panels with the side/bottom panel.
- With the cord, sew or crochet the panels together securely. Ensure the stitches are tight and sturdy to prevent gaps.
4. Finishing Details
Flap:
- Attach the flap to the top edge of the back panel.
- Work 31 rows of even sc stitches to create the closing flap.
Perimeter Edging:
- Add sl st around the entire opening to cleanly connect the flap to the side panels.
Hardware Installation:
- Rods for Carabiners: Attach rods to both sides of the bag for the long strap using screw-in hardware.
- Bag Lock: Install the lock mechanism onto the front flap and body, adjusting placement to ensure proper alignment.
- Handle Holders: Securely attach handle holders to each side of the bag.
Handles and Straps:
- Short Handle: Crochet a 16 cm handle using single crochet stitches, ensuring durability. Attach it to the handle holders with the help of the carabiners.
- Shoulder Strap: Crochet a 90 cm strap, ensuring consistency with the handle design. Attach this strap to the rods via the carabiners.
Conclusion
This trapezoidal lined handbag combines the structural durability of polyester cord with stylish hardware details to achieve a modern, elegant look. Practical for various occasions, the bag’s spacious interior, along with a snug flap and hardware-secured straps, makes it functional as well as aesthetic. Customization options for lining fabric, strap length, and decoration allow for a unique personal touch with every design. By following this pattern, you can create a versatile and long-lasting handbag that reflects your craftsmanship and style.