Treat your outfits to a Free Crochet Luxury Handbag Pattern with a refined look, fine crochet detail, and an elegant finish for special plans and daily wear.
Luxury can come from careful finishing rather than a designer label. With this Luxury Handbag Free Crochet Pattern, the appeal lies in giving an everyday accessory a more dressed-up character through its texture and overall shape. A polished bag usually depends on the little decisions people notice up close. Straight edges, even tension, and a balanced body all contribute to a cleaner result.
Elegant Luxury Handbag Free Crochet Pattern for Special Outings
Creative Voice: magic knots
For people drawn to polished accessories, magic knots is a helpful place to browse. The channel's selection reaches beyond one handbag shape, with clothing and smaller yarn projects too. Looking through these varied designs can spark thoughts about proportion, texture, and the little details that give an item unique character.
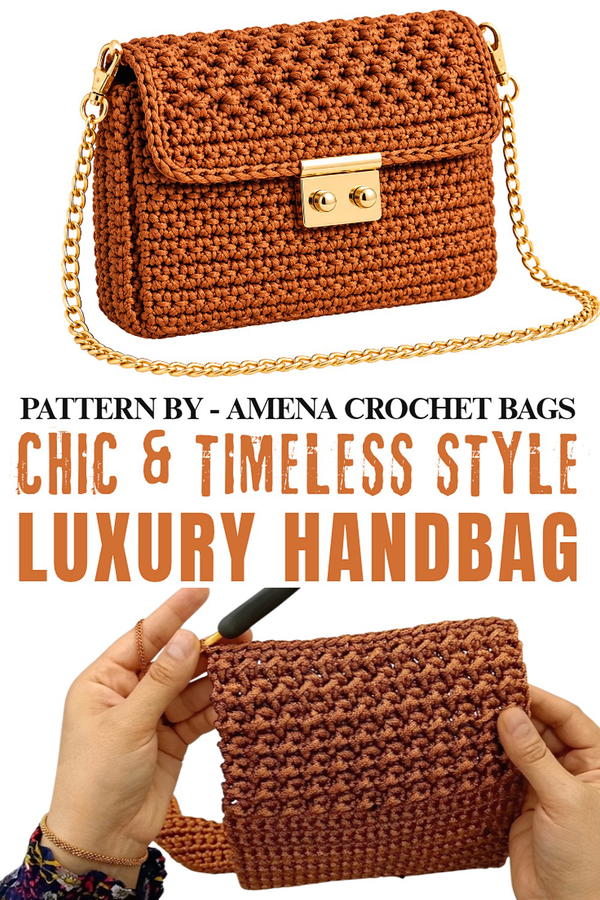
Crochet gives the surface depth, so the bag does not need busy decoration to look interesting. You might prefer a rich solid shade for a classic feel, or a soft neutral tone that suits several outfits. Both choices allow the stitches to remain visible.
Consider carrying a bag like this with tailored trousers and a blouse for dinner, or pairing it with a long dress for a family gathering. It can also sit beside a simple outfit when you want one accessory to look a bit more formal. The word luxury here describes the style rather than a promise about expensive materials or a specific type of hardware.
Before finishing, check that the handles feel comfortable and that the opening suits what you plan to carry. Taking care with the final seams matters more than extra decoration. The result is a crochet handbag that feels thoughtful and elegant without being difficult to style with the rest of your wardrobe.
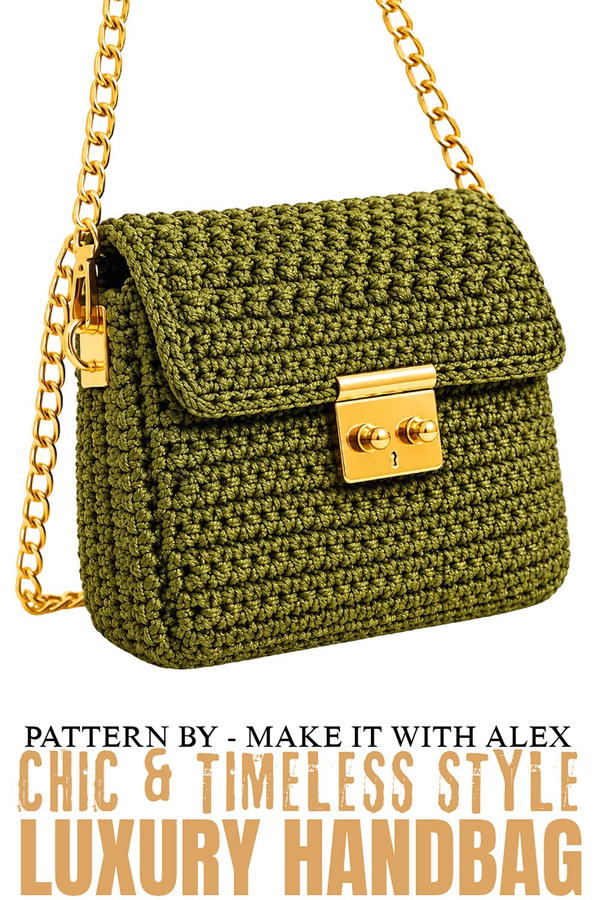
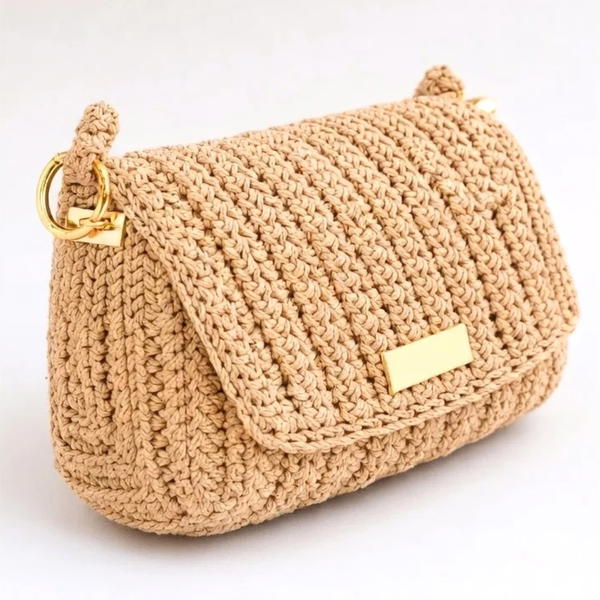
Simple Crochet Bag with Flap Pattern
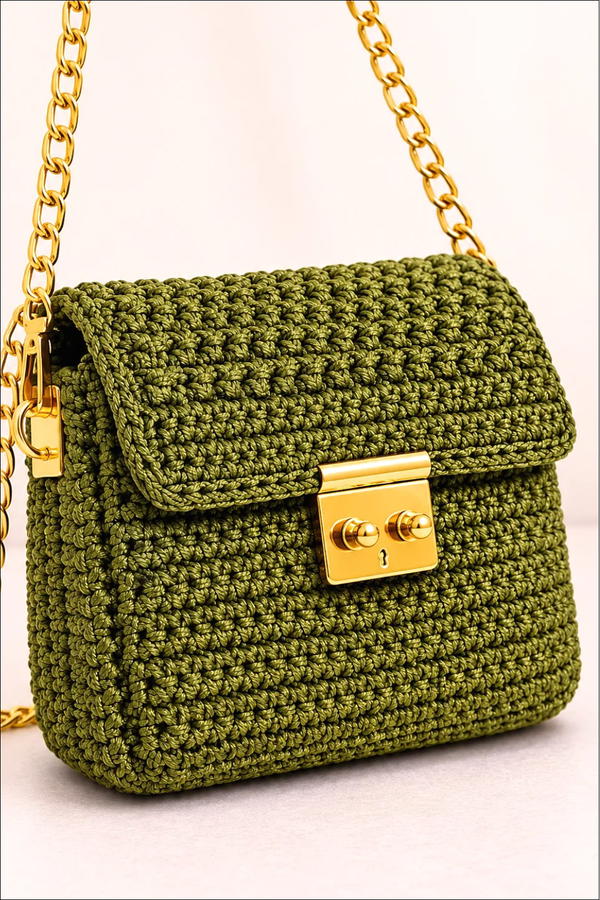
This simple crochet bag design is both functional and elegant, making it an excellent accessory for any occasion. Crafted with durable cord yarn and featuring a sleek flap closure, it is designed to accommodate beginners and intermediate crocheters alike. The geometric simplicity of this pattern ensures its versatility, allowing for customization in size and color.
Skill Level
Beginner to Intermediate – This pattern requires familiarity with fundamental stitches like single crochet (sc), slip stitch (sl st), and basic shaping techniques using chains and rows.
Materials Needed
- Yarn: 3 mm cord yarn, approximately 400 grams.
- Hook: 5 mm crochet hook.
- Stitch Markers: To keep track of rows and edges.
- Scissors: For cutting the yarn.
- Tapestry Needle: Optional, for weaving in ends.
Stitch Abbreviations
- ch = chain
- sc = single crochet
- sl st = slip stitch
- hdc = half double crochet
Useful Tips
- Consistent Tension: Work consistently to ensure a neat and uniform appearance, especially with cord yarn.
- Keep Edges Straight: Be mindful of stitch counts at the beginning and end of each row to maintain clean and straight bag edges.
- Customization: Adjust the bag’s width and height by changing the number of foundation chains and working additional rows.
- Seam Placement: When joining the sides, work carefully to align rows and stitches properly for a polished finish.
- Secure Joining: Use tight slip stitches to ensure durability along the bag seams.
Step-by-Step Pattern Instructions
1. Front Panel (Rows 1–18)
The front panel serves as the baseline for the bag and determines its width and height.
Foundation Chain:
- Step 1: Start with a slip knot and chain 25 ch (or customize according to desired bag width).
Rows 1–18:
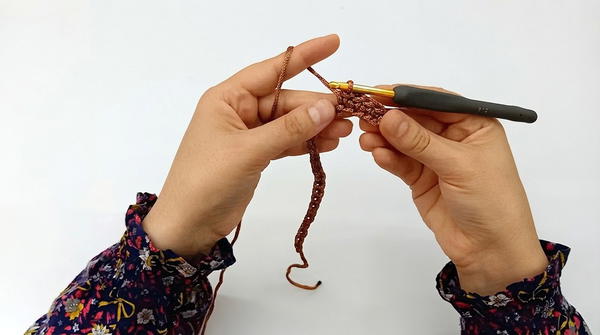
- Row 1: Starting from the second chain from the hook, work 24 sc in both loops.
- Row 2: Chain 1, turn your work, and work 24 sc in both loops across.
- Repeat Row 2 until you have completed 18 rows or until the desired panel height is reached.
Measurements for Reference:
- 18 rows = 13 cm in height.
- 24 stitches = 20 cm in width.
- Step 2: After completing 18 rows, cut the yarn.
2. Side Panel and Rows 19–25
The next section connects the bag’s front panel to its side panel.
Foundation Chain:
- Step 1: Make a slip knot and chain 19 ch (this matches the number of rows in the front panel plus one chain).
Row 19:
- Step 1: Work 19 sc directly into the front panel at Row 18, continuing in both loops.
Row 20:
- Step 1: Chain 20 (includes 1 turning chain) to bridge across the full bag width.
Rows 21–25:
- Turn your work and proceed as follows:
- First 5 stitches: Work 5 sl st in the back loops only.
- Next 52 stitches: Work 52 sc in both loops.
- Last 5 stitches: Work 5 sl st in back loops only.
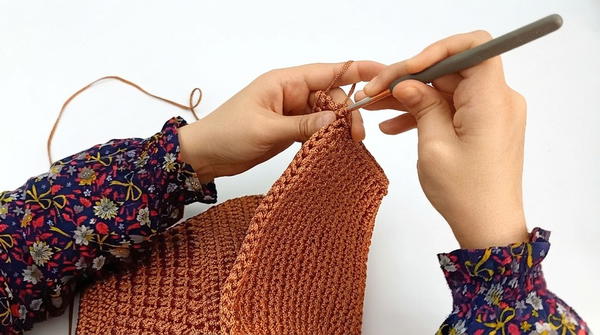
Repeat this structure for all rows, ensuring consistency for the side panel and edges.
Important Notes:
- Slip stitches (sl st) at the edges create a clean, defined border.
- After Row 25, cut the yarn.
3. Back Panel (Rows 26–44)
Row 26:
- Step 1: Reattach the yarn to the stitch after the first 19 stitches of the side panel.
- Step 2: Work 24 sc across in both loops.
Rows 27–44:
- Chain 1, turn, and repeat 24 sc per row for a total of 19 rows. This matches the front panel in shape and size.
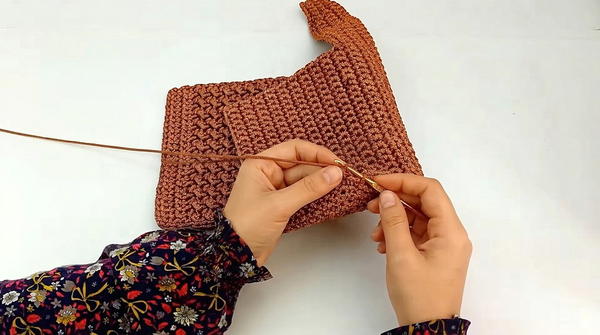
4. Flap Section (Rows 45–61)
The flap is worked in a decorative half double crochet (hdc) and slip stitch (sl st) pattern.
Row 45:
- Step 1: In the first stitch: Work 1 hdc.
- Step 2: In the next stitch: Work 1 sl st.
- Continue alternating hdc and sl st for the remainder of the row.
The row ends with 1 sl st.
Rows 46–57:
- Step 1: Chain 1, turn, and start each row with hdc, followed by alternating hdc and sl st.
- Repeat for 13 rows total. The last stitch of each row will always be 1 sl st.
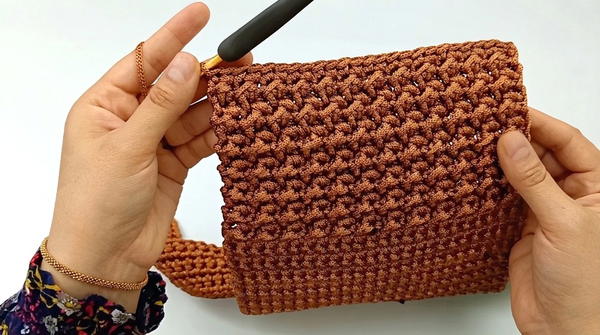
Rows 58–61 (Finishing Rows):
- After completing the decorative sections, work 4 rows of sc to finish the flap section neatly.
5. Seam Work (Joining)
Slip Stitch Border:
- After the flap, chain 1 and skip the first row, then work 1 sl st into the edge of each row.
- This creates a total of 17 sl st along the flap edge when counting the starting chain.
Joining the Sections:
- Start by joining the bag sides using sl st.
- Work 19 sl st to join the side panel rows with the front/back panels.
- On the base of the bag, work 24 sl st to connect the starting chains.
- Repeat the above steps for the second side panel—aligning rows and edges carefully.
- When joining the flap, continue with 17 sl st along its edge and finish with 24 sl st across the flap’s end.
Conclusion
This crochet bag pattern is both simple and versatile, making it an ideal project for crocheters eager to practice fundamental techniques. With a structured body, clean slip-stitched seams, and a decorative textured flap, this bag is perfect for daily use or gifting. The minimalist design leaves room for personalization—experiment with colors, yarn types, or embellishments to make it uniquely yours.