Sort loose coins, cards and folded bills with this Free Crochet Wallet Pattern featuring a zip top and an inside pocket that keeps small items easy to find.
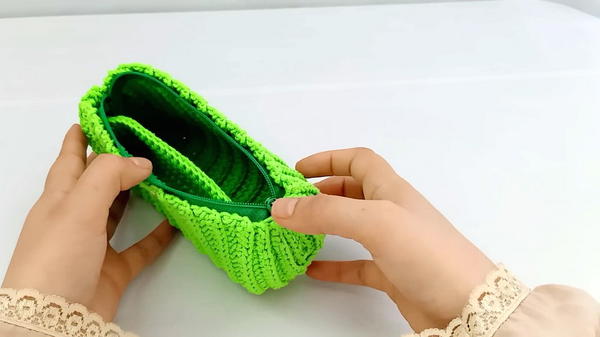
Anyone who has tipped out a coin pouch to find one card will appreciate a second place to put things. This Free Crochet Wallet Pattern has an inner pocket and a wider main space. Slide a card or folded receipt into the pocket and put coins in the larger area. The zipper closes across the top, so both stay inside when the wallet is tucked into a tote.
Zippered Free Crochet Wallet Pattern With an Inside Pocket
About the Wallet Tutorial
Organization takes center stage in this wallet from Amena Crochet Bags. Amena shows the pocket, so viewers can see where it sits in relation to the zipper and the main compartment. The green and orange samples have different widths, giving viewers a choice when planning a pouch for their essentials
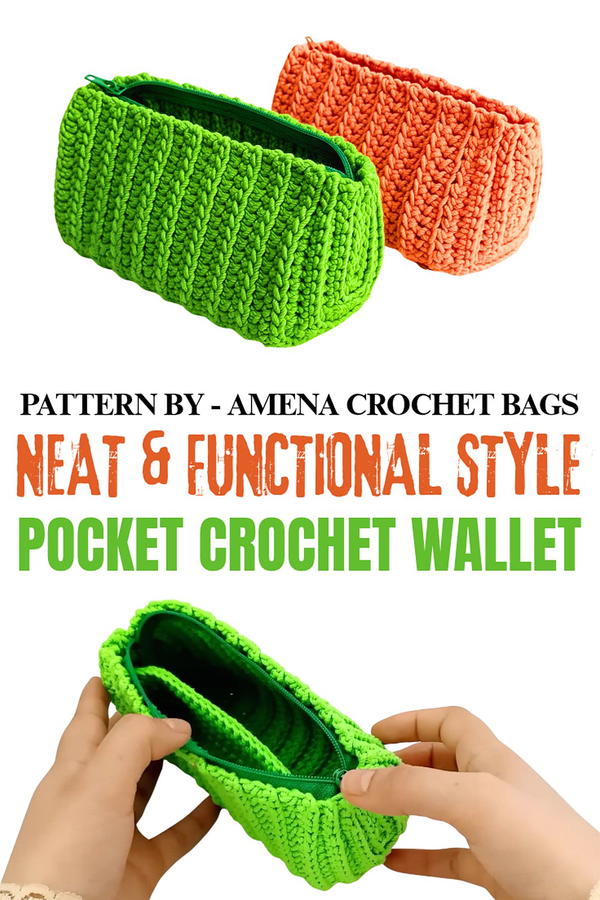
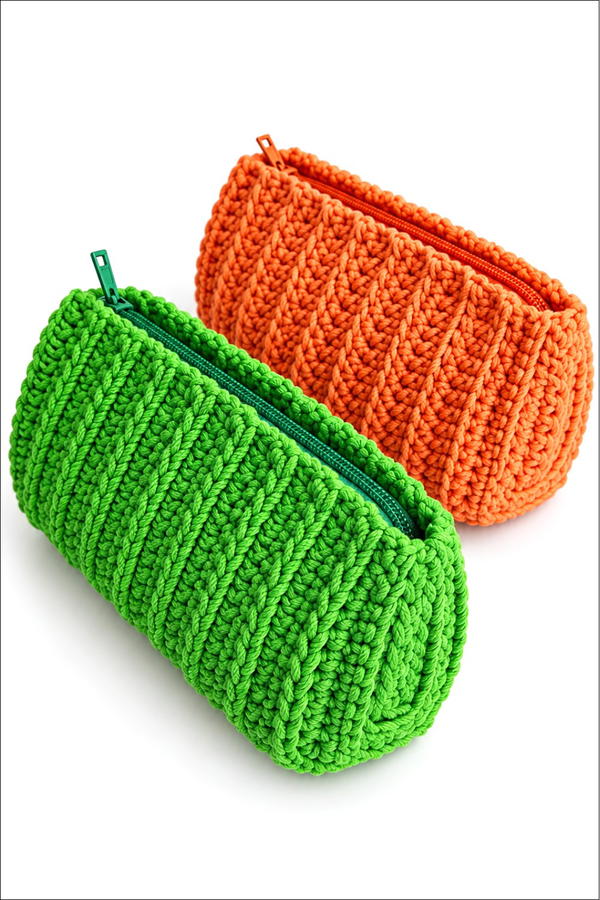
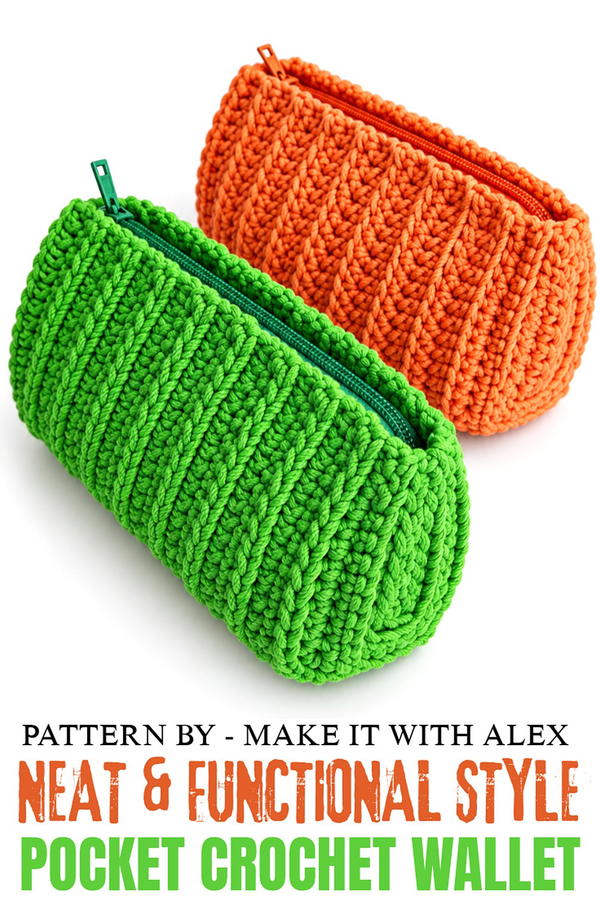
Orange and green versions show the texture of the stitches clearly. The end panels round out near the base and give the wallet a fuller shape, while the zip edge stays close to the top. The orange piece measures about 13 centimeters wide, and the green one is about 15 centimeters wide. Both are listed at roughly 8 centimeters tall and 6 centimeters deep. That small difference across the front gives you a choice between a more compact size and a little extra width.
Where you keep it can help you choose the color. Orange is easy to spot inside a dark backpack, and green works well when you want to tell this pouch apart from a makeup bag or a glasses case. At home, keep it by the door for spare change you take on quick trips. It also suits a small gift with a note tucked into the inner pocket.
Simple Crochet Wallet Pattern
This pattern provides a straightforward approach to creating a functional and stylish crochet wallet. With a structured pocket, neat slip stitch edges, and zipper closure, this wallet is perfect for keeping cards, coins, or small items organized. The design is customizable to create larger or smaller versions depending on the user’s needs.
Skill Level
Intermediate
This pattern utilizes basic and slightly advanced crochet techniques, including single crochet (SC), half-double crochet (HDC), slip stitches (Sl St), and decreases.
Materials
- Yarn: 3 mm cotton macrame thread.
- Hook Size: 5 mm crochet hook.
- Additional Tools:
- Scissors.
- Plastic thread for sewing the edges.
- Zipper suitable for the width of the wallet.
- Needle for sewing the zipper and edges.
Stitch Abbreviations
- Ch: Chain
- HDC: Half-Double Crochet
- SC: Single Crochet
- Sl St: Slip Stitch
- Dec (One stitch over 3 stitches): Single crochet decrease worked by crocheting into three adjacent stitches.
Useful Tips
- Customization: The size of the wallet can be adjusted by increasing or decreasing the foundation chain and the number of rows for both sections.
- Sewing the Zipper: Install the zipper before completing the side closure for easy and clean sewing.
- Edge Stitching: Use a plastic thread for sewing to ensure the edges stay firm and well-structured.
- Measure Regularly: Check your work against the desired dimensions throughout the project to ensure accuracy.
Pattern Instructions
Part 1: Wallet Width – Front Panel
Foundation Chain:
- Create a slip knot and crochet 26 Ch stitches (adjustable to the desired wallet width).
Rows 1–10:
- Starting in the second chain from the hook, crochet 25 SC stitches across the chain.
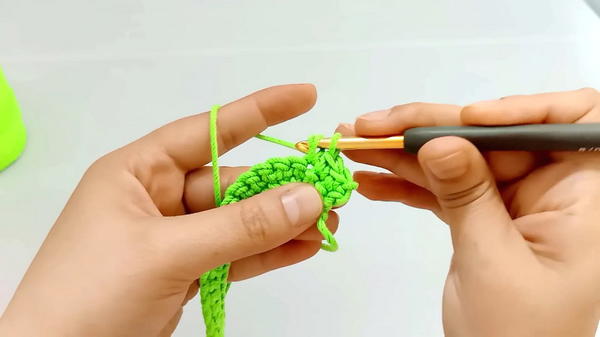
- Continue for a total of 10 rows, maintaining 25 SC stitches per row.
- This section determines the wallet width. Adjust the width by adding or subtracting starting chains and rows as needed.
Part 2: Wallet Pocket – Back Panel
Foundation Chain:
- Make 42 Ch stitches.
Row 1:
- Starting in the third chain from the hook, crochet 40 HDC stitches.
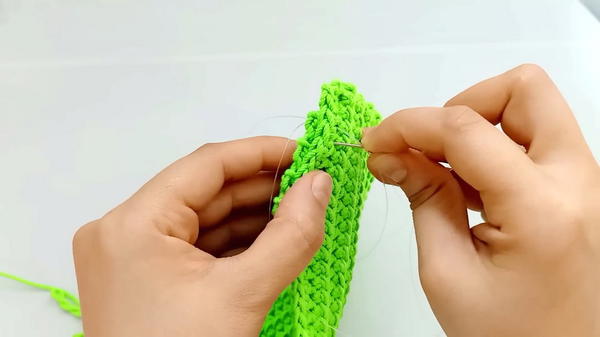
Rows 2–18:
- Begin each row with 2 Ch stitches (serves as the turning chain). Work HDC stitches in the back loop only throughout each row.
- Continue working until a height of 15 cm or 18 rows is reached. This will form the back pocket of the wallet.
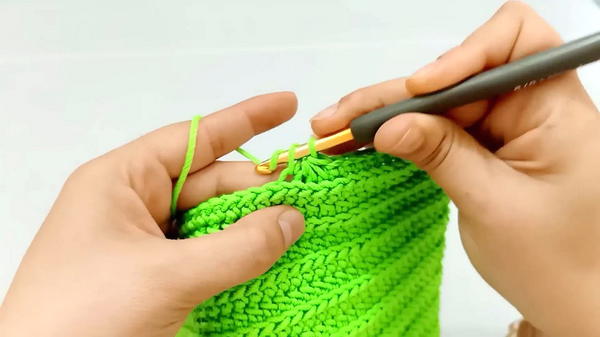
Assembly: Sewing the Pocket
- Leave the thread attached after completing the 18th row.
- Use a plastic thread and a yarn needle to neatly stitch the pocket piece onto the front panel. Ensure both pieces align along all edges.
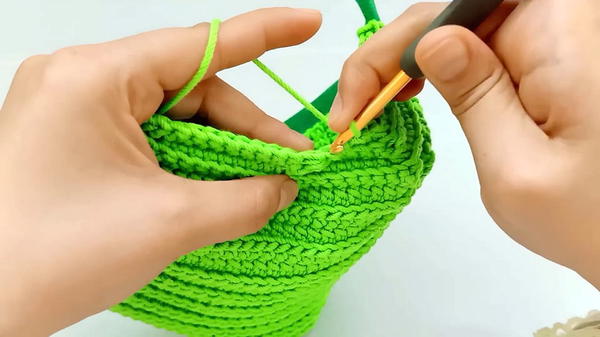
- Secure the base and side edges of the pocket to create the first section of the wallet.
Optional Smaller Wallet:
- For a smaller wallet variation, start the pocket width with 20 SC stitches and create 14 rows for this section.
- You can install the zipper at this point before the final assembly for better control during sewing.
Part 3: Shaping the Side Panels (Rows 1–5)
Row 1 (First Side):
- Attach the thread. Ch 1 and work the first row as follows:
- 3 Sl St in the back loop.
- Work 10 SC stitches in the back loop.
- Make 1 decrease (one stitch over 3 stitches).
- Work 8 SC stitches along the base.
- Perform another decrease, then crochet 10 SC stitches.
- End the row with 3 Sl St.
Row 2:
- Ch 1 and start with 3 Sl St in the back loop.
- Crochet 9 SC stitches.
- Perform 1 decrease, followed by 6 SC stitches.
- Make 1 decrease, continue with 9 SC stitches, and finish with 3 Sl St.
Row 3:
- Ch 1 and begin with 3 Sl St in the back loop.
- Crochet 8 SC stitches.
- Perform 1 decrease, followed by 4 SC stitches in the back loop.
- Make another decrease, finish with 8 SC stitches, and end with 3 Sl St.
Row 4:
- Ch 1 and begin the row with 3 Sl St in the back loop.
- Crochet 7 SC stitches.
- Perform 1 decrease, work 2 SC stitches, and then do another decrease.
- End the row with 7 SC stitches in the back loop and 3 Sl St.
Row 5 (Final Row):
- Ch 1, begin with 3 Sl St in the back loop.
- Crochet 6 SC stitches.
- Perform 2 consecutive decreases (each is a single crochet decrease worked over 3 stitches).
- Work 6 SC stitches and complete the row with 3 Sl St.
- At the end of this row, you will have 20 stitches total. Ensure you leave some thread before cutting for sewing the side edges.
Sewing the Side Edges:
- Fold the edges and align them side by side. Sew stitch-by-stitch to close the side neatly.
Complete the Second Side Panel:
- Repeat Rows 1–5 for the opposite side of the wallet, ensuring symmetry.
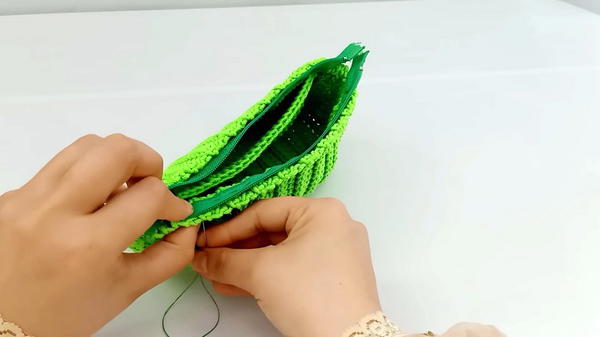
Zipper Installation:
- Ensure the zipper matches the width of the wallet.
- Attach the zipper to your wallet using a needle and thread, ensuring a secure and neat finish.
- Install the second half of the zipper onto the other side of the wallet.
Optional Round with Slip Stitches
- Tie the thread at the edge of the wallet.
- Crochet 26 Sl St stitches along the front panel.
- Work 20 Sl St stitches along the edge.
- Crochet 26 Sl St stitches back across the opposite panel edge and 20 Sl St stitches along the second side edge.
- For a clean finish, work 6 slip stitches on each end, then close the round using the starting stitch.
Creating a Handle (Optional)
- Begin by crocheting 40 Ch stitches.
- Work 40 SC stitches in the second chain from the hook.
- Create 2 rows of SC stitches across the row width.
- Fold the strip lengthwise and sew the sides together.
- Attach the completed handle to the wallet securely, one end on each side.
Finished Dimensions:
- Wallet Width: Approximately 25 SC stitches (adjustable) over 10 rows, customizable as per preference.
- Pocket Width: 15 cm, achieved after 18 HDC rows (adjustable).
- Handle (Optional): 40 stitches, customizable for varying lengths.
Conclusion
This crochet wallet design balances functionality and style, allowing for customization to suit different purposes and sizes. The structured pockets and optional zipper make it practical, while the simple yet thoughtful design ensures ease of crafting. With a few modifications, this wallet can be adapted for larger or smaller variations. The handle and additional edge details only enhance its usability and aesthetics.