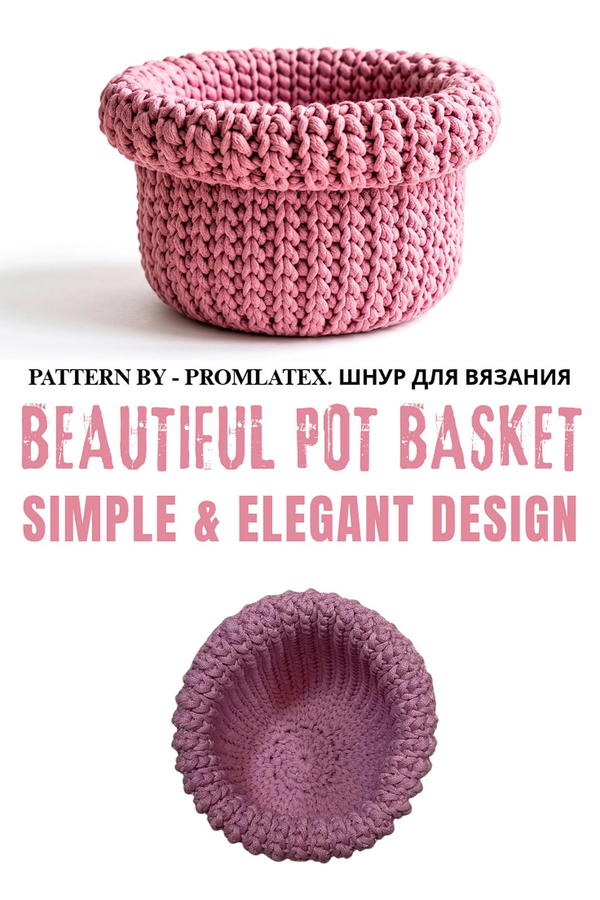
Tidy your shelf with this Free Crochet Pot Basket and use its round shape and thick rim to give small items or a little plant pot a neat spot in your home.
Hair ties, spare clips, and little things from your pockets can quickly cover a shelf. This Free Crochet Pot Basket gives them one spot where you can reach them. Its round body and open top leave the contents easy to see. In the pink version, closely worked rows form the sides, and a thick rim gives the opening a clear edge.
Rounded Free Crochet Pot Basket With a Wide Rim
The project uses 4 mm polyester cord. Its thickness gives the rows a distinct look and makes the curve of the pot easy to see. As you work up from the base, set the basket down once in a while to see how it sits. Checking that the bottom rests flat is especially helpful when the finished basket will stand on a narrow shelf or beside a sink.
More From the Basket Maker
Small storage projects sit alongside the bags on Promlatex. This basket is an example of how the channel uses cord in its home projects. Its project notes name the cord size, amount, and hook, so viewers can plan their supplies before taking on a rounded container with a thick rim.
You can also use the basket as an outer cover for a small plant in its own pot. Keep a saucer underneath the plant, and take the pot out to water it so the cord stays dry. For a desk, fill the basket with charging cables or small office supplies that are easy to lose in a drawer. The wide rim gives the basket much of its character, so leave a little space around it on the shelf where you can see its shape.
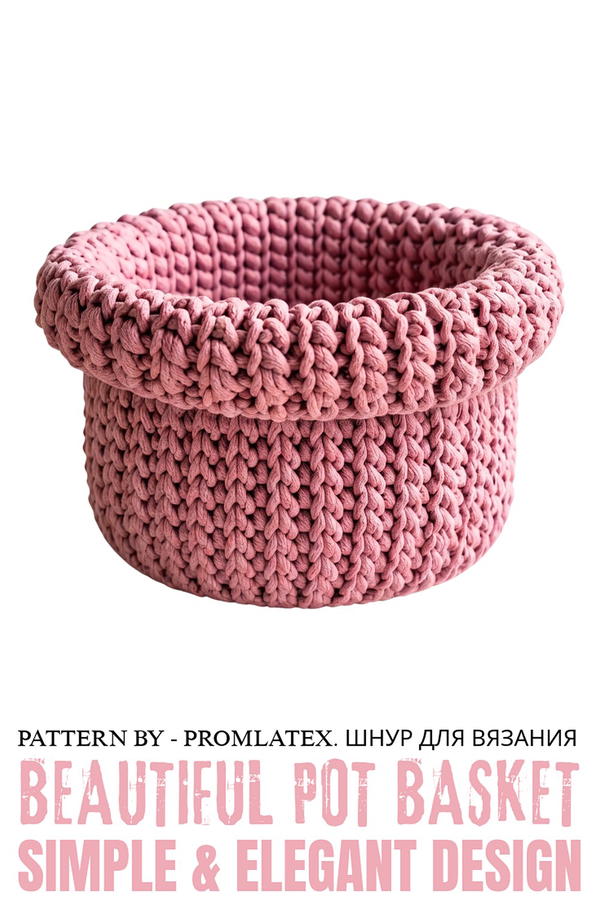
Crochet Curved Edge Basket (Pot) Pattern
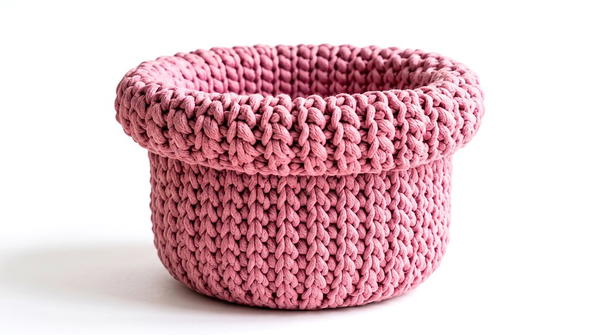
This crochet basket with curved edges combines utility with aesthetics. Its unique shape lends a decorative touch to your workspaces, while the durable polyester cord ensures long-lasting use. Measuring approximately 15–16 cm in diameter and 13–14 cm in height, this basket is perfect for various purposes, such as organizing items or even planting pots.
Skill Level
Intermediate
This project is suitable for intermediate-level crocheters due to its techniques, including slip stitches, half double crochets, creating smooth connections, forming curves, and assembling rapport-based rows.
Materials
- Polyester Cord: Promlatex brand, 4 mm, coreless, approximately 100 meters. Suggested color option: "Tenderness Mix" melange (blended shades).
- Crochet Hook: Size 4 mm.
- Additional Tools:
- Scissors: For cutting excess cord.
- Lighter: To seal cord ends and prevent fraying.
- Markers: For accurate stitch alignment.
Stitch Abbreviations
- ch = chain
- sl st = slip stitch
- hdc = half double crochet
Useful Tips
- Cord Behavior: Place the reel upright for smooth unwinding and keep the cord unraveling counterclockwise to prevent tangling.
- Tightening the Magic Ring: Ensure the ring is pulled snugly to eliminate gaps in the base.
- Shaping Curves: Turn the work properly between rows to maintain smooth edges in the basket's curved structure.
- Choose Melange Cord: The mixed-shade polyester cord adds visual intrigue to the basket's surface.
- Finishing: Use a lighter to neatly seal ends, further securing the cord tails.
Step-by-Step Pattern
1. Base
Foundation Ring:
- Create a magic ring using your preferred method:
- Wrap the cord around your hand to form a crossover loop, then insert the hook under the first cord strand and pull up the second strand to form the ring.
- Work 12 hdc stitches into the ring:
- Start with ch 3 (counts as the first hdc).
- Yarn over, insert the hook into the ring, pull up a loop, and work hdc stitches until you have 12 in total.
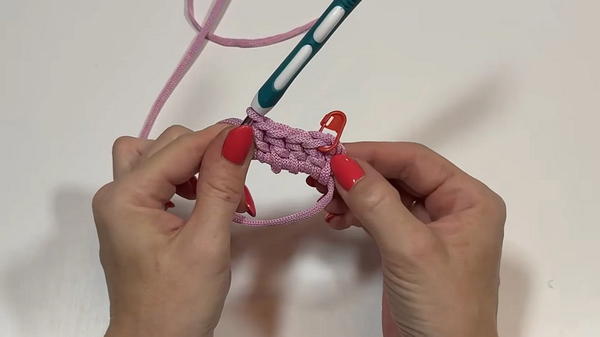
Closing the Ring:
- Pull the tail firmly to tighten the ring.
- Connect the last stitch to the beginning with sl st:
- Insert your hook into the first chain (ch 3) and create the loop to finish the row.
- Ensure there are 12 braids on the perimeter of the base.
Securing the Tail:
- Hide the cord tail by threading it under several jumpers on the reverse side of the base.
- Trim excess and seal the end with a lighter.
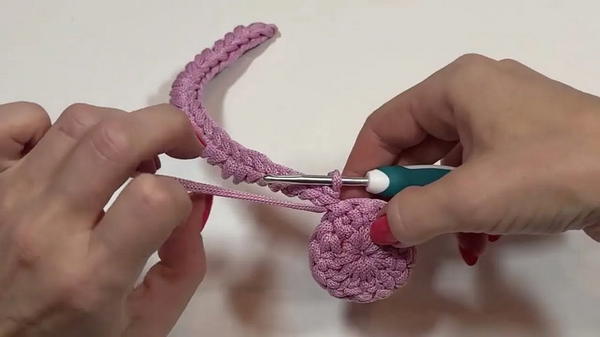
2. Curved Walls
Row 1: Starting Curves
- Insert the hook under the top braid of the base and the back jumper. Pull up a loop and create 24 ch stitches evenly.
- Turn back and crochet sl sts with yarn over starting from the second chain:
- Skip the first ch and insert the hook into the second braid, leaving the bottom of the braid under the hook.
- Yarn over, pull up a loop, and work through two loops on the hook.
- Repeat for 18 stitches.
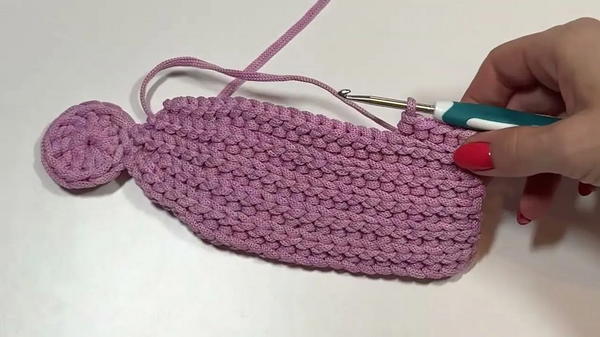
- Regular sl sts (no yarn over): Work the remaining 6 braids on the row.
Row 2: Turning Slip Stitches
- Turn your work left to right so the working cord is at the front.
- Work sl sts back along the top part of each braid. Skip the first braid and start with the second. Complete 23 sl sts.
Row 3:
- Turn your work and repeat:
- 18 sl sts with yarn over in the first part of the row.
- 5 sl sts to finish the row.
Row 4:
- Reverse direction. Skip the first braid on the return row and work 22 sl sts, similar to Row 2.
Row 5:
- Yarn over for 18 sl sts along the row. Add 4 sl sts and attach the work to the base:
- Insert the hook under a jumper on the base and create 2 sl sts to connect.
Row 6:
- Repeat 24 sl sts along the row, skipping the first braid.
3. Repeating the Pattern
- Rapport: The curved wall design consists of six rows that repeat systematically.
- Row 1: 18 sl sts with yarn over, 6 regular sl sts.
- Row 2: 23 sl sts.
- Row 3: 18 sl sts with yarn over, 5 regular sl sts.
- Row 4: 22 sl sts.
- Row 5: 18 sl sts with yarn over, 4 sl sts, attach with 2 sl sts to the base.
- Row 6: 24 sl sts.
- Total Repetitions: Complete 12 repetitions of the six-row set to form the curved basket walls.
4. Final Assembly
Last Connection:
- On the final repetition, attach the top edge directly to the base:
- Use the top part of the braid and jumpers to sew together both ends with connecting loops.
- Ensure alignment of 24 braids and jumpers.
Binding the Top Edge:
- Create a finishing round around the top edge:
- Insert the hook under each braid to create sl sts, pulling loops and finishing with chain stitches.
- Work across the entire perimeter to form the border.
Finishing:
- Seal the cord ends:
- Hide them under several loops and shorter jumpers before cutting off any excess cord.
- Heat-seal the ends with a lighter.
- Shape the basket further by bending the edges inward or outward as desired.
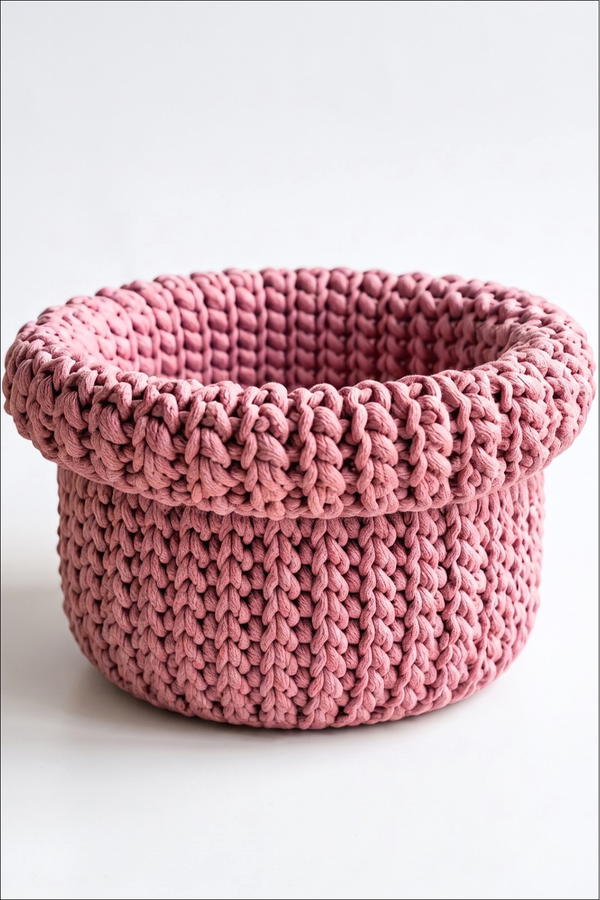
Conclusion
This curved-edge basket showcases an intricate design while remaining functional for everyday use. With a total of 12 repeating rapports, the pattern emphasizes structured curves and clean connections. Polyester cord adds durability, softness, and aesthetic appeal to the finished product. Customize color combinations, cord texture, and size to create baskets for any purpose while applying the same versatile techniques.