 Mint Design Blog



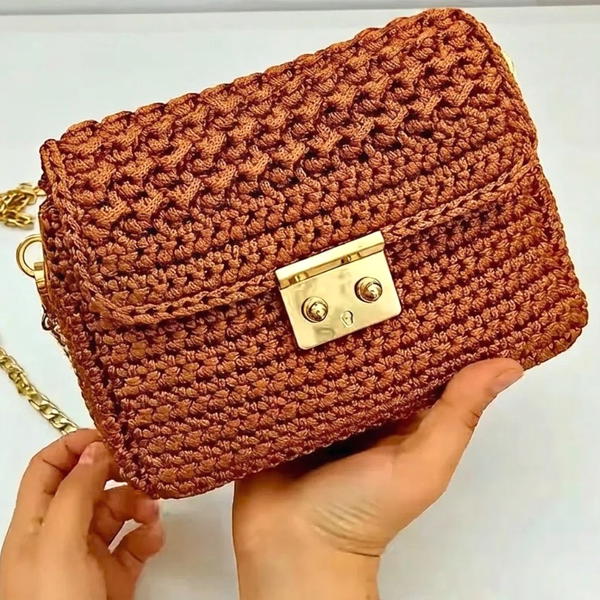
Rushing out the door feels easier when your keys, wallet, and other small essentials have one familiar place. This Flap Handbag Free Crochet Pattern is a lovely option for anyone who likes a soft bag with a tidy fold-over front. The flap is the detail that gives this style its personality. It creates a clear top edge and helps the bag look finished even when the rest of the shape stays simple.
Fold-Over Style with a Flap Handbag Free Crochet Pattern
Where the Idea Comes From
On magic knots, handbags share space with other crochet and knitting projects. The channel gives viewers a range of ideas for pieces they can wear or carry. Its bag-focused videos are especially useful when comparing different shapes, so each new accessory can reflect a different everyday need or personal preference.
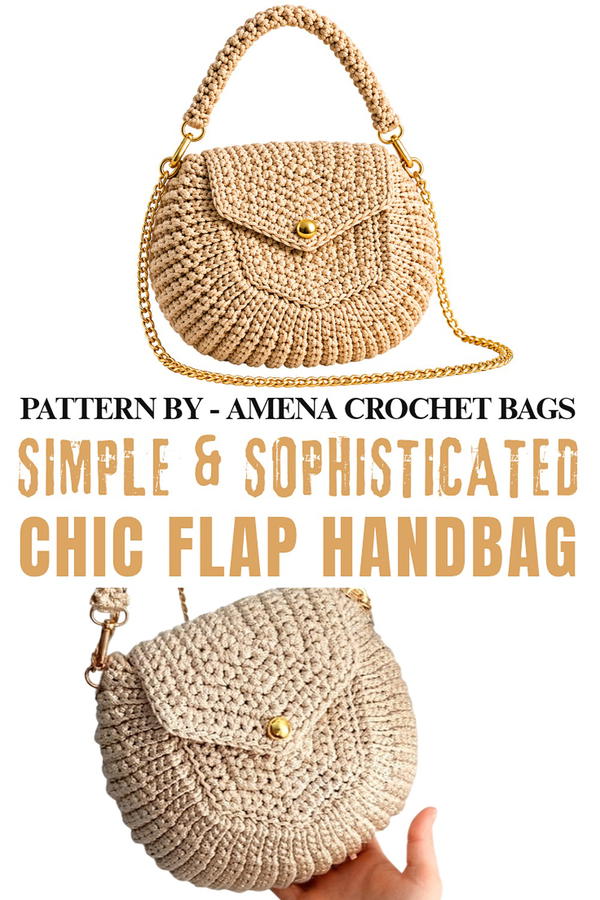
Crochet stitches keep the surface interesting, while a well-shaped body can sit comfortably beside casual clothes. The finished size and type of closure depend on the instructions you follow, so checking those details before starting is worthwhile.
Think of a plain denim outfit, a long everyday dress, or relaxed trousers with a shirt. A flap bag works with each because its shape is familiar without feeling ordinary. One solid color can give it a quiet look, and a stronger shade can stand out against neutral clothes.
While working on the bag, pay attention to keeping the flap even and the edges neat. Those small parts affect how it sits when closed. You can also consider how you prefer to carry a handbag before choosing a strap length. In the end, this piece offers a useful place for everyday items and a personal touch that feels easy to wear.
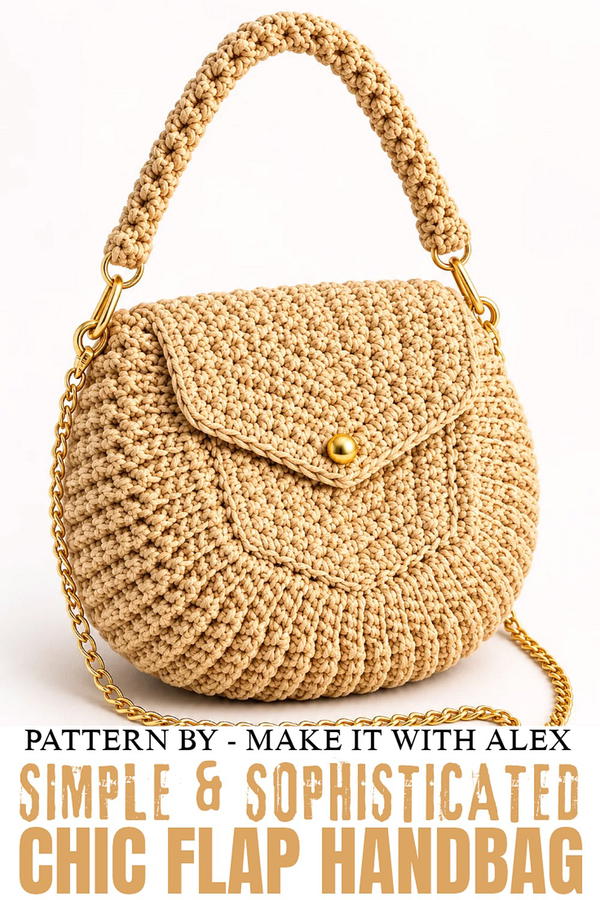
Chic Crochet Medium-Sized Bag Pattern
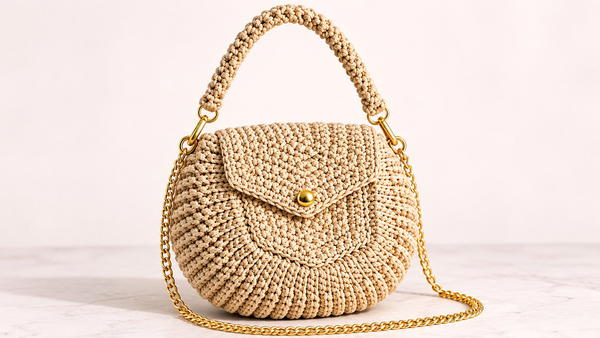
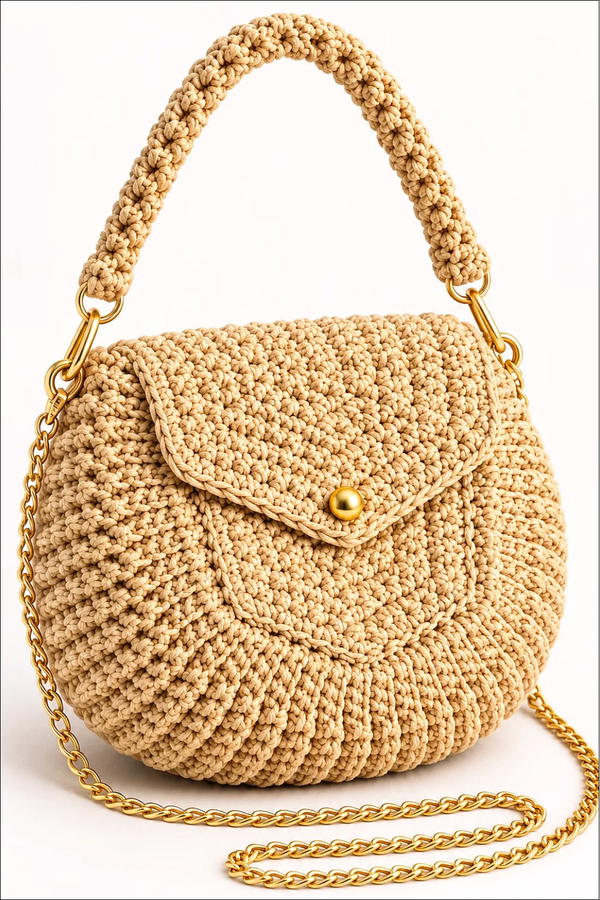
Create a stylish and elegant medium-sized bag with a chic design using this easy-to-follow crochet pattern. Designed to maintain both functionality and visual appeal, the bag features a neat oval base, a durable body, and a beautiful flap. It’s perfect for those looking to craft their own handbags while exploring a variety of simple crochet techniques.
Skill Level
Beginner to Intermediate – This pattern uses basic stitches like single crochet (sc) and slip stitches (sl st) but also features increases, decreases, and row repetition. Some familiarity with these techniques is recommended to complete the project successfully.
Materials
- Yarn: 3mm cord yarn, approximately 450 grams (190 meters).
- Hook: 5mm crochet hook.
- Stitch Markers: To mark corners or key increase points.
- Sewing Needle (for joining pieces).
Stitch Abbreviations
- sl st = slip stitch
- sc = single crochet
Useful Tips
- Consistent Tension: Use consistent tension with the cord yarn to achieve a neat and durable stitch structure.
- Use Stitch Markers: Marking the corners and increase/decrease points can save you time and ensure accuracy.
- Customization: You can adjust the size of the bag by increasing the number of chains at the foundation or adding more rows to specific sections.
Step-by-Step Pattern Instructions
1. Creating the First Piece
Begin by creating the first square panel of the bag.
Foundation Chain:
- Step 1: Make a slip knot, and chain 12 chains.
Round 1:
- Step 1: Starting from the second chain from the hook, work 10 sc into the chain.
- Step 2: In the last chain, work 3 sc to form the first corner.
- Step 3: Work 10 sc on the opposite side of the foundation chain.
- Step 4: Work 1 chain, turn your work, and proceed to the next row.
Round 2:
- Step 1: Work 10 sc across the first 10 stitches.
- Step 2: When you reach the 3 stitches in the corner, work an increase (2 sc in one stitch) in each of the 3 stitches to expand the corner.
- Step 3: Continue to work 10 sc down the other side.
- Step 4: Chain 1, turn your work, and proceed to the next row.
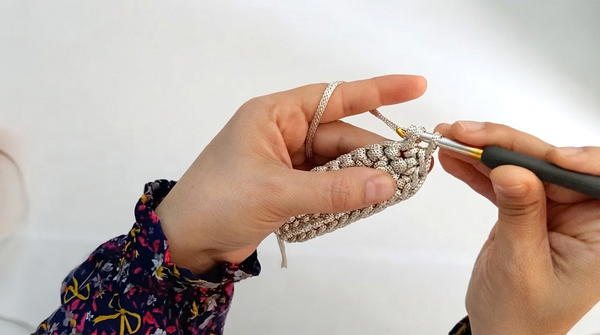
Round 3:
- Step 1: Work 10 sc along the first side.
- Step 2: In the group of 6 stitches in the corner, begin increasing:
- Work 3 sc into the first stitch.
- Skip one stitch, then work 3 sc into the next stitch.
- Repeat this sequence: skip one stitch, 3 sc into the next stitch, skip one stitch, and 3 sc into the last corner stitch.
- Step 3: Finish the row with 10 sc down the second side.
- Step 4: Chain 1 and turn to begin a new row.
Round 4:
- Step 1: Work 11 single crochets along the side to reach the corner stitch.
- Step 2: In the stitch at the center of the previous row’s increase group, work 3 sc.
- Step 3: Skip one stitch, then work 1 sc in the next stitch. In the next center stitch, work 3 sc, skip a stitch, and repeat for each corner.
- Step 4: Finish the row with 10 single crochets, chain 1, and turn.
Following Rounds (5–7):
- In these rounds, you’ll continue to repeat the process of adding increases at the corners following the established pattern:
- In each center increase stitch, work 3 sc.
- Alternate between rows with increases and rows without increases.
- For these rounds, follow this stitch sequence:
- Round 5: 11 sc → 3 sc increase → 1 sc → 3 sc increase sequence. (Ends with 11 sc)
- Round 6 & 7: Similar spacing as above, with the stitch count now reaching 41 stitches in Round 7.
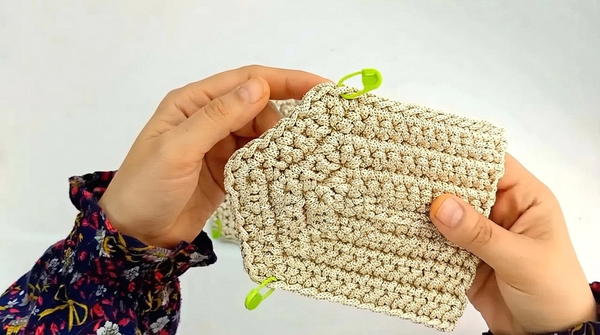
2. Creating Additional Panels
- Second Panel: Create a second square panel following the exact same steps as above.
- Third Panel (Flap): Create a third identical panel but add two additional rows following the same stitching pattern. This panel will act as the flap and will be approximately 9 rows long.
3. Joining the Panels
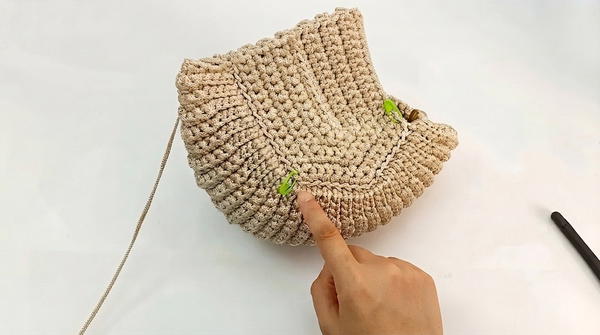
The panels are joined using single crochet, slip stitches, and chains to form the bag structure.
Joining Two Panels:
- Step 1: Add stitch markers at the corners of each panel to ensure proper alignment.
- Step 2: Attach the yarn to the first stitch of the first panel.
- Work 9 chains, then make a slip stitch into the first stitch of the second panel. This creates the initial join between the two pieces.
- Chain 1, then turn your work.
- Step 3: Along the chain stitch:
- Work 3 sl st into the first 3 chains.
- Next, work 3 sc into the next 3 chains.
- Finish with 3 sl st into the last 3 chains.
- Step 4: Once the row is completed, slip stitch into the next available stitch on the first panel. Chain 1, then turn and continue in a similar method:
- Work rows by repeating 3 sl st, 5 sc, and 3 sl st as needed, alternating between rows with and without increases.
- Increase System:
- Make an increase (3 sc in one stitch) in the middle stitch of the corner rows every third row.
- Follow each increase row with two rows without increases to maintain an even shape.
4. Creating the Base
The base of the bag is built by working along one long edge—without further increases. Continue as follows:
- Work 3 sl st, 19 sc, and 3 sl st for a total of 34 rows.
5. Closing the Bag and Adding the Flap
Attaching the Flap:
- Place the flap (with 9 rows) over the two joined panels.
- Align the starting chain of the flap with the top edges of the joined panels.
- Position the flap slightly below the bag’s opening (approximately 4 stitches lower).
Sewing the Flap:
- Use the same cord yarn and a sewing needle, carefully stitching in a straight line to attach the flap securely to the joined panels.
Conclusion
This medium-sized bag features a neat and clean design that is both fashionable and functional. The structured cord yarn gives the bag excellent durability while the textured pattern and flap design provide a touch of elegance. Whether you choose to stick with the suggested dimensions or customize the bag to your preference, it is sure to become a beautiful and unique addition to your collection.