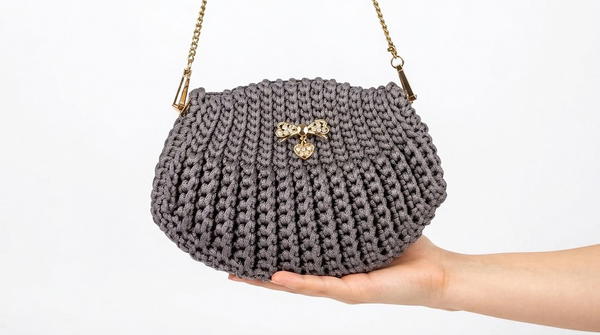
Pack just what you need for a short outing with this Pattern for a small Free Crochet bag that pairs easily with jeans or a simple daytime dress.
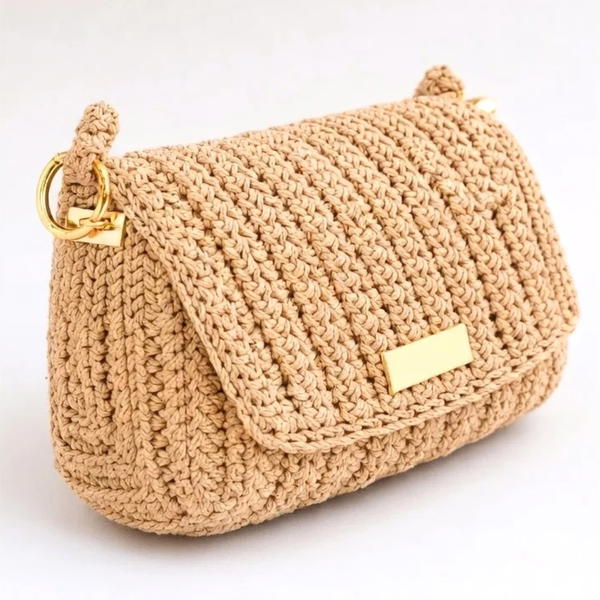
Short trips often call for a phone, keys and a card case. This Free Crochet Pattern for a small bag suits those occasions, when you plan to travel light and want the crochet to show as part of your outfit. Its size keeps it easy to pair with casual clothes, and the visible stitches give it a bit of interest beside plain denim.
Quick Crochet Bag for Casual Outings | Free Crochet Pattern
Chain yarn gives the surface clear stitch lines at close range. In the sample, 3.5 mm yarn is worked with a 5 mm hook. As you work, an even pull on the yarn helps the stitches sit at a similar height. That is especially noticeable on a small piece, where your eye can take in most of the surface at once. This is a useful project for practicing that rhythm before planning a larger bag.
For Designer!
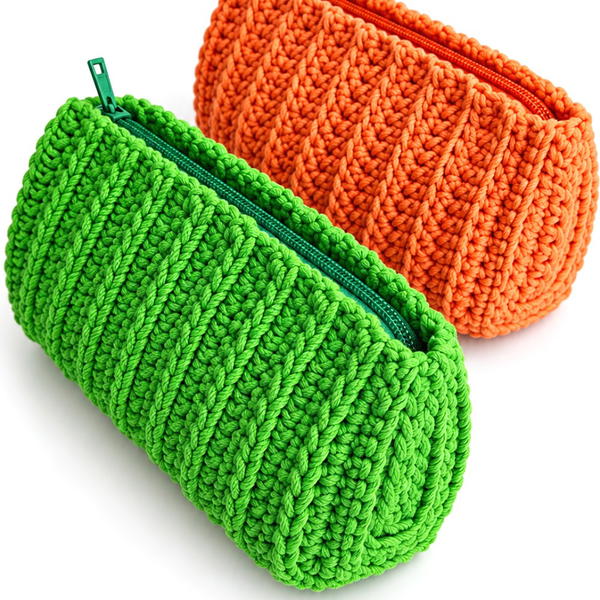
Cord thickness is one way to browse the handbag projects from Promlatex. Шнур для вязания. One small style uses 3 mm cord and short handles, while a larger project uses 4 mm cord. Looking at the examples side by side shows how different weights of cord can suit various shapes.
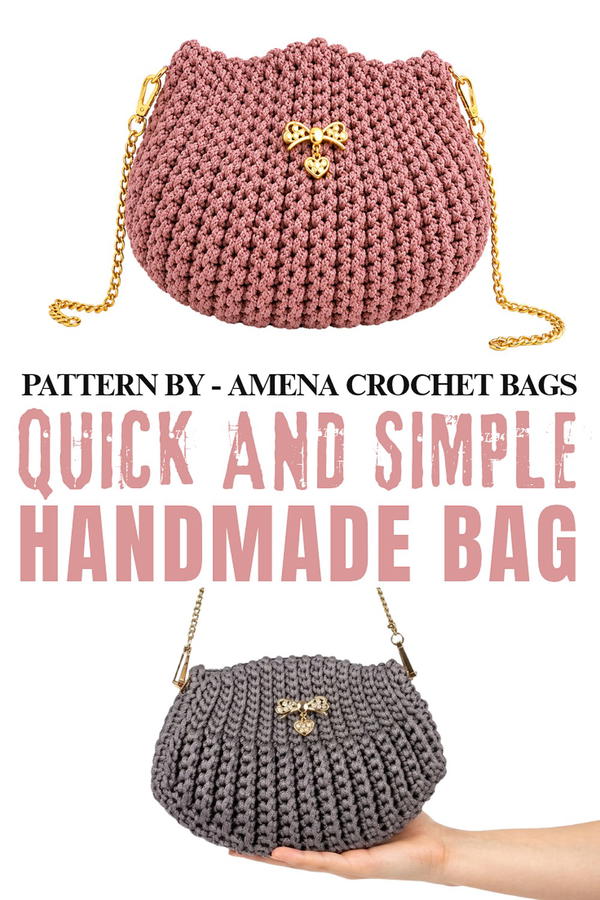
Wear it with jeans and a crisp shirt for a walk into town, or with a simple daytime dress when you only need a few essentials. Before heading out, lay everything beside the finished piece to see what will fit comfortably. Smaller items such as a narrow card case or a short key ring can help you use the space well. For a birthday gift, slip a note and a favorite sweet inside. 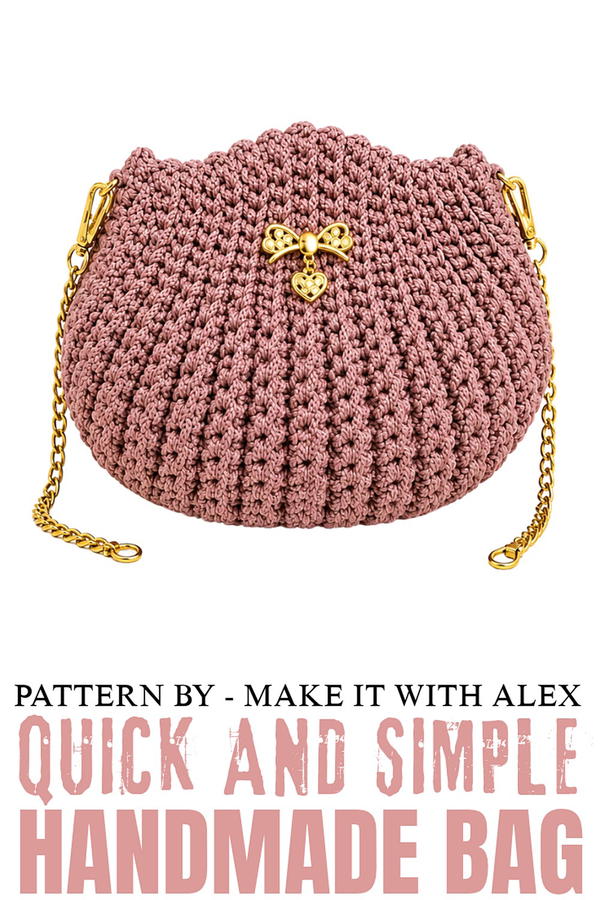
Small Crochet Bag with Distinctive Design
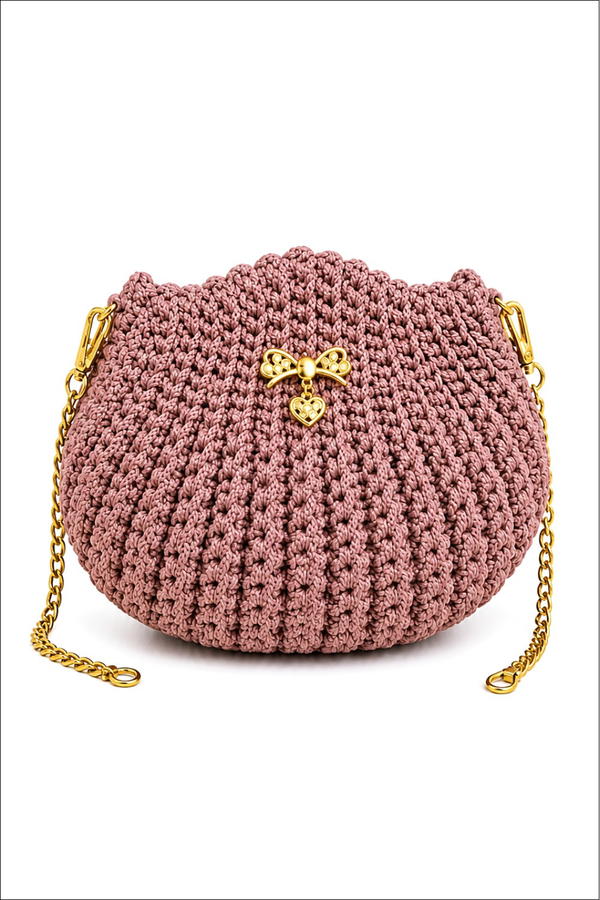
This charming, small bag combines simplicity with elegance. Its structured design involves single crochet stitches and slip stitches, making it beginner-friendly yet refined. With an optional addition of a magnetic closure and metal accessories, this bag is both practical and stylish.
Skill Level
Beginner to Intermediate
This pattern is straightforward, but it requires knowledge of basic stitches, increasing, decreasing, and precise stitch placement.
Materials
- Yarn: 3.5 mm chain yarn, approximately 220 grams.
- Hook: 5 mm crochet hook.
- Notions:
- Magnetic closure (optional).
- Metal accessories (optional).
- Tapestry needle for sewing.
- Scissors.
Finished dimensions will depend on gauge, but the bag’s dimensions can be adjusted by modifying the chain and row counts.
Stitch Abbreviations
- ch = chain
- sc = single crochet
- sl st = slip stitch
Useful Tips
- Gauge: Work with even tension for consistent stitches and an even shape.
- Counting Stitches: Ensure accurate stitch counts, especially while increasing and decreasing, to maintain symmetry.
- Increases and Decreases: Make sure to place increases and decreases at the correct positions in each row for the desired shape.
- Joining Edges: When sewing the two panels together, align the edges properly and pick up only one loop from each side to create a neat seam.
Step-by-Step Instructions
1. Main Panel (First Half)
The main panels form the front and back parts of the bag.
Foundation Chain
- Make a slip knot and ch 11.
Row 1
- Starting in the second ch from the hook, work:
- 2 sc in the first st (increase).
- 4 sc in the next 4 ch.
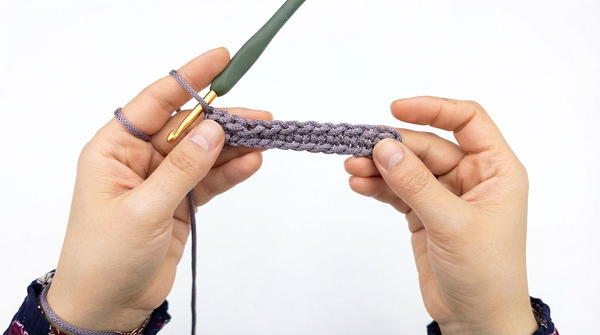
- 4 sl st, then ch 1.
- Work 1 sl st in the last ch.
You now have 12 stitches (6 sc and 6 sl st).
Row 2 (No Increases)
- Turn the work, ch 1.
- Work 6 sl st in BLO, followed by 6 sc in BLO.
2. Shaping the Panel with Increases
Continue alternating rows with and without increases to create the bag’s shape.
Row 3
- Increase: Work 2 sc in the first st.
- Then 5 sc.
- Follow with 5 sl st, then ch 1, sl st in the last stitch.
The row now has 14 stitches (7 sc and 7 sl st).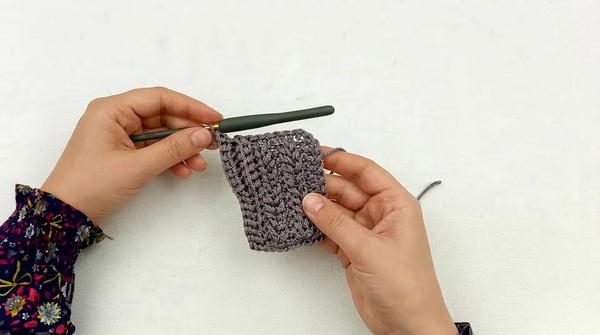
Row 4 (No Increases)
Work evenly:
- 7 sl st in BLO,
- 7 sc in BLO.
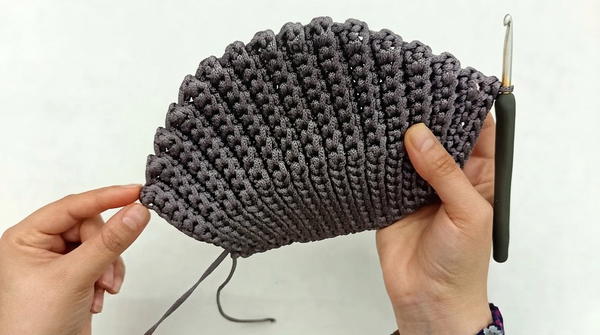
Rows 5–20 (Increasing Rows Repeated)
Alternate between rows with increases and rows without increases.
Each successive increase row will have one additional sc and one additional sl st as follows until Row 20:
- Work 2 sc in the first st, sc evenly as instructed, sl st evenly, and finish with ch 1 and sl st in the last st.
- Increase the stitch count with each row (e.g., Row 9 has 10 sc and 10 sl st).
By Row 20:
- You will have 20 rows in total, with the last row ending at 10 sc and 10 sl st.
3. Shaping the Panel with Decreases
Starting in Row 21, you will gradually decrease stitches to match the number of foundation chains.
Row 21
- Decrease: At the beginning of the row, work 1 decrease over the first 2 sts.
- Then 8 sc.
- Follow with 8 sl st, skipping the second-to-last stitch, and work sl st in the last st.
You now have 10 total stitches (5 sc and 5 sl st on each side).
Rows 22–29
- For each decrease row:
- At the beginning of the row, work a sc decrease over 2 sts. Then work as previously.
- At the end of the row, skip the second-to-last stitch, and finish with sl st in the last st.
Repeat this pattern until you reach:
- Row 29, which should have 4 sc and 4 sl st.
4. Crochet the Sides and Base
The sides and base are created by working around the edges of the panel.
- After completing the 29 rows of the first panel:
- Make 1 ch.
- Work 10 sc in the front loop of the foundation chain at the bottom.
- Work 29 sc along the row edges, placing 1 sc per row edge.
- Finish with 10 sc in the front loop on the top chain.
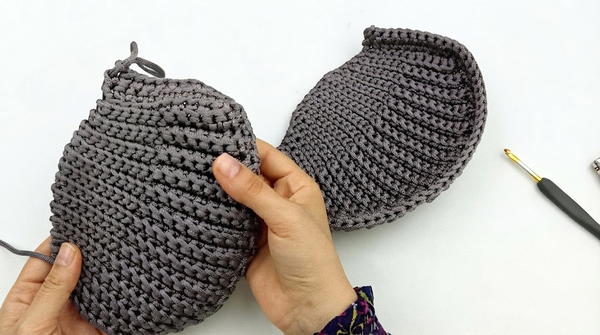
- Work another row:
- Work 49 sc evenly around the entire panel in both loops.
- Cut the yarn and fasten off.
5. Second Panel
Repeat all steps above to create the second panel (29 rows, same stitch counts).
- Before cutting the yarn, leave a long tail for sewing.
6. Sewing the Bag
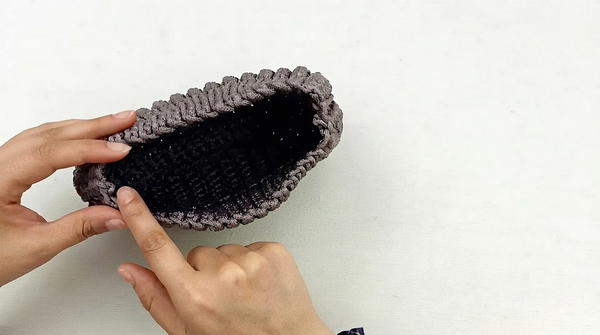
- Place the two panels together with the wrong sides facing outward (right sides together).
- Sew the panels:
- Align stitches along the edges.
- Work stitch-by-stitch sewing, inserting your needle into one loop from each side to create a seamless join.
- Secure and hide the ends neatly.
7. Adding Depth and Finishing Touches
- Add metal accessories in a matching color for a polished finish.
- Install a magnetic closure at the top for easy and secure use.
- Alternatively, add a zipper for additional utility. Ensure all stitching is even and straight for a professional look.
Conclusion
This compact crochet bag is simple yet elegant, making it the perfect project for beginners or intermediate crocheters. Its clean lines and the use of chain yarn create a stylish design, while the option of personalized closures means you can modify the bag to suit any need. With its durable construction and functional design, this small accessory is ideal for everyday use or as a gift for loved ones.