Mint Design Blog


Free instructions for a chic raffia clasp bag in crochet will help you enjoy a lightweight accessory perfect for casual outings or lovely gifts
Creating a stylish and practical bag by hand can bring a special kind of joy, especially when it is perfect for gifting or adding a charming touch to your daily style. On the Crochet with Olga Dyvinets!!! channel, a delightful project is featured: a raffia clasp bag made with crochet techniques. This accessory beautifully combines a rustic feel with everyday usefulness, making it ideal for carrying essentials or dressing up an outfit.
How to Crochet a Raffia Clasp Bag – Free Pattern and Tutorial
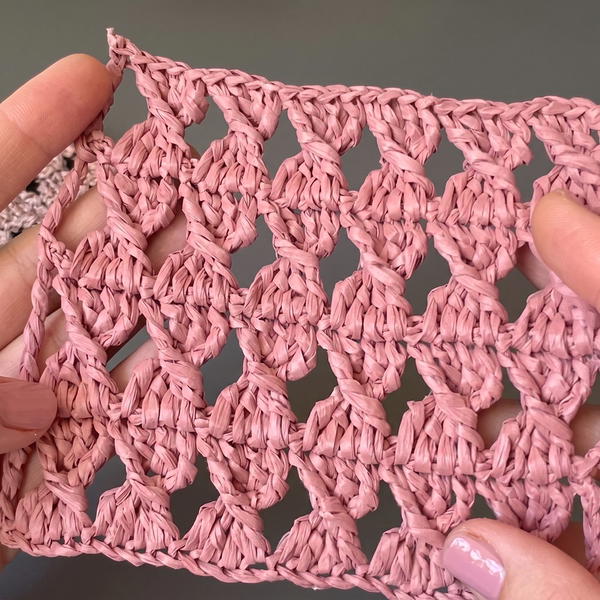
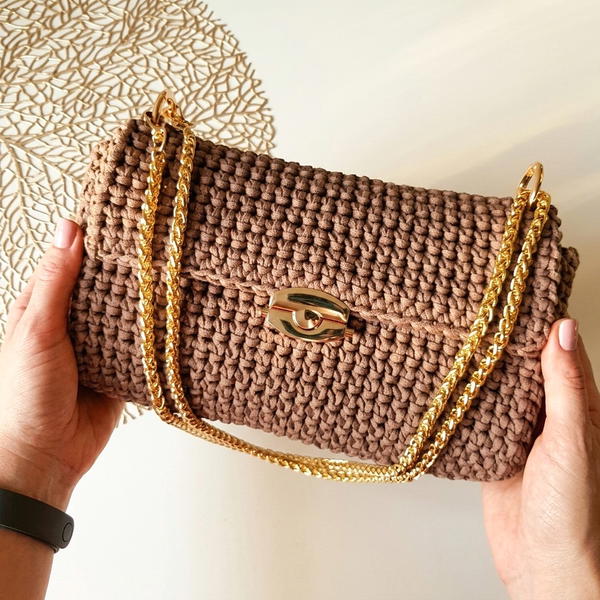
The free crochet raffia clasp bag pattern highlights the natural texture and strength of raffia yarn. Its rectangular base supports a classic clasp, giving the piece a tidy and smart appearance. The straw-like color of the raffia offers a warm, casual feel that suits sunny days, beach visits, or relaxed social occasions.
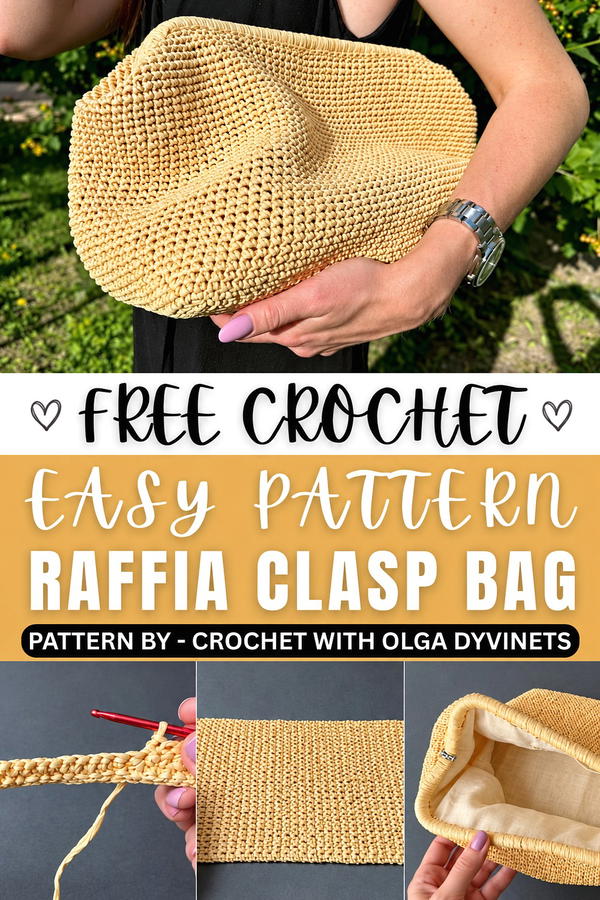
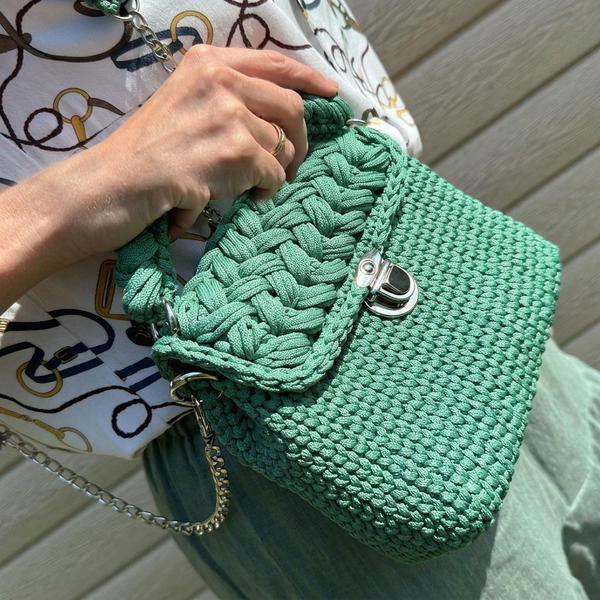
This bag not only catches the eye with its simple yet elegant design but is also sturdy thanks to the tightly woven raffia. The clasp provides security and adds a hint of vintage charm. Sized just right, it fits essentials like a phone, wallet, or small personal items without being bulky.
This handmade raffia clutch is a thoughtful gift choice or a lovely accessory to enhance your wardrobe. Its timeless look is versatile enough to complement various styles and occasions.
To make this lovely bag yourself, be sure to check out the free crochet raffia clasp bag pattern on the video tutorial. It’s an inviting project for those who enjoy creating useful and attractive handmade items.
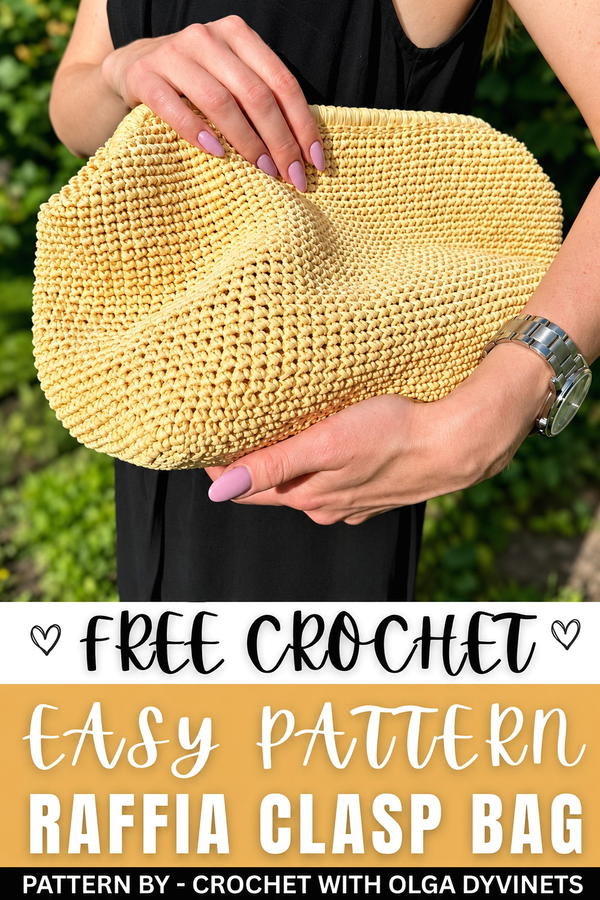
Crochet Raffia Handbag with Clasp
This pattern outlines the process for creating a beautiful and practical handbag with a metal clasp (fermoir) using raffia yarn. The dense texture, reinforced base, and clean finishing make this bag sturdy and polished, ideal for both formal and casual use. This project combines the classic elegance of handmade accessories with the versatility of raffia yarn.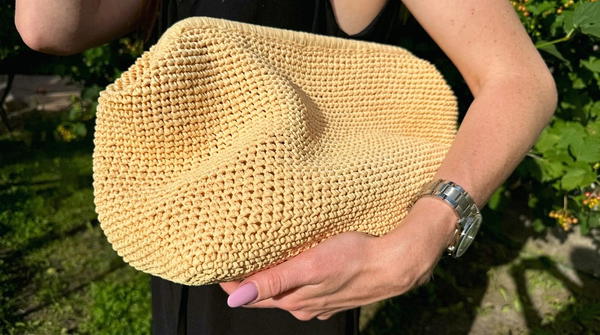
Skill Level
Intermediate
This handbag pattern is suitable for crocheters familiar with basic techniques such as single crochet (SC) and slip stitches (SL ST). Some experience with evenly working in the round, handling raffia yarn, and attaching clasps is helpful. Adding lining is optional but requires basic sewing skills.
Materials
Yarn
- Raffia yarn: 2 skeins of Ispie raffia (straw color preferred). Raffia provides a lightweight yet durable texture, perfect for handbags.
Crochet Hook
- Hook size: 3 mm crochet hook (or 3.5 mm if preferred for easier handling).
Hardware and Reinforcement
- Metal clasp: 30 cm long.
- Canvas (optional): Reinforces the base for extra durability. Cut slightly smaller than the dimensions of the finished base.
Tools
- Marker: For tracking rounds and corners.
- Scissors: For precise cutting.
- Sewing needle and thread: For attaching the lining.
Special Stitches
- Single Crochet (SC):
Insert hook into the stitch, yarn over, pull up a loop, yarn over again, and pull through both loops on hook. - Single Crochet in Back Loop Only (BLO):
Insert hook into the back loop of the stitch only, yarn over, pull up a loop, yarn over again, and pull through both loops. This creates a tight textured finish. - Slip Stitch (SL ST):
Insert hook into the stitch, yarn over, and pull through the stitch and the loop on the hook. Used for edging and securing.
Stitch Abbreviations
| Abbreviation | Description |
|---|---|
| ch | Chain |
| sc | Single crochet |
| sl st | Slip stitch |
| BLO | Back loop only |
Useful Tips
Maintaining Consistency in Raffia
- Raffia can be stiff, so keep your tension even but avoid pulling it too tightly to prevent tearing.
Working in Continuous Spiral
- Use a stitch marker to track your starting point for each round. This ensures consistent height when working continuously without joining rounds.
Clasp Attachment Alignment
- Take extra care when aligning the bag corners to the clasp. Use markers to ensure symmetry before attaching.
Canvas Reinforcement
- Reinforcing the bottom of the bag with canvas prevents sagging and enhances durability.
Pattern Instructions
Step 1: Creating the Base
The base of the bag is a dense rectangle designed to fit a 30 cm clasp.
To Begin:
- Make a slip knot and ch 29 stitches.
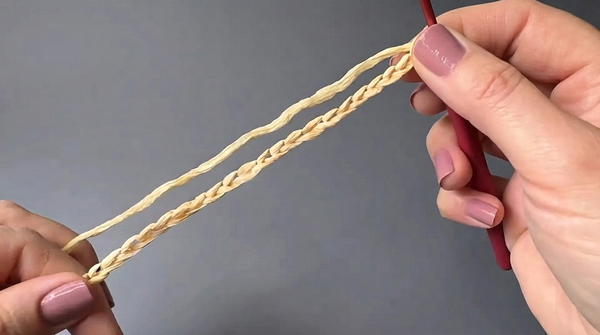
Row 1:
- Skip the first chain (turning chain), and work 1 sc into the back bump of each chain across. You should have 28 sc total. Turn your work.
Row 2:
- Ch 1, turn.
- To create the dense texture, insert the hook into:
- The BLO of the current row, AND
- The remaining, unworked loop of the previous row.
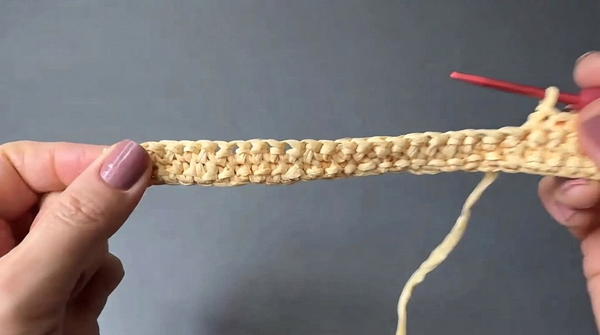
- Work 1 sc into each stitch across. Continue with 28 sc total.
Rows 3–76:
- Repeat Row 2, maintaining the dense texture by working through the BLO and unworked loop of each stitch.
- Ensure your base measures approximately 16 cm x 30.5 cm (to fit the clasp).
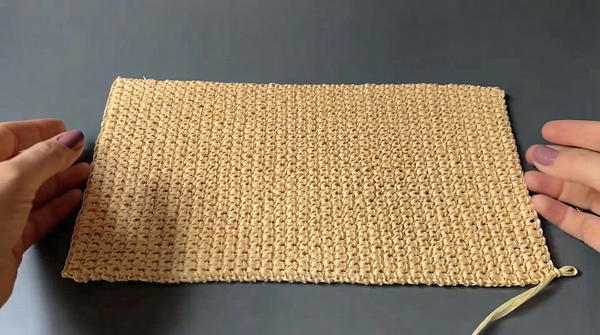
Last Row:
- Work a final row of sl sts across for clean edges.
Step 2: Bordering the Base
Now, edge the rectangular base with a single row of stitches, working along all sides evenly.
Round for Bordering:
- Starting in a corner, work 3 sc into the same corner stitch.
- Work 37 sc along each long side, and 27 sc along each short side.
- Make sure to work 3 sc into each corner for neat edges and symmetry.
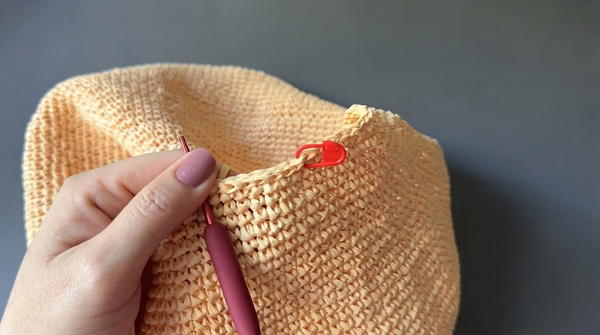
Total stitches for the border: 140 sc.
Step 3: Attaching Canvas Reinforcement
If desired, cut a canvas piece slightly smaller than the base rectangle (approximately 15.5 cm x 30 cm).
To Attach Canvas:
- Place the canvas on the inside of the base, aligning the edges.
- Using sl sts, secure the canvas to the base by working through the existing border stitches.
Step 4: Crocheting the Body
The body of the bag is worked in continuous spiral rounds.
Foundation Round:
- Insert the hook at the edge of the bordered base, and begin working 1 sc into each stitch around (140 sc total).
Rounds 2–38:
- Continue working sc in every stitch around in a spiral.
- Use a stitch marker to mark the beginning of each round.
- Maintain consistent tension, and ensure the height reaches approximately 23 cm.
Last Round:
- Finish with sl sts around the top edge for a neat and polished finish.
Step 5: Finishing the Bag and Attaching Clasp
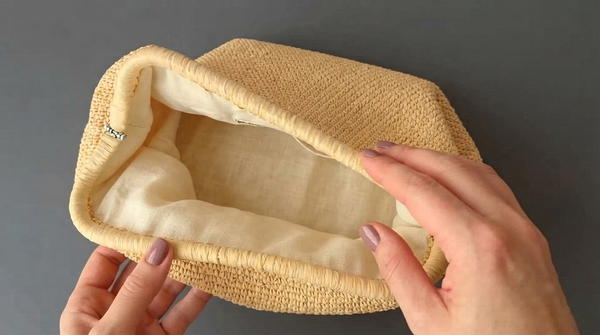
Linen Lining:
- Cut a piece of linen fabric to fit inside the bag, adding pockets if desired.
- Hand-sew the lining to the inside edges using a needle and thread.
Attaching Clasp:
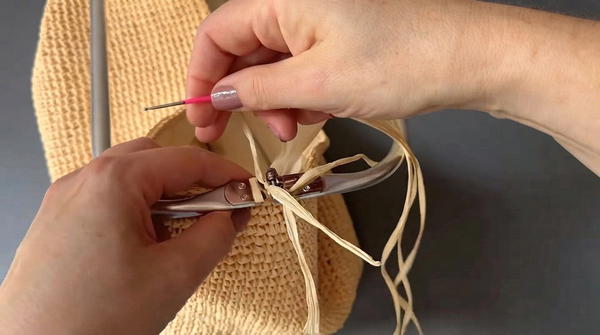
- Align the bag corners with the corners of the clasp. Use markers to secure them in place before attaching.
- To attach the clasp:
- Thread your raffia yarn around the clasp frame 3 times per stitch to securely fasten the bag to the clasp.
- Ensure the corners stay aligned and symmetrical.
Optional Embellishments:
- Decorate the bag with beads, tassels, or crochet motifs.
- Add a raffia strap to create a versatile crossbody or shoulder bag.
Final Notes
This raffia handbag balances functionality and elegance, incorporating durable materials and intricate craftsmanship. Its structured texture and finishing, combined with handmade lining and clasp attachment, make it a standout piece in any accessory collection. With care and attention to detail, this handbag design ensures a polished and professional result.