Mint Design Blog


Turn errands into a creative adventure with a free crochet shopping bag pattern that guides you to make a reusable bag both practical and fashionable.
Shopping bags have come a long way from simple carrier items to stylish, eco-friendly accessories that brighten up everyday errands. If you’re looking to add a touch of charm and practicality to your collection, there’s a wonderful resource available on the Crochet with Olga Dyvinets!!! channel. Here, you can discover a versatile and roomy handmade item that effortlessly combines function and flair.
Free Crochet Market Bag Pattern | Perfect for Everyday Use
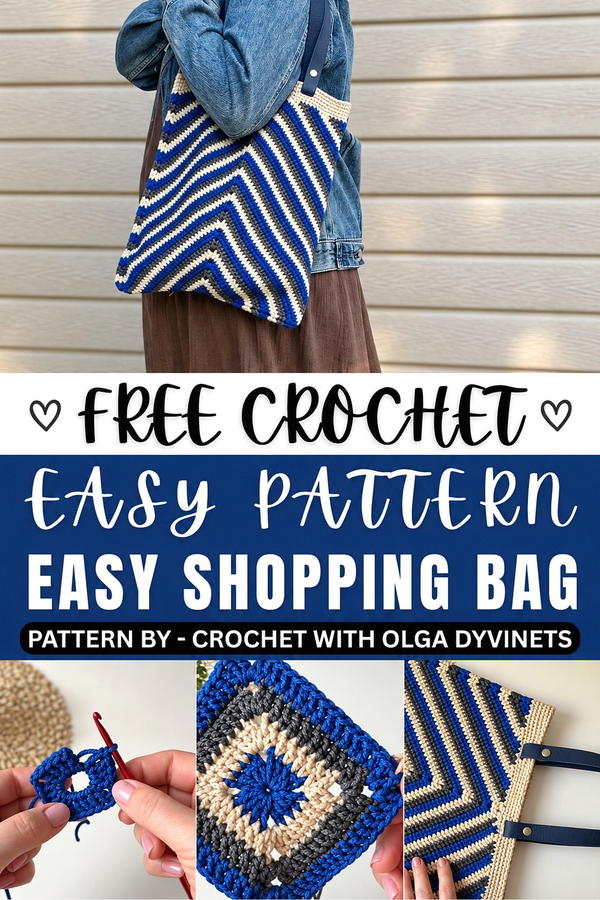
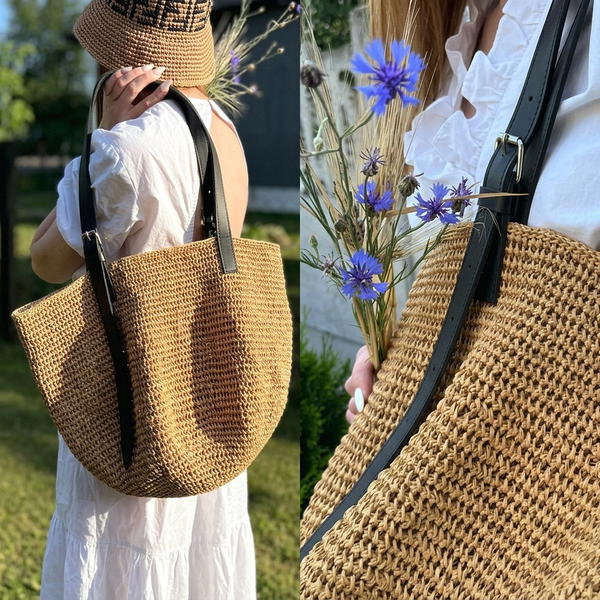
The free crochet shopping bag pattern offers an ideal solution for those who appreciate both sustainability and style. This bag features a delicate yet sturdy design, perfect for carrying groceries, books, or even beach essentials. Its open, airy texture gives it a light and breezy look, while the thoughtful construction ensures durability and convenience.
Beyond its everyday usefulness, this handmade bag makes a lovely gift that shows care and creativity. Whether given to a friend who loves charming accessories or to someone committed to reducing plastic waste, its blend of beauty and utility will delight any recipient. The bag’s natural style suits a wide range of tastes, from casual to boho chic, adding an inviting, handmade touch to any outfit.
Thanks to its spacious build and adaptable design, this shopping bag quickly becomes an essential part of daily life. It’s not only an environmentally friendly alternative but also a statement piece that highlights thoughtful choices in fashion.
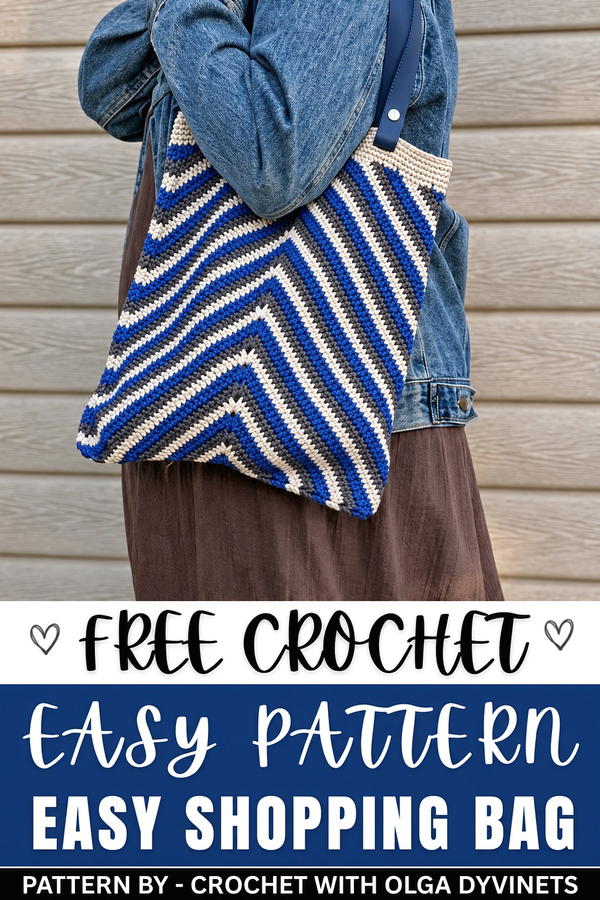
Three-Colored Striped Shopper Bag – Crochet Pattern
This pattern guides you through creating a three-colored striped shopper bag with a sturdy square base and practical handle openings. Structured and versatile, this stylish crochet bag is perfect for everyday essentials. With its combination of bold stripes and a modern design, it’s ideal for both casual and formal outings.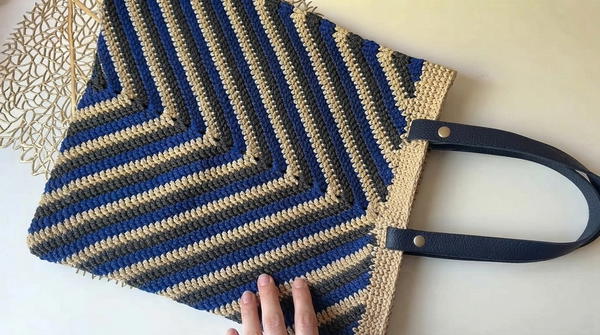
Skill Level
Intermediate
This pattern is suitable for crocheters who are experienced with basic crochet stitches, working in the round, and performing increases, decreases, and color changes.
Materials
- Cord:
- Caramel BABY cord, 2mm thickness: 110–120 meters per color (3 colors).
- Hook:
- 3.5 mm crochet hook.
- Handles:
- Two pre-made bag handles, 60 cm each, or customize strap length and choose your preferred material.
- Additional Tools:
- Stitch markers.
- Scissors.
- Yarn needle for weaving in ends.
- Sewing materials for optional fabric lining.
Special Stitches
- Magic Ring:
- Wrap the yarn around your fingers to create a ring. Insert your hook, pull through the working yarn, and chain 1 to secure the ring. Once your first round is complete, pull the tail to close the ring tightly.
- Cluster Stitch (4 Double Crochet Cluster):
- Work four double crochet stitches into the same stitch or space, then chain 2 before continuing.
- Double Crochet Two Together (DC2TOG):
- Yarn over, insert hook into the stitch, yarn over and pull up a loop (three loops on hook), yarn over and pull through two loops. Repeat the process into the next stitch. Finally, yarn over and pull through all three loops to complete the decrease.
Stitch Abbreviations
| Abbreviation | Description |
|---|---|
| ch | Chain |
| sl st | Slip Stitch |
| sc | Single Crochet |
| dc | Double Crochet |
| dc2tog | Double Crochet Two Together |
| st(s) | Stitch(es) |
Useful Tips
- Cord Behavior: Polyester cords are non-elastic and create a firm texture. Maintain steady tension to ensure neat stitches.
- Color Changes: When changing colors, finish the last yarn-over of the final stitch with the new color. This will ensure seamless transitions between stripes.
- Blocking/Steam: Use a steamer or damp cloth to block the finished bag into shape for a professional look.
- Lining: Add a fabric lining to protect items and strengthen the structure of the bag. Use a lightweight canvas or cotton fabric for the best results.
Pattern Instructions
Step 1: Square Base
The base forms the foundation of the bag and is worked in the round. Stitches are incrementally increased at the corners to create a large square.
Round 1:
- Start with a magic ring.
- Inside the ring, work clusters of 4 dc separated by ch 2. Repeat four times.
- Pull the tail of the magic ring tight to close.
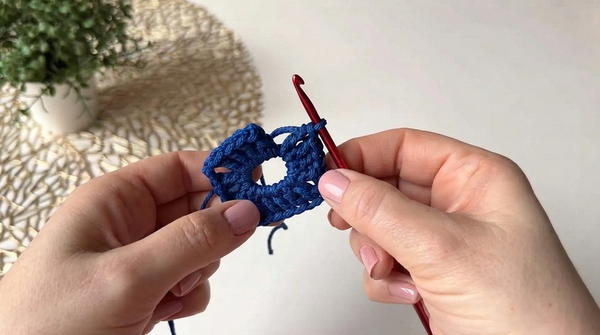
- Join the round with a sl st to the top of the first dc.
- Pull the tail of the magic ring tight to close.
Rounds 2–10:
- For each round, increase the stitch count as follows:
- At each corner, work 2 dc, ch 2, 2 dc in the chain-2 space of the previous round to increase.
- Work dc clusters evenly across each side between corners.
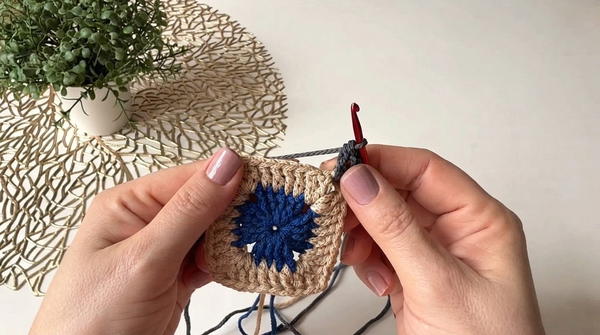
- Each round increases by 4 dc clusters (one per side).
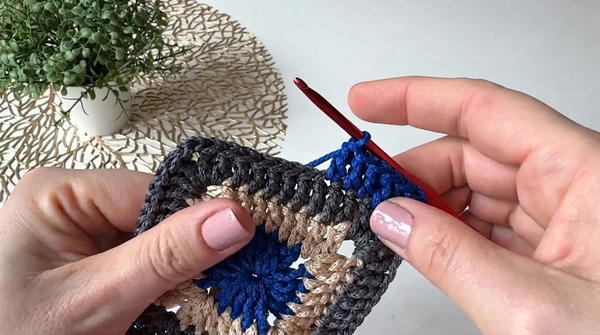
At the end of Round 10, you should have:
- 40 stitches per side.
Step 2: Bag Walls
The walls are built by maintaining increases at the top corners and gradually decreasing at the side corners for structure and shape.
Round 11 (Base of the Walls):
- Identify two opposite corners as “top corners” and mark them with stitch markers. Identify the other two corners as “side corners” and mark them accordingly.
- At the top corners, continue working increases: 2 dc, ch 2, 2 dc in each corner space.
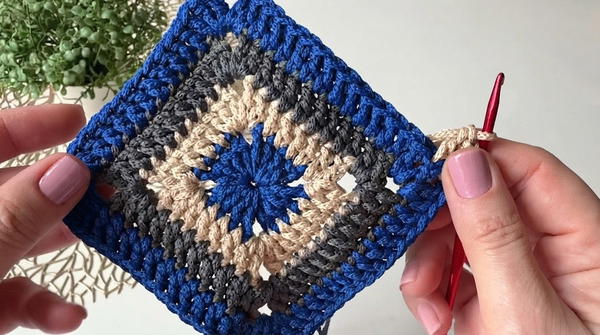
- At the side corners, work a decrease: dc2tog (work 2 dc together as one).
- At the top corners, continue working increases: 2 dc, ch 2, 2 dc in each corner space.
Rounds 12–23:
- Repeat Round 11. Maintain increases at the top corners and perform decreases at the side corners.
- Crochet a total of 13 rounds to build the walls of the bag.
Step 3: Squaring the Top
To achieve a rectangular shape at the top:
Rounds 24–29:
- Gradually align the top edges by performing dc2tog decreases at the top corners.
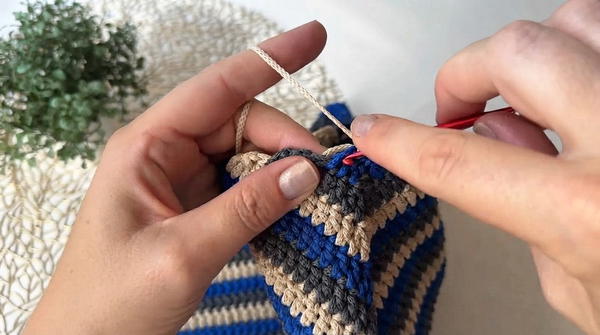
- Continue working until the wall height is even, ensuring symmetry between all edges.
Step 4: Edge Finishing & Handles
Once the bag body is complete, the top edge is finished with reinforcing rounds, and handle openings are created for durability and aesthetics.
Rounds 30–31 (Edge):
- Work two rounds of sc around the top edge of the bag to stabilize and clean the finished edge.
Round 32 (Handle Openings):
- Use stitch markers to mark the handle placement:
- From each side corner, count 11 sts inward and place a marker to indicate the beginning of the handle opening. Repeat for both sides.
- Creating Handle Openings:
- At each marked section, ch 3, and skip 3 sts along the edge. Then continue with sc for the rest of the round.
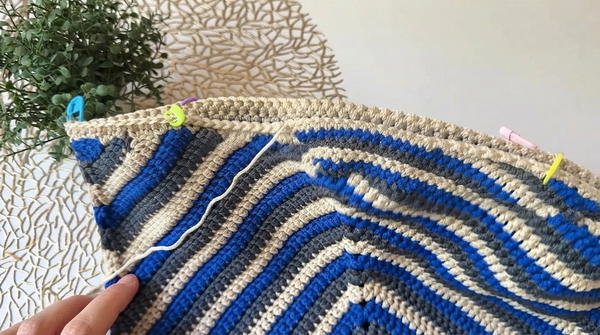
- At each marked section, ch 3, and skip 3 sts along the edge. Then continue with sc for the rest of the round.
Round 33 (Filling Handle Spaces):
- In the next round, work 3 sc into the chain spaces created in the previous round.
Final Round (Slip Stitch Edging):
- Work 1 round of sl sts along the top edge to create a reinforced finish.
Step 5: Optional Finishing
- Steam Blocking: Use a steamer or damp cloth to block the bag into the desired shape. This enhances the structure and neatness.
- Lining: Sew a fabric lining to the interior using durable fabric such as lightweight canvas or cotton. This step strengthens the bag and protects its contents.
Final Notes
The three-colored striped shopper bag is a practical and stylish accessory that balances durability and design. The square base provides ample structure, while the walls and handle openings ensure the bag is both functional and versatile. The use of visible stripes and solid edges creates a striking yet minimalist aesthetic suitable for everyday use. Customize with your favorite colors or handle material for a personal touch!