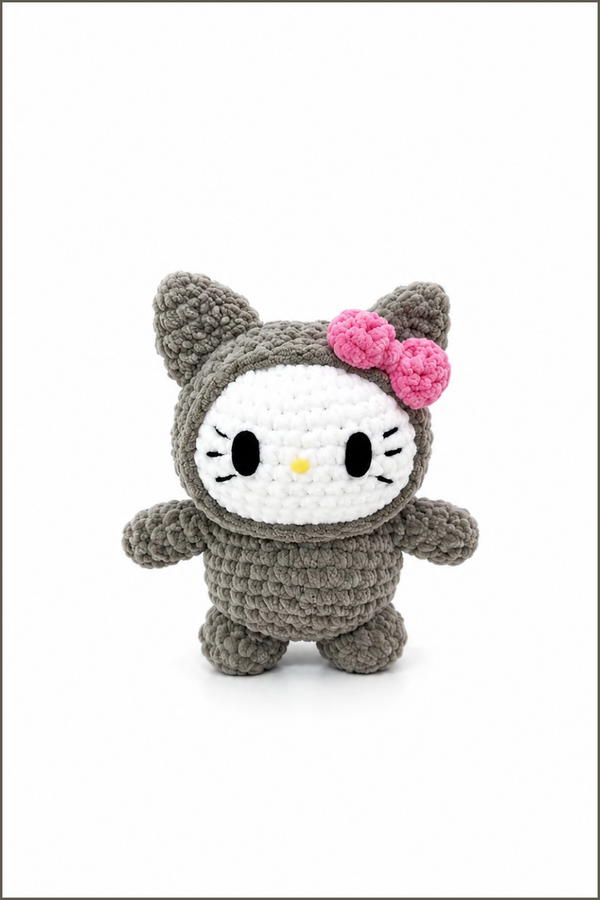
Celebrate two cute characters with this Crochet Hello Kitty X Pusheen Free Pattern and finish a sweet cat toy for fans, birthdays, and gifts.
Fairycrochett shares a playful crochet tutorial that combines two famous cat characters into one fun design, giving cartoon lovers something special to add to their collection. This Crochet Hello Kitty X Pusheen is a stuffed toy that mixes Hello Kitty's familiar features with Pusheen's chubby body. Its rounded shape, tiny ears, short paws, and cheerful face give it a funny appearance. The smooth yarn surface and carefully placed details help both characters come together in an interesting way.
Mini Crochet Hello Kitty X Pusheen Free Pattern For Small Toys
One of the main attractions is the mix of two different styles. Hello Kitty's famous bow adds a pretty touch, while Pusheen's wide body gives the toy its relaxed, fluffy look. The combination of soft gray, white, and pink colors makes the design pleasant to see. You can also change the bow color to give your cat a personal style.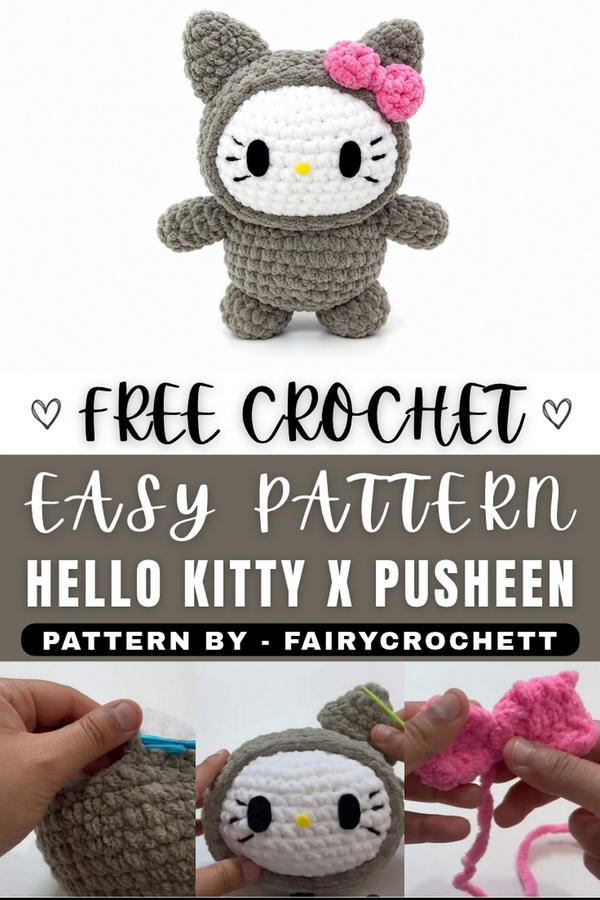 This toy is suitable for decorating a bedroom, study table, or living room shelf. It can be given as a handmade birthday present to friends, family members, or anyone who loves these cartoon cats. Its unusual appearance also makes it a fun addition to a collection of character dolls.
The making process involves crocheting the main body in rounds, adding stuffing, and shaping the ears and paws. The bow and facial details are then added to complete the design.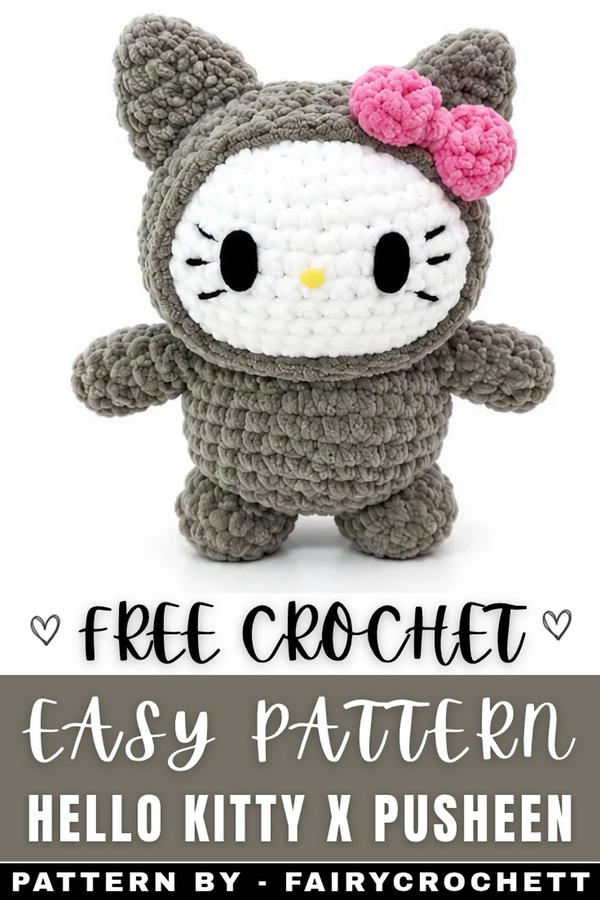 This free pattern is a cheerful way to have two favorite characters together in one special crochet toy.
About the Pattern
This Hello Kitty plushie in a cat onesie is worked in traditional amigurumi style, featuring rounded components and layered elements for both structure and decorative appeal. The head and hood are executed as separate pieces, each shaped with deliberate increases and decreases to achieve a snug fit. Body and appendages form classic amigurumi shapes, while signature details such as the ears, bow, and facial features further distinguish this playful plushie. Thoughtful assembly instructions ensure classic proportions and a balanced finished piece.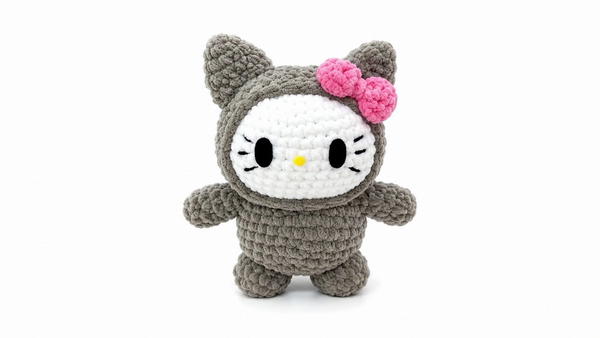
Pattern at a Glance
- All components are crocheted separately and sewn together for clean, professional joins.
- Each section employs magic rings for seamless starting, followed by measured increases to shape head, hood, body, arms, legs, and ears.
- The decorative bow is constructed in flat single crochet rows and assembled with slip stitches.
- Facial features use felt or embroidery for simple but effective styling.
- Special joining techniques ensure secure attachment and prevent shifting or distortion.
Important Notes
- Use a stitch marker to track the beginning of each round for all pieces.
- Stuff head, body, and limbs firmly but avoid overstuffing to prevent stretching.
- The hood should fit snugly around the head before the final decrease round.
- Use matching yarn to sew pieces for a seamless finish.
- Use black yarn or felt for whiskers, eyes, and nose; safety eyes may be substituted if desired.
- All attachments are performed using a stitch-by-stitch join for durability.
Difficulty Level
Intermediate. The pattern requires confidence with amigurumi basics: magic ring, increases, working in the round, even rows, decreases, joining, and basic sewing/embroidery.
Supplies Needed
- Worsted or DK weight yarn in white (for head, body, limbs, inner ears), cat onesie color of choice (for hood, outer ears), and accent color (for bow)
- 3.0 mm crochet hook or size to match yarn weight
- Black yarn or embroidery floss (for whiskers)
- Felt paper in black and yellow (for eyes and nose) or safety eyes and embroidery floss
- Yarn needle for sewing and embroidery
- Polyester fiberfill stuffing
- Stitch markers and pins
- Scissors
Size & Measurements
The finished plushie measures approximately 13–17 cm (5–7 inches) tall, depending on yarn thickness and stuffing.
Gauge & Stitch Details
Gauge is not essential for plush toys, but tight single crochet is required to keep stuffing concealed.
Approximate gauge: 8 rounds x 8 stitches = 5 x 5 cm (2" x 2") single crochet.
Crochet Abbreviations
- MR – Magic ring
- sc – single crochet
- inc – increase (2 sc in one stitch)
- dec – decrease (sc2tog)
- ch – chain
- sl st – slip stitch
- st(s) – stitch(es)
- rep – repeat
Special Stitch Guide
- Magic Ring (MR): Creates a seamless round start, common in amigurumi.
- Increase (inc): Work two single crochets into one stitch for shaping.
- Decrease (dec or sc2tog): Work two stitches together as one to taper.
- Slip stitch join: Used for bow assembly and attaching major parts.
- For felt features, cut to appropriate shape and secure with textile glue or sewing thread.
Complete Crochet Pattern
Head
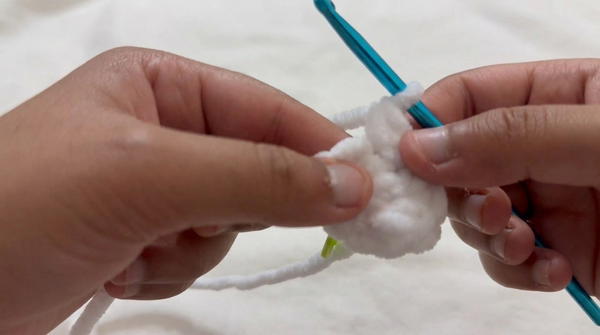
- Round 1:
- 8 sc in MR
- Rounds 2–7:
- inc around as follows:
- Round 2: inc in each = 16 sts
- Round 3: (1 sc, inc) x 8 = 24 sts
- Round 4: (2 sc, inc) x 8 = 32 sts
- Round 5: (3 sc, inc) x 8 = 40 sts
- Round 6: (4 sc, inc) x 8 = 48 sts
- Round 7: (5 sc, inc) x 8 = 56 sts
- inc around as follows:
- Rounds 8–15:
- 56 sc for 8 rounds (work evenly for shaping)
- Rounds 16–20:
- dec around for closure:
- Round 16: (7 sc, dec) x 7 = 49 sts
- Round 17: (6 sc, dec) x 7 = 42 sts
- Round 18: (5 sc, dec) x 7 = 35 sts
- Round 19: (4 sc, dec) x 7 = 28 sts
- Round 20: (2 sc, dec) x 7 = 21 sts
- dec around for closure:
- Finish off, stuff head firmly, leave a tail for sewing.
Hood
- Work rounds 1–7 as for head up to 8 sc in MR and increases through 3-sc inc round.
- Round 1: 8 sc in MR
- Round 2: inc in each = 16 sts
- Round 3: (1 sc, inc) x 8 = 24 sts
- Round 4: (2 sc, inc) x 8 = 32 sts
- Round 5: (3 sc, inc) x 8 = 40 sts
- Round 6: (4 sc, inc) x 8 = 48 sts
- Rounds 7–12:
- 48 sc for 6 rounds
- Insert head fully into hood before final decrease round.
- Round 13: (4 sc, dec) x 8 = 40 sts
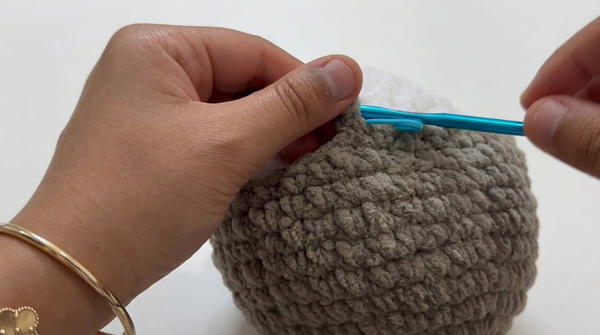
- Finish off, secure head into hood before sewing the rest.
Body
- Round 1:
- 8 sc in MR
- Rounds 2–5:
- inc as follows:
- Round 2: inc in each = 16 sts
- Round 3: (1 sc, inc) x 8 = 24 sts
- Round 4: (2 sc, inc) x 8 = 32 sts
- Round 5: (3 sc, inc) x 8 = 40 sts
- inc as follows:
- Rounds 6–11:
- 40 sc for 6 rounds
- Finish off, stuff, leave long tail for sewing.
Ears (Make 2)
- Round 1:
- 4 sc in MR
- Round 2:
- inc in each = 8 sts
- Round 3:
- (1 sc, inc) x 4 = 12 sts
- Round 4:
- (2 sc, inc) x 4 = 16 sts
- Finish off, stuff lightly, leave tail for sewing.
Arms/Legs (Make 4 total)
- Round 1:
- 6 sc in MR
- Round 2:
- inc in each = 12 sts
- Round 3:
- (1 sc, inc) x 6 = 18 sts
- Rounds 4–7:
- 18 sc for 4 rounds (build limb)
- Finish off, leave tail for sewing.
Bow
- Create slip knot, ch 18.
- Row 1:
- 17 sc across (starting in second ch)
- Rows 2–4:
- 17 sc per row for a total of 3 rows
- Fold ends together, use slip stitches to secure.
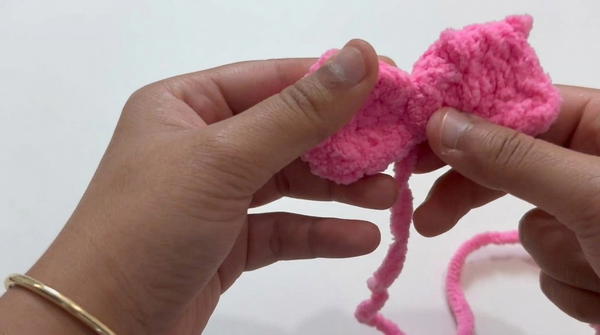
- Wrap yarn to pinch center if desired for classic bow shape, leave tail for sewing.
Assembly & Finished Size
- Attach ears to hood by picking up a stitch from the hood and ear as you sew, align symmetrically.
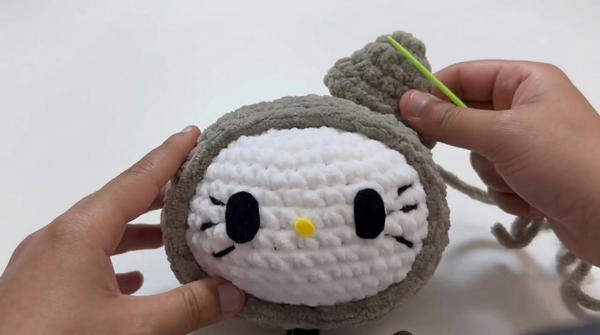
- Sew bow to hood, securely joining stitches for durability.
- Connect head-hood unit to body by using same stitch-joining technique, ensure seam is smooth.
- Sew arms and legs to body, balance positioning for even proportions.
- Create face features: Cut felt for eyes and nose, glue or sew on face; or embroider.
- Thread black yarn through hood to form whiskers and accent marks.
- Stuff all parts fully and weave in ends securely.
Conclusion and Ending Words
This pattern for a Hello Kitty plushie in a cat onesie combines classic amigurumi shaping with thoughtful details. The construction balances simplicity and charm through core rounds, measured stuffing, and sturdy stitch joining. Final bow and facial features add iconic personality, creating a plush that is both visually appealing and durable for lasting use. This design exemplifies fundamental techniques and approachable artistry, resulting in a distinctive, collectible plushie.