Dress up a cute little doll with this Crochet Hello Kitty With Dress Free Pattern and finish a sweet toy for birthdays, shelves, and Kitty fans.
The original YouTube tutorial by Fairycrochett shows how to make the Crochet Hello Kitty With Dress. This is a cute and simple project that lets you crochet a small Hello Kitty doll wearing a pretty dress. The doll has Hello Kitty’s round face, tiny ears, and her signature bow on top.
Small Crochet Hello Kitty With Dress Free Pattern For Room Decor
The dress adds a nice touch to the doll and you can choose any colors you like to make it your own. This Hello Kitty doll looks sweet and can be used as a decoration in a room or given as a gift to someone who loves Hello Kitty. It’s soft and small, so it works well for kids too.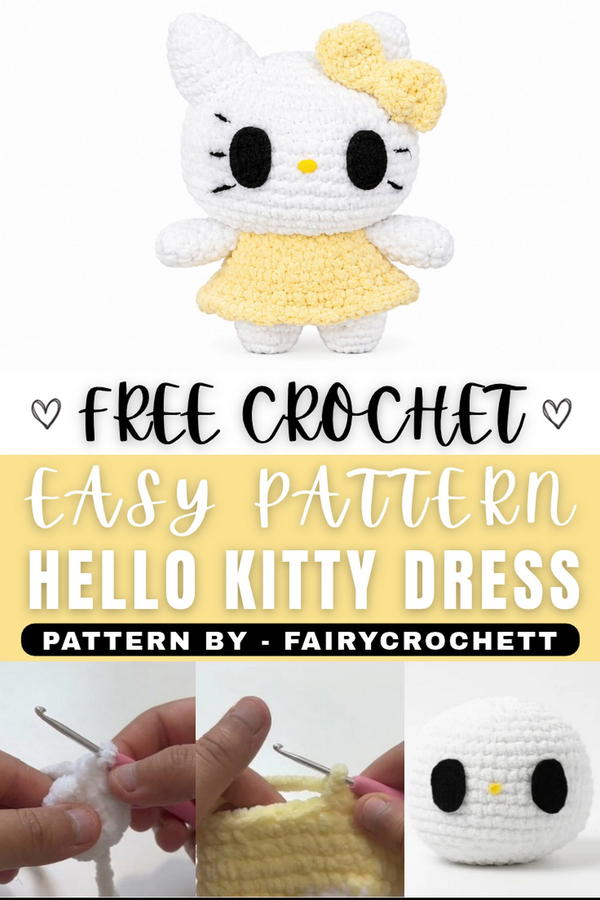 To make the doll, you start by crocheting the head and body in rounds using basic stitches like single crochet. The dress is made separately and then attached to the body. The bow and small facial details are added last to give the doll its personality.
This Free pattern explains every step clearly, making it easy for beginners or anyone who knows a little bit about crochet. This project is enjoyable and doesn’t take too long, so you can finish your Hello Kitty doll pretty quickly. If you want a simple and cute crochet project, this free pattern is a great choice that results in a beautiful little doll with a colorful dress.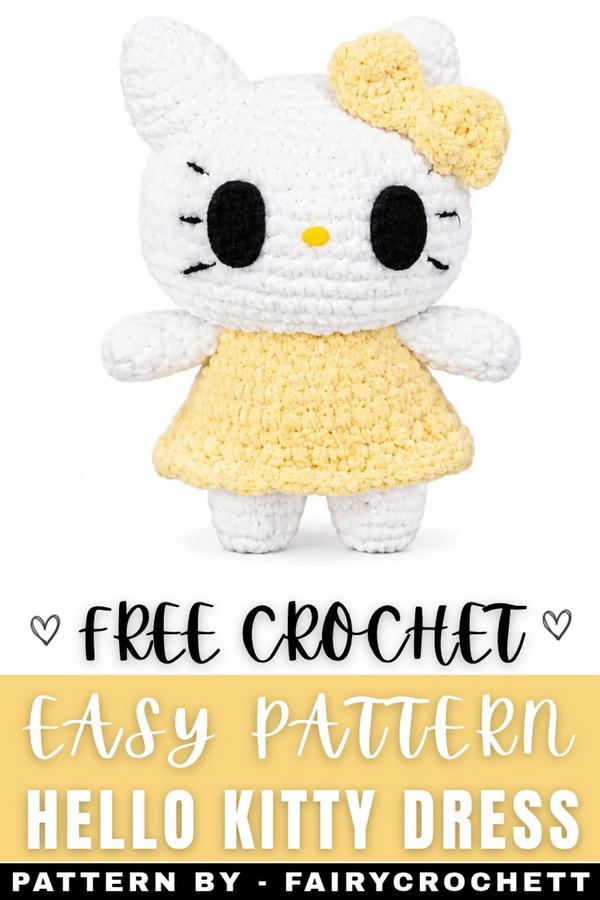
About the Pattern
This crochet Hello Kitty in a ballerina dress is an amigurumi project reflecting precise shaping, expressive features, and whimsical attire. The doll's construction involves a sculpted head, seamless legs, a connected body with a ruffled skirt, and classic accessories—the signature bow, felted eyes, and embroidered whiskers. The pattern utilizes incremental increases and decreases, color transitions, and careful assembly for a finished piece that captures the beloved character's gentle, playful charm.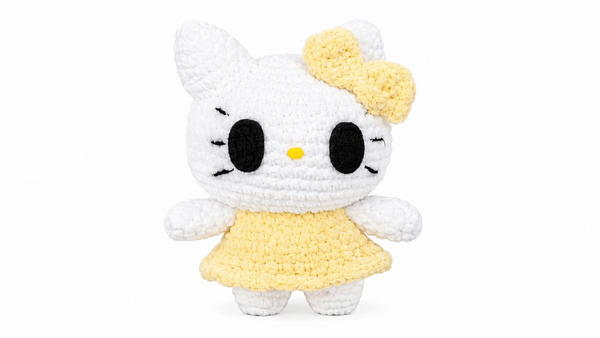
Pattern at a Glance
- Figure Style: Hello Kitty ballerina, with classic head shape, oval body, ballerina dress, and facial features.
- Components: Head, ears, arms, legs, body/dress, bow, embroidered whiskers, felt eyes.
- Techniques: Amigurumi working in the round, color changes, ruffle shaping, felt and embroidery details.
Important Notes
- Maintain even tension and use a small hook size for tight, dense stitches.
- Attach felt and embroidered face details securely.
- Stuff firmly, especially at connection points for the head and limbs.
- Use invisible decreases for smooth shaping.
Difficulty Level
Intermediate: Basic amigurumi stitches, seamless limb/body connection, color changes, and simple embroidery are required. Familiarity with whip-stitch assembly and shaping ruffles via double crochet is necessary.
Supplies Needed
- Worsted-weight yarn: white, ballerina dress color, accent color for bow
- 3.0–4.0 mm crochet hook or as needed for tight stitches
- Safety eyes or black felt for eyes
- Pink or black embroidery thread (whiskers)
- Fiberfill stuffing
- Felt (black and yellow, for eyes and nose)
- Yarn needle
- Stitch marker
- Scissors
Size & Measurements
- Finished height: 6–8 inches (15–20 cm)
- Dress skirt diameter: 2.5–3 inches (6–8 cm)
- Bow width: 1 inch (2.5 cm)
Gauge & Stitch Details
- Gauge: Not critical in amigurumi; aim for dense, uniform stitches to prevent stuffing exposure.
- Main stitch: Single crochet in continuous rounds.
- Double crochet used for dress ruffles.
Crochet Abbreviations
- ch – chain
- sc – single crochet
- inc – increase (2 sc in the same stitch)
- dec – decrease (sc two together)
- dc – double crochet
- MR – magic ring
- sl st – slip stitch
Special Stitch Guide
- Magic Ring (MR): Create adjustable loop, work stitches into ring for seamless round starts.
- Invisible decrease (dec): Insert hook into front loops of next two stitches, yarn over, pull through both, yarn over again, pull through two.
- Double Crochet Increase (dc inc): Work 2 dc in each stitch for ruffle effect.
Complete Crochet Pattern
Head
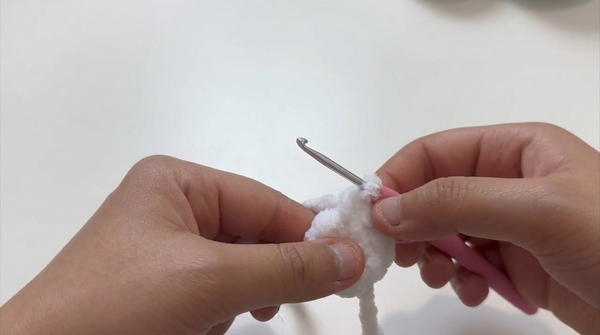
- Round 1: MR, 8 sc into ring.
- Round 2: 8 inc (16 sc).
- Round 3: (1 sc, inc) x8 (24 sc).
- Round 4: (2 sc, inc) x8 (32 sc).
- Round 5: (3 sc, inc) x8 (40 sc).
- Round 6: (4 sc, inc) x8 (48 sc).
- Round 7: (5 sc, inc) x8 (56 sc).
- Rounds 8–15: Sc evenly (56 sc per round, total 8 rounds).
- Round 16: (5 sc, dec) x8 (48 sc).
- Round 17: (4 sc, dec) x8 (40 sc).
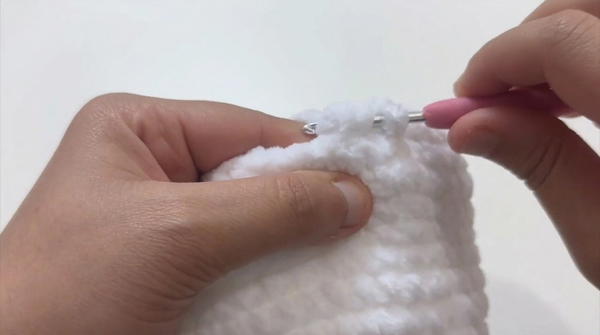
- Round 18: (3 sc, dec) x8 (32 sc).
- Round 19: (2 sc, dec) x8 (24 sc).
- Round 20: (1 sc, dec) x8 (16 sc).
- Stuff firmly. Fasten off with a long tail for sewing.
Legs and Body
Legs
- Leg 1: MR, 6 sc into ring.
- Round 2: 6 inc (12 sc).
- Rounds 3–4: Sc in each stitch (12 sc per round).
- Fasten off, keep a yarn tail.
- Leg 2: Repeat above, do not fasten off.
Connecting the Legs and Starting Body
- After Leg 2, ch 2.
- Attach Leg 1 to Leg 2 by working sc around.
- Work an sc into each stitch around both legs, including single crochets into chain stitches connecting them.
Body and Dress
- Change to dress color.
- Round 1: (3 sc, inc) around, repeat as needed.
- Rounds 2–5: Sc in each stitch (4 rounds even; continue in dress color).
- Round 6: 14 sc, 1 dec. Repeat sequence twice. Then 3 sc.
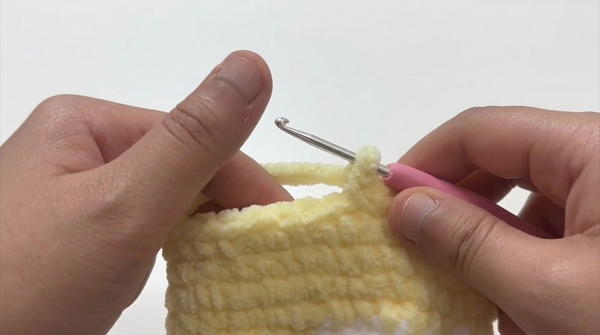
- Rounds 7–8: Sc in each stitch (2 rounds).
- Stuff body and legs.
Dress Ruffles and Details (16:02–22:30)
Ruffles
- Join dress color to second round of body.
- Ch 2, then work dc inc in each stitch all the way around (work 2 dc in each stitch for a ruffled edge).
- Sl st to finish.
Arms
- Round 1: MR, 8 sc.
- Rounds 2–8: Sc in each stitch (7 rounds total).
- Fasten off, leave a tail.
Make two arms.
Ears
- Round 1: MR, 4 sc.
- Round 2: Sc in each stitch (4 sc).
- Round 3: 1 sc, 1 inc, repeat for 3 times. (Total stitch count increases by three per round.)
- Fasten off, leave a tail.
Make two ears.
Bow
- Using accent yarn, ch 21.
- Work 20 sc back along the chain.
- Turn, ch 1, work 20 sc for the second row.
- Repeat one more time for the third row (total 3 rows).
- Fasten off, fold, and use yarn tail to cinch center and slip stitch for classic bow look.
Assembly & Finished Size
- Face: Cut felt pieces for eyes and nose. Attach securely to the face using glue or sew in place. Embroider whiskers with black thread, 3 lines per side, spaced evenly.
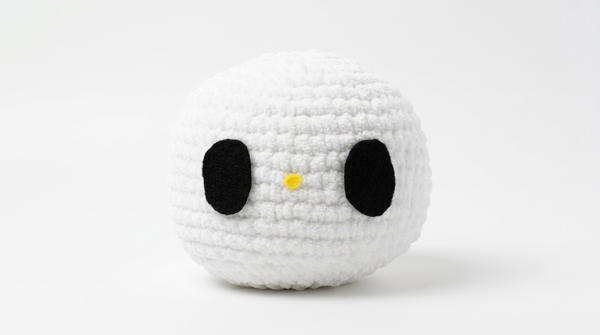
- Ears: Attach ears symmetrically to the top of the head using whip stitch, ensuring classic Hello Kitty placement.
- Bow: Sew bow to left ear, folded for volume.
- Head: Join head to body using whip stitch, alternating stitches between each part for stability.
- Arms: Attach arms at the sides of the upper body, just beneath the dress ruffles.
- Legs: Legs are integrated into the body base for seamless finish.
The finished ballerina Hello Kitty doll stands 6–8 inches, with a skirt diameter of 2.5–3 inches and a signature bow approximately 1 inch wide. Eyes and facial details are distinct and securely attached.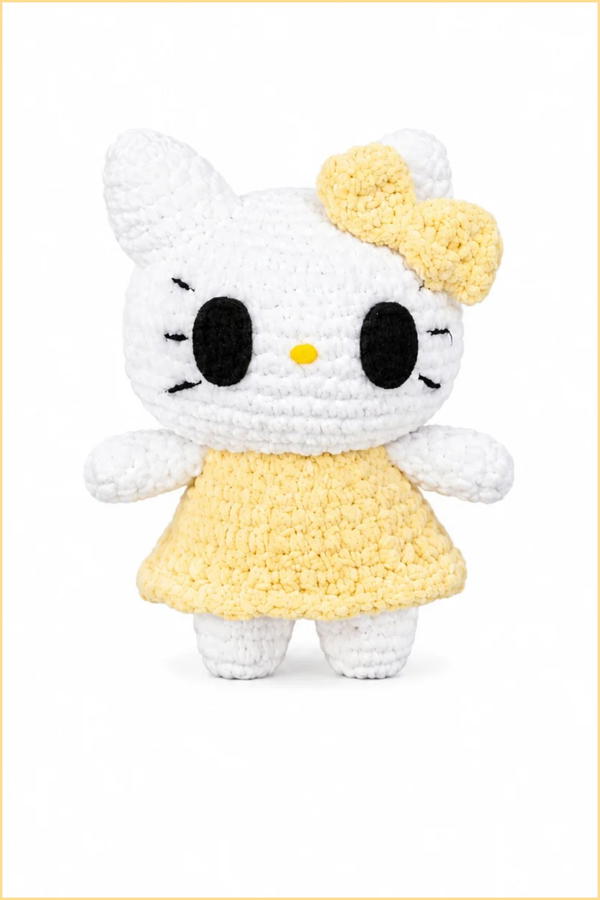
Conclusion and Ending Words
This Hello Kitty ballerina amigurumi pattern applies seamless construction techniques, careful color changes, and feature placement to replicate the character's iconic look. The double crochet ruffles, cinched bow, and felt-embroidered details offer both charm and authenticity, creating a doll to delight collectors and enthusiasts alike. Strong assembly and neat finishes ensure a soft, playful companion with classic appeal, shaped stitch by stitch to reflect personality and poise.