Mint Design Blog


Capture the look of fluffy marshmallows in a cute purse by following this free crochet pattern that brings fun texture and style to your daily carryall.
Featured By: Crochet with Olga Dyvinets!!!
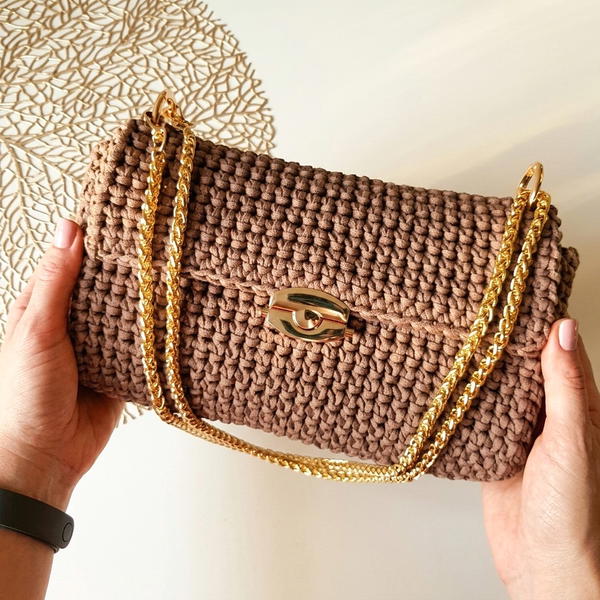
Looking for a small, stylish bag that’s both functional and eye-catching can be a challenge, especially when you want something unique and handmade. The free crochet marshmallow purse pattern offers an ideal solution, featuring a soft, pillowy texture reminiscent of fluffy marshmallows. This purse isn’t just a simple accessory, it’s a perfect blend of practicality and charm. Its compact size comfortably holds essentials like a phone, wallet, or keys, while the plush flap provides a secure and attractive closure.
Crochet a Cute Marshmallow Purse with This Free Pattern
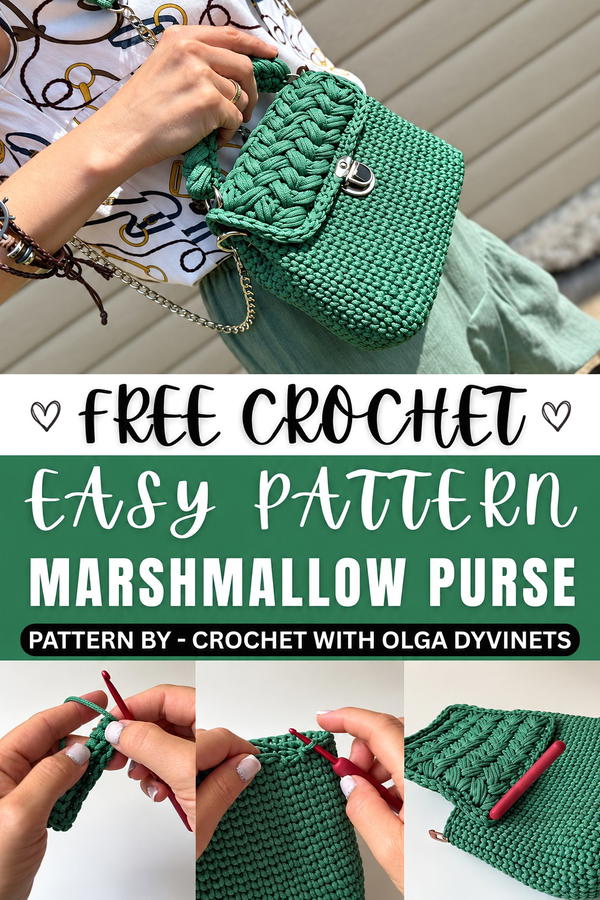
With its distinctive, cozy appearance, this purse adds a warm touch to any outfit. The textured stitches create an inviting, tactile appeal, making it a standout piece whether worn casually or for a special occasion. Its combination of softness and structure ensures it remains both stylish and functional.
Beyond everyday use, this crochet purse serves wonderfully as a personalized gift. Handmade accessories often carry a heartfelt meaning, ideal for surprising someone with a unique and thoughtful present. Thanks to the pattern’s customizable options, such as color choices and detailing, each purse can be tailored to reflect individual tastes.
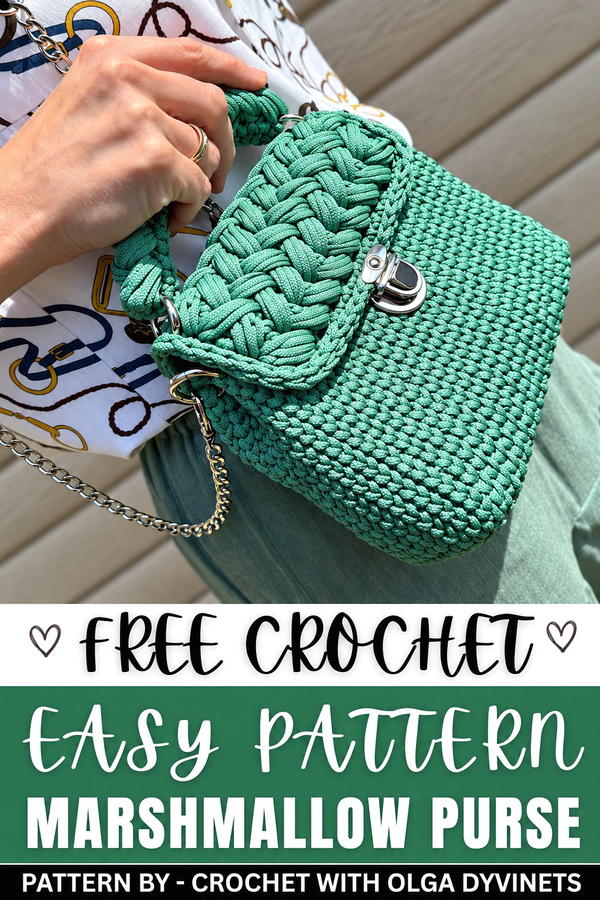
Zefirka Crochet Bag – Detailed Pattern
The Zefirka bag is a stylish and textured crochet project featuring puff stitches and waistcoat stitch (split single crochet) to achieve its unique look. Designed with practicality and aesthetics in mind, this bag incorporates a flap closure, sturdy handles, and hardware for added durability and functionality.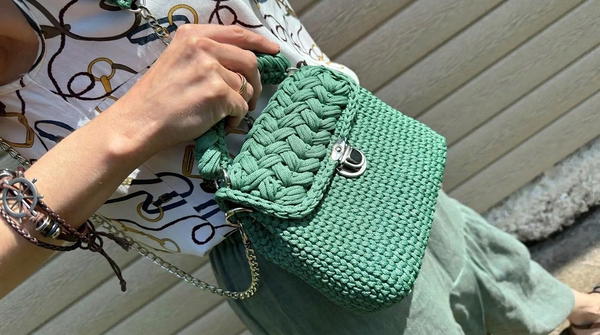
Skill Level
Intermediate
This project is suitable for crocheters comfortable with working tight stitches and familiar with techniques such as puff stitch, waistcoat stitch (split single crochet), and assembly methods. Basic knowledge of working in rows and creating dense fabric is required.
Materials
- Yarn:
- Polyester Cord: Approx. 180 meters at 3mm thickness. Thick cord ensures the bag is durable and retains its shape.
- Crochet Hook:
- Size: 4mm crochet hook
- Bag Hardware:
- Split Rings: 4
- D-Rings: 2
- Carabiners: 2
- Chains for Strap:
- Two chains, each 40cm, OR
- One chain, 120cm
Special Stitches
Waistcoat Stitch (Split Single Crochet):
A variation of single crochet worked in the “V” of the previous stitch rather than the standard loops. This creates a dense, knit-like texture.
- Insert your hook into the center of the V stitch from the previous row.
- Yarn over, pull up a loop, yarn over, and pull through both loops on the hook.
Ensure that your tension is consistent to achieve the clean “V” pattern visually.
Puff Stitch:
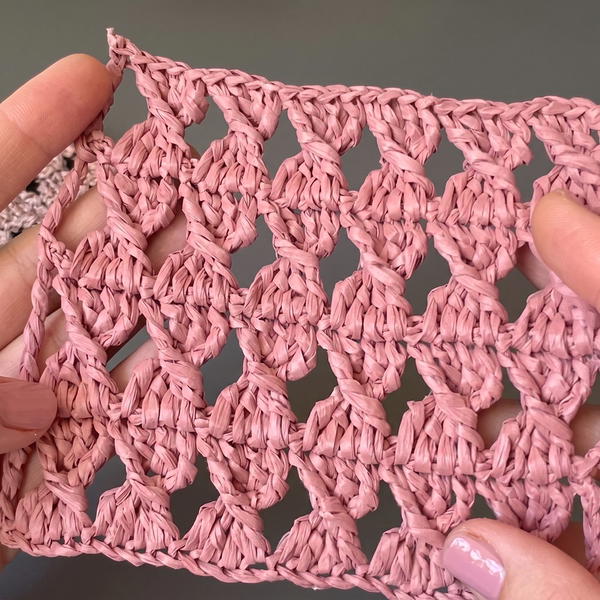
Creates a textured, raised cluster that adds dimension to the flap and handle.
- Yarn over, insert hook into stitch, yarn over, pull up a loop (3 loops on hook).
- Repeat yarn over, insert hook, pull up a loop three more times in the same stitch (total 9 loops on hook).
- Yarn over and pull through all loops on hook, chaining 1 to close the cluster.
Stitch Abbreviations
| Abbreviation | Description |
|---|---|
| ch | Chain |
| sc | Single Crochet |
| BLO | Back Loop Only |
| sl st | Slip Stitch |
| puff st | Puff Stitch |
| yo | Yarn Over |
| st(s) | Stitch(es) |
US crochet terminology is used in this pattern.
Useful Tips
- Tight Stitches: Polyester cord works differently compared to regular yarn. Keep stitches snug but not overly tight to ensure ease of handling while maintaining a dense structure.
- Tension Consistency: Consistent tension throughout the waistcoat stitch is crucial for achieving the clean, knit-like texture.
- Tools for Assembly: Use a yarn needle and hardware carefully to ensure clean edges and durable attachment points.
- Custom Strap Length: You can adjust chain length according to your preference (shoulder bag vs. crossbody bag).
- Optional Lining: Adding a fabric lining will protect the interior and reinforce the structure.
Pattern Instructions
Step 1: The Base
The rectangular base is worked in rows to create a dense and structured foundation for the bag body.
Foundation Chain:
- Ch 10.
Rows 1–36:
- Starting from the second chain from the hook, work 1 sc in each BLO across the row (9 sc total).
- Turn, ch 1, and repeat sc into the BLO in each row.
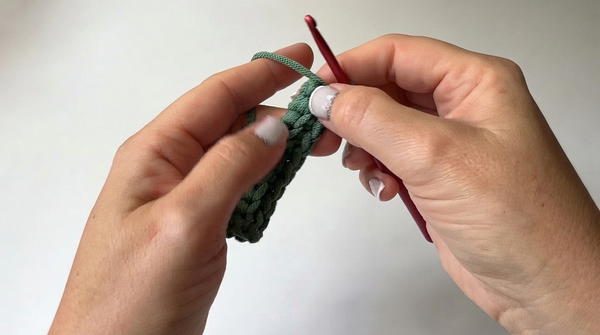
- Continue until you have completed 36 rows or the base measures approximately 7cm x 17.5cm.
Finish the Base:
- Do not fasten off. Prepare the base for bordering by moving directly to the next section.
Step 2: The Body
The bag walls are worked into the border stitches around the base, followed by 22 rows using the waistcoat stitch for a sturdy and textured bag body.
Round 1 (Bordering):
- Work 1 sc into each stitch along the long sides (18 sc) and short sides (9 sc) of the rectangular base.
- Place 1 additional sc into each corner for smooth rounding.
- You should have a total of 58 sc around the border.
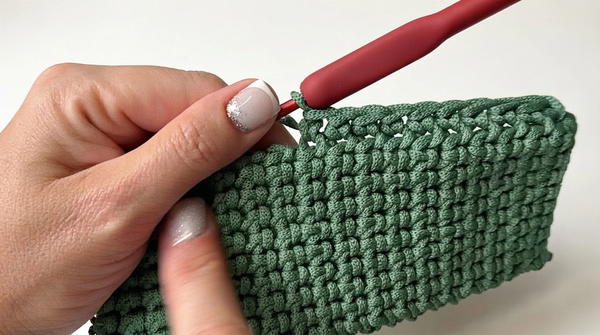
Rounds 2–23 (Walls):
- Begin working the waistcoat stitch (split single crochet) into each border stitch.
- Continue working in rounds without joining (use a marker to track the start of each round).
- Maintain 58 stitches per round for 22 rows.
Final Round:
- Work 1 round of sl sts to stabilize the edge and prepare for flap attachment.
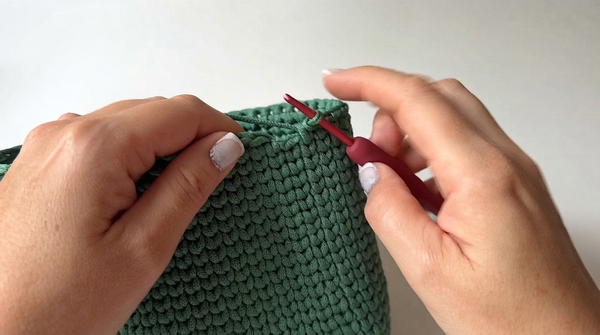
Step 3: The Flap
The flap is worked separately using alternating rows of puff stitches and single crochets to achieve the signature “Zefirka” texture.
Foundation Chain:
- Ch 19 + 1 for turning (ensure total chain count is an odd number).
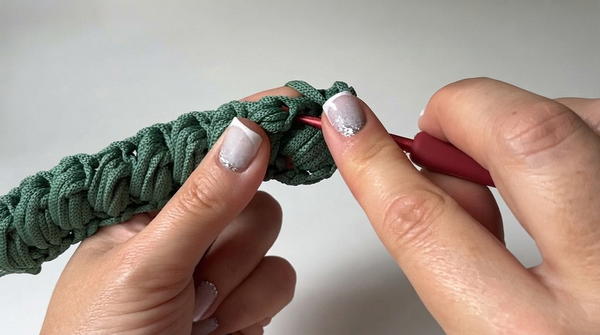
Rows 1–2:
- Work 1 sc in each back bump of the foundation chain.
Rows 3–11 (Puff Stitch Pattern):
- Alternate rows of sc and puff stitches:
- Row 3: Work 1 sc, 1 puff st across the row (ending with a sc).
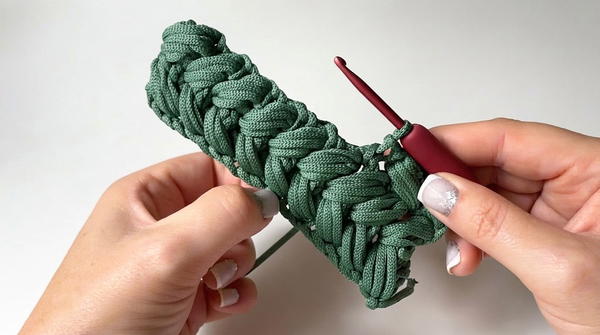
- Row 4: Repeat the sequence in reverse direction to alternate texture.
- Continue until the flap reaches 9 rows or approximately 13cm in height.
- Row 3: Work 1 sc, 1 puff st across the row (ending with a sc).
Edging:
- Work single crochets along three sides of the flap (excluding the attachment edge).
- Finish with 1 round of sl sts for clean edges.
Step 4: Assembly & Finishing
Attach the Flap:
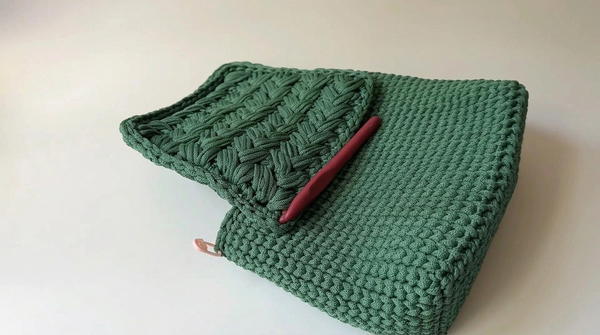
- Align the edge of the flap with the back of the bag body, ensuring symmetry.
- Secure with sl sts across the attachment edge.
Handle:
- Ch 21 + 1 turning chain and work puff stitches across for 2 rows.
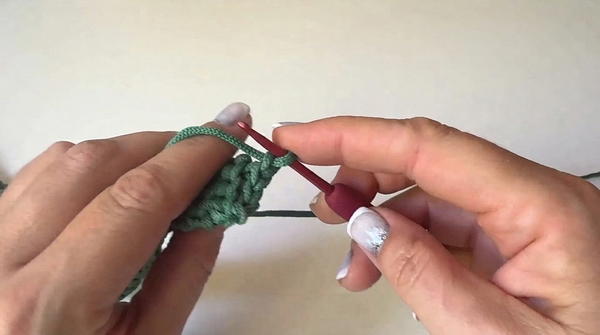
- Fold handle in half and join with single crochets for a thick, durable strap.
Strap Reinforcement (Optional):
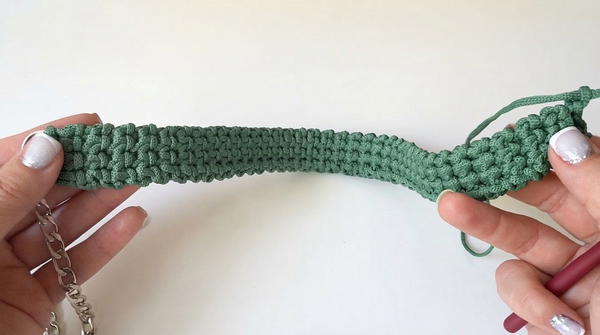
- Create a dense crochet strip using base stitch technique (4 rows wide). Attach to hardware for a comfortable strap section.
Step 5: Optional Lining
Cut a fabric piece matching the bag dimensions to line the interior. Sew securely using a needle and thread.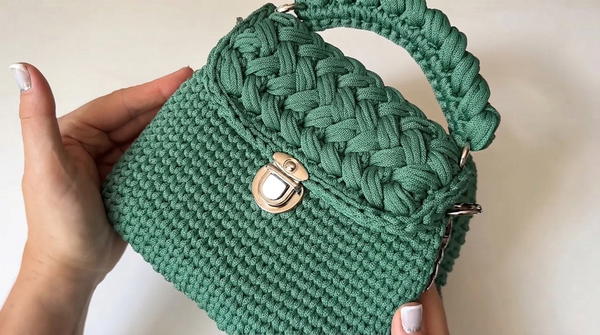
Final Notes
The Zefirka bag offers a durable and decorative option for both daily use and special occasions. Its structured texture and puff stitch details add elegance and personality, while its sturdy materials and hardware ensure longevity. Assembly ensures a professional finish, making it a versatile accessory for any wardrobe.