Make every shopping trip special with a free crochet shopper bag pattern featuring twisted raffia to create a lightweight yet rugged tote you'll love to carry.
Looking for a stylish and practical bag that’s perfect for everyday use and adds a touch of handmade charm? The latest project from Crochet with Olga Dyvinets!!! is just what you need. This creation beautifully combines lightweight design with sturdy construction, making it a fantastic accessory for all seasons.
Free Crochet Shopper Bag with Twisted Raffia Pattern Trendy Tote
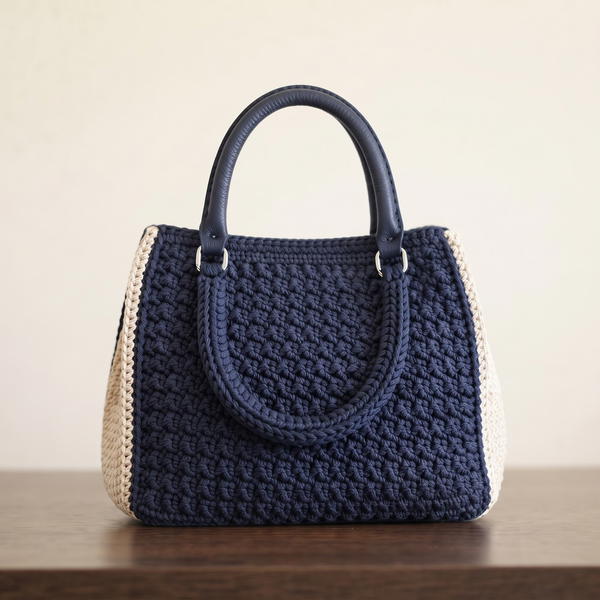
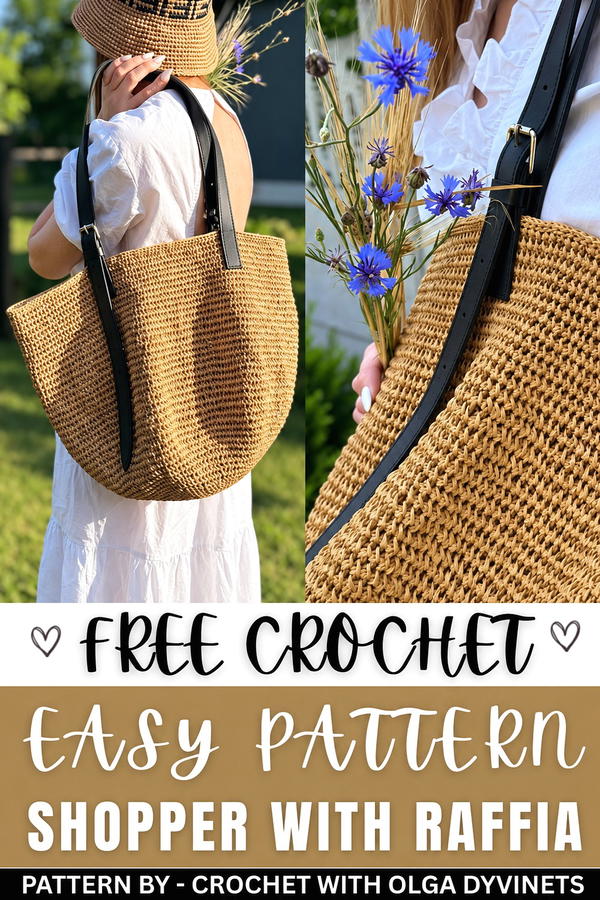
Crochet Shopper Bag with Twisted Raffia pattern gives you the opportunity to create a spacious and durable shopper bag crafted from twisted raffia. Known for its strength and lightness, twisted raffia makes the bag surprisingly easy to carry while maintaining a firm structure. The bag boasts a generous size, measuring approximately 45 cm wide and 35 cm deep, making it perfect for carrying groceries, beach essentials, or your daily necessities.
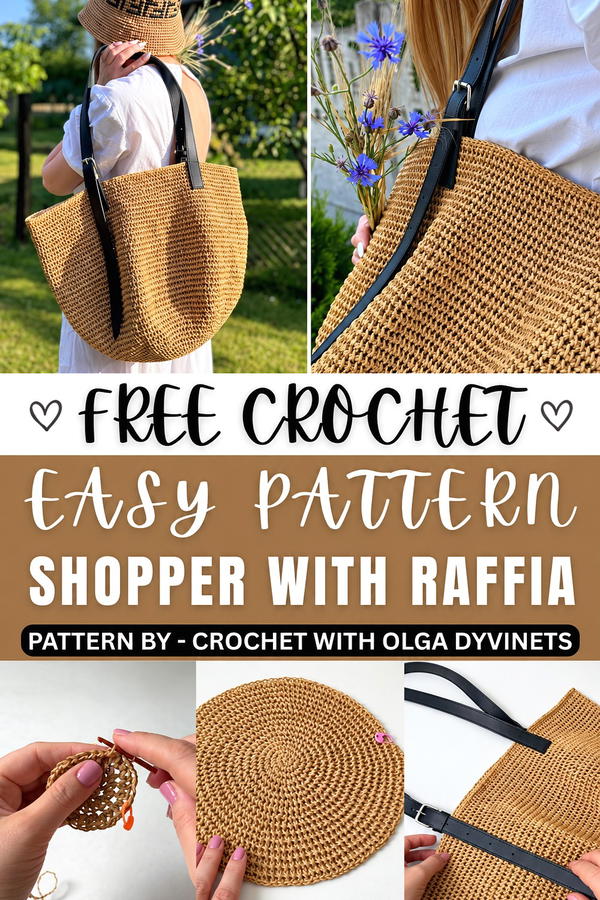
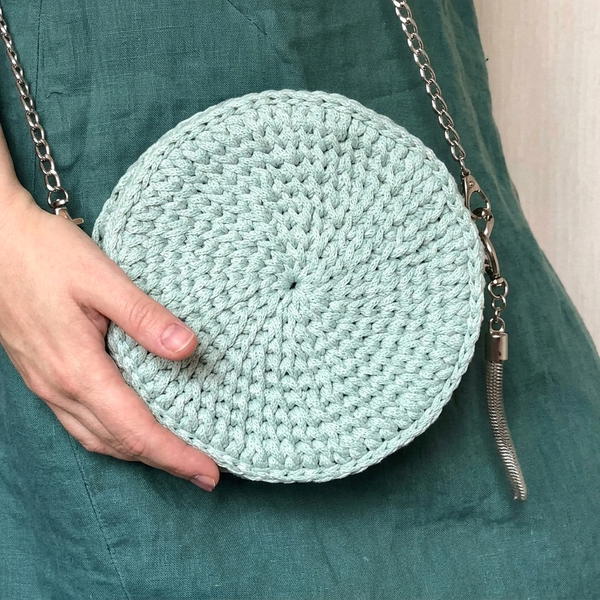
Its round, solid bottom and tall walls come together to create an elegant silhouette that’s not only functional but visually appealing. The texture, enhanced by crocheted spiral stitches, adds subtle sophistication, while the genuine leather straps give the bag both charm and comfort. Designed without the need for a lining, this shopper’s natural look fits effortlessly into any casual or summer wardrobe.
This project also makes an excellent gift option. Handmade bags are thoughtful and personal presents that can suit anyone’s style thanks to their versatility and practicality. Whether for beach lovers, market-goers, or anyone who appreciates eco-friendly accessories, this shopper bag is sure to delight.
Crochet Shopper Bag Pattern
This pattern provides instructions to create a functional and beautiful shopper bag using twisted raffia. The bag is stitched in a continuous spiral technique for a seamless look and features a sturdy round base, durable sides, and elegant leather handles. Its versatility and chic design make this bag practical for groceries, beach days, or casual outings.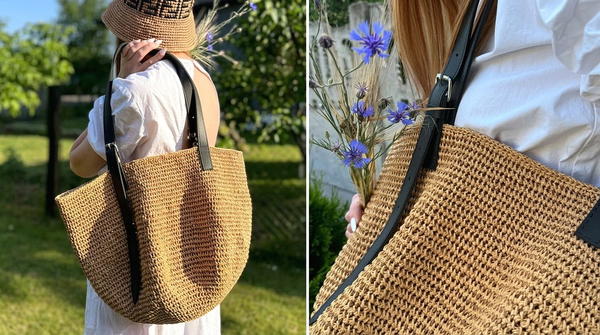
Skill Level
Intermediate
This pattern is ideal for crocheters comfortable with working in spirals, managing stitch increases, and following row-based instructions. Attention to detail and tension is necessary for achieving a smooth, flat base and sturdy sides.
Materials
- Yarn:
- 3 skeins of twisted raffia, 200 meters per skein.
- Hook:
- 3mm crochet hook.
- Additional Materials:
- Leather or faux leather straps (pre-made or custom-made straps).
- Stitch markers.
- Yarn needle.
- Scissors.
Special Stitches
1. Single Crochet (SC):
- Insert the hook into the stitch, yarn over, pull up a loop (2 loops on hook), yarn over, and pull through both loops.
2. Slip Stitch (SL ST):
- Insert the hook into the stitch, yarn over, and pull through both the stitch and the loop on the hook.
3. Increase (INC):
- Work 2 SC into the same stitch.
4. Double Increase (D-INC):
- Work 3 SC into the same stitch to add extra stitches for maintaining a flat base when curling is observed.
Stitch Abbreviations
| Abbreviation | Description |
|---|---|
| ch | Chain |
| sc | Single Crochet |
| sl st | Slip Stitch |
| inc | Increase (2 SC in same stitch) |
| d-inc | Double Increase (3 SC in same stitch) |
| st(s) | Stitch(es) |
Useful Tips
- Consistent Tension: Ensure even tension throughout, especially on the base, to avoid a wavy or uneven surface. Adjust your tension or hook size if needed.
- Mark Your Rounds: Use a stitch marker to indicate the beginning of each spiral round for easier counting and tracking.
- Flat Base Maintenance: If the base starts to curl upwards, add double increases (3 SC into one stitch) in select areas to keep it flat.
- Handles: Use sturdy leather or faux leather straps for durability. Pre-punched holes in the straps make attachment much easier.
- Customization: Adjust the size of the bag by working fewer or additional rows at the base and sides.
Pattern Instructions
Step 1: Foundation
The base is created using a magic ring (or an alternative starting loop) and worked in a continuous spiral without joining rows.
Foundation Ring:
- Create a ring using your raffia.
- Work 8 SC into the ring.
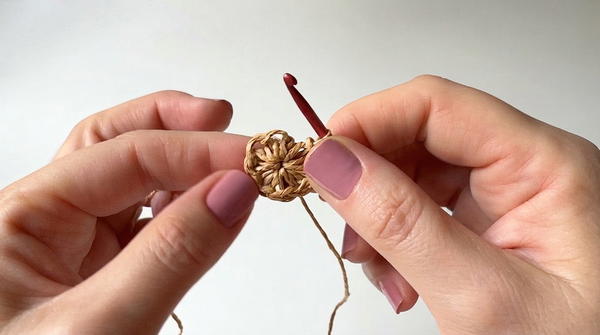
- Tighten the ring to close the center. (8 sts)
Step 2: Base Expansion
The base is built by increasing the stitch count in each row. For a strong, flat base, ensure 8 increases are completed per row.
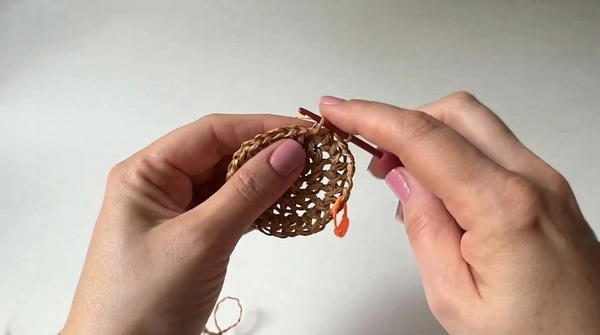
Round 2:
- Work 2 SC into each stitch around. (16 sts)
Round 3:
- Alternate 1 SC, 1 INC across. (24 sts)
Round 4:
- Alternate 2 SC, 1 INC across. (32 sts)
Round 5:
- Alternate 3 SC, 1 INC across. (40 sts)
Rounds 6–21:
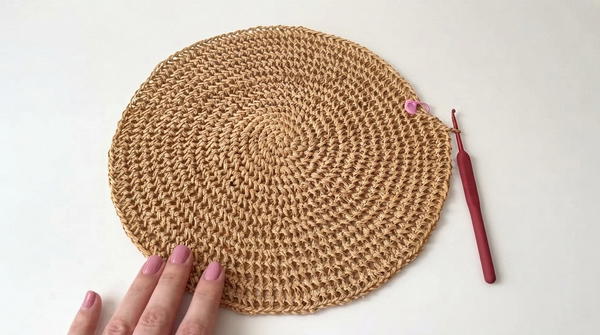
- Continue increasing 8 sts per row. Follow this sequence:
- Round 6: 4 SC, 1 INC.
- Round 7: 5 SC, 1 INC.
- Round 8: 6 SC, 1 INC.
- Repeat the same logic, increasing the space between each INC by one stitch for each round.
Adjustments (Optional):
- If the base starts to curl upwards as it grows, add a double increase (D-INC) at intervals within the row to maintain a flat surface. You can add 16 stitches by spacing the extra increases evenly.
- Stop once the base reaches a desired width. This pattern’s base concludes at 21 rows, measuring approximately 32 cm in diameter.
Step 3: Walls
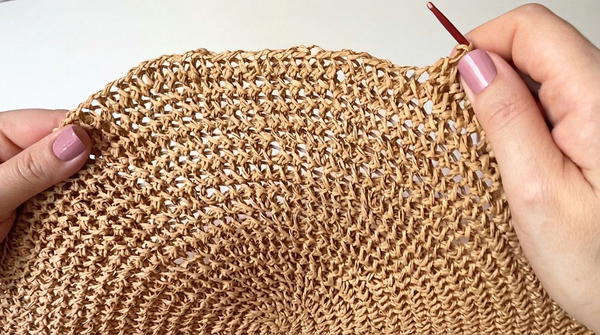
The walls are created by continuing the established stitch pattern, without any increases. This creates vertical sides for the bag.
Wall Rounds (Rounds 22–48):
- Work SC into each stitch around. Do not increase.
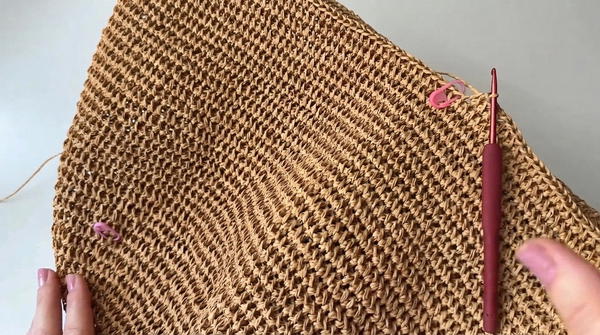
- Continue crocheting until the sides reach your desired height. In this pattern, 27 rounds were crocheted for a height of approximately 30 cm.
Step 4: Finishing the Top Edge
Finish the top edge of the bag with one row of slip stitches for stability and a clean look.
Top Edge:
- Work SL ST into each stitch around the top edge.
- Complete the row by closing it invisibly. Cut the yarn and pull the tail through the first stitch for a smooth finish.
Step 5: Handles
For handles, measure the circumference of the bag-opening and divide it evenly to attach straps.
Handle Placement:
- Count the total number of stitches on the top edge (184 sts in this pattern).
- Divide the stitches by two (92 sts for each side).
- Place markers 25 sts from the center on each side to create equal spacing for strap attachment.
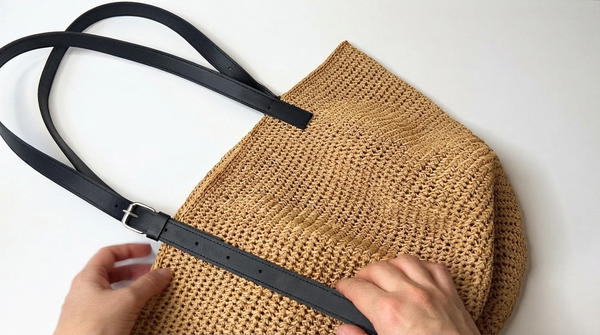
Handle Attachment:
- Attach leather or faux leather handles to the bag at the marked positions. Use a stitching method or small screws depending on the type of strap hardware.
- Ensure the handles are securely fastened to bear the weight of the bag when filled.
Optional Additions
- Internal Pouch or Pocket: Sew a small fabric pouch or pocket to the interior of your bag for better organization and to keep small items secure.
- Closure Mechanisms: Attach snaps, magnets, or buttons for an optional bag closure.
Customization
- Size Modifications: To create a smaller or larger bag, adjust the number of initial stitches in the foundation ring, or change the number of base and wall rounds.
- Color Options: Use multiple colors of raffia for stripes or patterns. Alternate colors every few rows for visual interest.
- Strap Variations: Add crocheted handles, fabric straps, or chain straps instead of leather ones.
Final Notes
This modern shopper bag combines style with functionality, offering a sturdy structure and ample space for daily essentials. Its continuous spiral construction creates a seamless and polished finish, while the optional touches like internal organization and custom handles allow for creative and practical adaptations. Adjust the size, colors, or materials to make this design uniquely yours.