Mint Design Blog


Make a fashionable statement with our free crochet dream bag pattern crocheted for beginners and pros alike to create a must-have accessory.
Creating a bag that is both stylish and practical has never been easier, thanks to a stunning design shared on the Örgü Ütopyası YouTube channel. This bag is a perfect combination of beauty and functionality, featuring a texture that looks modern and high-end without being complicated to make. The channel provides a detailed step-by-step guide, making it accessible to everyone, regardless of experience.
Free Crochet Dream Bag Pattern for Every Skill Level
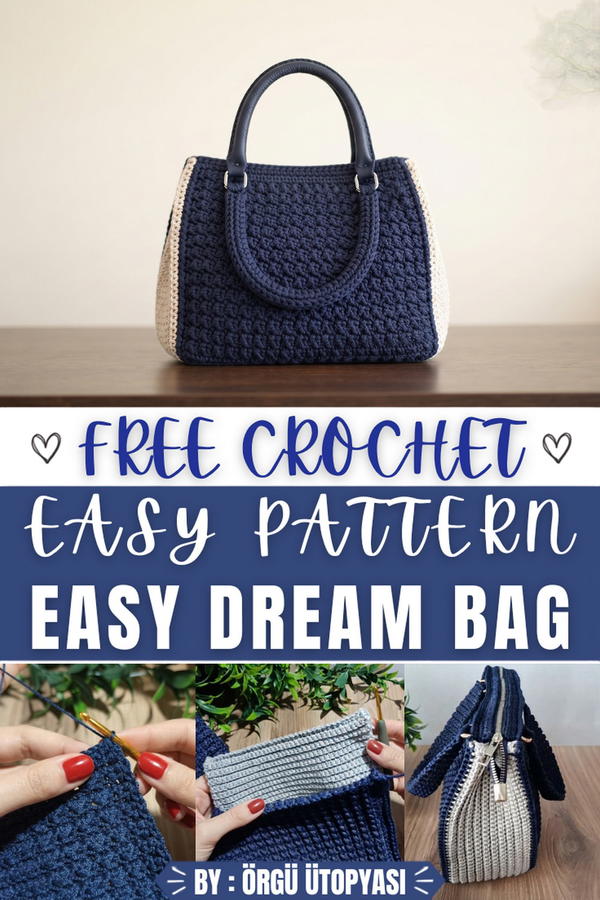
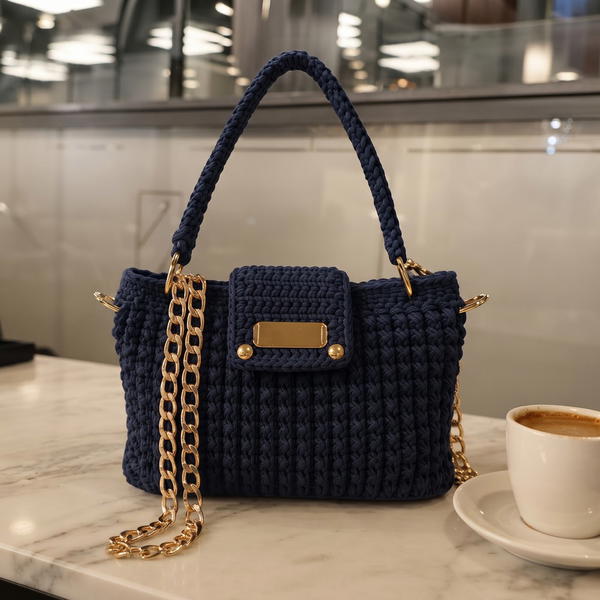
The bag stands out with its neat, rectangular shape and a unique stitched pattern that adds depth and character to the overall design. It is incredibly versatile, suitable for everyday use or special occasions. The addition of a strong handle, a zipper closure, and even the option to line the bag makes it practical while still maintaining its elegant look. You can even customize it further by adding small details like labels or decorative hooks.
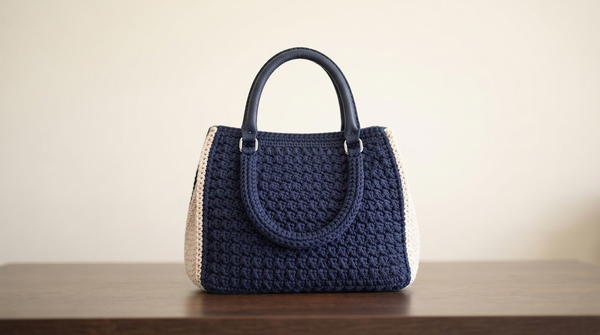
The creation process involves simple and repetitive stitches, such as single crochets and slip stitches, making it a relaxing and enjoyable activity. The yarn used (Eliza Polyester Macramé) gives the bag a sturdy and professional finish, ensuring that it is both durable and stylish. All the materials needed are affordable and easy to find, allowing you to create something unique without breaking the bank.
Crochet Bag Pattern
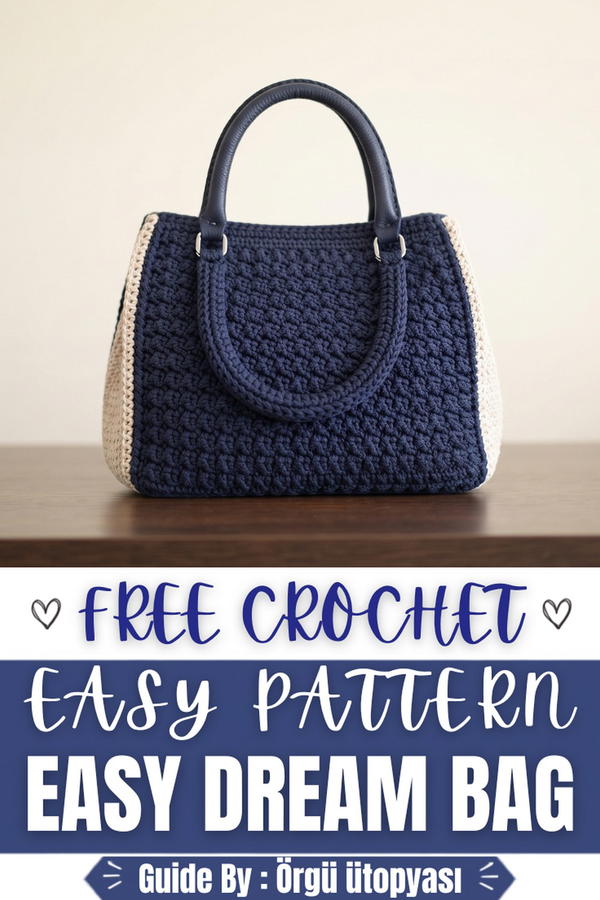
This crochet bag combines utility with style and is perfect for personal use or gifting. Using durable 2 mm polyester macrame cord, this bag features a sturdy stitch pattern, practical gussets for depth, and elegant handles. The addition of a zipper ensures security, and optional lining can be added for greater functionality.
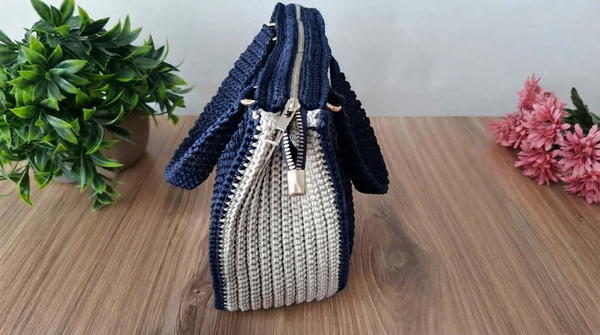
Skill Level
Intermediate
This pattern requires familiarity with basic crochet stitches, working in rounds, creating gussets, and simple assembly techniques.
Materials
To crochet this bag, gather the following:
- Yarn:
- Eliza Polyester Macrame Cord (2 mm size, No. 3)
- Crochet Hook:
- 3.5 mm Tulip hook
- Additional Items:
- Four rings (for attaching handles)
- Optional label (for customization)
- Zipper (to secure the bag opening)
- Plastic canvas (optional, for providing structure and support)
Tools:
- Scissors (to cut yarn and cord neatly)
- Sewing needle/thread (to attach the zipper and lining, optional)
Special Stitches Used
- Slip Stitch (sl st):
Used for joining rounds and forming decorative segments. - Single Crochet in Back Loop Only (sc BLO):
A method of working into the back loop of the stitch from the previous row, creating a ridged texture. - Half Double Crochet (hdc):
Creates a slightly taller stitch than single crochet, adding depth to the bag’s design elements. - Single Crochet Decrease (sc2tog):
Shaping technique used for assembly or tapering by crocheting two stitches together.
Stitch Abbreviations
- ch: Chain
- sc: Single crochet
- sl st: Slip stitch
- hdc: Half double crochet
- sc2tog/dec: Single crochet decrease
Useful Tips
- Gauge Consistency: Maintain an even tension throughout to ensure uniform panels and a smooth finish.
- Secure Joins: Knot and weave ends securely, as this ensures the bag holds up under regular use.
- Handles: Make handles durable by using sturdy rings or reinforcing stitches where the handles attach.
- Lining Tips: If opting for a lining, sew it tightly along the interior so it doesn't shift or distort the bag’s shape.
- Use Plastic Canvas: Add a square of plastic canvas to help the bottom and sides retain their structure.
Crochet Pattern
Main Panels (Make Two)
The body panels are rectangular and feature an alternating stitch pattern. Begin with chains to establish width.
- Starting Chain: Chain 44 stitches. Skip the first chain to serve as the turning chain.
- Foundation Row:
- Work 1 sc into the second chain from the hook.
- Then alternate 1 sl st and 1 hdc across the row.
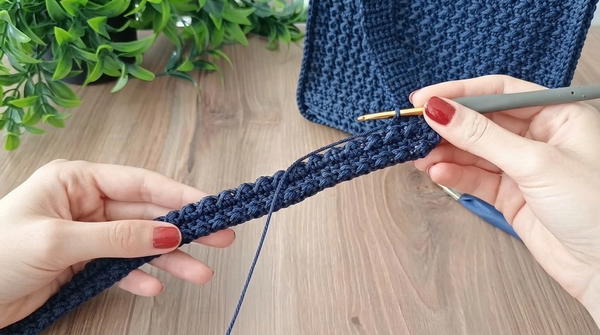
- Repeat this sequence until the end of the row.
- Row 2 (Right Side):
- Ch 1, turn. Work 1 sc into the back loop only (sc BLO) of each stitch across.
Repeat Rows 1 and 2 to establish the pattern as follows:
- Odd rows: Stitch pattern setup (worked from the wrong side).
- Even rows: Single crochet in back loop only (sc BLO) (worked from the right side).
Continue alternating this sequence, forming the textured pattern, until you complete 19 pattern rows.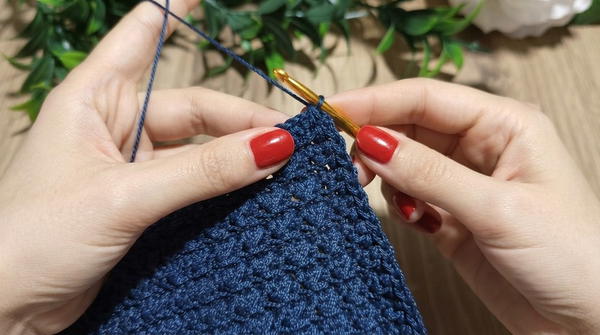
- Border:
- After completing the desired length, work an edge border:
- Ch 1, turn.
- Work 1 sc into each stitch along all four sides, making 2 sc at each corner for smooth transitions.
- After completing the desired length, work an edge border:
- Zipper Tabs:
- At the top edge of the panel:
- Work 1 row of sc into the front loops only.
- Turn, then work a second row of sc into the front loops.
- This creates a flap intended for zipper attachment.
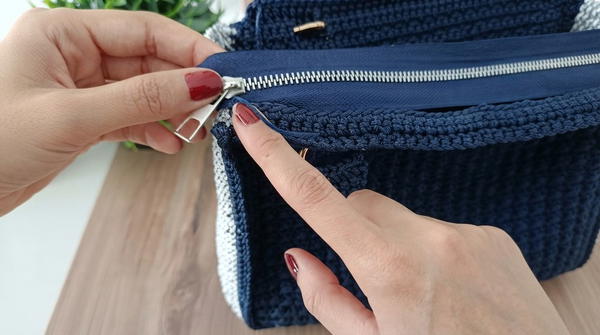
- At the top edge of the panel:
Set the panel aside and repeat the entire process to create the second main panel.
Gusset (Side/Bottom Strip)
The gusset forms the sides and bottom of the bag, giving it depth and structure.
- Starting Chain: Chain 122 stitches.
- Foundation Row:
- Skip the first chain and work 121 sc across the row.
- Rows 2–20:
- Ch 1, turn. Work sc BLO into every stitch across.
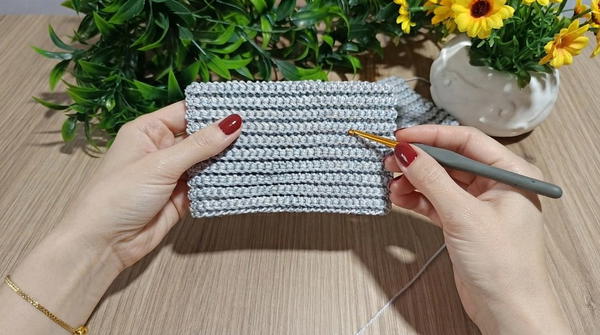
- Ch 1, turn. Work sc BLO into every stitch across.
After completing 20 rows, work the edge border: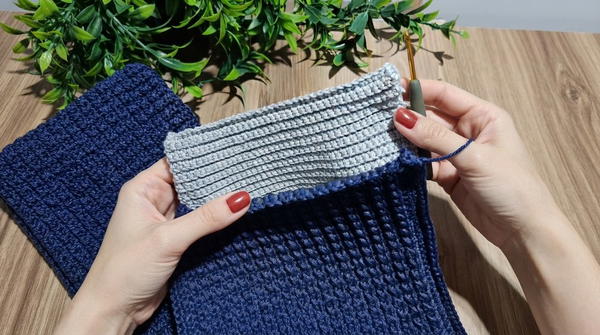
- Border:
- Work 1 sc around all four sides, making 2 sc at each corner to maintain shape.
Set aside the gusset for assembly.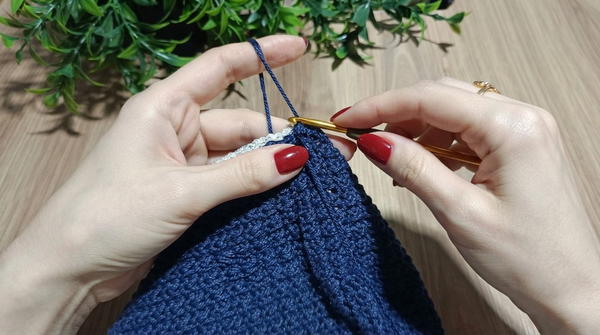
Handles
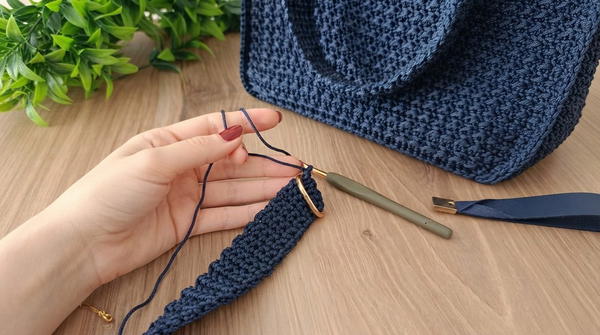
The handles are created separately, then attached to rings and sewn onto the bag.
- Starting Base: Thread the yarn through a ring, attaching with a sl st.
- Foundation Row: Work 5 sc around the ring.
- Rows 2–30:
- Ch 1, turn. Work 5 sc across the row for a total of 30 rows.
- Ch 1, turn. Work 5 sc across the row for a total of 30 rows.
Finish by knotting and cutting the yarn. Repeat for the second handle.
Assembly and Sizing
Joining Panels and Gusset
- Align the gusset with one panel, keeping the right sides facing out.
- Using a sl st or sc BLO, join the panel and gusset together along their edges.
- Once the first panel is attached, align the second panel with the remaining edge of the gusset and repeat the joining process.
Attaching Handles
- Position each handle so its ends are evenly spaced along the top edge of the bag.
- Sew the handles securely through their rings to ensure durability.
Zipper Installation
- Fold the zipper tab inward, aligning the zipper with the flap opening.
- Sew the zipper to the tabs using a needle and thread, ensuring it is centered and fully functional.
Optional: Add a magnetic button for closure reinforcement.
Adding Structure (Optional)
- Cut plastic canvas into rectangles that fit the base and gusset.
- Insert the canvas snugly into position and sew it in place within the lining or interior.
Conclusion
This crochet bag showcases a practical yet elegant design ideal for everyday use. The structured gusset and sturdy handles ensure durability, while the alternating stitch pattern adds a highly textured finish. The zipper and optional lining make the bag versatile and stylish, with additional functionality. Customize the design with your preferred colors and embellishments, or enhance utility by incorporating plastic canvas for added support. Experienced crocheters can adapt the pattern for alternate bag sizes, creating innovative designs tailored to specific needs.