Mint Design Blog


Turn yarn into fashion with this free crochet bag pattern designed for all skill levels to create a beautiful and practical bag you’ll adore.
Making something useful and stylish can be a truly rewarding experience! The Free Crochet Bag Pattern, featured on the Örgü ütopyası channel, is a wonderful project for anyone looking to make a reusable and elegant bag. Whether you need something for shopping, carrying daily essentials, or replacing plastic bags with an eco-friendly option, this pattern is practical and easy to follow. The tutorial provides detailed guidance, ensuring a stress-free process for beginners and seasoned enthusiasts alike.
Quick & Fun Free Crochet Tote Bag Pattern to Make
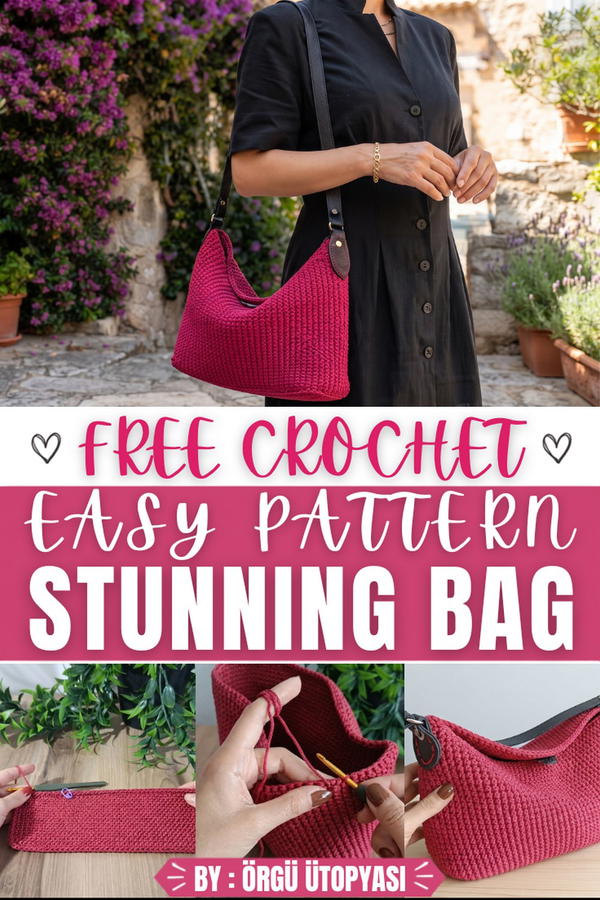
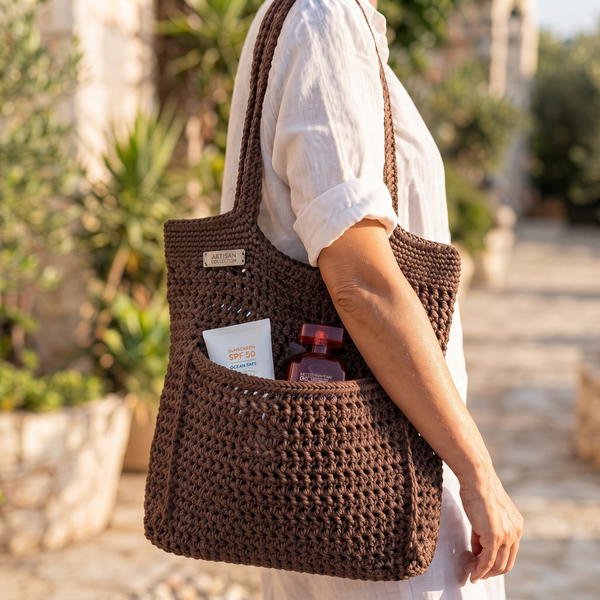
This bag is designed to be both versatile and sturdy. Its spacious size makes it ideal for carrying books, groceries, or even as a tote for a casual day out. The strong stitching ensures it can hold heavier items without losing its shape, while the flat base offers extra stability. The handles are comfortable to hold, adding another layer of functionality to its design.
What makes this bag truly special is its appearance. The textured pattern is stylish and modern, giving it a bold personality while remaining simple and classy. Its rectangular shape ensures enough room for all your belongings, making it practical without compromising on aesthetics.
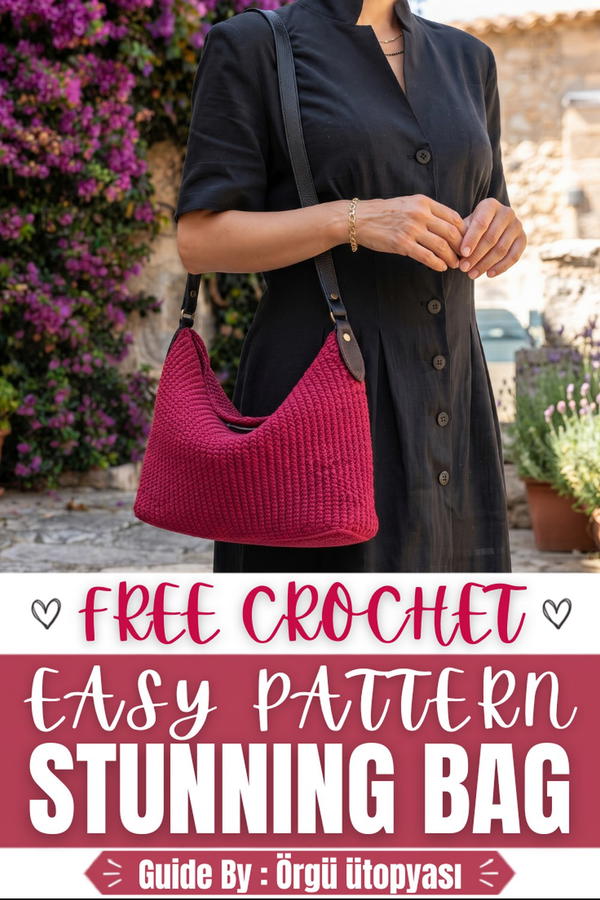
Double-Layer Crochet Shoulder Bag Pattern
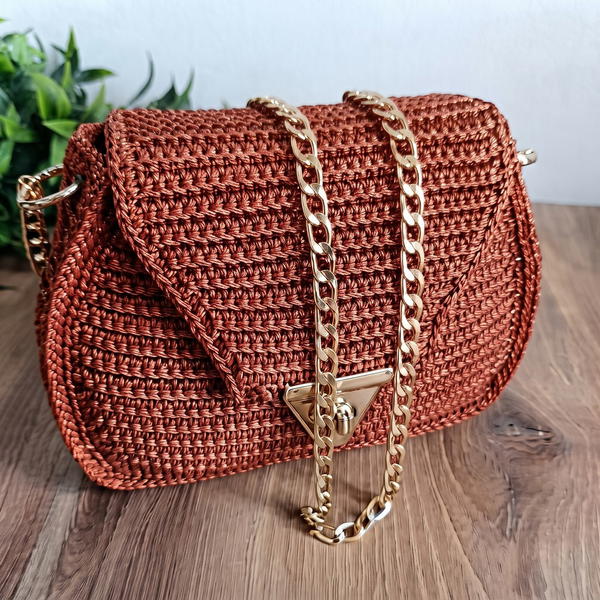
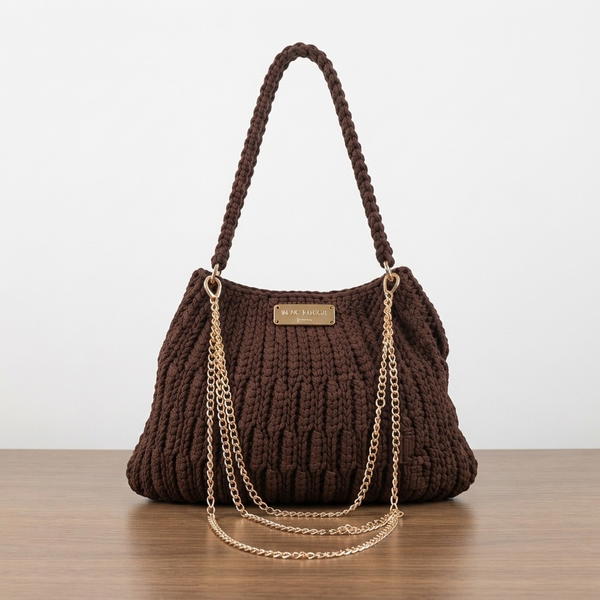
This double-layer crochet shoulder bag combines elegance and practicality with its sturdy base, clean lines, and neat stitch pattern. The bag is ideal for carrying essentials and can be customized with magnetic closures and a purchased handle for a professional and sleek finish. Designed to be lightweight yet durable, this bag is perfect for everyday use.
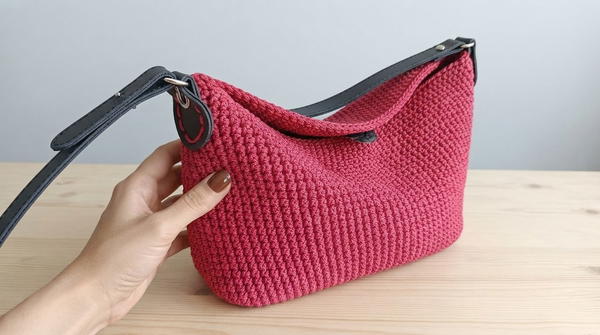
Skill Level
Intermediate
This pattern is recommended for intermediate crocheters who are comfortable working with single crochet stitches, crocheting from the back loop, and assembling multi-piece projects. Beginners with dedication can also attempt this project with guidance.
Materials
- Yarn: Cotton macramé yarn, 3 mm thick (approximately 300–400 grams). Polyester macramé yarn can also be used.
- Hook: 3.5 mm crochet hook.
- Bag Handle: Purchased handles, preferably leather or faux leather, that can be sewn onto the bag.
- Closure: Magnetic button with leather backing for a secure and professional finish.
- Tools:
- Scissors
- Sewing needle
- Thread matching the handle color
Special Stitches Used
- Single Crochet (sc)
The foundation stitch for this pattern, used for building the double-layer base and main body. - Single Crochet in Back Loop Only (sc BLO)
Creates texture and a neat ribbed look. This technique is used to join the double-layer base and form smooth edges. - Slip Stitch (sl st)
Used for finishing seams and edges with a clean, flat join.
Stitch Abbreviations
- ch – chain
- sc – single crochet
- sc BLO – single crochet in back loop only
- sl st – slip stitch
Useful Tips
- Maintain Even Tension: Cotton yarn tends to be stiff, so work slightly loosely to avoid uneven rows or overly tight fabric.
- Work with Markers: Use stitch markers to identify row beginnings and ends when working in spiral rounds.
- Hide Ends Neatly: Weave in yarn tails carefully to avoid visible flaws in the finished product.
- Flat Assembly: Place the bag flat during assembly and marking to ensure symmetry.
Detailed Pattern
Double-Layer Base
The sturdy double-layer base provides a reliable structure for holding heavier items and maintaining the bag’s shape.
Single Base Layer
- Foundation Chain: Chain 40.
- Row 1:
- Insert hook into the second chain from the hook.
- Work 1 sc into each chain across.
- You will have 40 sc at the end of the row.
- Ch 1, turn.
- Row 2:
- Work 1 sc BLO into each stitch across for this row.
- Ch 1, turn.
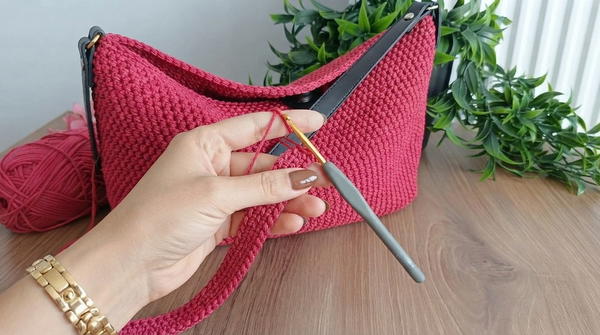
- Rows 3–10:
- Repeat Row 2, working 1 sc BLO into each back loop across (total of 40 sc in each row).
- After completing 10 rows of single crochet in the back loop, the first layer of the base is complete.
Joining Second Layer
To create the double-layered base:
- Attach yarn to the starting edge of the first layer.
- Hold the base with the unused loops from Row 1 visible on the underside.
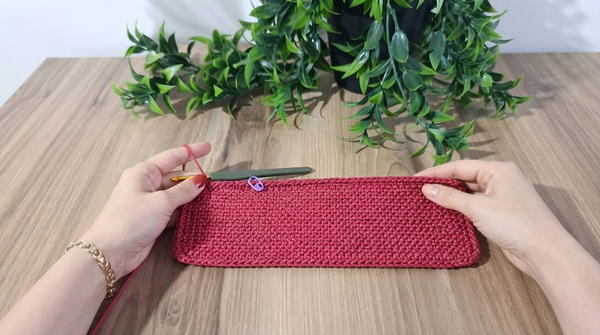
- Begin working through the back loop of Row 10 and the unused loops from Row 1 simultaneously:
- Insert the hook through both loops and work 1 sc.
- Repeat this process for each stitch across the row to join the two layers.
- At the end of the row, ch 1, turn, and repeat the process for several rows to complete the double-layer base.
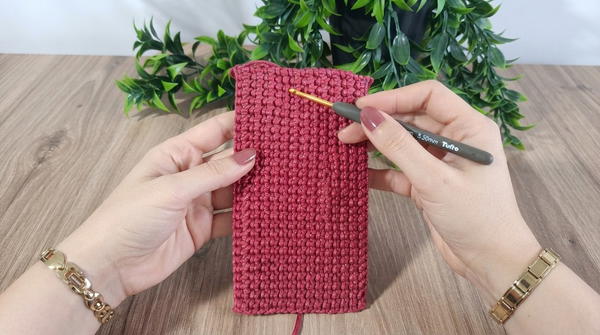
Bag Body
The body is worked in spiral rounds that begin from the base edge and work upward to form the bag’s main compartment.
- Round 1 (Initial Body):
- Attach yarn to any corner of the base.
- Work 1 sc into each stitch along the base edge.
- Place 3 sc in each corner for smooth turns before continuing along each side.
- Join with sl st to the first sc.
- Round 2 and Beyond (Spiral Stitches):
- Work 1 sc BLO around repeatedly to form the bag body.
- Use a stitch marker to track the starting point of each round.
- Continue working in a spiral pattern (with no joining stitches at the end of each round).
- Maintain consistency, ensuring that you do not skip hidden stitches to keep the edges straight.
- Continue working in spiral rounds until the body measures approximately 20 cm from the base to the top.
Top Edging
To finish the bag’s top, a neat slip stitch border is worked to give the opening a refined look.
- Slip Stitch Edging:
- At the top edge of the bag body, attach yarn and ch 1.
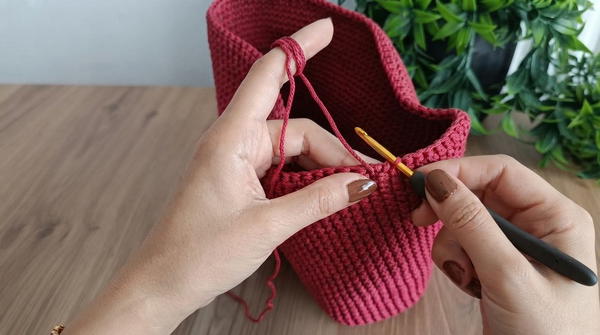
- Work 1 sl st into each back loop, pulling yarn through each loop in one motion.
- This creates a smooth, flat edge.
- Work evenly around the mouth of the bag.
- At the top edge of the bag body, attach yarn and ch 1.
At the end of the round, join the last slip stitch to the first stitch with sl st, ch 1, and fasten off. Hide the yarn tail by weaving it into the fabric’s interior.
Handle Attachment
The handles are added for functionality and to elevate the design. Follow these steps for proper attachment:
- Lay the bag flat, ensuring the base is evenly aligned.
- Find the center points for the handle attachment on both the front and back sides of the bag. Use stitch markers to mark placement.
- Position the handle on the markers and sew securely with a sewing needle and thread.
- Reinforce each attachment to ensure durability, especially if the bag will carry heavier items.
Magnetic Closure
A magnetic button can be added to the bag for a convenient and refined closure method.
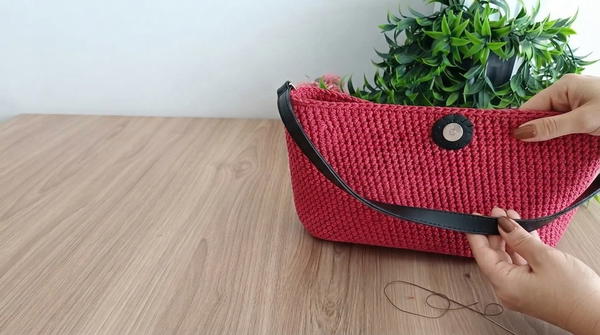
- Attach one half of the magnetic button to the center of the top edge of the bag’s front panel.
- Measure and align the corresponding half of the magnetic button to the lid or back flap of the bag, ensuring alignment when the bag is closed.
- Sew the magnetic button into place using thin thread to avoid visible seams.
Assembly and Sizing
- Dimensions:
- Fully assembled: approximately 28 cm in width and 20 cm in height.
- Base: 28 cm x 9 cm, providing ample structure for storing belongings without sagging.
- Customization:
- You can adjust the size of the base and the height of the bag by adding or reducing chains and rows at the base and body.
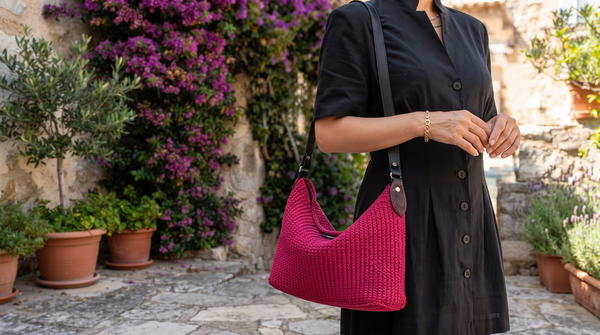
- You can adjust the size of the base and the height of the bag by adding or reducing chains and rows at the base and body.
Conclusion
This double-layer crochet bag is a versatile and functional accessory that combines durability and style. Designed to be robust yet lightweight, the bag features a solid base, a spiral-textured body, and polished finishing techniques, making it suitable for various uses, whether as a day bag or a casual accessory. The addition of a purchased handle and a magnetic closure enhances the professional appearance, while the cotton yarn choice ensures sustainability and sturdiness. This bag provides an excellent canvas for personal customization, allowing users to experiment with colors and hardware options while maintaining its timeless aesthetic.