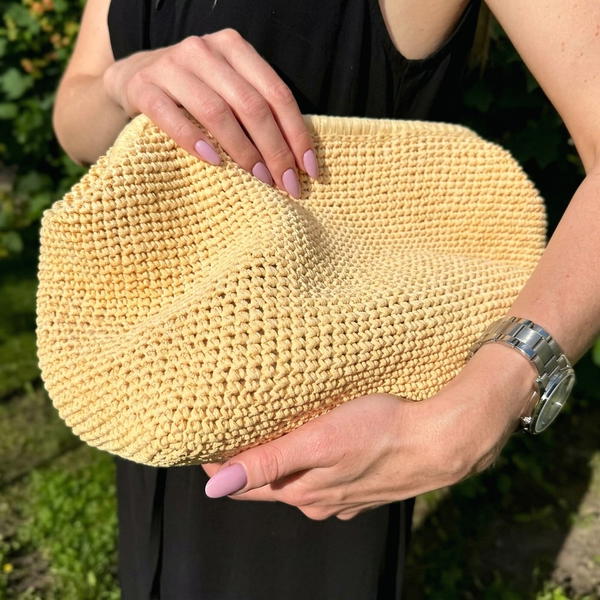
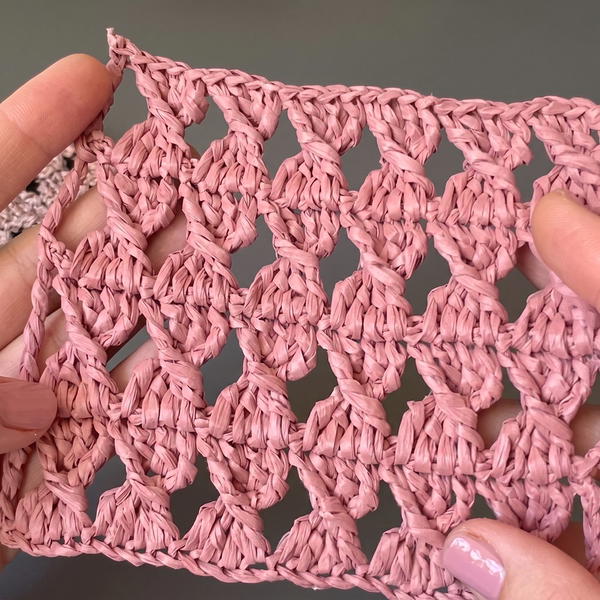
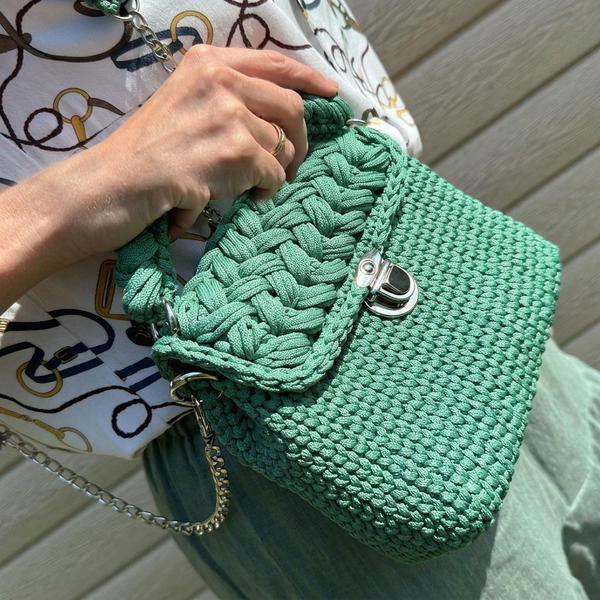
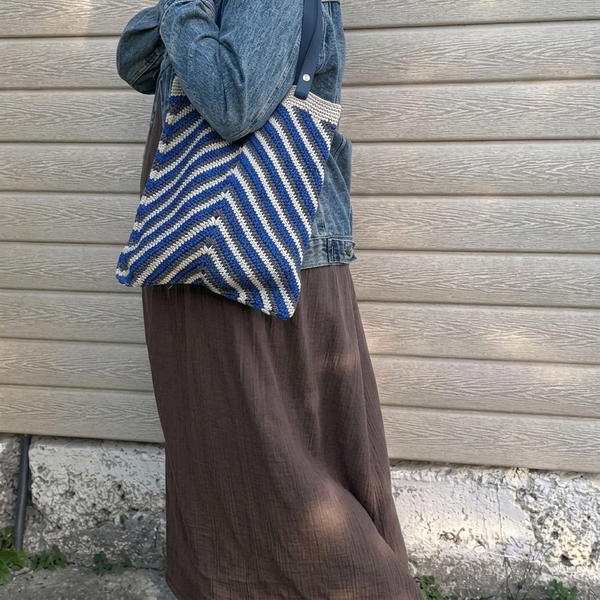
Make your beach days brighter by crafting a trendy crochet beach bag with our free pattern designed for easy and fun summertime projects.
You can find an amazing and practical beach bag pattern on the Örgü ütopyası YouTube channel, where clear and simple instructions are shared in a way that’s easy for everyone to understand. Even if someone is trying it for the first time, the step-by-step explanation ensures a smooth process, helping anyone make a functional yet stylish bag with ease.
Crochet a Beach Bag with This Free Pattern (Perfect for Summer)
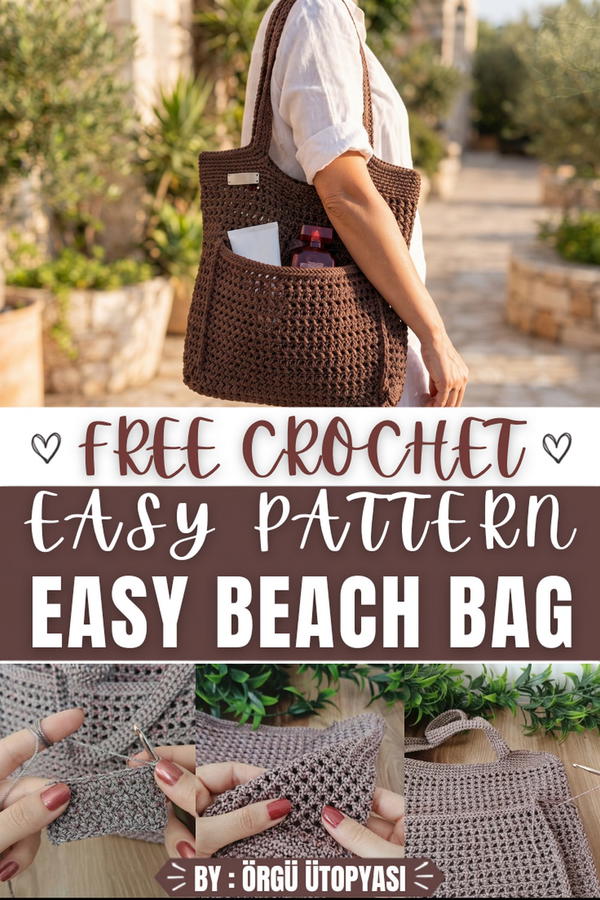
This free crochet beach bag pattern is not just a design; it’s a solution for carrying everyday essentials or beach accessories like towels, sunscreen, or snacks. The method is straightforward and involves repetitive steps, making it easy to follow while still being calming and enjoyable. The durability of the bag is one of its best features, thanks to the use of strong materials and a sturdy stitch technique. It’s built to handle heavy items without losing its shape.
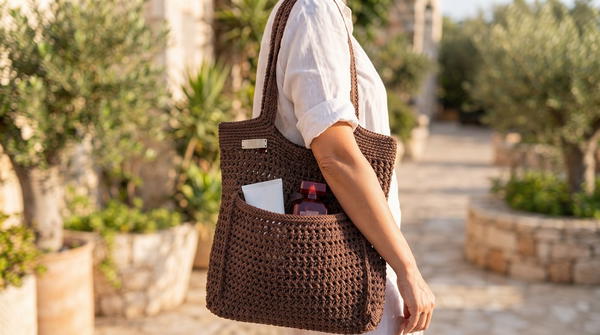
What makes this bag stand out is its elegant rectangular design, which is both spacious and compact. The surface pattern adds beauty and sophistication, giving the bag a fashionable, high-quality look. Additionally, the long handles are designed for comfort, ensuring a firm grip and ease of use for long hours.
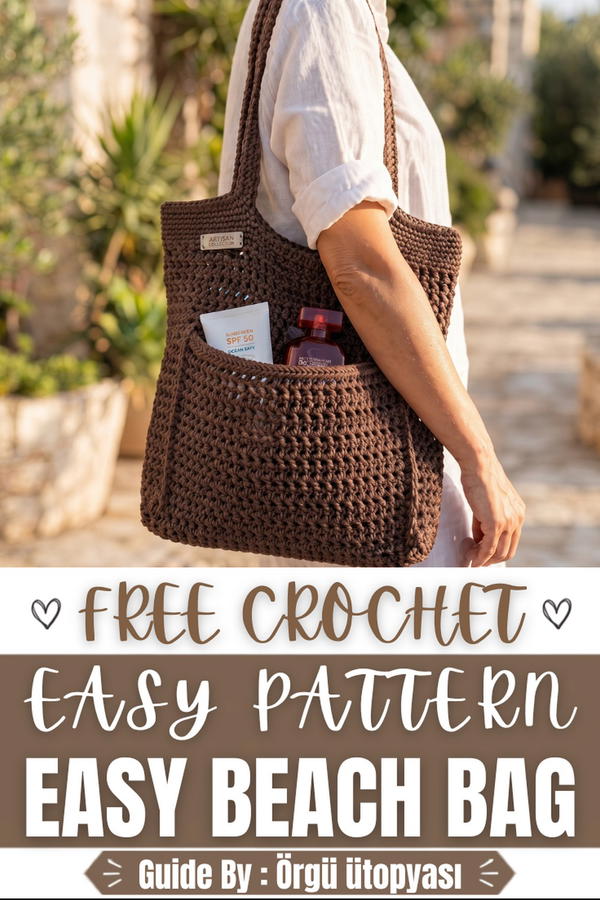
Lightweight Crochet Beach Bag Pattern
This lightweight, functional beach bag is designed with both style and utility in mind. It is roomy enough for all your essentials, from sunscreen and books to sunglasses, while still being comfortable and durable for daily use. The bag features a rectangular base, open mesh body, solid bands, and practical handles. Additionally, a small pocket is included on the interior for storing smaller belongings like keys or a phone. This stylish and practical creation is not only perfect for sunny beach days but can also be seamlessly integrated into your everyday wardrobe.
Skill Level
Intermediate
This pattern is suited for intermediate crocheters who have familiarity with basic stitches (single crochet, double crochet, and chain stitches) and some experience with shaping, constructing multi-piece projects, and adding minor details like pockets and closures.
Materials
To create this bag, you will need the following supplies:
- Yarn: Thin macramé or lightweight yarn (1 mm thickness). Approximately 250-300 grams.
- Hook: 3 mm crochet hook.
- Notions and Accessories:
- Stitch marker
- Magnetic button (for optional bag closure)
- Sewing needle and thread (for attaching labels or optional extra pocket seams)
- Scissors
Special Stitches Used
- Single Crochet (sc)
A classic, short stitch that forms a compact fabric and is used for the base, solid sections, and shaping throughout. - Double Crochet (dc)
A taller stitch used for the mesh portion to create a lightweight, breathable design for the bag body. - Slip Stitch (sl st)
Used for joining rounds, creating clean edges, and secure connections during assembly.
Stitch Abbreviations
- ch – chain
- sc – single crochet
- dc – double crochet
- sl st – slip stitch
Useful Tips
- Tension Consistency: Maintaining a consistent tension is important to ensure your bag has even edges and correctly sized pieces.
- Pay Attention to Stitch Placement: Ensure you identify and crochet through all loops, particularly at the ends of rows, to avoid reducing your stitch count or creating uneven sides.
- Customize the Size: This bag can be easily adjusted by adding or removing chains or rows, depending on the size you desire for your bag.
- Secure Seams and Hardware: When attaching the pocket or accessories, sew carefully and securely to ensure durability.
Detailed Pattern
Rectangular Base
The bag begins with a sturdy rectangular base worked in rows using single crochet stitches.
- Foundation Chain: Chain 16.
- Row 1:
- Insert your hook into the second chain from the hook.
- Work 1 sc into each chain across. At the end, you should have 15 sc.
- Ch 1, turn.
- Rows 2–54:
- Work 1 sc in each stitch across, maintaining a stitch count of 15 sc in each row.
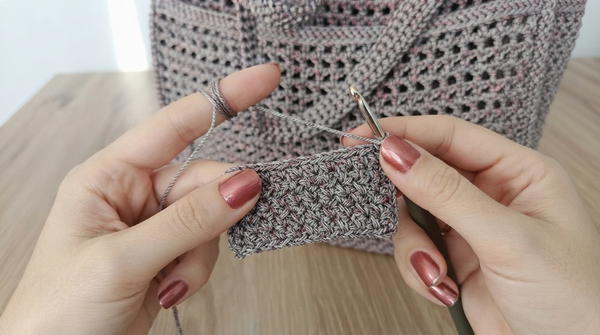
- At the end of each row, ch 1, turn.
- Repeat until you complete 54 rows.
- Work 1 sc in each stitch across, maintaining a stitch count of 15 sc in each row.
The completed base should measure approximately 30 cm by 33 cm, but the size can be adjusted by increasing the chain length for width or the number of rows for height.
- After completing the base, do not fasten off as you will proceed to create a sc border around the base.
Base Edging
The sc border will prepare the base for joining into a three-dimensional bag by establishing convenient edge stitches.
- Round 1 (sc Around):
- Work along the first long side: Crochet 1 sc into each row (total 54 sc).
- At the first corner: Work 3 sc into the same corner stitch to create a smooth turn.
- Work along the first short side: Crochet 1 sc into each stitch (total 15 sc).
- At the second corner: Work 3 sc into the same corner stitch.
- Repeat the same process for the remaining two sides of the rectangle (54 sc along the other long side and 15 sc along the second short side), adding 3 sc into each corner.
- To complete the round, join with a sl st to the first sc.
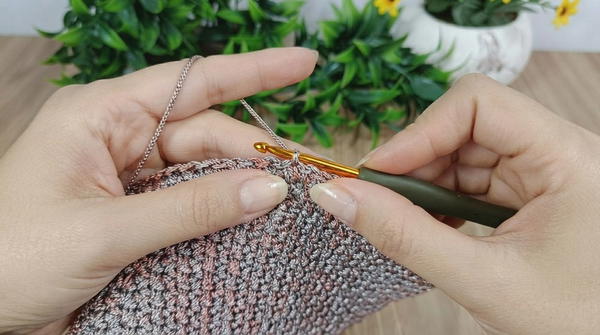
You should now have a neatly bordered base with evenly distributed edge stitches for building up the body.
Mesh Body
The mesh body consists of a repeating sequence of chain spaces and dc stitches to create a breathable, lightweight structure.
- Round 1 (Mesh Base):
- Start from the base edge where the border was joined.
- Ch 4 (counts as 1 dc + 1 ch).
- Skip 1 stitch, work 1 dc into the next stitch.
- Ch 1, skip the next stitch, and work 1 dc into the following stitch.
- Repeat this sequence (ch 1, skip 1 st, dc into next st) around the entire border of the base.
- Join with a sl st into the 3rd chain of the initial ch-4 to close the round.
- Round 2–22 (Mesh Pattern):
- Start with ch 4 as in the previous round (counts as 1 dc + 1 ch).
- Work 1 dc into the space formed by the ch-1 of the previous round.
- Continue: ch 1, dc into next ch-1 space for the entire round.
- At the end of the round, join with a sl st into the 3rd chain of the initial ch-4.
- Repeat for a total of 22 mesh rounds.
Once complete, fasten off the yarn and weave in the ends.
Top Border
To create a sturdy edge at the top of the bag, single crochet rows are added on top of the mesh.
- Round 1:
- Attach yarn at any previous dc stitch.
- Work sc in the same stitch, then sc into each dc and chain space around.
- Join with a sl st to the first sc.
- Ch 1, turn.
- Rounds 2–4:
- Work 1 sc into each sc from the previous row.
- Join each round with a sl st into the first sc and ch 1 before turning.
- Repeat for a total of 4 sc border rounds.
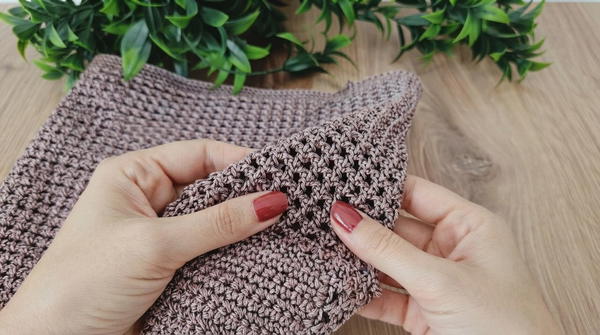
Handles
The handles are crocheted directly onto the edge for durability and convenience.
- Locate Center Points:
- From the top border, count the total number of stitches to find the exact midpoint of both long sides.
- Mark the positions with stitch markers, leaving equal spacing between the handles.
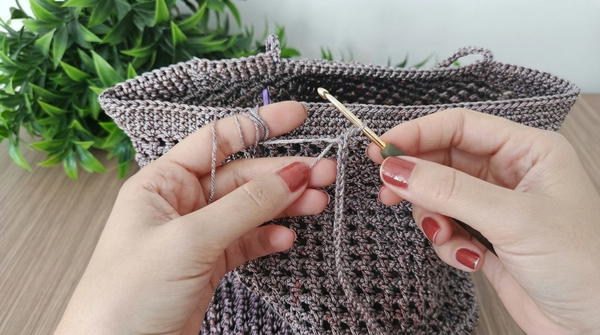
- Handle Foundation:
- Attach yarn at the marked point on one side.
- Work 18 sc along the top border to form one side of the base of the first handle.
- Ch 85, then skip the desired number of stitches to create the handle strap length.
- Join the chain back to the body with a sc in the opposite marked point.
- Continue working 18 sc along the top border to the next marked point to form the other handle base.
- Repeat the process on the opposite side of the bag to form the second handle.
- Handle Reinforcement:
- After attaching the handle chains, proceed to crochet 3 rounds of sc around the handles.
- To do this, work sc along the handle chains and the bag’s top border. Progress in a spiral fashion without joining rounds.
Pocket Construction
The pocket adds utility and organization to the bag.
- Pocket Foundation:
- Chain 30 stitches.
- Work 15 rows of sc BLO to create the flat pocket panel (adjust row count for desired pocket size).
- Pocket Mesh Addition:
- Create a decorative mesh on the pocket using the same pattern from the bag body.
- Attach yarn at the top of the pocket panel and work in mesh pattern for 16 rows (as detailed above).
- Pocket Edging:
- Once the mesh portion is complete, work a slip-stitch border around the pocket edges for a clean finish.
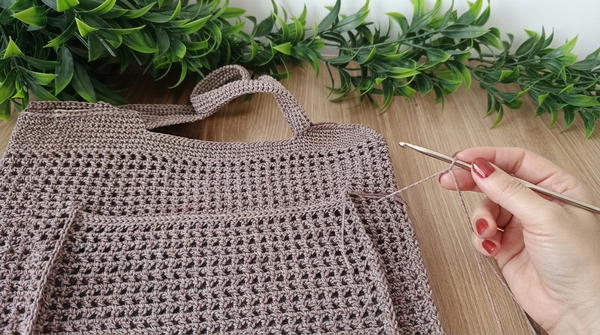
- Once the mesh portion is complete, work a slip-stitch border around the pocket edges for a clean finish.
- Pocket Attachment:
- Center the pocket panel on one side of the bag body and pin it in place.
- Working through both the pocket edge and bag body, join with single crochet or secure with needle and thread.
- Optionally, sew a vertical seam down the middle of the pocket to create two smaller compartments.
Assembly and Sizing
- The bag’s completed dimensions are approximately 33 cm wide by 35 cm tall, but sizing can be customized by adjusting the chain length, panel dimensions, and number of rows.
- The open pocket measures around 15 cm tall, and the gusset-free design makes it wide enough to store small items securely.
Conclusion
This lightweight beach bag is a versatile and practical design that fits effortlessly into summer living. It is designed to be spacious yet light, featuring a sturdy base and an airy mesh body for breathability. The simple stitch patterns allow for a clean, polished look while ensuring the necessary durability for regular use. With the addition of handles, a secure border, an inner pocket, and optional hardware, this bag is not only functional but also a stylish accessory for beach days or casual outings. Easy to customize, this project is a great choice for crocheters looking to create a unique and useful handmade piece.