Mint Design Blog


Step up your crochet game using a free bows stitch pattern that brings a playful twist to traditional stitches perfect for fashion accessories or decor
Adding a charming touch to any crochet project can make all the difference, especially when the design carries a playful and elegant vibe. On the Crochet with Olga Dyvinets!!! channel, an inviting pattern stands out that helps bring this creativity to life—a stitch technique inspired by delicate bows. This stitch creates beautiful textures perfect for a variety of handmade items, from cozy scarves and stylish accessories to unique home décor pieces.
Free Crochet Bows Stitch Pattern | Add a Stylish Bow to Your Projects
The free crochet Bows Stitch pattern is known for its distinctive appearance, featuring loops that mimic the curves and grace of bows. This adds a soft, feminine detail that can turn simple fabric into something truly eye-catching. With its gentle texture and structured look, this stitch brings both sophistication and whimsy to any project.
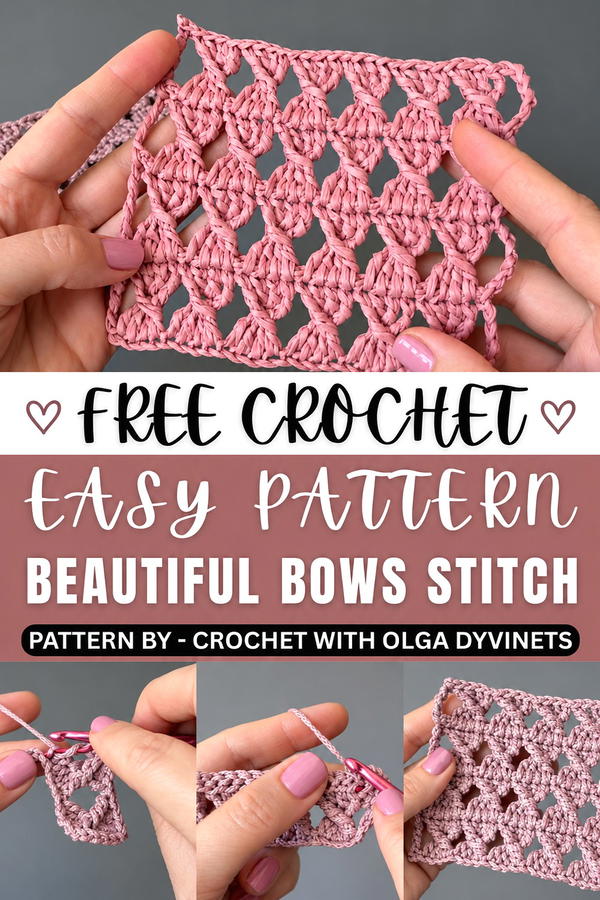
Suitable for many uses, this pattern’s charm lends itself perfectly to personalized gifts. Items made using the bow stitch carry that extra special quality, showing thoughtfulness and care in every loop. Whether made into a blanket, a fashionable wrap, or decorative accents, pieces crafted with this stitch are bound to brighten up any space or occasion.
Thanks to its lovely dimension and unique style, the bow stitch not only enhances the visual appeal of crocheted creations but also adds a pleasant tactile experience. This versatility makes it a wonderful choice for anyone looking to add a delicate flair to their handmade items.
For those ready to try something fresh and delightful, be sure to visit the free pattern video tutorial. It’s a great way to enjoy a new crochet technique that promises beautiful results with a charming twist. 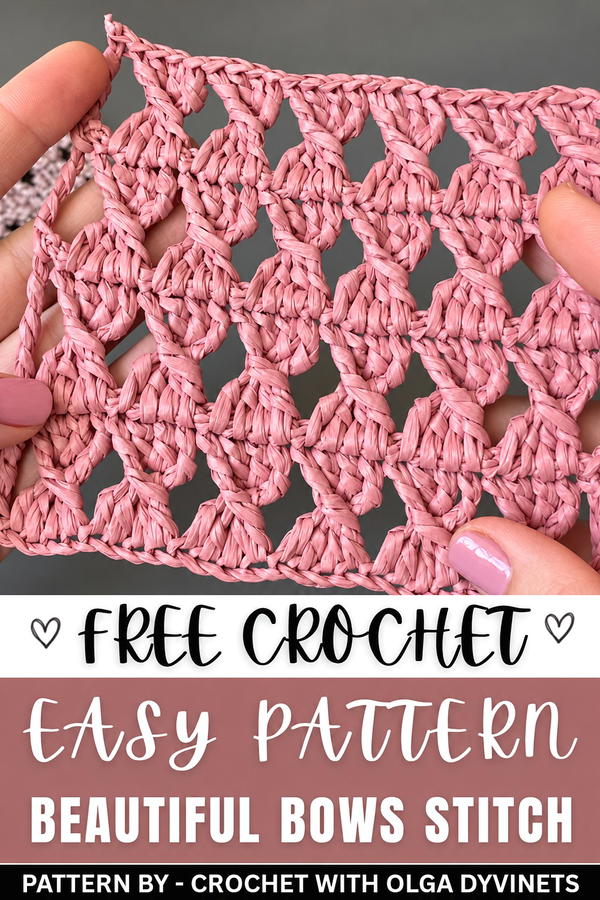
Crochet "Bows" Stitch Pattern
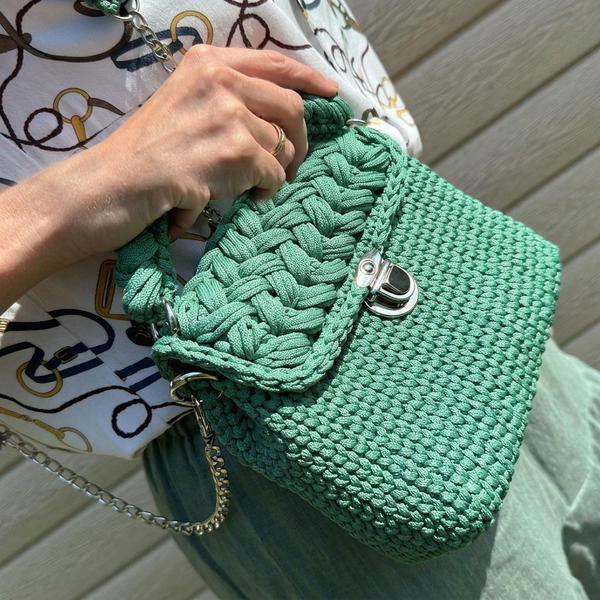
The "Bows" stitch, also known as the Bantik Stitch, is a decorative and textured crochet design that is perfect for creating bags, shawls, and stylish garments. This versatile stitch can be worked both in rows and rounds, making it suitable for a variety of projects. With its structural clusters resembling bows, this stitch provides a unique and artistic finish.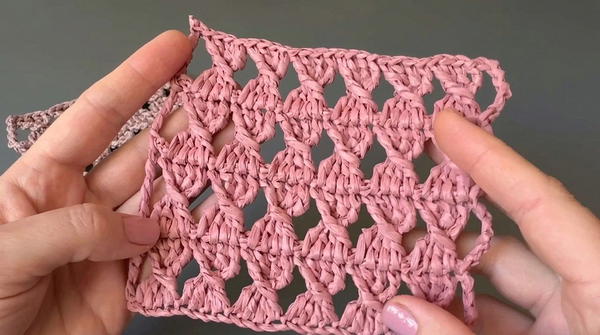
Skill Level
Intermediate
The "Bows" stitch involves working clusters, double crochet, and front post stitches. It requires familiarity with basic crochet techniques, including working into specified spaces and maintaining consistent tension.
Materials
- Yarn Options:
- Caramel B cord (2 mm)
- Raffia yarn or any similar medium-weight cord/yarn that holds structure well
- Hook Size:
- 3 mm crochet hook
Special Stitches
- Bow Cluster Stitch (Bow):
Created by combining partially-completed extended stitches into a cluster, followed by intricate post and double crochet additions, forming the iconic bow shape. - Front Post Double Crochet (FPdc):
This stitch wraps around the base “pillar” of the cluster to define the shape of the bow. - Triple (or Treble) Crochet (Tc):
A tall stitch formed by three yarn overs before inserting the hook into the stitch.
Stitch Abbreviations
| Abbreviation | Description |
|---|---|
| ch | Chain |
| sc | Single Crochet |
| dc | Double Crochet |
| tr (or tc) | Triple (or Treble) Crochet |
| FPdc | Front Post Double Crochet |
| yo | Yarn Over |
| st(s) | Stitch(es) |
US terminology is used throughout this pattern.
Useful Tips
- Foundation Chain: Ensure your chain is a multiple of 4 + 7 to achieve symmetrical "bows."
- Hook Size: Experiment with hook sizes to achieve your desired texture and appearance, especially if using alternative yarns.
- Tension Control: Maintain even tension when creating the bow clusters and front-post stitches, as tight stitches will distort the bow's shape.
- Practice the Cluster Technique: Before beginning your project, practice the first row of the bow clusters to ensure you are comfortable with the stitch sequence.
- Customization: Adjust the height of your stitches (e.g., working double crochet in three steps instead of two) to alter the size and overall appearance of the bows.
Stitch Pattern Instructions
The pattern for the "bows" (bantik) stitch can be worked in rows or in rounds. These instructions explain the row-by-row construction unless stated otherwise.
Foundation
- Chain a multiple of 4 + 7 stitches.
- For example, to construct a smaller swatch for practice, work 19 chains (ideal for learning the pattern).
Row 1: Foundation of Bows
- Initial Setup:
- Yo x 3 (yarn over three times) and insert the hook into the 7th ch from the hook.
- Pull through to begin forming the first bow. You should now have 5 loops on your hook.
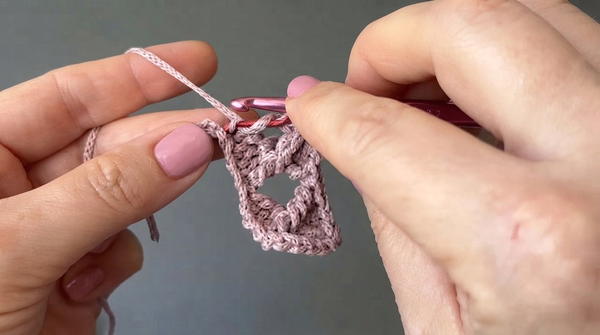
- Building the Cluster Base:
- Pull through 2 loops, leaving the rest on the hook.
- Yo, insert hook into the next chain, and pull through 2 loops. Continue this process into the next 2 sts, until you have 4 partially completed extended stitches (yo → insert → draw through 2 loops) on your hook.
- Completing the Bow Cluster:
- Once all 4 stitches are loaded onto the hook, yo and pull through all the loops at once. Then, close the remaining loops in pairs, completing the bow cluster.
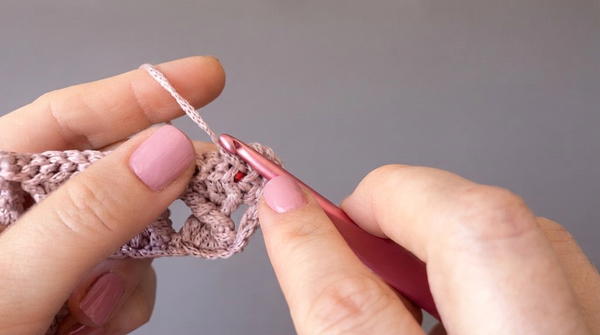
- Once all 4 stitches are loaded onto the hook, yo and pull through all the loops at once. Then, close the remaining loops in pairs, completing the bow cluster.
- Bow Center:
- Into the central hole created by the bow cluster, work 2 dc stitches. These stitches help form the bulk of the bow.
- Form the Bow Shape (Front Post Double Crochet):
- Yo x 2, and wrap the hook around the “pillar” or base of the bow cluster, working a front post double crochet (FPdc) to shape the bow.
- Repeat the Bow Stitch:
- Repeat the above sequence across the row. Begin each new cluster by making 3 yo and inserting the hook into the next chain or appropriate space. End the row with a tr stitch.
- This ensures height consistency on the edges and prepares you for turning.
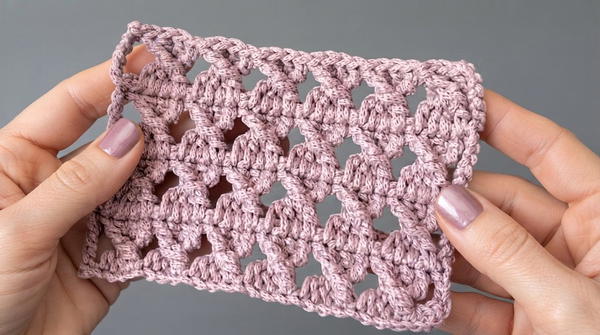
Row 2: Back-and-Forth Method
- Turn and Adjust:
- Ch 1 to secure the row. Turn your work.
- Use sl sts to move your working yarn to the starting point of the row without disrupting the bow structure.
- New Row Foundation:
- Ch 6 (this counts as the first tr stitch of the new row).
- Maintaining Bow Placement:
- Work the same “bow” cluster stitch as in Row 1. Insert into the appropriate spaces to hide the slip stitches while maintaining proper alignment.
- Continue the row, repeating the bow sequence and ending the row with a tr stitch.
- Finalize the Shape:
- Repeat Rows 1 and 2 as necessary for your project, adjusting the number of rows to match your needs.
Working in Rounds:
If working the "bows" stitch in rounds:
- Start with a chain foundation that includes a multiple of 4 stitches (plus additional chains if needed for proper fit).
- Use the same pattern for each round without turning, ensuring you finish each round with a sl st before starting the next one.
Customization Ideas
- Adjusting Bow Height: If you prefer taller or shorter bows, experiment with the height of the stitches. For example, create double crochets in 3 steps rather than 2 or replace tr stitches with extended or standard dc stitches.
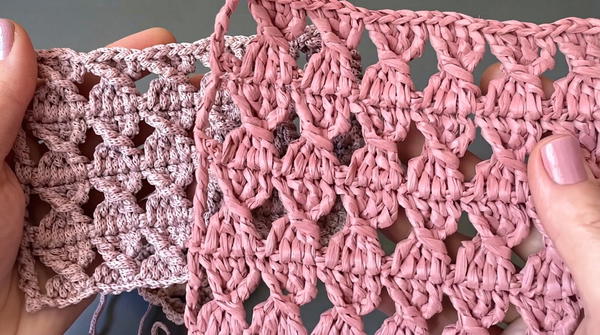
- Different Yarns: Use raffia for a structured and textured project, or switch to softer yarn for wearable projects like shawls or cardigans.
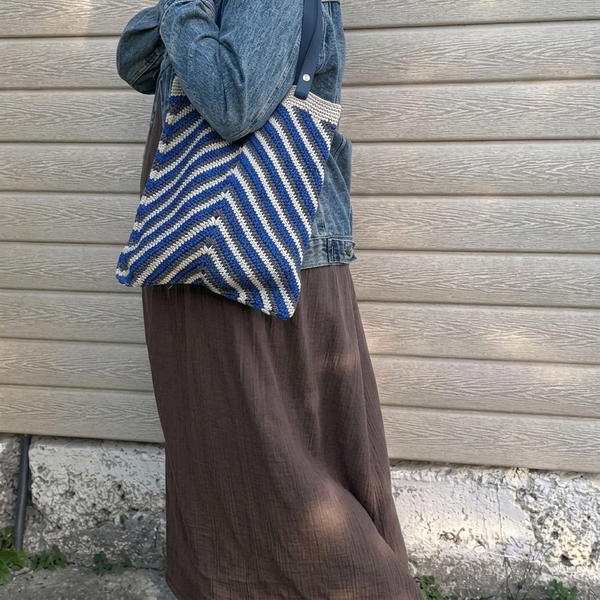
- Color Changes: Alternate colors every row for an eye-catching striped bow design.
Final Notes
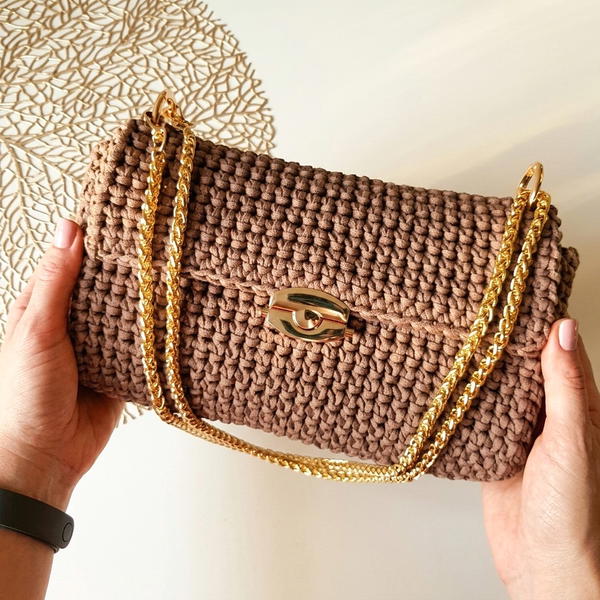
The "bows" stitch is a versatile and decorative crochet technique that adds texture and depth to any project. Whether used in straight rows or continuous rounds, the intricate design of the bows offers endless possibilities for creative use. Experiment with different yarns, hook sizes, and finishes, and enjoy discovering how this stitch transforms into handbags, garments, or home décor pieces.