Mint Design Blog


Carry essentials effortlessly by making this free crochet cross-body bag pattern that features a lightweight and durable design suitable for any occasion.
Everyday accessories that blend style and convenience are always welcome additions to a wardrobe. This versatile handbag is designed to be compact yet roomy, perfect for keeping essentials close while on the move. The Crochet with Olga Dyvinets!!! channel offers an excellent resource where you can explore a delightful project showcasing this practical and attractive accessory.
Easy Free Crochet Cross-Body Bag Pattern Quick Project
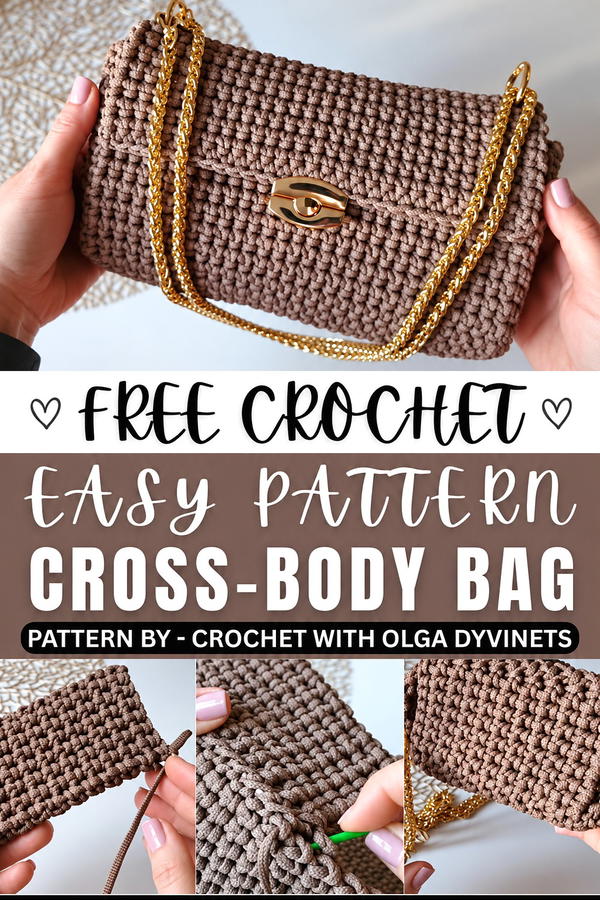
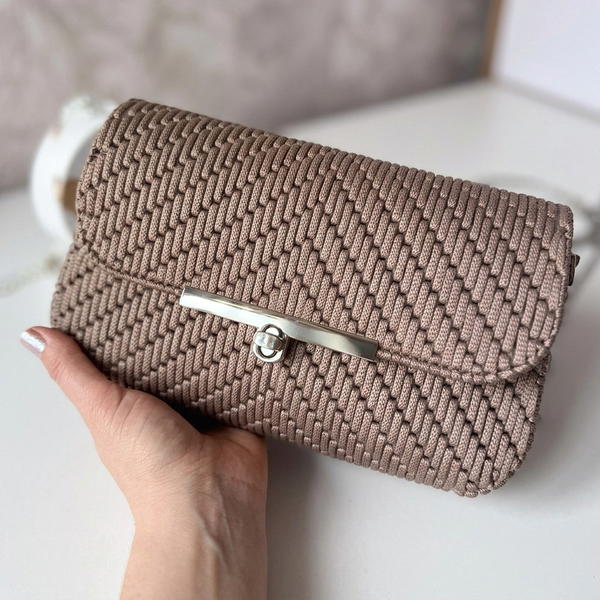
The free crochet CROSS-BODY BAG pattern features a sleek rectangular shape measuring approximately 24 by 15 cm, making it an ideal companion for casual outings, errands, or even cocktail events. Its design balances simplicity with elegance, featuring three main rectangular panels that create a structured yet soft silhouette. A secure clasp completes the look, while options to attach rings and convert the strap allow for customization between everyday use and a more refined style.
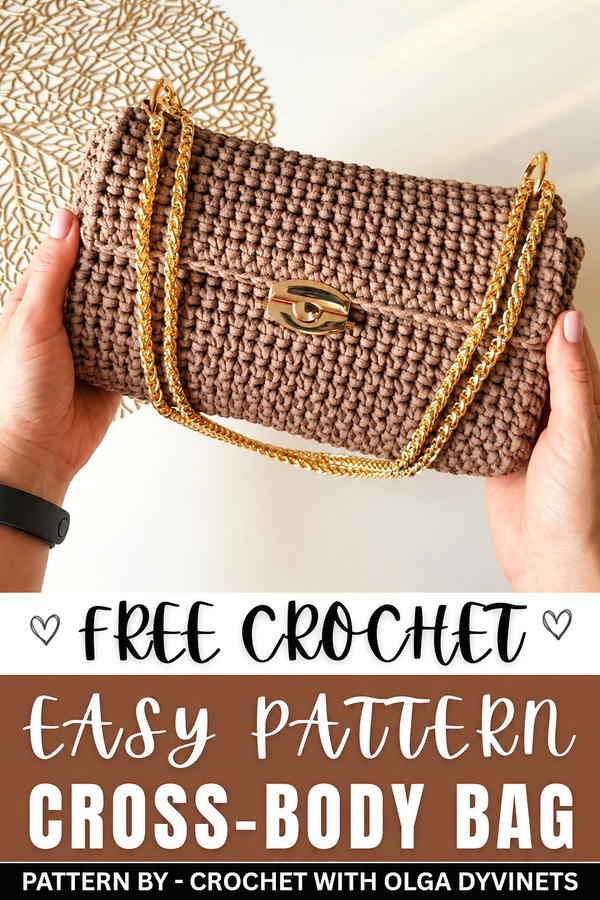
Beyond its functional benefits, this bag holds great gifting potential. Handmade items like this cross-body bag provide a personal touch that makes for a thoughtful gift, combining usefulness with artistic charm. Its modern aesthetic and practical size mean it’s suitable for a wide range of tastes and occasions, a perfect choice to brighten someone’s day with a unique, handcrafted item.
The delicate texture and structured form add subtle visual interest without overwhelming the overall design, allowing it to complement many outfits effortlessly. Whether worn with a casual look or adding a touch of handmade elegance to an evening ensemble, this cross-body bag stands out as both practical and stylish.
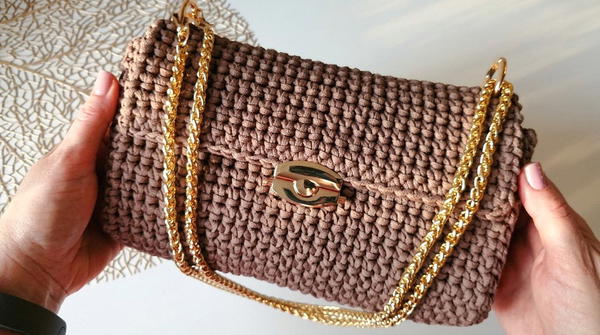
Crochet Cross-Body Bag
This pattern provides instructions to create a stylish and durable cross-body bag using polyester cord. Featuring a dense textured design, this bag is perfect for casual or chic outings. The long side strap and option for hardware fastening give versatility to the finished piece while ensuring it is both functional and elegant.
Skill Level
Intermediate
This bag pattern is suitable for crocheters who are confident working with dense textures, maintaining consistent stitch counts, and assembling panels with clean seams. It does not require advanced techniques but demands attention to detail during construction and finishing.
Materials
- Yarn:
- 3mm polyester cord (approx. 230–250 meters). The cord provides durability and structure to the bag.
- Hook:
- 4mm crochet hook
- Additional Tools:
- Plastic yarn needle (for sewing seams).
- Scissors (for cutting yarn tails).
- Optional bag hardware:
- Lock or clasp for fastening.
- Rings to attach a strap.
- Chain strap or guitar-style strap for a personalized touch.
Special Stitches
1. Single Crochet (SC):
- Insert the hook into the stitch, yarn over, pull up a loop, yarn over again, and pull through both loops on the hook.
2. Back Loop Only with Remaining Loop of Previous Row:
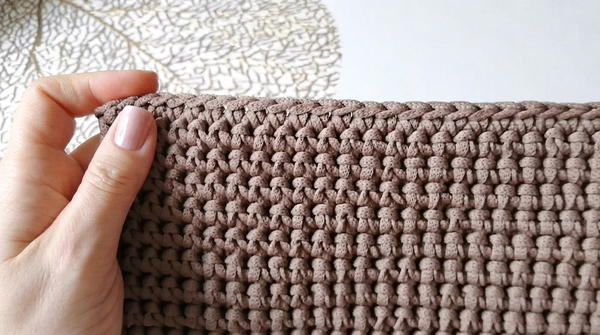
- For dense texture, insert the hook into the back loop of the current row stitch AND the remaining, unworked loop of the previous row. This creates a tight and uniform appearance.
3. Slip Stitch (SL ST):
- Insert hook into the stitch, yarn over, and pull through both the stitch and loop on the hook. Slip stitches are used for securing edges and creating clean finishes.
Stitch Abbreviations
| Abbreviation | Description |
|---|---|
| ch | Chain |
| sc | Single Crochet |
| sl st | Slip Stitch |
| BLO | Back Loop Only |
| yo | Yarn Over |
| st(s) | Stitch(es) |
Useful Tips
- Consistency in Stitches: Polyester cord lacks elasticity, so consistent tension is key to maintaining neat stitches and overall bag structure.
- Dense Texture Techniques: When inserting the hook into the back loop and remaining loop of the previous row, take your time to ensure a clean appearance.
- Seam Alignment: Use stitch markers or pins when attaching the panels to ensure proper alignment and avoid shifting during sewing.
- Hardware: Select hardware such as locks or rings that match the cord’s thickness and style for a cohesive look.
- Custom Strap Ideas: You can attach a crochet strap, chain strap, or adjustable guitar-style strap depending on your preference.
Pattern Instructions
Step 1: Main Body
The main body of the bag is created as a rectangular panel worked in rows.
Foundation:
- Ch 29 + 1 turning chain.
Row 1:
- Skip the first stitch (turning chain).
- Work 29 sc into the back humps of the foundation chain. This ensures a smooth bottom edge to the bag.
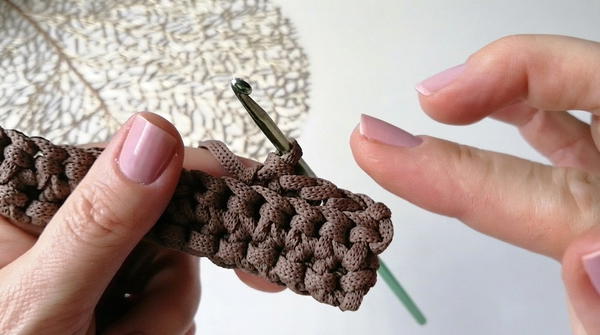
Rows 2–78:
- At the start of each row, ch 1, turn.
- Work each row by inserting the hook into:
- The back loop of the stitch in the current row, AND
- The remaining loop of the previous row.
- Maintain 29 sts per row throughout.
Completion:
- After completing 78 rows, the panel should measure approximately 40.5cm x 23cm.
- Close the final row using sl sts across its length for a stable edge.
Step 2: Side Panels
You will make two identical rectangular panels to form the sides of the bag.
Foundation:
- Ch 7 + 1 turning chain.
Row 1:
- Skip the first stitch (turning chain).
- Work 7 sc starting from the second chain.
Rows 2–21:
- At the start of each row, ch 1, turn.
- Continue working each row by inserting the hook into:
- The back loop of the stitch in the current row, AND
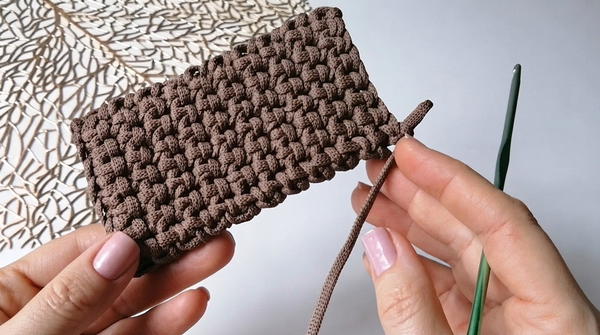
- The remaining loop of the previous row.
- The back loop of the stitch in the current row, AND
- Maintain 7 sts per row throughout.
Finish:
- After completing 21 rows, leave a long yarn tail (approximately 150cm) to use for sewing the side panels to the main body.
Step 3: Assembly
Align Panels:
- Position the side panels at the edges of the main body, ensuring they are centered correctly.
- Secure each panel with stitch markers or pins for stability during sewing.
Sewing:
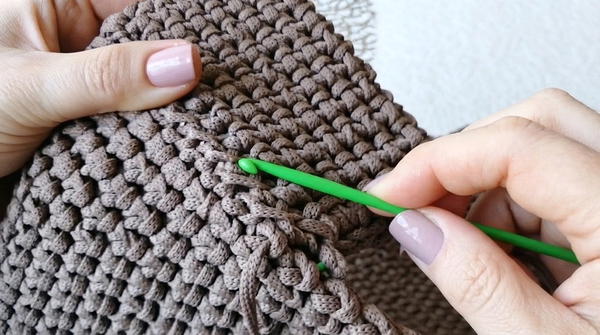
- Using a plastic yarn needle, whip stitch the sides of the panels to the edges of the main body.
- To create a clean and sturdy seam:
- Catch the inner loops of the stitches on both pieces as you sew. This ensures the outer loops remain untouched, giving the bag a polished finish.
- Repeat for both side panels until the main body and sides are securely attached.
Optional Additions
Lock Hardware:
- Attach a clasp or locking mechanism at the center top edge of the bag. Ensure it is properly aligned for functional ease.
Rings for Strap:
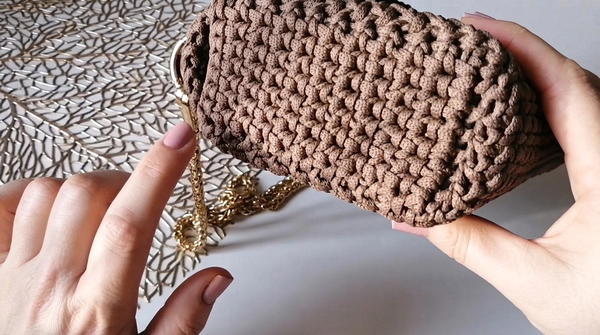
- Secure D-rings or split rings to the top sides of the bag for attaching a strap.
Strap Customization:
- Add your preferred strap:
- Create a crochet strap using polyester cord in the same dense technique to match the bag.
- Use a chain strap for a chic look.
- Choose a guitar-style adjustable strap for casual versatility.
Optional Finishing:
- Steam Block: To help the bag hold its shape, steam the finished piece. Use caution to avoid excessive heat on polyester cord.
- Lining: Add a fabric lining if desired. Cut fabric to match the rectangle of the finished bag, and sew it into place to protect the interior and strengthen the structure.
Final Notes
This crochet cross-body bag combines elegance with durability, making it a practical accessory for everyday use. The dense texture created with polyester cord provides strength, while thoughtful construction ensures polished edges and seams. Personalize with hardware, straps, or lining to tailor the finished piece to your style preferences!