Mint Design Blog


Turn polyester cord into a chic bag by following this free crochet pattern designed for crocheters seeking a durable and trendy handmade tote option.
If you're searching for a stylish and lightweight accessory that combines durability with handmade charm, this project is sure to inspire you. On the Crochet with Olga Dyvinets!!! channel, you can discover a unique bag crafted from polyester cord that offers both practicality and elegance.
How to Crochet a Polyester Cord Bag – Free Pattern for Beginners
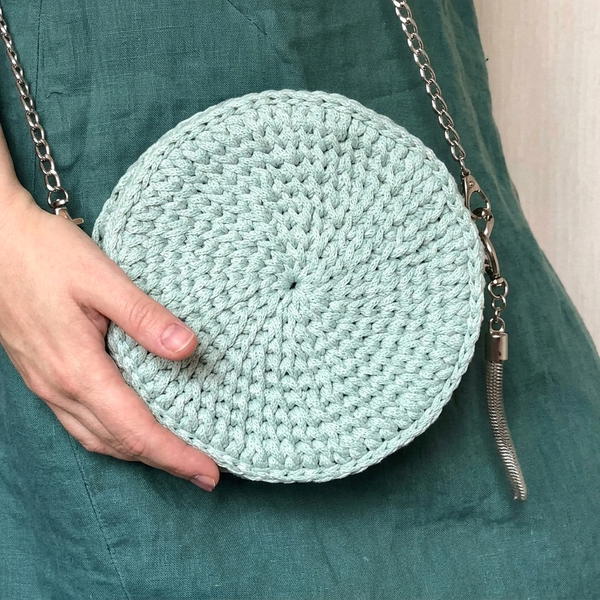
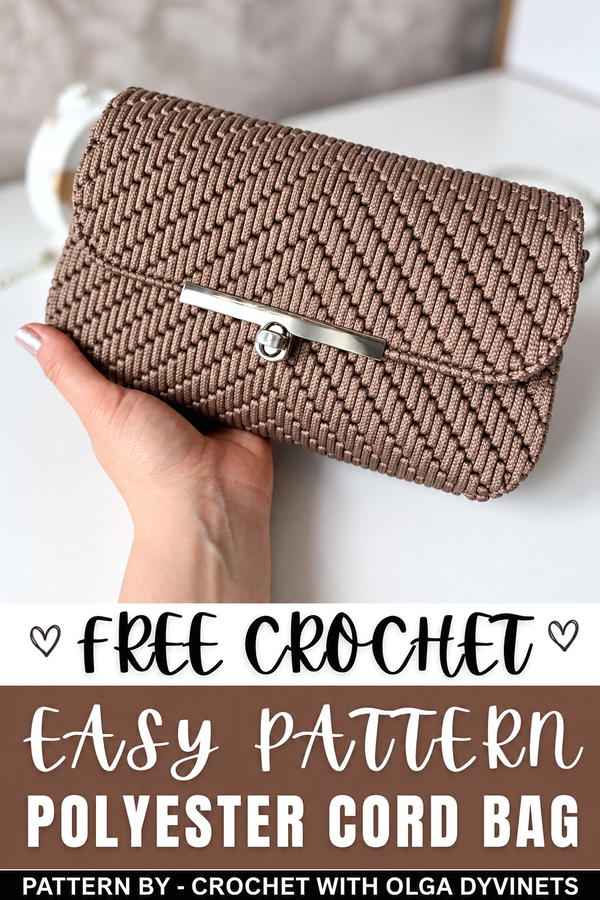
This free crochet Polyester Cord Bag pattern creates a beautifully structured handbag measuring about 24 by 15 cm. Despite its solid appearance, the bag remains incredibly light, weighing only around 250 grams without the chain, making it a perfect everyday companion for carrying essentials. Its clean, rectangular shape paired with the sleek woven texture showcases a modern design with subtle appeal.
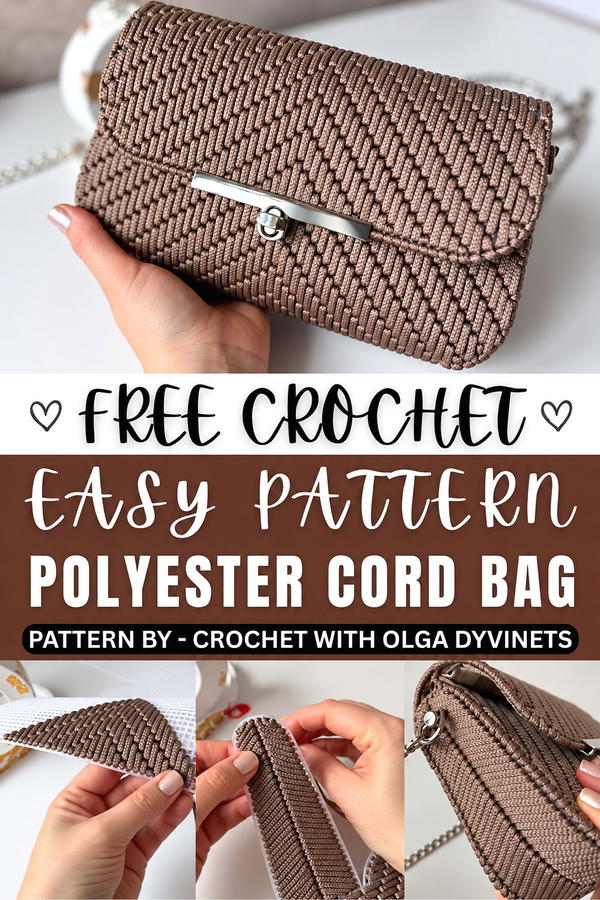
Beyond its functional benefits, this bag stands out for its thoughtful craftsmanship and decorative value. The weaving technique used gives it a distinct visual charm, with carefully braided polyester cord laid evenly across a canvas base. The bag is complemented by well-designed details such as a secure lock and sturdy chain, effortlessly merging style with usability.
This accessory also makes a wonderful gift. Handmade bags offer a personal, creative touch that any recipient would appreciate. Its versatile design suits a variety of outfits and occasions, from casual daytime events to dressier evenings out. Whether for yourself or as a present, this bag is an excellent choice to brighten up any collection.
DIY Woven Bag on Plastic Canvas – Step-by-Step Pattern
This pattern outlines the process of creating a chic woven bag using plastic canvas as the base. The technique makes use of polyester cord, simple weaving methods, and sturdy bag hardware to produce a professional, handcrafted piece suitable for casual and formal occasions. The structure provided by the plastic canvas ensures durability, while the woven cord offers a modern aesthetic.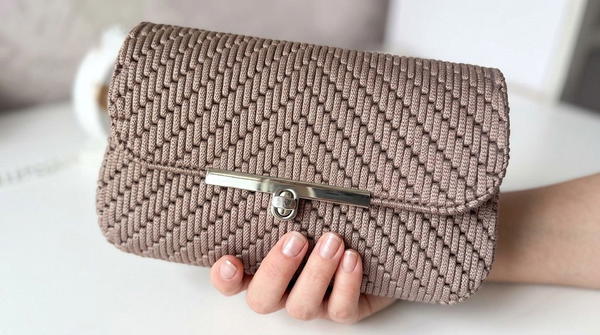
Skill Level
Intermediate
This project requires basic weaving skills and familiarity with handling materials like cord and plastic canvas. Assembly requires attention to alignment and finishing details. This tutorial is ideal for makers comfortable with precision and working with hardware elements.
Materials
- Plastic Canvas:
- Size: 15 cm x 24.5 cm, with a grid size of 2–3 mm. Choose sturdy, high-quality plastic canvas for durability.
- Polyester Cord:
- 3 mm thickness (approximately 80 meters). Should be easy to weave and able to hold form.
- Bag Hardware:
- Carabiners: Two, 3.5 cm size.
- D-Rings/Half-Rings: Two, 2 cm size.
- Chain: 120 cm chain strap.
- Bag Lock: For a functional and decorative closure.
- Tools:
- Large-Eye Needle: Suitable for threading and weaving polyester cord.
- Scissors: For cutting cord and canvas.
- Lighter: Used to fuse cord ends, preventing fraying.
Special Techniques
Basic Weaving Strip:
Weaving strips involves passing cord through the plastic canvas grid, working vertically, diagonally, or across the designated area. Increase or decrease strip lengths by advancing or retreating through the cells of the canvas.
Stitch Abbreviations
| Abbreviation | Description |
|---|---|
| st | Stitch (used for whip-stitch assembly) |
| cell(s) | Cell(s) of the plastic canvas grid |
| fuse cord | Secure cord ends using heat (lighter) |
Useful Tips
- Segmented Cord Lengths: Cut your cord into manageable pieces, preferably 300 cm segments to simplify weaving and reduce tangling. Fuse ends as needed for clean breaks.
- Grid Centering: Mark the center of the plastic canvas to ensure symmetrical patterns during weaving.
- Fuse Cord Ends Inside: Always fuse cord ends on the interior to maintain a polished exterior finish.
- Hardware Alignment: Position carabiners and D-rings accurately during assembly to avoid structural imbalance.
- Optional Lining: A fabric lining enhances the interior finish and protects woven areas from wear and tear. Leave room at the top for functional hardware installation.
Pattern Instructions
Step 1: Preparation
Mark Center:
- Use a marker or stitch marker to identify the center point of your plastic canvas grid. This ensures symmetrical weaving as you transition between sections.
Cord Setup:
- Cut polyester cord into manageable segments (approx. 300 cm each). This makes weaving more comfortable and prevents excessive bulk.
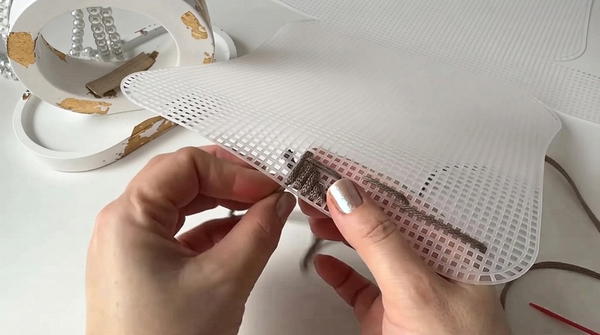
Step 2: Creating the Base Pyramid
The pyramid design forms the foundation for the woven bag body.
Base:
- Begin 4 cells away from the center marker on the plastic canvas.
Pyramid:
- Create vertical strips using the following sequence:
- Start: Weave through the grid, increasing the length of each strip by 1 cell per pass until you reach the peak.
- Peak: At the highest point, stop increasing and reverse the process.
- Reverse: Decrease the strip length by 1 cell per pass as you weave back down.
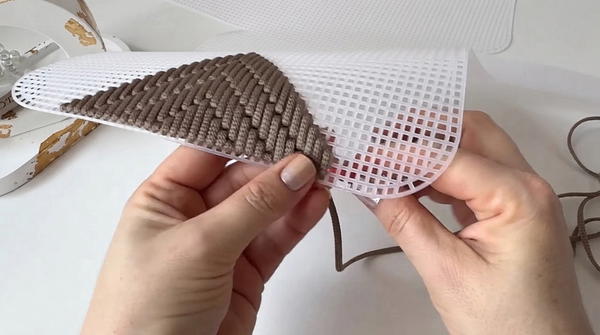
- The pyramid shape should have clean increases and decreases when completed.
Step 3: Building the Main Body
Expand the woven design horizontally across the plastic canvas grid, using repetitive strip patterns.
Body:
- Move 4 cells to the side of the completed base pyramid.
- Weave strips 5 cells high, maintaining consistent tension and alignment.
- Continue the pattern until the woven section covers the desired width of the canvas.
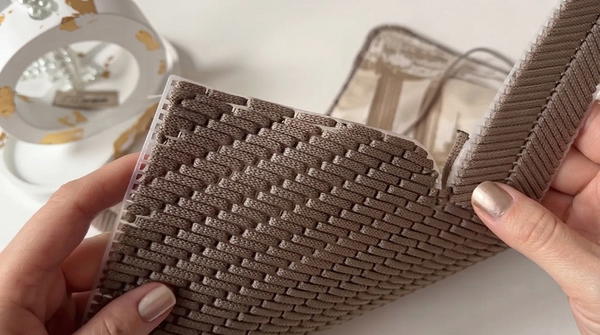
Cord Fusing:
- When a cord segment ends, fuse the cord inside the canvas using a lighter, ensuring that the exterior remains clean.
Step 4: Weaving Side Panels
The side panels fill the remaining space on the edges of the bag and complete its structure.
Divide and Weave:
- Divide the side edge area in half.
- Weave diagonally from corner to center, ensuring clean and symmetrical alignment.
Step 5: Assembly & Finishing
The final stage involves joining the woven panels, securing hardware attachments, and optionally adding a fabric lining.
Hardware Attachments:
- Secure D-rings/half-rings through the existing holes in the canvas edges. Position these carefully as they serve as final strap points.
Whip-Stitching:
- Join Panels: Align panels and whip-stitch one stitch per canvas cell along the seams of the panels. Use the large-eye needle for stitching.
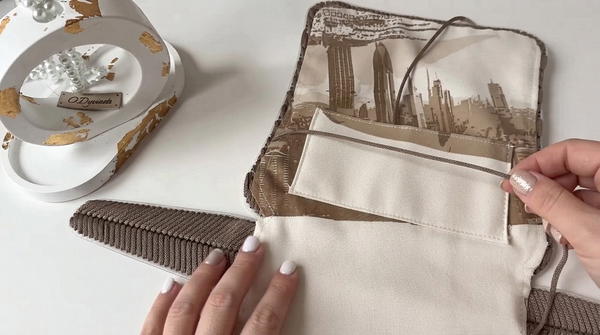
Fabric Lining:
- If lining is desired:
- Cut a fabric piece matching the dimensions of the bag.
- Sew or glue the lining securely inside, leaving space at the top edge for hardware installation.
Bag Lock Installation:
- Attach the bag lock or clasp at the top edge of the completed bag, ensuring its placement aligns correctly with the overall design.
Step 6: Strap Assembly
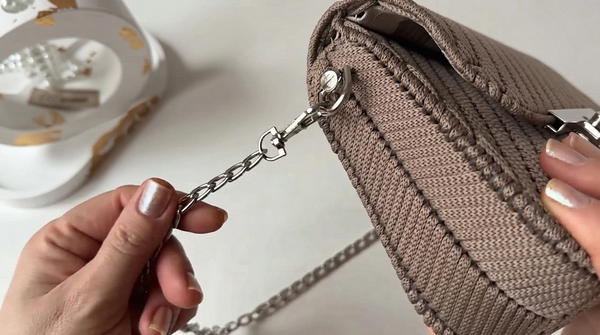
Chain Strap:
- Attach the 120 cm chain strap between the carabiners and D-rings for a functional and elegant finish.
Customization
- Alternate Designs: Try different weaving patterns (e.g., diagonal stripes or geometric shapes) to create unique styles.
- Bag Size: Adjust the dimensions of the plastic canvas and cord length for larger or smaller bag versions.
- Layered Straps: Combine cord straps with chain straps for additional texture and versatility.
Final Notes
This DIY woven bag creates a balanced look between structure and design while showcasing the creative use of plastic canvas and textured cord. The optional fabric lining and hardware attachments provide functional elements that elevate the bag’s overall aesthetic. Adapt the design for other projects such as clutches, tote bags, or bucket bags for versatility and personalization.