Mint Design Blog


Decorate your favorite shelf with this Crochet Mr Bean Teddy Free Pattern and add a lovely little toy with a familiar face to your room.
A funny face, a familiar brown jacket, and a playful personality can turn a simple yarn doll into something full of fun. Fairycrochett shares the original tutorial for this entertaining character, giving fans a chance to have their own version at home.
Mini Crochet Mr Bean Teddy Free Pattern For Toy Lovers
This Crochet Mr Bean is a small amigurumi doll inspired by the famous comedy character. His short black hair, large nose, and expressive eyes help capture his well-known look. The brown jacket, white shirt, and red tie give the figure a smart appearance, while the tiny arms and legs add a touch of humor.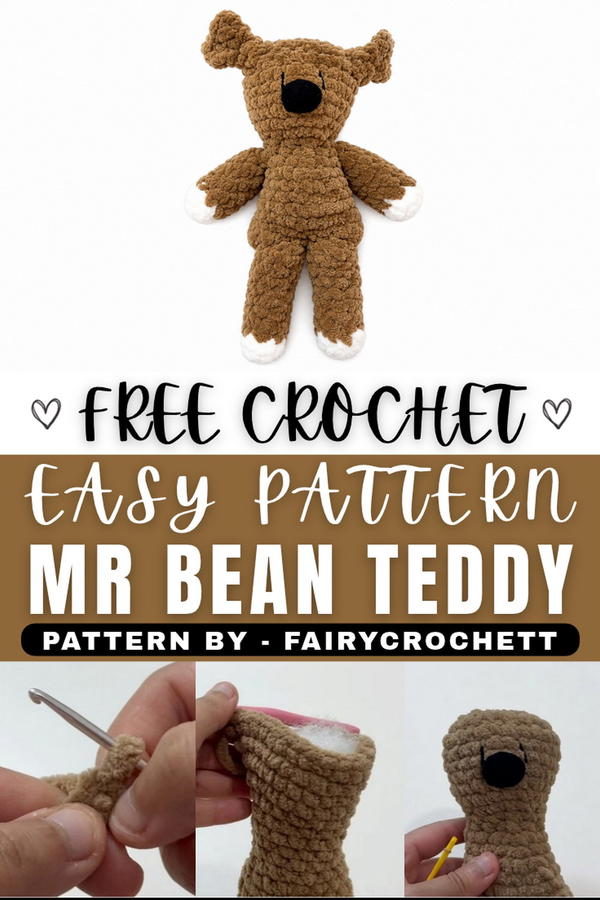 Fans of Mr Bean will love the character's familiar outfit and amusing expression. This doll can sit on a bookshelf, decorate a study table, or stand beside other cartoon figures. It is also a thoughtful handmade birthday gift for someone who enjoys classic comedy shows.
The doll can be made by working crochet stitches in rounds to form the head and body. The arms, legs, and clothing details are then prepared and joined together. Adding the hair and facial features helps give the finished figure its recognizable personality.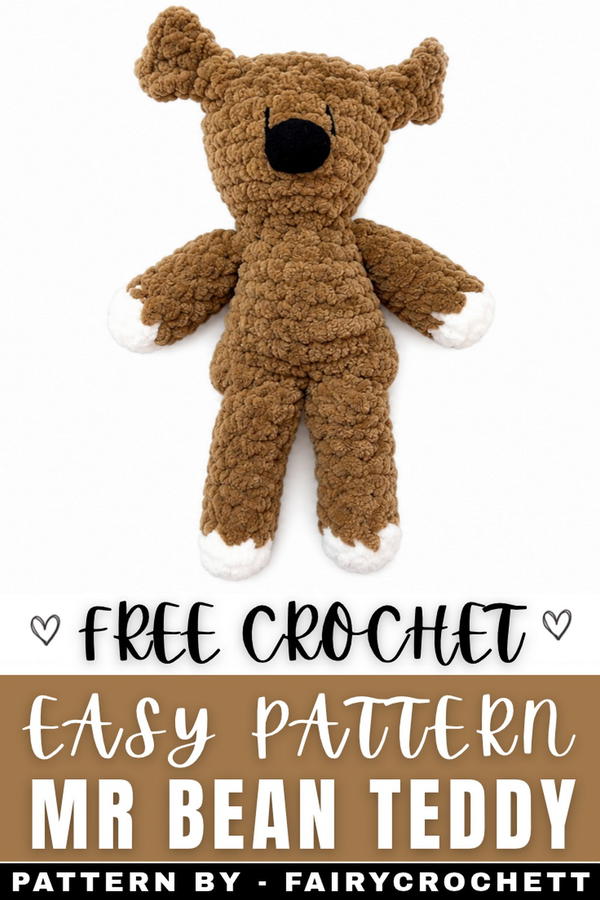 You can use different shades of brown for the jacket or adjust the size to suit your display space. Its cheerful design makes it an interesting project for anyone who enjoys making famous with yarn.
Keep this amusing little Mr Bean on your desk or share him with a friend who loves a good laugh!
About the Pattern
This crochet pattern yields a compact, cuddly creature designed with a seamless construction for the head and body, accompanied by detail-rich ears, arms, and legs. The project makes skillful use of foundational amigurumi techniques such as working in the round, controlled increases and decreases, and neatly joined appendages. Harmony in proportions and careful assembly lend this crochet friend a balanced, plush finish that’s pleasing both to the eye and in the hand.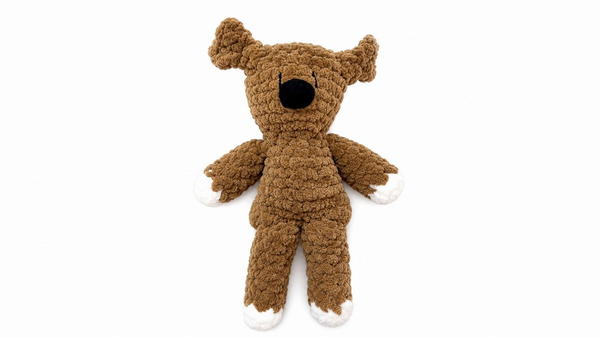
Pattern at a Glance
- Core Construction: Integrated head/body, individual ears, arms, and legs
- Distinct Features: Simple shaping, seamless structure, embroidered face, felted nose
- Key Techniques: Magic ring, continuous rounds, foundational increases and decreases, assembly stitching
Important Notes
- Maintain uniform tension throughout to ensure symmetry in the finished piece.
- Use a stitch marker to track round beginnings, especially on extended sequences.
- Stuff the body firmly but evenly for a stable, plush effect.
- Ensure sew-on components are attached securely, especially if the toy is for young children.
Difficulty Level
Confident Beginner to Intermediate: The pattern uses basic stitches, simple shaping via increases and decreases, and straightforward assembly techniques. Familiarity with working in the round and joining amigurumi parts is helpful.
Supplies Needed
- Worsted weight acrylic or cotton yarn: Main color and brown accent
- Crochet hook size 3.0–4.0 mm (or appropriate for yarn weight)
- Fiberfill stuffing
- Yarn needle for sewing and embroidery
- Scissors
- Stitch marker
- Small black felt circle (for the nose)
- Black embroidery thread or yarn scrap (for eyes)
- Fabric glue (for nose application)
Size & Measurements
- Height (seated, with ears): Approximately 4–5 inches (10–13 cm)
- Limb length: 1.5 inches (4 cm) for arms, 2–2.5 inches (5–6 cm) for legs
Gauge & Stitch Details
- Gauge is not critical for amigurumi but aim for tight, uniform single crochet stitches to prevent stuffing from showing.
- All parts are worked in spiral rounds unless otherwise noted.
- Use invisible decreases for neat shaping.
Crochet Abbreviations
- ch – chain
- sc – single crochet
- inc – increase (2 sc in one stitch)
- dec – decrease (single crochet two together)
- MR – magic ring
Special Stitch Guide
- Magic Ring (MR): Begin with yarn looped around your finger. Insert hook, pull up a loop, sc into ring; cinch to close.
- Invisible Decrease (dec): Insert hook into front loops only of next two stitches, yarn over, pull through, then yarn over again and pull through both.
- Whip Stitch: For assembly, insert needle through matched stitches of both parts, then pull yarn through; repeat to secure.
Complete Crochet Pattern
Head and Body (0:15–11:34)
- Foundation: Make a slip knot and chain 9
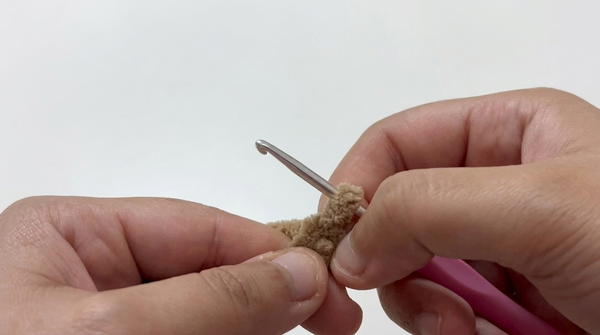
- Round 1:
- Sc in 2nd chain from hook and in next 6 chains (7 sc).
- In the last chain, work 2 sc (for curve).
- Turn and work down the other side: 6 sc in back loops only, ending with 2 sc in final base stitch.
- Round 2:
- 1 inc, 6 sc, 3 inc, 5 sc, 2 inc (expanding the oval).
- Rounds 3–4:
- Sc in each st around (plain; maintain shape).
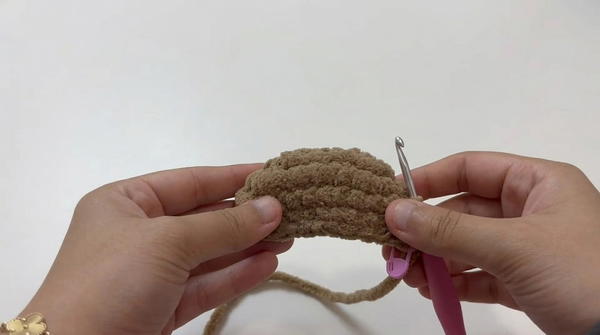
- Sc in each st around (plain; maintain shape).
- Decreasing Sequence:
- Sc 10, then work a decrease sequence in the front loops only (begin body shaping).
- Continue, decreasing by 1 sc each round (tighten opening).
- Increasing (base formation):
- Once minimal stitch count is reached, repeat rounds increasing by 1 sc each time until reaching 12 sc, then:
- 1 inc, 12 sc, 1 inc (rounds as indicated).
- Finishing:
- Stuff the form fully and evenly.
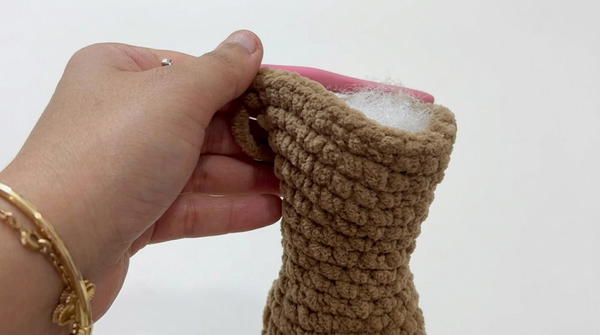
- Complete with a slip stitch, leaving a long yarn tail for closure and sewing.
- Stuff the form fully and evenly.
Ears
- Row 1: Ch 3. In 2nd chain from hook, 2 sc.
- Ch 1, turn.
- Row 2: 1 sc, 1 inc.
- Ch 1, turn.
- Row 3: 1 inc, 1 sc, 1 inc (increase on both ends).
- Fasten off, leaving a long tail for sewing.
Make two ears.
Arms
- Round 1: 6 sc in a magic ring with main color.
- Round 2: Sc in each st around (6 sc).
- Round 3: Change to brown, sc in each st around (6 sc per rnd).
- Rounds 4–8: Sc in each (total 5 rounds of 6 sc in brown).
- Fasten off, leaving a long tail for assembly.
Repeat for second arm.
Legs
- Round 1: 6 sc in a magic ring with main color.
- Round 2: Sc in each st around (6 sc).
- Round 3: Change to brown, sc in each st around (6 sc).
- Rounds 4–11: Sc in each (total 8 rounds of 6 sc in brown).
- Fasten off with a long tail.
Repeat for second leg.
Assembly & Finished Size
- Body Closure: Using the yarn tail left on main body, use a yarn needle to neatly whip stitch the opening closed. Tuck in and secure the end.
- Eyes: Thread black embroidery yarn; embroider small eyes on the face using several stitches, positioning evenly above the curve of the head.
- Nose: Cut a tiny black circle from felt. Attach it firmly to the face with fabric glue just below the eyes.
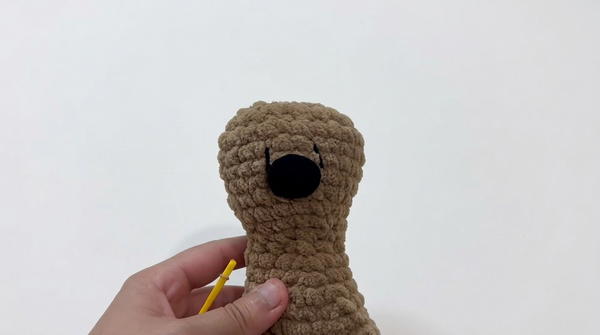
- Ear Attachment: Fold each ear slightly and sew them symmetrically to the top sides of the head using the yarn tails and a dull-tipped needle.
- Arms and Legs: View your piece facing front. Place each arm below the ears, slightly forward, and secure with a whip stitch through both body and edge of the limb. Attach each leg at the lower sides, spacing them evenly for balance.
- Stuff and shape as necessary throughout for a soft, rounded silhouette.
The completed crochet companion measures approximately 4–5 inches tall. Round, seamless shaping provides a classic plush look. The simple colorwork and felt nose add a sweet and distinctive finish.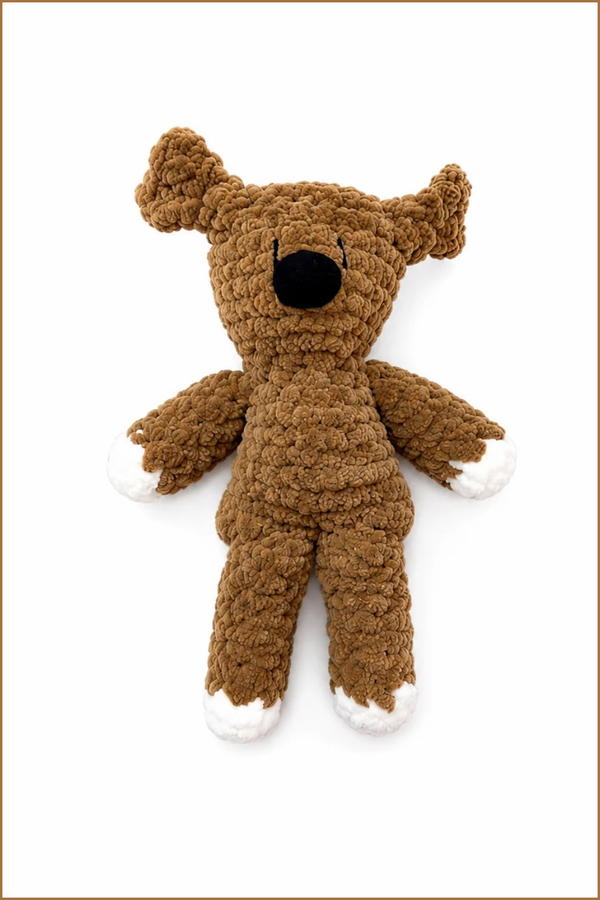
Conclusion and Ending Words
This pattern makes creative use of foundational stitches and shaping techniques to develop an endearing, compact amigurumi figure. The seamless design and incremental increases and decreases provide both structural integrity and a pleasing, soft roundness. Each feature—embroidered eyes, felt nose, and gently curved limbs—serves to evoke whimsy and warmth, making the finished project ideal for display, gifting, or cuddling as a pocket-sized companion. Each component, carefully assembled, forms a cohesive and charming whole.