Celebrate Valentine’s Day with a simple Crochet Heart that adds charm and warmth to gifts and décor using basic stitches and creative ideas.
Looking for something simple and nice to do? The Crochet Amigurumi Heart is a small, soft heart that feels like a gentle hug. Its round, plump shape looks friendly and cute. You can keep it on your desk, hold it in your hand, or give it as a small gift to show someone you care.
Mini Crochet Amigurumi Heart Free Pattern Ideal for Keyrings
These hearts come in many bright and happy colors. Red and pink are common choices, but you can also find soft pastels and other shades. The yarn used is soft and smooth, adding to the heart’s charm and making it comfortable to hold.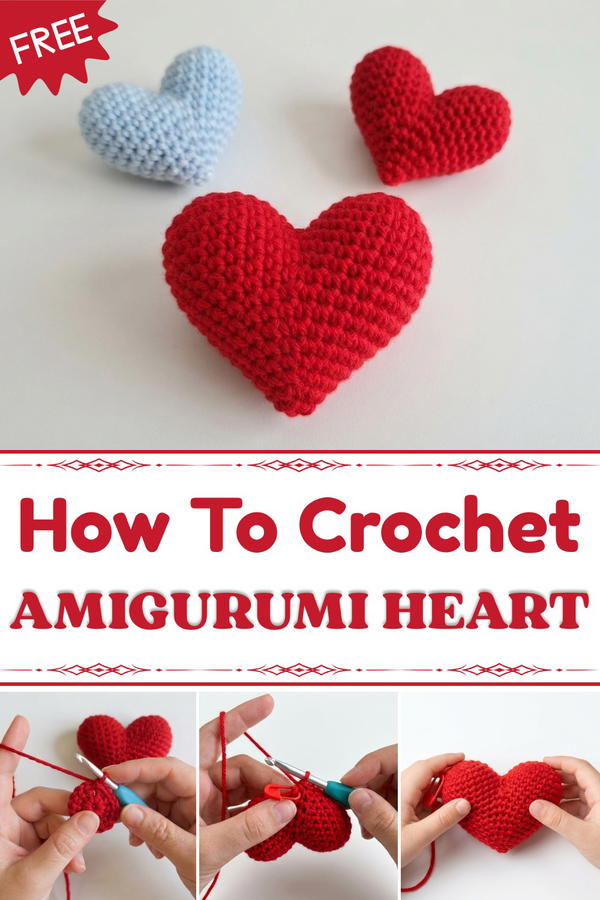 Making a Crochet Amigurumi Heart is easy. You only need to know a few basic crochet stitches. It’s calm and soothing to work on the heart and watch it grow little by little. When finished, it can be used in many ways — as a decoration, a keychain, or a special gift.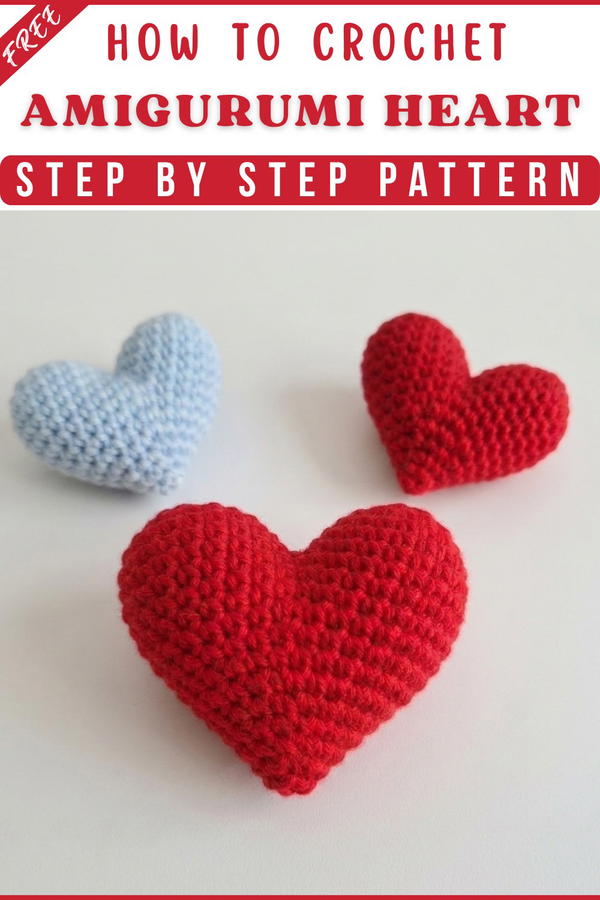
In addition, the heart’s soft texture and cute shape help create warm feelings. Holding or seeing this small heart may help calm thoughts and bring a smile. A simple project like this is a good way to relax and enjoy quiet moments. Overall, the Crochet Amigurumi Heart is a lovely way to add warmth and kindness to daily life.
Amigurumi Heart Crochet Pattern
In this Pattern, we are going to make one of these gorgeous little amigurumi hearts. Even if you're new to amigurumi, this is a fantastic first project. It's really simple—about half an hour—and by the end, you'll be across all the basic amigurumi techniques. These hearts are perfect for Valentine's Day, use very little yarn, and are endlessly customizable. Attach them to garlands, frame them, or even make a wand—the possibilities are only bounded by creativity. Make one and you’ll likely want to make more!
Pattern Basic Points
Key Points:
- Works in Continuous Rounds:
No slip-stitch joining; use a stitch marker to track rounds. - Two Separate Lobes:
Heart starts as two cups (“lobes”), joined and worked down into a point. - Versatile Yarn Use:
Any weight works—acrylic, cotton, blends, or sparkly. - Minimal Yarn Needed:
Great for scraps. Hearts can be stuffed with fiberfill or yarn bits. - Perfect For Beginners:
Simple stitches, only single crochet (US). Invisible decrease used for shaping.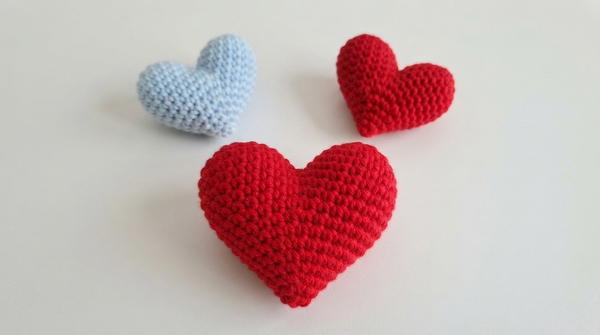
Special Notes
- Amigurumi hearts made with different yarns and hook sizes will yield different sizes. Cotton will be more stable/stiff; acrylic more stretchable and soft.
- Overstuffing will stretch holes and show stuffing; stuff firmly but sparingly.
- Stitch counts matter, but if you’re one stitch off—especially at decreases—don’t panic! Adjust as needed.
- Use up yarn scraps for stuffing small items.
- When joining lobes, you'll use four slip stitches; ignore these stitches in subsequent rounds.
Skill Level
Beginner to Confident Beginner. No prior amigurumi required, but familiarity with basic crochet helps.
Materials
- Yarn: Worsted weight (10 ply), cotton or acrylic, or 8 ply for smaller hearts; scraps suitable.
- Hook: 4.5mm for worsted, 4mm for DK/8 ply (adjust as needed).
- Fiberfill or Yarn Scraps: For stuffing.
- Scissors
- Darning Needle
- Stitch Marker: Or paperclip.
Measurements / Sizing
- Finished Size: About 5–7cm (2–2.75”) wide and tall, depending on yarn/hook.
- Optional Schematic: Heart shape: Two rounded lobes joined and worked down in a cone shape.
Gauge (and Stitch Pattern if applicable)
- Gauge: Not critical; use a hook tight enough for closed fabric.
- Stitch Pattern: All rounds are single crochet (US), worked in continuous spiral.
Stitch Abbreviations
| Abbreviation | Meaning |
|---|---|
| mr | magic ring |
| sc | single crochet |
| inc | increase (2 sc in 1 stitch) |
| dec | decrease |
| sl st | slip stitch |
| st(s) | stitch(es) |
Special Stitches
- Magic Ring (mr): Adjustable ring for starting in the round.
- Invisible Decrease: Insert hook into FRONT LOOP ONLY of next st, then front loop of second st, yarn over, pull through both loops, yarn over, finish sc.
- Standard Decrease: Insert hook into next st, yarn over, pull through, into next st, yarn over, pull through (three loops on hook), yarn over, pull through all three loops.
Amigurumi Heart: A Comprehensive Crochet Pattern
Crochet Pattern
Part 1: The First Lobe
Round 1:
- Create a magic ring.
- Work 6 single crochet (sc) stitches into the ring.
- Tighten the tail to close the center.
- (6 stitches total)
Round 2:
- Increase in every stitch: work 2 sc in each stitch.
- (12 stitches total)
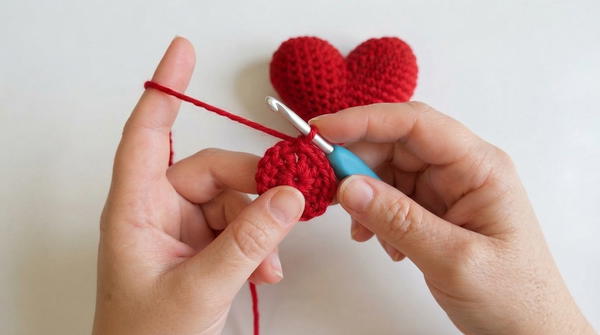
Round 3:
- Increase every second stitch: 1 sc in first stitch, 2 sc in next stitch, repeat around.
- (18 stitches total)
Round 4:
- Work 1 single crochet (sc) in every stitch around.
- (18 stitches)
Round 5:
- Work 1 single crochet (sc) in every stitch around.
- (18 stitches)
Round 6:
- Work 1 single crochet (sc) in every stitch around.x
- (18 stitches)
Round 7:
- Work 1 single crochet (sc) in every stitch around.
- (18 stitches)
Part 2: The Second Lobe and Joining
- Repeat Rounds 1–7 exactly as for the first lobe.
- Do not fasten off the second lobe — keep the working loop on your hook, as this will be the starting point for joining.
Part 3: Joining the Lobes
- Align the two lobes side-by-side.
- Insert your hook:
- First into the last stitch made on the second lobe
- Then into the second-to-last stitch of the first lobe
(to provide stability) - Yarn over and pull through both pieces to slip stitch.
- Continue joining with 4 slip stitches total — these stitches bridge the two lobes.
- After completing the 4 slip stitches, ignore these connection stitches for the rest of the pattern.
- You now have a combined round consisting of 28 stitches total (14 stitches on each lobe).
Part 4: Shaping the Body
Round 8:
- Chain 1 to begin.
- Work 1 sc into each of the 14 stitches around the first lobe
- Then 1 sc into each of the 14 stitches around the second lobe.
- (28 stitches total)
Round 9:
- Work one full round of single crochet (sc), placing 1 sc into each of the 28 stitches.
- This round solidifies the heart’s connection.
- (28 stitches)
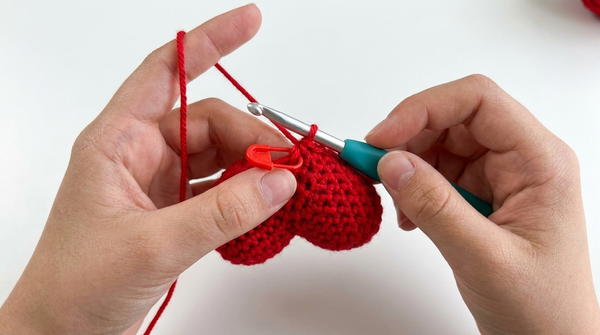
Part 5: Decreasing and Shaping the Heart
Use your stitch marker to track rounds and avoid losing count.
Round 10:
- (Single crochet 5, then decrease) — repeat 4 times around.
- Perform invisible decrease: Insert hook into the front loop only of next two stitches, yarn over, pull through both loops, complete sc.
- (24 stitches)
Round 11:
- (Single crochet 4, then decrease) — repeat 4 times around.
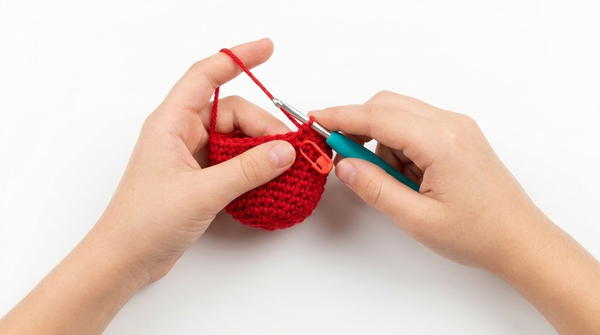
- (20 stitches)
Round 12:
- (Single crochet 3, then decrease) — repeat 4 times around.
- (16 stitches)
Pro-Tip: Start stuffing your heart firmly with fiberfill at this point. Ensure stuffing is evenly distributed, but avoid overstuffing, which can stretch stitches and expose filling.
Round 13:
- (Single crochet 2, then decrease) — repeat 4 times around.
- (12 stitches)
Round 14:
- (Single crochet 1, then decrease) — repeat 4 times around.
- (8 stitches)
Assembly & Finished Size
- At the final stage, the opening will become quite small. If crocheting becomes too difficult:
- Pull the yarn through the final stitches, then use a darning needle to weave through the remaining loops
- Pull tight to close the hole.
- Weave the yarn tail back into the heart body with the darning needle, keeping close to the outer edge to avoid pulling out fiberfill clumps.
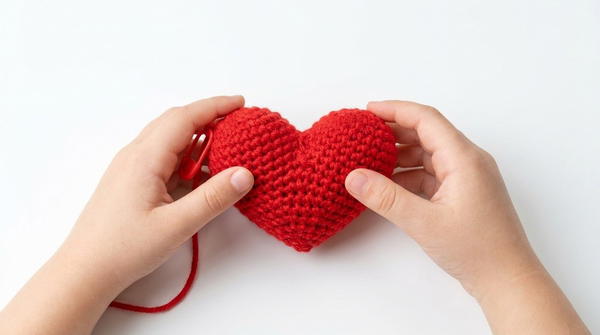
- Secure with a knot, trim excess yarn, and push tail deep into stuffing for a clean finish.
Finished Size
- The size varies depending on yarn and hook choice:
- Using worsted weight yarn and a 4.5 mm hook produces a larger, more substantial heart.
- Using 8-ply yarn and a 4 mm hook results in a smaller, more delicate heart.
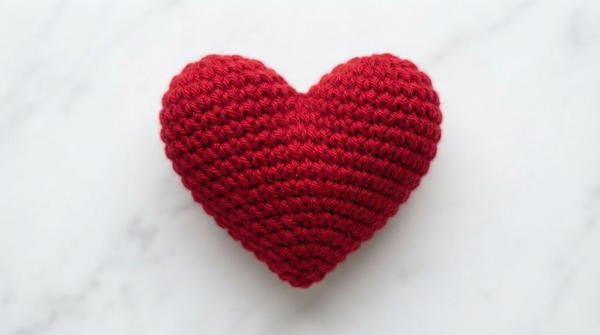
Assembly & Finished Size
- After closing, weave in the tail. Knot securely at the tip and pass the needle up into the body of the heart.
- Cut off excess.
- Optional: If you spot holes, poke a bit of yarn into gaps to cover any filling.
- Finished Size: Should be a little ball-like heart, slightly smaller if made with tighter tension or finer yarn.
Conclusion and Ending Words
You have now finished your amigurumi heart—a fun, fast project that teaches all the essential amigurumi skills. Don’t worry if your stitch count is off by one (especially near the close); your heart will still look beautiful. Use these hearts for gifts, decoration, or just to spread some love! Thank you for joining me on crochet tutorials. I hope you enjoyed making this heart; please let me know if you try it.