Bring a touch of love to your home with this free crochet heart pillow pattern, a beautiful way to create a cozy and decorative accent for any space.
A soft and cuddly cushion shaped like a heart can bring a warm and loving touch to any room. The free crochet heart pillow pattern helps you make this lovely cushion with ease, combining simple stitches and a charming shape. This heart-shaped pillow is not only beautiful but also comfortable, perfect for hugging or resting your head on.
Free Crochet Heart Pillow Pattern Using Chunky Yarn
You can use this pillow to decorate your bedroom, living room, or even a cozy reading nook. It makes a thoughtful gift for friends or family during special occasions like Valentine’s Day, anniversaries, or just to show someone you care. Kids, beginners, and experienced crocheters will enjoy making this pillow because it’s easy to follow and allows for lots of color choices. You can make it small as a cute decoration or larger for a comfy throw pillow.
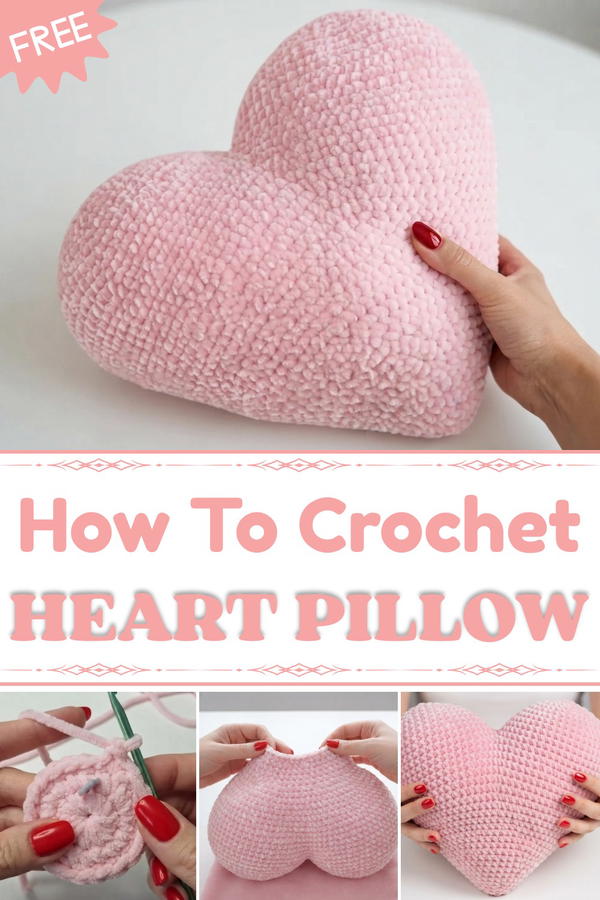
The most attractive part of this pillow is its soft heart shape with smooth, rounded edges. The crochet stitches create a lovely texture that feels gentle and inviting. This handmade look adds a special charm that makes the cushion unique. You can pick bright red or pink yarn for a classic look, or choose pastel shades to create something soft and calming.
Anyone who loves to crochet or wants to start a simple project will find this pillow fun to make. It’s a perfect way to practice important stitches while creating a warm and pretty piece. Whether you want to brighten your home or make a heartfelt handmade gift, this heart pillow pattern is a sweet and easy choice.
Velvet Crochet Heart Pillow Pattern
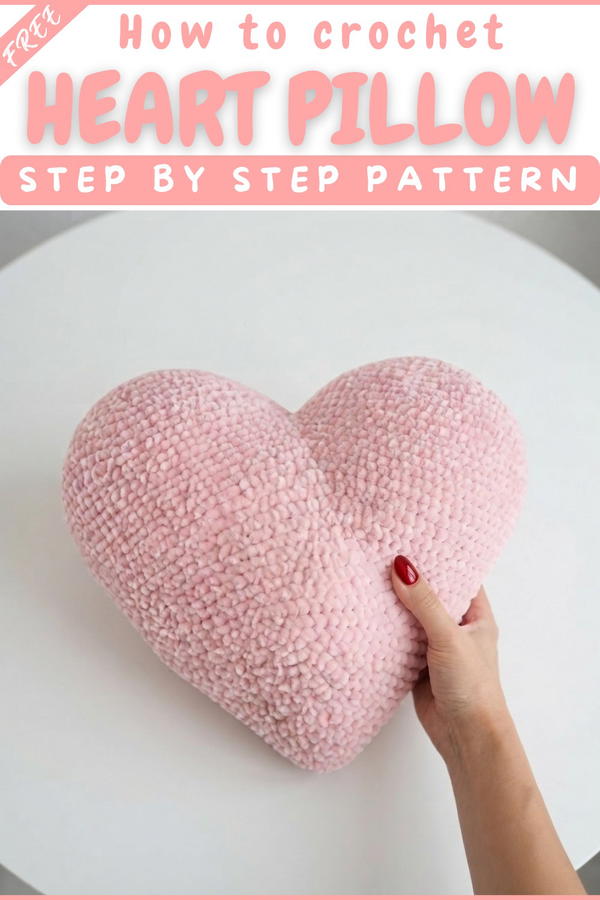
The velvet crochet heart pillow is not only a cozy, huggable accent for your space, but also an inviting project for anyone who loves soft textures and simple shaping. With charming curves and plush softness thanks to velvet yarn, this pattern guides you through every step: making two smooth heart halves, joining them, shaping the base, and neatly closing with seamless decreases. Perfect for a thoughtful handmade gift or a delightful statement in your own home, this heart pillow is a tutorial you’ll treasure.
Pattern Basic Points
Pattern Structure
- Worked in continuous rounds: Increases form two rounded halves, which are then joined and shaped into one cohesive heart.
- Progressive increases/decreases: Adding and subtracting stitches methodically sculpts the pillow's curves and taper.
- Invisible closure: The final seam is sewn shut for a smooth, hidden finish.
- Plush texture: Velvet yarn gives a luxurious finish and highly tactile comfort.
Construction Overview
- Make two identical rounded halves.
- Join halves with single crochet stitches.
- Shape the bottom with methodical decreases.
- Stuff and close seamlessly for a three-dimensional pillow.
Special Notes
- Using velvet yarn can be slippery—work with even tension and watch for missed stitches.
- Mark the first stitch of each round to help maintain your count, as velvet fibers can obscure stitch visibility.
- When stuffing, gently distribute fiberfill to preserve a uniform shape and plush feel.
- Seaming with the tapestry needle produces a professional, invisible join; take your time on this step.
- Adjust the stuffing (more or less) to suit your firmness preference.
Skill Level
Beginner-friendly to Confident Beginner
- Basic knowledge of single crochet, simple increases, and decreases is all that’s needed.
Materials
- Velvet yarn: Color and yardage for a standard pillow (approx. 250–300g for a medium-size pillow)
- 4.25mm crochet hook
- Fiberfill stuffing
- Scissors
- Tapestry needle
Measurements / Sizing
- Finished measurements: Approx. 10–14 inches (25–36 cm) across at the widest point, depending on yarn and tension.
- Depth: About 3–5 inches (8–13 cm) after stuffing and closing.
Gauge
- Not critical for this decorative item.
- Sample: 5 rounds should create a flat circle about 4.5–5" (11–13cm) across when using velvet yarn and a 4.25mm hook.
Stitch Abbreviations
- ch – chain
- sc – single crochet
- inc – increase (2 sc in one stitch)
- dec – decrease (single crochet two together)
- sl st – slip stitch
- st(s) – stitch(es)
Special Stitches
- Increase (inc): 2 sc in the same stitch.
- Decrease (dec): Single crochet two together.
The Pattern
Phase 1: Creating the Top Two Halves (Make 2 Pieces)
- Foundation:
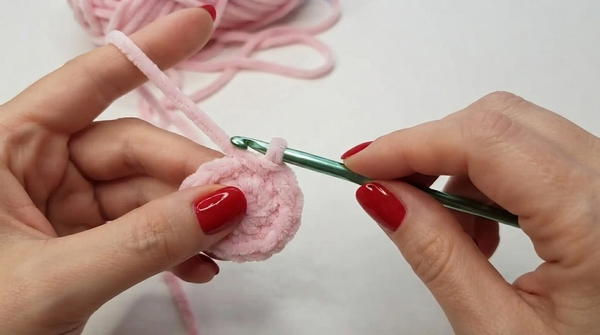
- Ch 2.
- Work 6 sc into the first chain. (6 sts)
- Round 2:
- 2 sc in each st around. (12 sts)
- 2 sc in each st around. (12 sts)
- Round 3:
- Work 1 sc, then inc; repeat from * to * around. (18 sts)
- Round 4:
- Work 2 sc, then inc; repeat around. (24 sts)
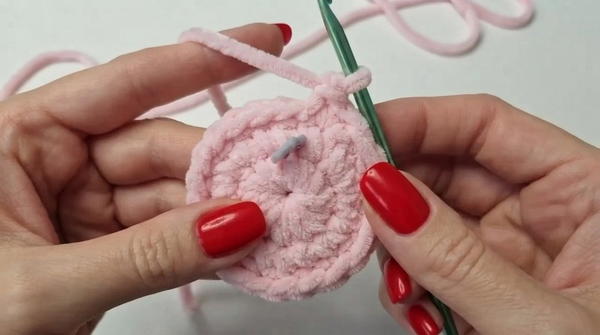
- Work 2 sc, then inc; repeat around. (24 sts)
- Round 5:
- Work 3 sc, then inc; repeat around. (30 sts)
- Continue Increasing:
- In each subsequent round, increase the number of single crochets between each increase:
- Round 6: Work 4 sc, inc around. (36 sts)
- Round 7: Work 5 sc, inc around. (42 sts)
- Round 8: Work 6 sc, inc around. (48 sts)
- Round 9: Work 7 sc, inc around. (54 sts)
- Round 10: Work 8 sc, inc around. (60 sts)
- Round 11: Work 9 sc, inc around. (66 sts)
- Round 12: Work 10 sc, inc around. (72 sts)
- Round 13: Work 11 sc, inc around. (78 sts)
- In each subsequent round, increase the number of single crochets between each increase:
- Rounds 14, 15, 16:
- Work 78 sc evenly around for each round (no increases).
- Finish off both halves, leaving a long tail on one half for sewing. Do not cut the yarn on the second half; you will join with this strand.
Phase 2: Joining the Top Halves
- Place the two halves side by side, with the open edges touching.
- Join the two pieces:
- Use your working yarn and hook to sc across 8 stitches along the touching edge, connecting both pieces together.
Phase 3: Decreasing and Shaping
- The next rounds form the bottom point of the heart:
- Round 1:
- 33 sc, then dec; repeat this pattern as needed across the full round.
- Round 2:
- 32 sc, dec; repeat as established.
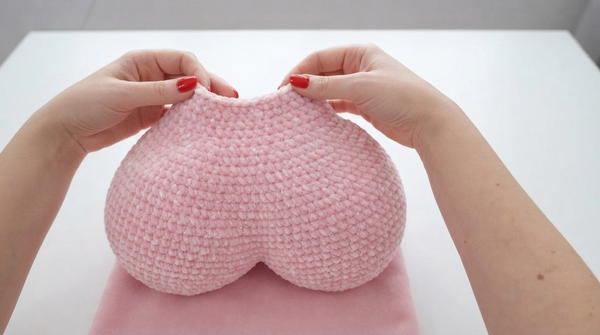
- 32 sc, dec; repeat as established.
- Continuing Shaping:
- Continue each round by reducing the number of single crochets before each dec,
- For example:
- Next round: 3 sc, dec around
- Then: 29 sc, dec (pattern continues decreasing similarly)
- For example:
- Continue each round by reducing the number of single crochets before each dec,
- Closing the bottom:
- When only a small opening remains, pause to gently stuff the heart pillow with fiberfill for a full, plump shape.
- Final Shaping:
- When you reach only 4 stitches remaining, use your tapestry needle to sew the last gap closed securely.
- Weave in and hide all yarn tails inside the pillow.
Assembly & Finished Size
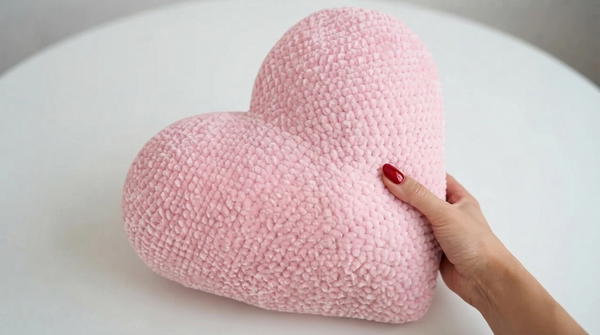
- Shape: A beautifully curved, three-dimensional heart with smooth sides and a narrow, pointed base.
- Size: Depending on yarn and tension, roughly 10–14 inches across at the widest part.
- Finish: Uniform curves, hidden seams, soft and cushiony after stuffing.
Conclusion
This velvet crochet heart pillow pattern offers a heartwarming blend of tactile comfort and decorative flair. With its stepwise shaping and intuitive construction, it's perfect for advanced beginners and ideal for heartfelt gifting, whether for Valentine’s Day, anniversaries, or simply to add charm to a reading nook or sofa. Personalize with extra embellishments or different yarns for your unique touch.