Create a festive Crochet Santa Claus Hat quickly using simple stitches and easy steps to add holiday cheer to your winter wardrobe.
As the holiday season approaches, adding some festive warmth to your winter wardrobe is always a good idea. The Crochet Santa Claus Hat is a simple and cheerful way to do just that. This bright red hat with soft white trim and a fluffy pompom brings a classic Santa look that’s cozy and fun to wear. I found this easy project on Wiolinkowe Robótki’s channel, where the instructions are clear and beginner-friendly.
Easy Crochet Santa Claus Hat Free Pattern For Christmas Wear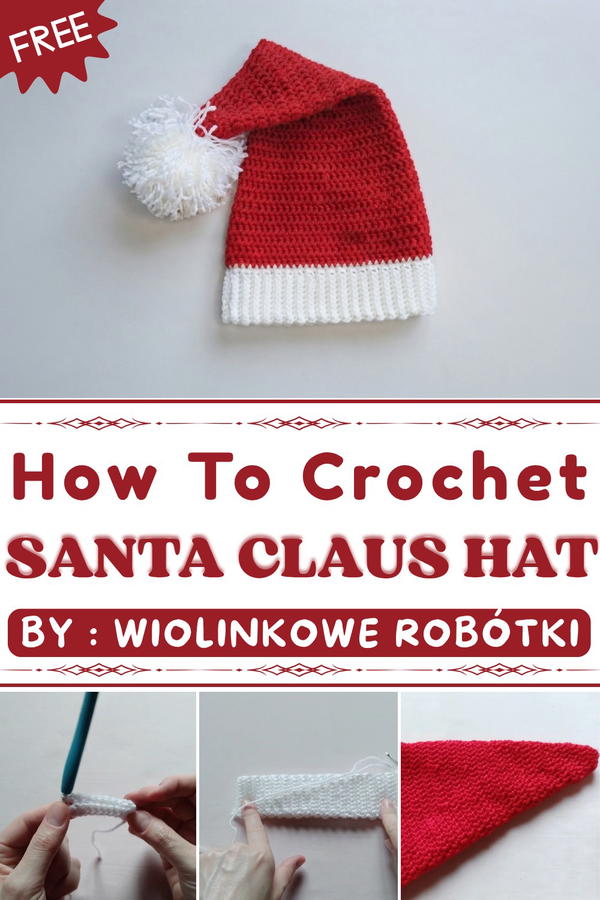
This hat fits both kids and adults comfortably, making it great for holiday gatherings or chilly days outside. Its bright colors instantly add a joyful touch, and it also makes a thoughtful handmade gift for friends or family. Wearing this hat can brighten up any holiday celebration or winter outing.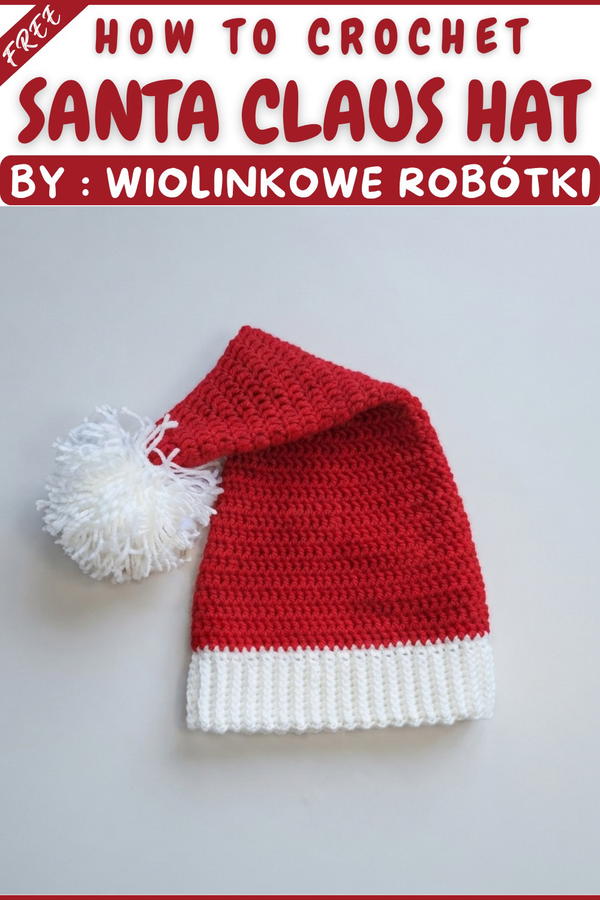
Besides being worn, the hat adds charm to holiday photos and can even serve as a cute decoration around the house. It’s not a time-consuming project, so you can finish it quickly and enjoy the festive feeling right away.
For a warm and fun way to celebrate the season, check out the free pattern on Wiolinkowe Robótki’s channel. It’s a wonderful chance to add a little handmade spirit to your holidays.
Santa Claus Hat Crochet Pattern
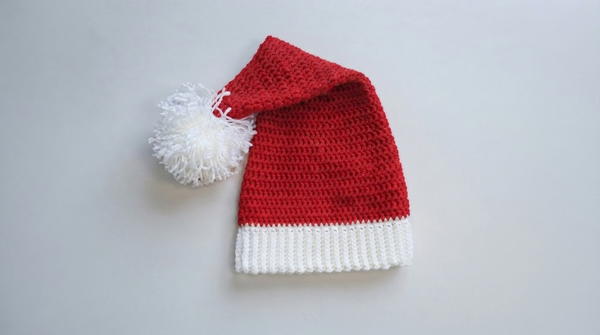
This pattern details the complete process of crocheting a classic Santa Claus hat, featuring a neat ribbed brim, a bold tapering crown, and a fluffy pompom. The instructions are based on making a standard child-size hat, but notes for size adjustments are included. Two colors of yarn – white for the brim and red for the body – emphasize traditional holiday style and decorative flair. The hat is finished with a generous white pompom for a playful, authentic touch.
Pattern Basic Points
- Brim is Worked Flat in Rows: Simple half double crochet (hdc) back and forth forms a ribbed stretch brim for a snug fit.
- Brim is Seamed to Form a Band: The strip is sewn into a tube before the body begins.
- Hat Body is Crocheted in Rounds: After picking up stitches around the brim, the crown is worked in continuous rounds.
- Gradual Decreases Shape the Body: Strategic decreases every few rounds result in a tall, classic “cone” Santa hat silhouette.
- Simple White Pompom Finishes the Look: Yarn is wound, tied, trimmed, and sewn to the hat’s tip.
Special Notes
- Adjust brim length and stitch count for larger or smaller heads; instructions are included for customizing size.
- Always count your stitches, especially when decreasing, to preserve the hat’s cone shape.
- To prevent gaps, evenly distribute the picked-up stitches around the brim’s long edge. This may require some “trial and error” or minor adjustment.
- If you don’t have a row counter, use a scrap of contrasting yarn or safety pin as a row marker.
- Yarn ends from color changes and the pompom should be sewn in securely for durability.
Skill Level
Beginner to Intermediate
Requires familiarity with basic stitches, working in rows and rounds, simple seaming, and creating/attaching a pompom.
Materials
- Worsted/Aran weight yarn in white (for brim and pompom) and red (for hat body)
- 4.5 mm crochet hook
- Scissors
- Large-eyed yarn needle
- Row counter or stitch marker (optional)
- Measuring tape
Measurements / Sizing
- Sized for children (head circumference approx. 50–52 cm)
- Easily adjusted: increase brim rows for larger head, decrease for smaller
- Finished length: approximately 28–32 cm from brim to tip, depending on rounds and gauge
Gauge
- Ribbing: 10 hdc (worked in back loops only) = approx. 7–8 cm long
- Crowns: 5 rounds = approx. 7–8 cm in height
- Gauge should yield a brim that stretches to fir snugly, a body that fits slightly loose but not slouchy
Stitch Abbreviations
- ch: chain
- hdc: half double crochet
- dc: double crochet
- sl st: slip stitch
- st(s): stitch(es)
- dec: decrease (explained in Special Stitches)
Special Stitches
- Back Loop Only (BLO): Insert hook only in the back loop of stitch, not both loops.
- Double Crochet Decrease (dc2tog):
Yarn over, insert hook in next st, yarn over, pull up a loop, yarn over, pull through 2 loops (leave 2 loops on hook). Yarn over, insert in next st, yarn over, pull up a loop, yarn over, pull through 2 loops (3 loops on hook). Yarn over, pull through all 3 loops.
Free Pattern For Expert Crocheters
Brim (White Yarn)
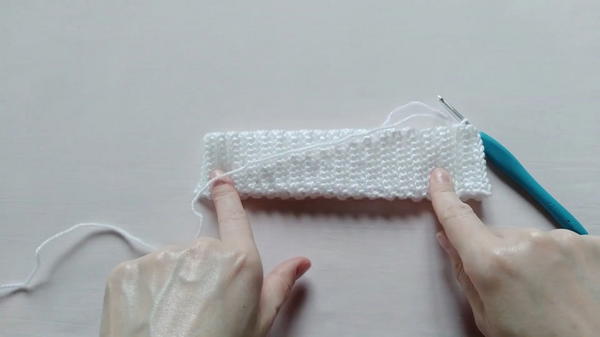
- Foundation: Ch 11.
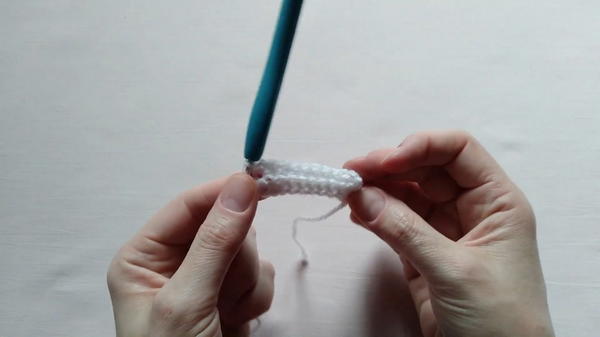
- Row 1: Starting in 2nd ch from hook, hdc in each ch across (10 hdc). Turn.
- Row 2: Ch 1, hdc in BLO of each st across (10 hdc). Turn.
- Row 3–Row 78:
Repeat Row 2 (ch 1, hdc BLO, turn) for a total of 78 rows (or adjust for desired head circumference). - Customization Note: For custom fit, wrap brim around head/snugly and adjust row count until fit is comfortable (brim stretches slightly).
Seaming the Brim
- Fold ribbed strip, aligning short edges.
- Use yarn needle and tail to whipstitch or slip stitch together to form a circle (the brim/band).
- Turn the band so seam is on the inside.
Hat Body Setup (White Yarn)
- Working along one long edge of brim, evenly pick up stitches for first round:
- Pick up and work 66 hdc evenly all the way around the brim’s edge. (To space evenly: work approx. 1 st per rib or every other rib, using the “before, on, after” technique described for a smooth round.)
- Tip: Don’t work in every single row; distribute so that when you finish, you have 66 hdc. If your brim row count differs, use the formula: picked-up stitches = rows in brim minus around 10–12.
- Pick up and work 66 hdc evenly all the way around the brim’s edge. (To space evenly: work approx. 1 st per rib or every other rib, using the “before, on, after” technique described for a smooth round.)
- Join with sl st to first hdc.
- Cut and fasten off white yarn.
Hat Body (Red Yarn)
Join Red Yarn and Work in Rounds
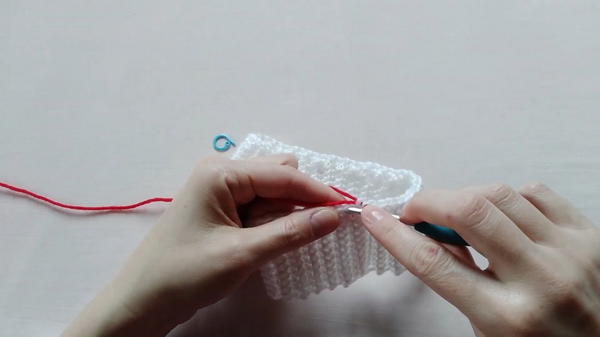
- Lap 2 (Round 1 in red): Join red at last white st. Ch 3 (counts as first dc). Dc in each st around (65 dc; first ch-3 counts as dc). Join with sl st to top of ch-3.
- Laps 3–6 (Rounds 2–5): Ch 3 (counts as dc). Dc in each dc around (65 dc per round). Join with sl st to top of ch-3.
- Lap 7 (Round 6): Ch 3. Dc in next 8 sts, dc2tog (decrease). Repeat around. You will have 60 dc after this round.
- Lap 8–9 (Rounds 7–8): Ch 3. Dc in each st around (60 dc). Join with sl st.
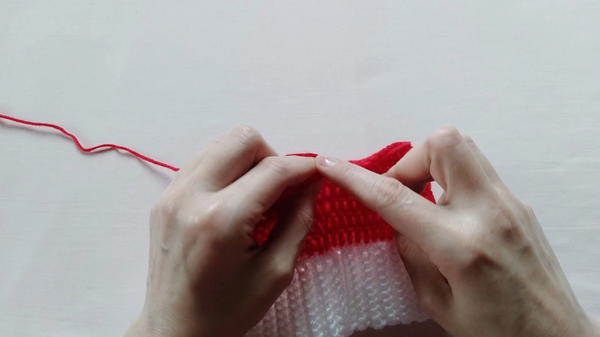
- Lap 10 (Round 9): Ch 3. Dc in next 7 sts, dc2tog. Repeat around. You will have 54 dc.
- Lap 11–12 (Rounds 10–11): Ch 3. Dc in each st around (54 dc). Join.
- Lap 13 (Round 12): Ch 3. Dc in next 6 sts, dc2tog. Repeat around. You will have 48 dc.
- Lap 14–15 (Rounds 13–14): Ch 3. Dc in each st around (48 dc). Join.
- Lap 16 (Round 15): Ch 3. Dc in next 5 sts, dc2tog. Repeat around. You will have 42 dc.
- Lap 17–18 (Rounds 16–17): Ch 3. Dc in each st around (42 dc). Join.
- Lap 19 (Round 18): Ch 3. Dc in next 4 sts, dc2tog. Repeat around. You will have 36 dc.
- Lap 20–21 (Rounds 19–20): Ch 3. Dc in each st around (36 dc). Join.
- Lap 22 (Round 21): Ch 3. Dc in next 3 sts, dc2tog. Repeat around. You will have 30 dc.
- Lap 23–24 (Rounds 22–23): Ch 3. Dc in each st around (30 dc). Join.
- Lap 25 (Round 24): Ch 3. Dc in next 2 sts, dc2tog. Repeat around. You will have 24 dc.
- Lap 26–27 (Rounds 25–26): Ch 3. Dc in each st around (24 dc). Join.
- Lap 28 (Round 27): Ch 3. Dc in next st, dc2tog. Repeat around. You will have 18 dc.
- Lap 29–30 (Rounds 28–29): Ch 3. Dc in each st around (18 dc). Join.
- Lap 31 (Round 30): Ch 3, dc in next st (2 dc), dc2tog, dc, repeat around (12 dc).
- Lap 32 (Round 31): Ch 3. Dc in each st around (12 dc). Join.
- Lap 33 (Final Round): Ch 2. (Dc2tog) in each group of 2 stitches around to decrease all the way (6 decreases for 6 sts).
- Fasten off, leaving a long tail for sewing up tip.
Finishing the Hat
- With the yarn needle, weave tail through last stitches at top. Pull to close the tip securely. Sew in all tails on the inside.
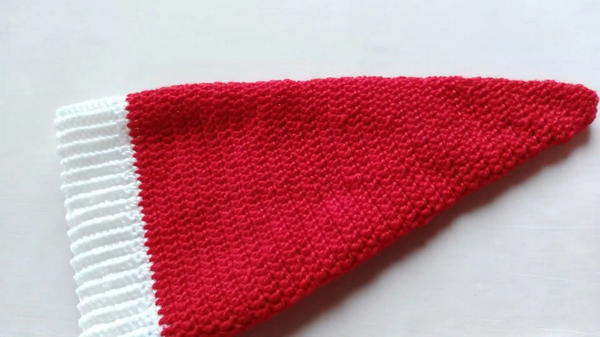
- Optionally, block lightly if desired.
Pompon
- Cut a length of white yarn about 20 cm for tying.
- Wrap white yarn generously around the fingers of one hand (the more wraps, the fuller the pompom).
- Slide the yarn bundle carefully from your fingers, making sure to keep the loops aligned.
- Tie the 20 cm strand tightly around the center of the bundle (double knot).
- Cut all loops on both sides with scissors, except the center tie.
- Hold the tie ends and shape the pompom, trimming uneven strands for a fluffy ball.

- Leave the tie ends long for sewing to the hat.
Attaching the Pompon
- Thread the tie ends with the yarn needle.
- Sew securely to the tip of the hat, knot inside, and weave in any excess.
Assembly & Finished Size
- Finished hat fits a standard child head (circumference 50–52 cm; band stretches).
- Hat height is about 28–32 cm, including pompom.
- Brim is soft and elastic; crown is crisp with distinctive Santa shape.
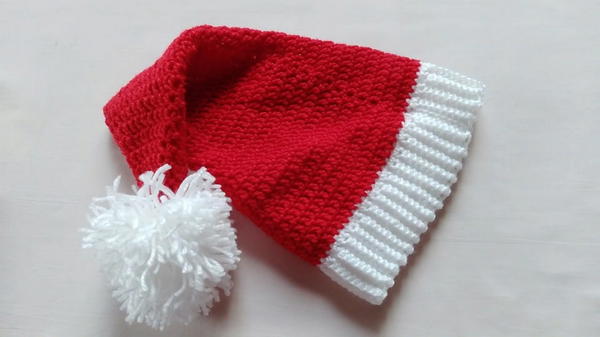
- Pompom is dense, round, and securely attached.
Conclusion
This Santa Claus hat pattern uses classic construction techniques for both the ribbed brim and the tapered crown. With easy customization, clear shaping, and a playful pompom, the finished hat delivers both festive spirit and functional warmth. The design blends sturdy stitches and smooth color transitions for a clean, professional appearance. The project’s structure allows for both beginner-friendly repetition and opportunities to refine finishing skills, from seamless seams to carefully balanced pompom trimming. The durable materials and customizable size make this a charming seasonal accessory for children and a delightful handmade gift.