Share the joy of holiday with this Crochet Christmas Tree Star Pattern a lovely handmade piece for gifting, keepsakes, and celebrating special moments.
Do you want a nice star to put on your Christmas tree? The Crochet Christmas Tree Star is a lovely, soft star that looks great on top of your tree. It has sharp points and stays nice and firm, so it won’t fall apart. This star adds a warm and cozy feeling to your holiday decorations.
Mini Crochet Christmas Tree Star Free Pattern For Holiday Decor
The star is light, so it won’t make the tree branches droop. You can use any color you like, from bright red and green to shiny gold or silver. It looks good with all kinds of holiday decorations and makes your home feel happy and special.
Wiolinkowe Robótki made this star with care to help you add a little homemade charm to your Christmas. You can also give it as a gift to friends or family, and they will love it.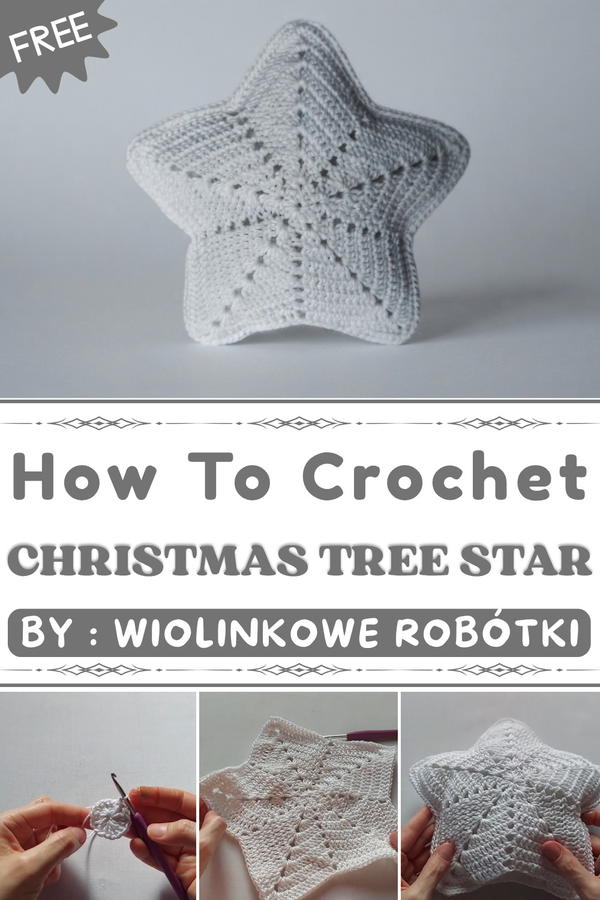
If you want to make this pretty star yourself, you can use the free pattern from Wiolinkowe Robótki. It’s easy to follow and fun to crochet. Handmade decorations like this star make holidays brighter and more special.
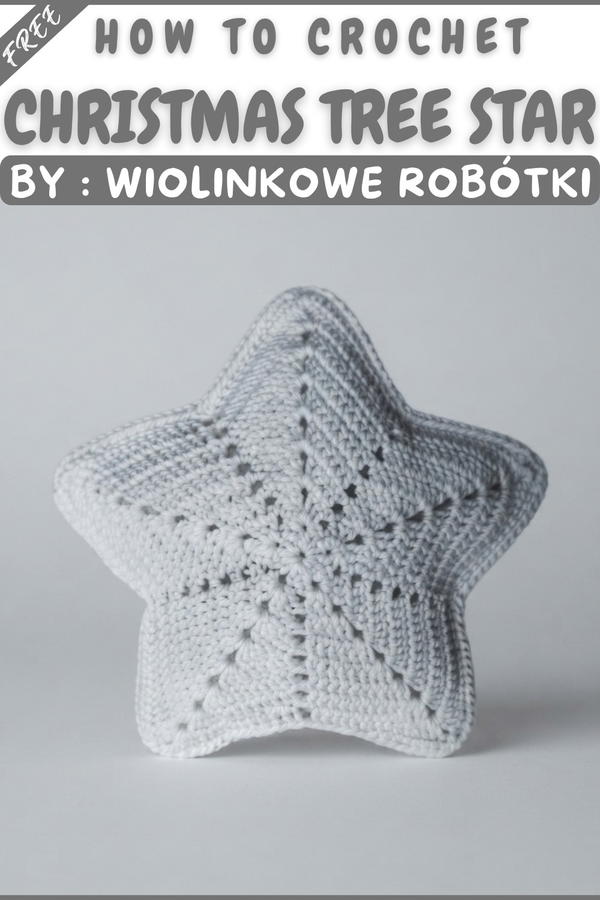
Check out the free Crochet Christmas Tree Star pattern and try making one for your own Christmas tree!
3D Crochet Star Tree Topper Pattern
This project demonstrates how to crochet a 3D convex star for topping your Christmas tree. The star is crafted in two separate pieces, each worked in the round with increasing rounds and then joined together, stuffed for dimension and shape. The star requires simple stitches, strategic joining, and stuffing for a professional, festive finish. Below is the detailed pattern in the requested format, faithful to the steps in the video transcription.
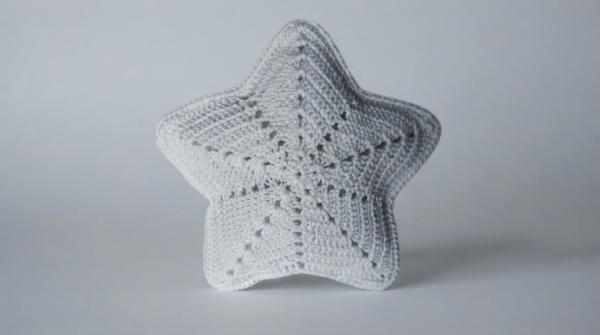
Pattern Highlights
- Magic Circle Foundation: Both star pieces begin with a magic circle to create a firm, neat center.
- Granny-Style Clusters and Chains: Rounds follow a pattern of multiple double crochets (dc) separated by chain spaces to shape the star’s points.
- Self-Expanding Rounds: Each round increases the point length and overall star size, following a predictable sequence for easy scaling.
- Two Identical Panels: You make two identical star pieces which are then crocheted together.
- Invisible Seam and Stuffing: Panels are joined by working into specific loops for a near-invisible seam, with polyfill added for a 3D effect.
Notes
- Ensure both panels are the same size and number of rounds before seaming.
- For a fuller star, add more fiberfill; a lighter touch gives a softer, flatter appearance.
- Keep stitches firm so stuffing does not show through the fabric.
- Weaving in yarn ends inside the star keeps the outside neat.
- If desired, a loop or extra long stitch can be added for hanging or securing on the tree.
- When seaming, take care to align corresponding stitches and points from each star half.
- The described joining method uses the middle loops of each stitch for a subtle seam; if you prefer, whipstitch or mattress stitch with a yarn needle is possible.
Skill Level
Beginner to Intermediate
This pattern uses fundamental crochet techniques (magic circle, double crochet, chain spaces) but requires careful attention to joining and uniform stitch tension.
Materials
- Worsted or DK weight yarn (white is shown; any color suitable for tree decor)
- Crochet hook, size 4 mm
- Polyester fiberfill or other soft stuffing
- Tapestry needle with large eye, for seaming and finishing
- Scissors
- Row counter or stitch marker (optional)
Measurements / Sizing
- Final star size after eight rounds (unstuffed): approx. 18–25 cm across, depending on yarn and tension
- Depth when stuffed: approx. 4–6 cm (can be varied by amount of filling)
- Star can be made larger or smaller by adjusting number of rounds or yarn weight
Gauge (and Stitch Pattern)
Gauge is not critical.
Main stitch: standard double crochet (US terminology) in groups/clusters, separated by chain stitches to form points and valleys.
Schematic (rough outline):
- Center: magic ring
- Each round forms new "arms" of star by expanding clusters and increasing number of dcs between point sections.
- Final shape: symmetrical 5-armed star
Stitch Abbreviations
- ch = chain
- dc = double crochet
- sl st = slip stitch
- st(s) = stitch(es)
- sp = space (usually chain space)
Special Stitches
- Magic Circle: Create a loop, begin working stitches into it, and pull tight for a seamless start.
- dc2tog (Decreased dc): Used mainly for join; yarn over, insert hook in stitch, pull up loop, yarn over, draw through 2, repeat in next stitch, yarn over, pull through remaining 3 loops.
- Invisible Seam Join: Join two layers by working hdc through the matching middle loops of each star.
Crochet Guide
Make 2 identical panels.
Panel (Repeat for First and Second Stars)
Round 1:
- Begin with magic circle.
- Ch 3 (counts as first dc), 2 dc into ring (first cluster), ch 1.
- 3 dc into ring, ch 1; repeat to total 5 clusters of 3 dc, each separated by a ch 1.
- Tighten magic ring.
- Join with sl st to top of first ch-3.
Round 2:
- Sl st into next ch-1 sp.
- Ch 3 (counts as dc), 2 dc in same sp, ch 2, 3 dc in same sp.
- In next ch-1 sp: 3 dc, ch 2, 3 dc. Repeat all around (five points).
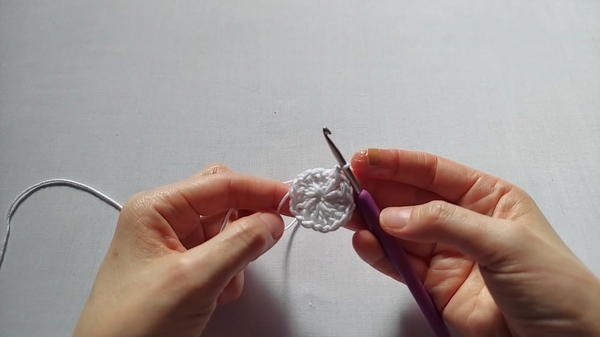
- Join with sl st to top ch-3.
Round 3:
- Sl st into next ch-2 sp; ch 3 (counts as dc), 2 dc in same sp, ch 2, 3 dc in same sp.
- In each valley (between points), work as follows: skip 2 edge dcs, 1 dc in next dc, 1 dc in next dc, proceed to next ch-2 sp, and repeat (3 dc, ch 2, 3 dc).
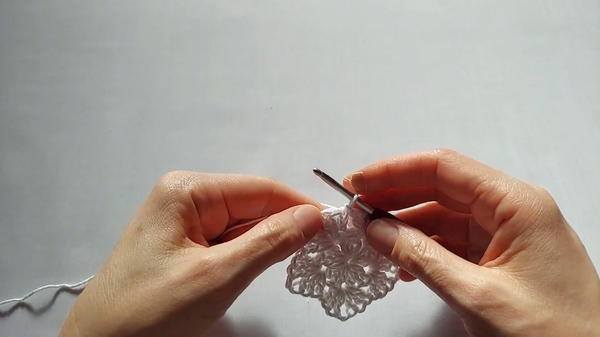
- Repeat for all 5 points and valleys.
- Finish in ch-3 as before, sl st to join.
Rounds 4–8:
- In each subsequent round, the "point" at each ch-2 sp grows by working: (3 dc, ch 2, 3 dc) into each ch-2 space at point.
- For the valley between points: skip edge dcs, then 1 dc in each dc/st between points (the number increases each round).
- Continue as above for a total of 8 rounds, or to desired star size.
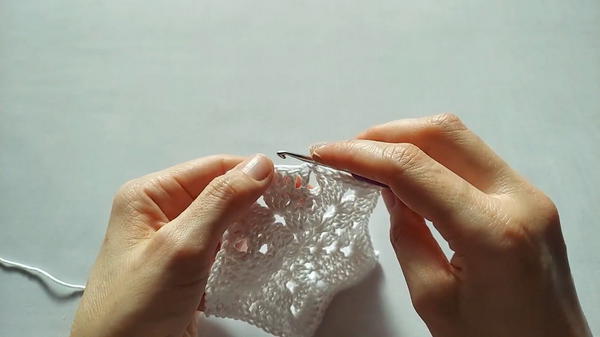
- After the final round, fasten off the first panel. For the second, do not fasten off after the last sl st, as you proceed to join the panels.
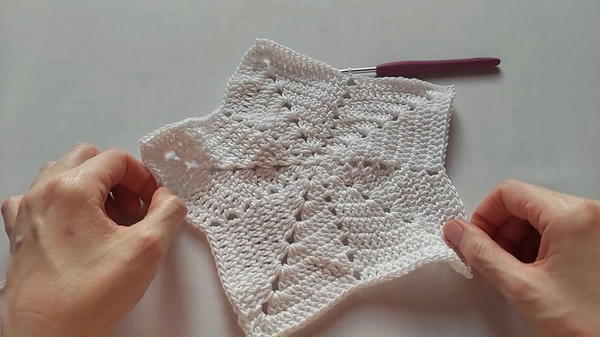
Assembly & Finished Size
- Place both stars together with wrong sides facing in and all ends to inside.
- Starting with the live loop on your hook, match stitches and points.
- Join with hdc in the middle two loops of each star’s stitches (see video):
- Insert hook under 2 middle loops (one from each panel), yarn over, pull through, yarn over, pull through all three loops.*
- As you seam, continue around the edges; when you have closed about three points, stop and fill with polyfill, especially the points.
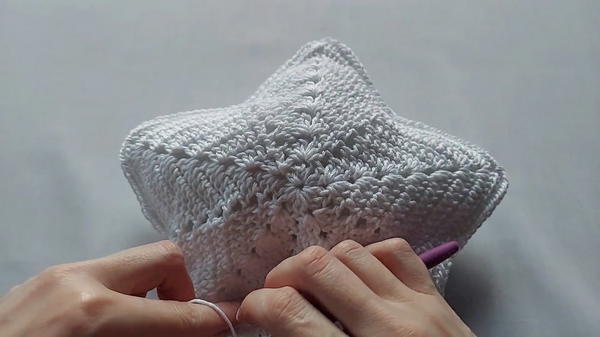
- Continue joining and stuffing as you go until the entire perimeter is joined.
- When at last seam, work a sl st to secure. To finish, weave the yarn tail into the inside.
- If you wish to add a hanging loop, leave a long tail, chain desired length, and attach to a point.
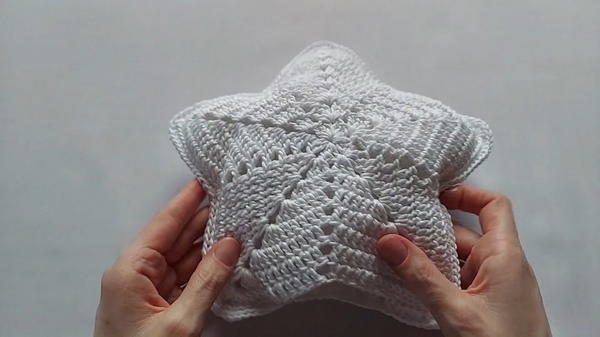
Final size is determined by yarn, hook, and rounds worked. Star should be stuffed enough for good structure but not overstuffed.
Conclusion
This three-dimensional crochet star makes an elegant and eye-catching tree topper, crafted with approachable stitches and straightforward rounds. Working two identical star panels allows for accurate shaping and simplified seaming. The ingenuity of the invisible seam and soft stuffing creates a sturdy, plump star with dimensional stability. Alignment of points and careful even stuffing are essential for a polished finish. This project offers opportunities for creative flair, from color choices to the size of the star and density of stuffing, making it as festive and unique as you desire. With durable materials and seamless construction, this star is a lasting and charming holiday accent fit for any celebration.