Give your desk a more organized feel with this Crochet Desk Organizer Free Pattern offering handy space for pens, crochet tools, and stationery.
Keeping your desk neat can be hard sometimes, but I found a cute helper that makes it easier. The Crochet Desk Organizer is a small container that holds your pens, pencils, and other little things. I saw this idea on the Wiolinkowe Robótki channel, where the creator explains everything in a friendly and easy way.
Free Crochet Desk Organizer Pattern For Table Decor
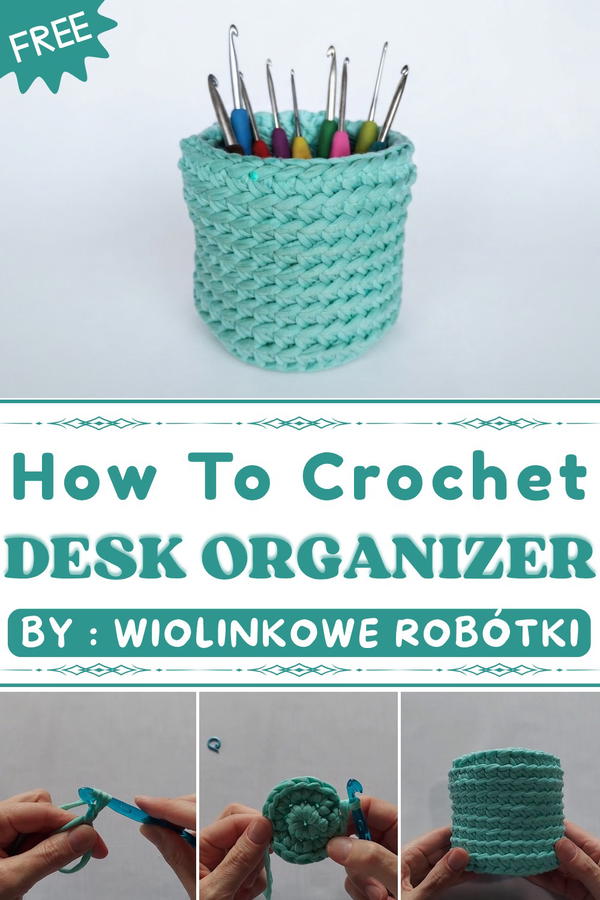
This organizer looks simple and sweet, with soft edges and a nice color. It fits well on any desk or shelf without taking up too much space. It’s perfect for organizing your work or study area, so you don’t lose your things. Plus, it looks warm and handmade, which makes your space feel cozy.
What’s great about this project is that it also makes a nice gift for friends or family. It’s small, useful, and pretty, a good way to show you care with something made by hand. You can keep one for yourself and add a little color and order to your home.
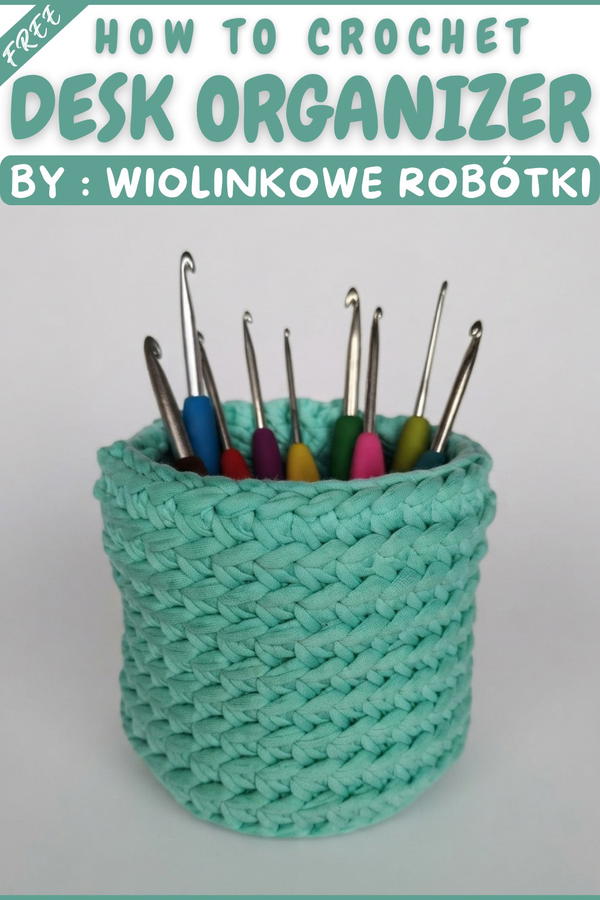
If you want a fun and easy project that helps keep things tidy, the Crochet Desk Organizer is a good choice. Check out the free pattern on Wiolinkowe Robótki’s channel and give it a try!
Crochet Desk Organizer Pattern
This pattern walks through the creation of a sturdy and stylish round desk organizer using t-shirt yarn and simple crochet techniques. It starts with a magic circle and builds the base with increasing rounds, before working upwards to create straight sides using only the back loops of each stitch. The resulting container offers enough structure for daily desk items like pens and pencils, with the option to add a stiffened base.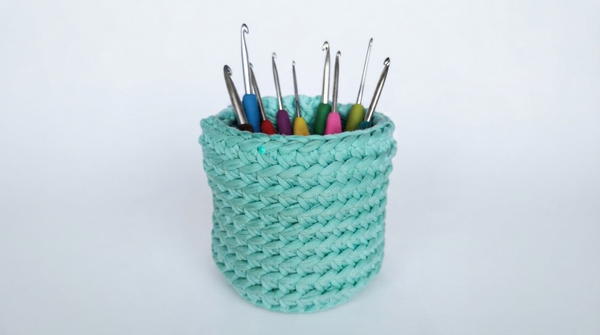
Pattern Basic Points
- Started with a Magic Circle: Ensures a tight, seamless center for the base.
- Initial Rounds Built with Increases: Expand the base smoothly using half double crochet increases.
- Use of Half Double Crochet Throughout: Uniform and tight stitch structure with good height and sturdiness.
- Working in the Back Loop Only for Sides: Creates a crisp “edge” and allows the sides to stand upright.
- Simple Finishing: Easy slip stitch joins and an optional insert for added base stiffness.
Special Notes
- The number of rounds worked for the base (until increases finish) can be adjusted for a larger or smaller diameter.
- T-shirt yarn may stretch with use; if a firmer edge or base is desired, consider a cardboard or plastic insert.
- Insert a cardboard circle between the base and the first round of sides for extra strength and to prevent pen marks on surfaces.
- Use a stitch marker to track start-of-round in continuous spiral crochet.
- Tension should be even and hooks must match the yarn's weight to maintain a straight, sturdy edge.
Skill Level
Beginner to Intermediate
Familiarity with magic ring, half double crochet, slip stitch, and working in back loops only.
Materials
- T-shirt yarn (such as mint-colored spaghetti yarn recommended)
- 8 mm crochet hook
- Stitch marker
- Row/Lap counter (optional)
- Large-eyed needle for finishing
- Scissors
- Cardboard circle (optional, for base reinforcement)
Measurements / Sizing
- The finished organizer’s diameter corresponds to the number of base increase rounds (example: approx. 10–12 cm across the bottom, height around 10–12 cm, but will differ depending on yarn/hook tension).
- The height is adjustable by working more or fewer rounds for the side walls.
Gauge
- Not critical, but for reference: 8 hdc=approx. 5–6 cm diameter after Round 1 (with t-shirt yarn and 8 mm hook).
- Work should lay flat after base rounds; sides should be upright and sturdy after working in back loops.
Stitch Abbreviations
- ch: chain
- hdc: half double crochet
- sl st: slip stitch
- st(s): stitch(es)
- BLO: back loop only
Special Stitches
- Magic Circle: A method of starting crochet in the round that eliminates the center hole.
- Half Double Crochet (hdc): Yarn over, insert hook, yarn over, pull through, yarn over, pull through all loops.
- Back Loop Only (BLO): Work each stitch only through the back loop, leaving the front loop free to form a visible ridge.
How To Crochet It
Base
Magic Circle Start
- Form a magic circle.
- Round 1:
- Ch 1.
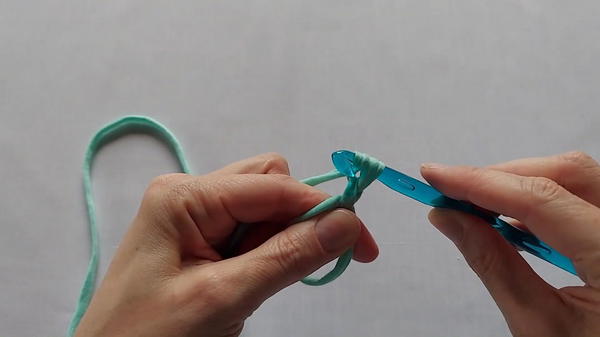
- Work 8 hdc into the magic circle.
- Place a stitch marker in the first hdc (not counting the chain).
- Pull the yarn tail tightly to close the circle.
- Skip the initial chain and join with a sl st to the first hdc.
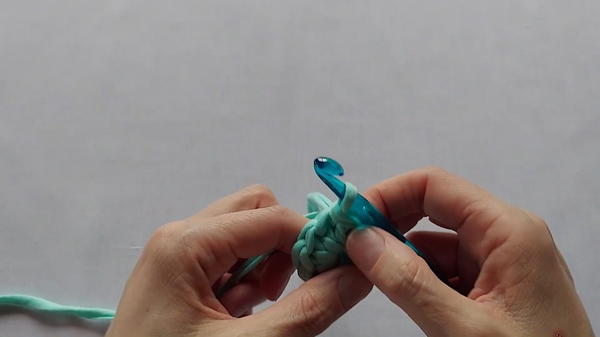
- Ch 1.
Round 2:
- Ch 1 to begin the round.
- In each stitch around, work 2 hdc (hdc increase in each hdc of previous round).
- Move the marker to the first hdc of the round.
- Join with a sl st to the first hdc.
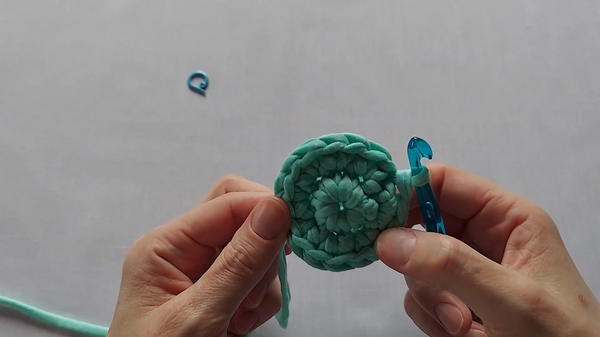
- You should have 16 hdc at the end.
Round 3:
- Ch 1 to begin.
- Work the following pattern around:
- 1 hdc in next st, 2 hdc in the next st, repeat around.
- Move marker as needed.
- Join with a sl st to the first hdc.
- Finish with 24 hdc.
Round 4:
- Ch 1 to begin.
- 1 hdc in next st, 1 hdc in next st, 2 hdc in next st, repeat around.
- Move marker as needed.
- Join with sl st to the first hdc.
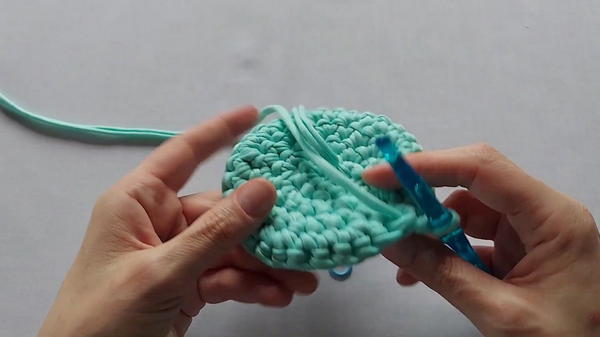
- Now you should have 32 hdc.
Building the Sides
Round 5 (Transition - Back Loop Only):
- Ch 1.
- In each stitch around, work 1 hdc in BLO (back loop only).
- Continue to move the marker if working in a spiral.
- Join with sl st to the first hdc in BLO.
Round 6:
- Ch 1 to begin.
- Work 1 hdc in BLO of each stitch around.
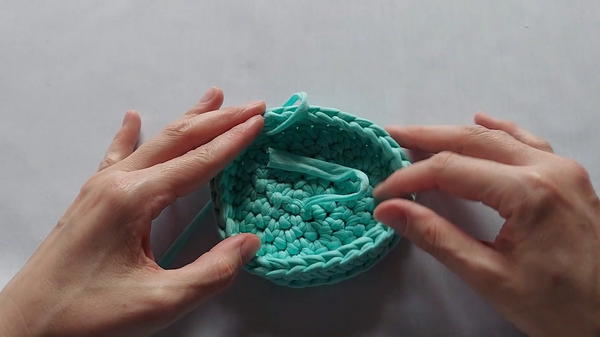
- Join with sl st to first hdc.
- The sides should begin to stand up.
Rounds 7–14 (or until desired height):
- Ch 1 at the start of each round.
- For each round, work 1 hdc in BLO in every stitch around.
- Continue repeating until you reach a total of 14 rounds (including base) or desired height.
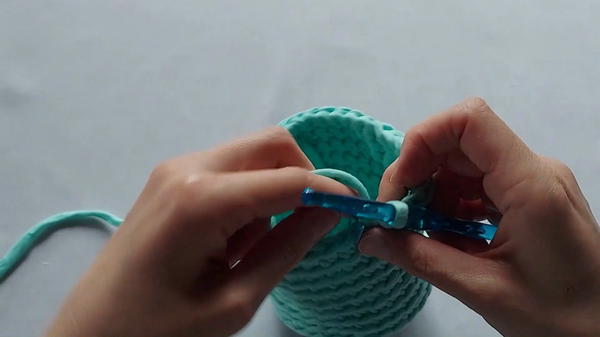
- Finish each round with sl st to first hdc in BLO.
Finishing
- After completing the last round, join with a final sl st.
- Cut the yarn, pull through loop, and weave in end with a large-eyed needle into the inside of the work.
- If using, cut a cardboard circle the same diameter as the organizer base and place it securely inside for extra stability and protection.
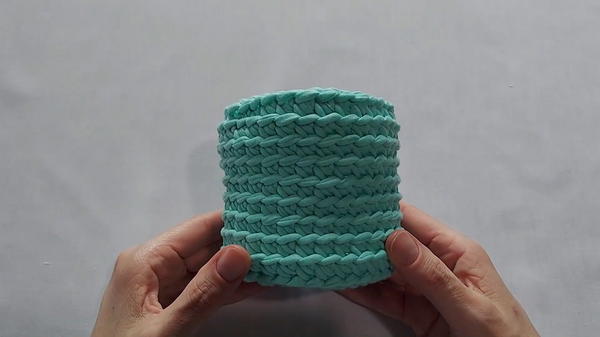
- Block or shape gently if needed, but the t-shirt yarn’s structure typically holds well.
Assembly & Finished Size
- Be sure all yarn ends are woven securely inside.
- Place the optional cardboard circle under the bottom to enhance structure and prevent ink marks.
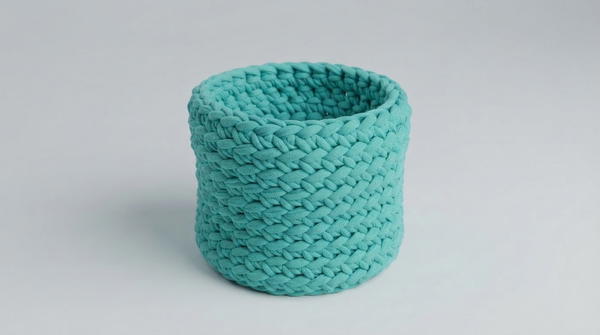
- Final size should accommodate pens, pencils, or small desk supplies and will match the number of side rounds and chosen yarn thickness.
Conclusion
This desk organizer offers a practical and attractive solution for desk clutter, using basic crochet stitches and sturdy t-shirt yarn. The repetition of half double crochet in back loops creates crisp, upright walls, while the broad base ensures stability. Adding a cardboard insert is a useful option for additional sturdiness and helps protect surfaces from pen marks. Consistency in tension and round tracking will ensure a professional finish. This project is versatile and easily customized for different spaces or color schemes, making it a thoughtful and functional handmade accessory for any workspace.