Create your own cuddly lamb bag with this free crochet pattern offering step-by-step instructions to make a cute and functional carryall.
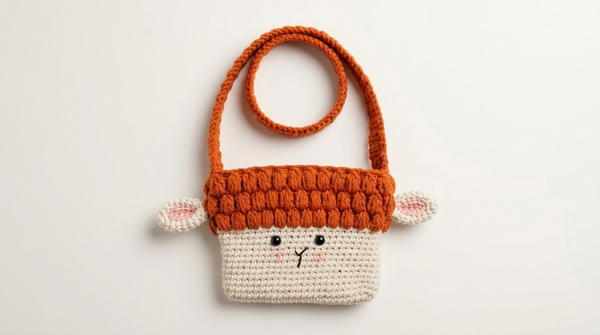
Not all bags are suitable for children because they can be too heavy or complicated to carry, but this adorable lamb-shaped bag solves those problems perfectly. Special thanks to Gülşah Özcan Filiz for sharing such a simple and clear tutorial that anyone can follow easily to create this charming accessory. Made with soft yarn and strong macrame cord for the bottom and ears, the bag is both durable and lightweight. Its small size, measuring about 17 cm wide and 13 cm tall, makes it ideal for little hands to hold and enjoy.
Free Crochet Lamb Bag Pattern with Video Instructions
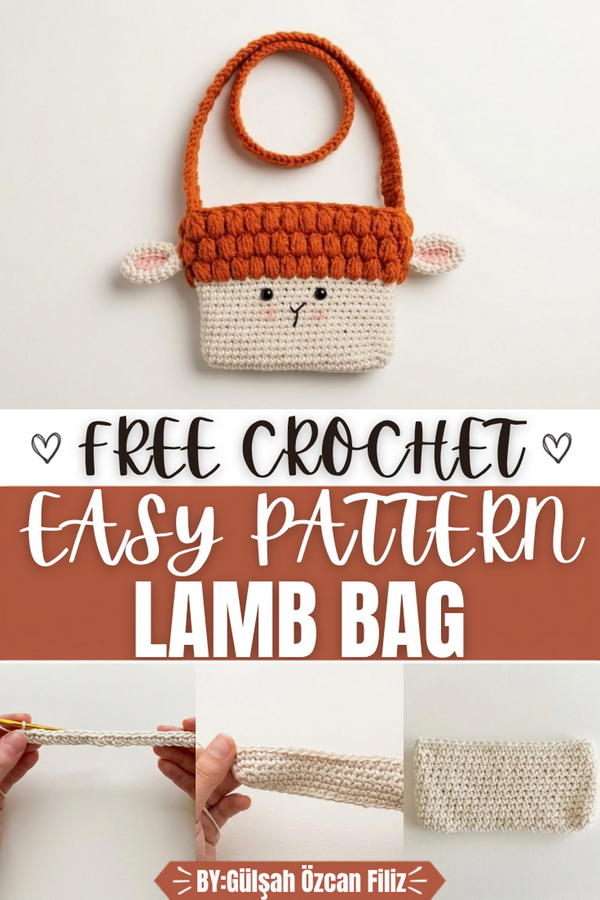
The bag’s texture is created using puff stitches, which give it a fluffy and playful look resembling a lamb’s soft wool. The base uses tight single crochet stitches for strength, while the puff stitch pattern adds volume and character to the main body. Long, sturdy straps are attached securely to ensure the bag can be worn comfortably on the shoulder. The lamb’s ears are made separately and sewn on, enhancing the cute and cozy shape.
This design is the best choice because it uses just one ball of yarn in each color, allowing leftover yarn to be used wisely. Its simple construction, combined with embroidered facial details, gives the bag a friendly and warm personality. Sturdy yet soft, this lamb bag is a practical and delightful accessory for children to carry their small treasures with ease and style.
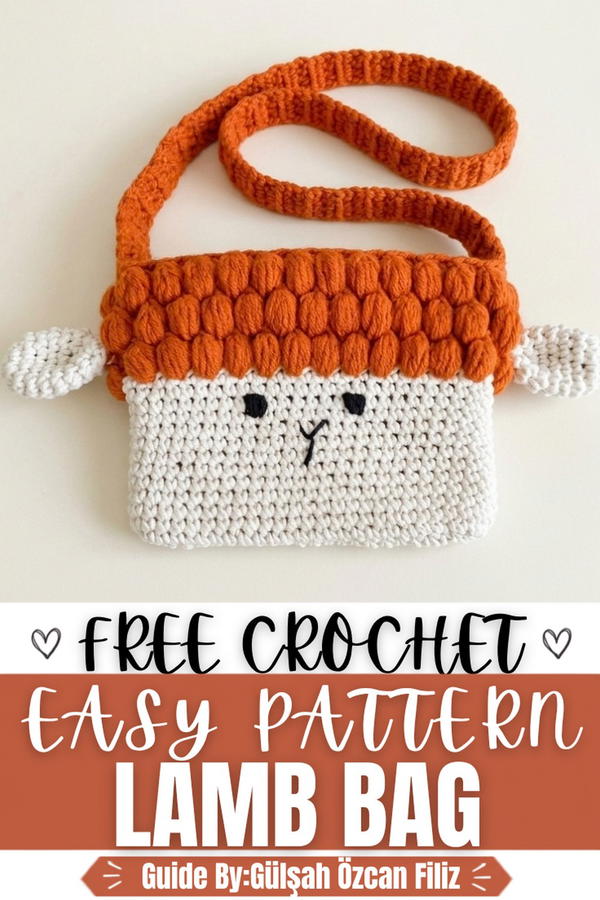
Crochet Sheepskin Bag Pattern
This pattern creates a charming, sheep-inspired bag perfectly suited for children. The design features a compact shape with a textured "pistachio" crocheted surface, ears, embroidered facial features, and a strap. It uses various yarns, including macrame and thicker strings, which provide sturdiness and character, making it a delightful accessory especially for the holiday season.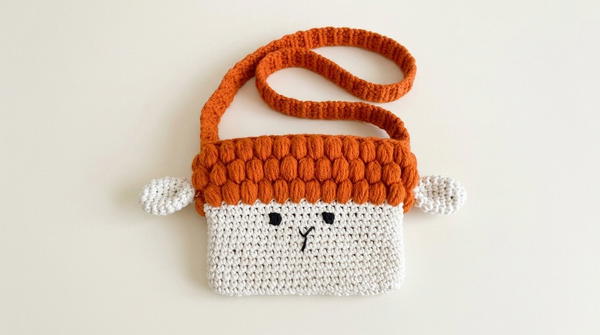
Skill Level
Beginner to Intermediate
This project primarily uses single crochet with some basic shaping and embroidery, suitable for those comfortable with fundamental crochet stitches and willing to try simple embellishments.
Materials
- Macrame yarn for the base and ears
- Thick box yarn or similar for textured “pistachios” and strap
- Embroidery needle and yarn/thread for facial features
- Crochet hook size 4 mm (adjust depending on yarn thickness)
- Stitch marker (optional)
- Scissors
- Lining fabric (optional, if desired for added stiffness or finesse)
Special Stitches
- Single Crochet (sc)
- Chain (ch)
- Slip Stitch (sl st) (used for joining and finishing edges)
- Puff Stitch / Pistachio stitch (formed by multiple loops drawn through one stitch, creating a bobble effect)
- Magic Ring (for starting ears)
Stitch Abbreviations
| Abbreviation | Full Name |
|---|---|
| ch | chain |
| sc | single crochet |
| sl st | slip stitch |
| st(s) | stitch(es) |
| rep | repeat |
Useful Tips
- Adjust hook size according to yarn weight to prevent loose or tight stitches. For thicker yarn, a larger hook may be necessary and vice versa.
- Use a stitch marker to mark your first stitch when working in rows or rounds.
- When crocheting the base, maintain firm but not overly tight tension to keep shape.
- For the textured “pistachio” stitches, yarn choice affects bulk and finish; test on a swatch to decide.
- Embroider facial features after assembly to enhance detail and avoid distortion during crocheting.
- Optionally line the bag if you use a stiffer or thinner yarn for added shape support.
Complete Pattern Instructions
Base of Bag
Foundation and Row 1:
- With macrame yarn and a 4 mm hook:
- Ch 25 (foundation chain). This determines the width (~17 cm).
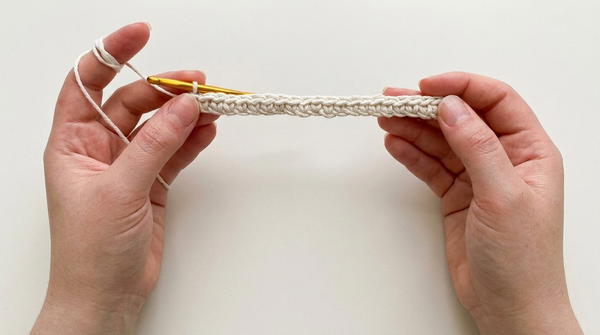
Row 1:
- Skip the first 2 chains at the hook end (these act as turning chains).
- Starting in the 3rd chain from the hook, work 1 sc in each chain across (total 23 sts).
- Place a stitch marker on your first stitch to mark the start of the row if desired.
- Turn.
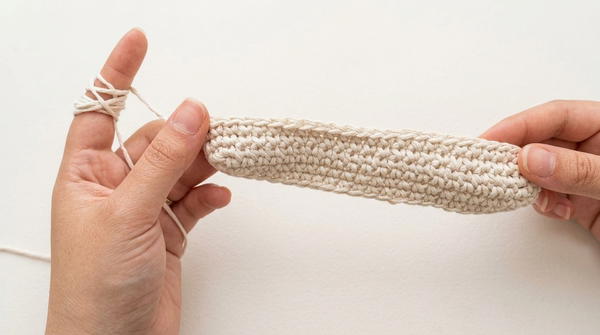
Row 2 to Row 7:
- Work 1 sc in each stitch across.
- At row ends, increase at the last stitch by working 3 sc in the same stitch to gradually widen the base corners.
- Continue increasing symmetrically at both ends until you reach approximately 7–7.5 cm in height.
- Avoid increasing rows after this point for a rectangular base.
- Keep tension even and tight enough to maintain base firmness.
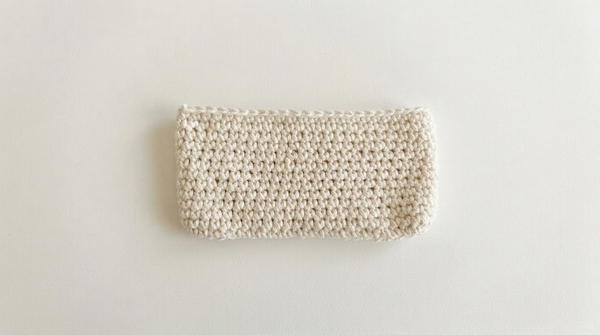
Body of the Bag
- After the base is completed, stop increasing.
- Continue working sc rows without increases, maintaining stitch count (23 sts per row) — this builds the rectangular body upwards.
- Crochet until the body measures approximately 13 cm in height (from base).
- Continue turning rows, always working 1 sc in each stitch.
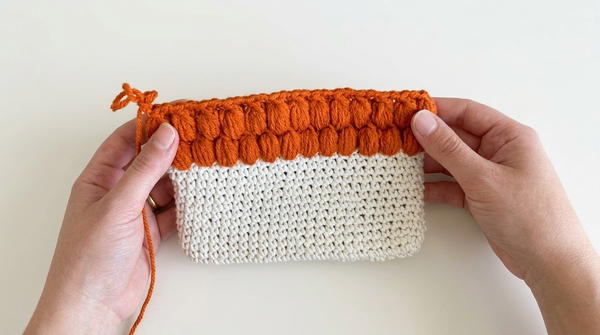
Pistachio Textured Pattern Section
This section creates the distinctive soft “pistachio” bobbles on the bag’s upper part.
Row 1:
- Switch yarn to thick box yarn or similar suited for bobble texture.
- Using the same hook size, work across row using puff stitches / bobbles as follows:
- Skip 1 stitch, in next stitch make puff stitch (looped wool pulled 5 times through same stitch), chain 2, skip 1 stitch, slip stitch in next stitch, rep to end.
- This forms separated textured pistachios across the row.
Row 2:
- In the gaps between puff stitches from previous row, work puff stitches to stagger placement.
- Begin with 3 chains (counts as first puff).
- Make puff stitch in gap between pistachios from row below, chain 2, rep until row end.
Row 3:
- Repeat Row 1’s puff stitch placement to continue staggered texture.
- Keep symmetry consistent for even appearance.
Strap
- To crochet the strap, work a thin strip of chain and sc rows:
- Chain length of approximately 29 cm (or adjust as per preference).
- Work sc in each chain across, turning after each row.
- Continue rows until strap reaches desired thickness, typically 3 rows or more.
- Cut yarn and fasten off.
Ears
Magic Ring Start:
- Using macrame yarn and 4 mm hook, create a magic ring.
- Work 6 sc into the ring.
Row 1 to Row 7:
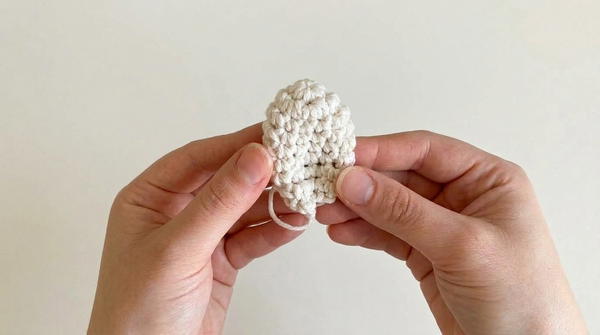
- Increase evenly in initial rounds by working 2 sc in some stitches to form a circle approximately 12 sts in circumference.
- Switch to working sc rows without increasing, forming a small oval ear shape.
- At final row, begin decreasing similarly to shape ear edges.
- Crochet 2 identical ears.
Assembly
- Fold ears and sew them securely onto bag body on the top polysaccharide rows near the pistachio stitches, approximately centered between the middle rows of pistachios.
- Align ears with a slight inward curve for natural shape and stitch firmly by hand using yarn needle.
Embroidery (Eyes, Nose, Mouth)
- Position eyes by counting 10 stitches from the edge and work simple “V” shaped embroidery with yarn and needle (insert needle diagonally to pull yarn creating a V).
- Embroider nose in a small triangular shape just below eyes, using simple “V” stitches and single crochet stitch outlines for facial definition.
- Add a small curved mouth below nose with manageable embroidery stitches.
- Use gentle tension on yarn to avoid puckering the bag surface.
- Tie and secure knots on the inside of the bag after embroidery.
Optional Finishing Touches
- Apply a gentle blush on ears with fabric paint or delicate brush for realistic detail.
- Line bag interior with fabric if needed for added structure.
Sizing
- Width of bag base approximately 17 cm
- Height from base to top 13 cm
- Strap length approximately 29 cm (adjust to preference)
Final Remarks
This textured sheepskin-inspired bag offers a playful and tactile accessory well suited for young children. Its compact size and charming details—including pistachio bobbles, ears, and embroidered face—are designed to be fun yet practical. Using leftover yarns and a small amount of supply keeps the project economical and eco-conscious. Adjustments in dimension can be easily made by modifying chain counts and row numbers. The simple assembly and basic crochet stitches enable crocheters with beginner to intermediate skills to create a special handmade gift or festive accessory.