Go for a clean boxy shape with this Free Crochet Handbag and pair its textured cord, zip top, and gold tone clips with the outfits you reach for most often.
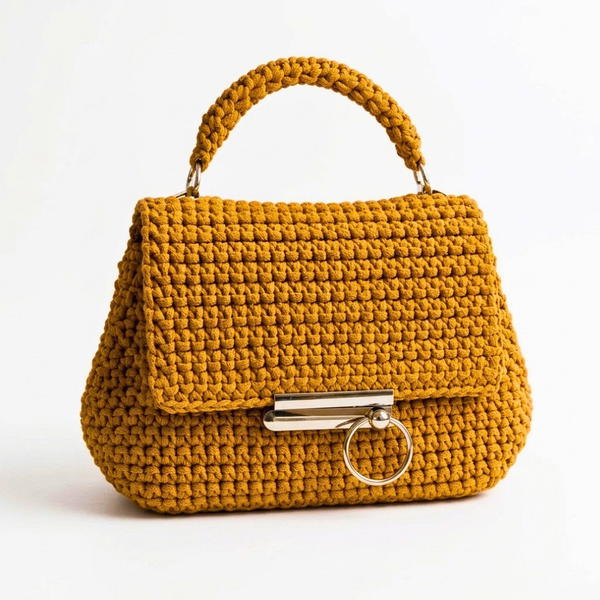
Boxy bags are handy when you carry things that take up more room than a phone and a wallet. At about 26 by 20 by 12 centimeters, this Free Crochet Handbag has enough depth at the base for items such as a glasses case and a small pouch. The sample has a light neutral exterior with gold-tone clips and a crocheted strap. Its corners are rounded slightly, giving the bag a softer outline.
Neutral Free Crochet Handbag With Gold-Tone Clips
About the Handbag Channel
Promlatex goes into the structure of this handbag. The channel lists canvas, lining, a zipper, and fittings alongside the recommended cord. Those details give readers a sense of the work involved before they start. The project suits anyone curious about how a rectangular crochet bag holds its shape during use.
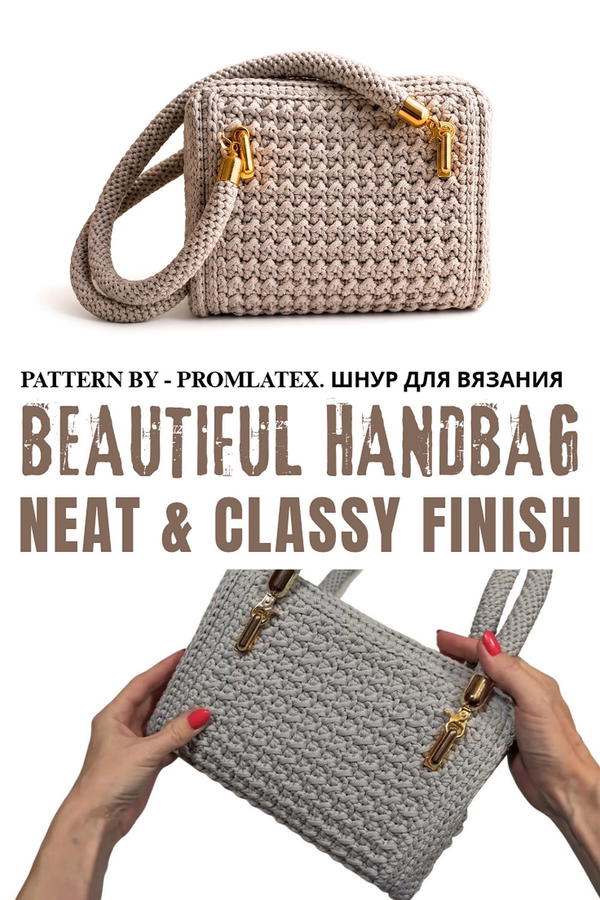
A frame inside supports the sides, and a fabric lining covers that inner structure. There is a zipper at the top, which is useful when the bag tips on a car seat or you set it down while paying at a counter. The front panel leaves the repeated cord stitches visible from edge to edge.
This version uses 4 mm polyester cord and a 4 mm hook. Fitting the zipper is a part of the work worth taking slowly. With the bag sitting on the table, check that the opening lines up and that the pull can move smoothly before you secure everything. When it is finished, the plain color is easy to wear with denim, a striped shirt, or black trousers. The metal clips pick up the color of simple gold jewelry, so a small pair of hoops can tie the outfit together.
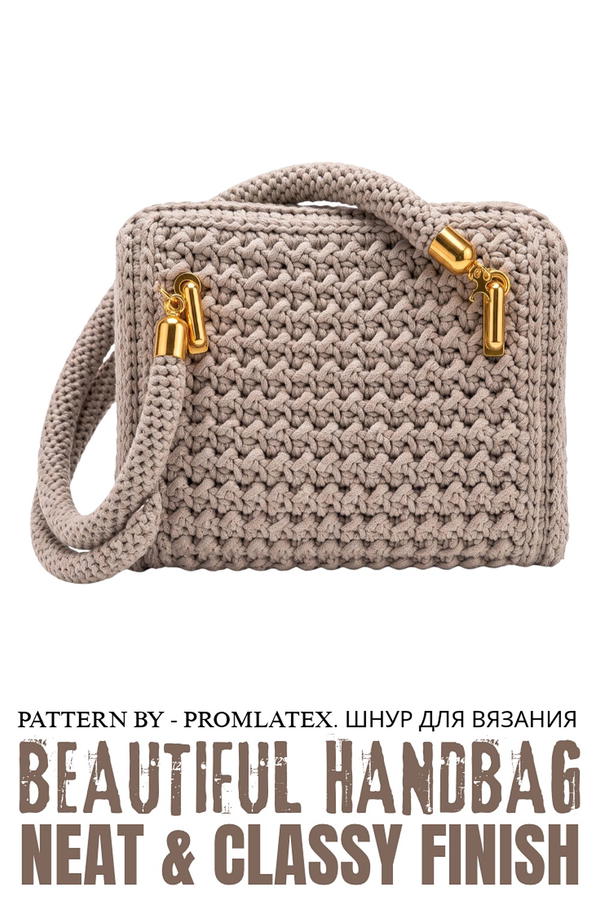
Crochet Polyester Cord Handbag Pattern
This guide showcases a crochet handbag made of sturdy 4mm polyester cord. With functional handles, a zipper closure, and a lined interior featuring pockets, the handbag is versatile, durable, and elegant in design. The finished dimensions of the bag are 26 x 20 x 12 cm, making it practical for both everyday and formal use.
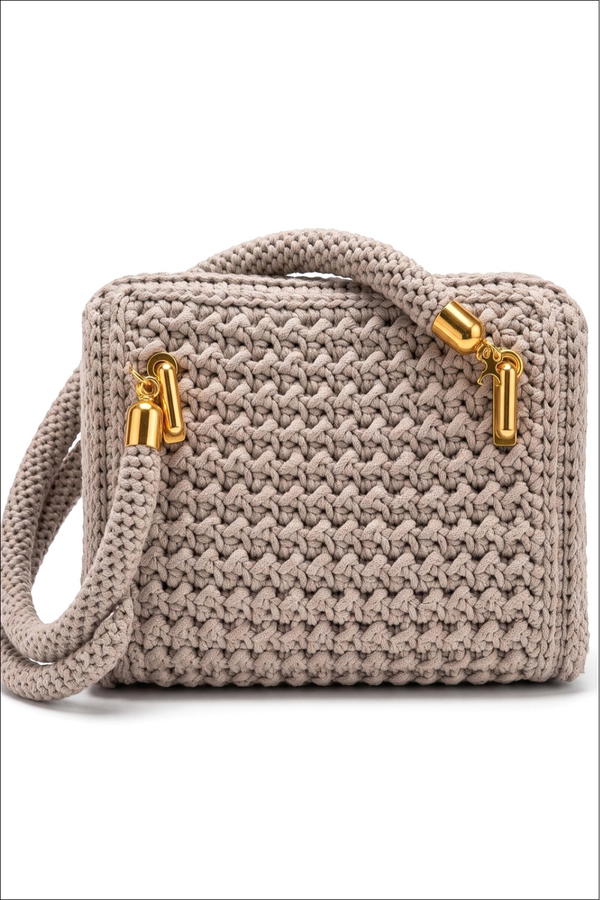
Skill Level
Intermediate
This project requires an understanding of techniques such as single crochet, slip stitches, half double crochet, and chord-like binding methods. Additionally, assembling lining, installing hardware, and finishing techniques make this ideal for intermediate-level crocheters.
Materials
Crochet Materials
- Polyester Cord: Brand Proladex, 4 mm, coreless, light grey (approx. 2 skeins, totaling 400 m).
- Crochet Hook: 4 mm.
- Standard Tools: Scissors, lighter, and crochet markers.
Bag Hardware
- Metal Zipper: 50 cm (minimum length recommended is 40–45 cm).
- Handle Holders: Antennae-style.
- Carabiners: 4 pieces.
- Bolts and Screwdriver: For securing hardware.
Lining Materials
- Fabric for Lining: Dimensions slightly larger than crocheted pieces.
- Interfacing: Recommended for reinforcing pocket.
- Canvas: Structured canvas, 3mm or 4mm mesh for stiffening the bag.
Stitch Abbreviations
- ch = chain
- sc = single crochet
- sl st = slip stitch
- hdc = half double crochet
Useful Tips
- When working with polyester cord, keep the reel upright and allow the cord to unwind counterclockwise to prevent tangling.
- Use markers generously to ensure proper alignment of rows during assembly and while sewing panels together.
- Count stitches carefully when creating rectangles for the bag and its sides to ensure equal seam widths and proper alignment during assembly.
- Steam the crocheted pieces using a steam iron and a thin cloth to achieve sharp corners and a professional finish before assembly.
Step-by-Step Pattern
1. Crocheting the Main Body Canvas
Foundation Chains:
- Leave a 50–60 cm tail for finishing purposes and work ch 29 double air loops. To create each double air loop:
- Insert the hook under the cord, wrap the tail end around the hook, and pull through the loop.
- Yarn over the tail again, pull through the two loops on the hook, then yarn over and pull through the next two loops.
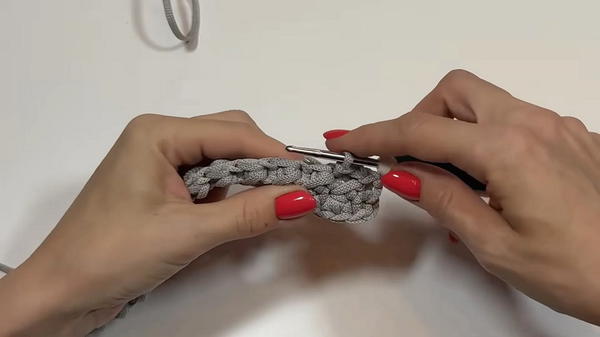
Row 1:
- Crochet sc stitches into the back humps of the chain while leaving a braid beneath the hook. Continue for the full row.
Rows 2-59:
- Alternate sl st and hdc stitches for the entire row. To work each stitch:
- For sl st: Insert the hook into the braid, pull up a loop, and work a slip stitch.
- For hdc: Yarn over, insert the hook into the braid, pull up a loop (three loops on hook), and work the three loops together.
- Maintain consistent tension throughout and hide the tail within the stitches of your work.
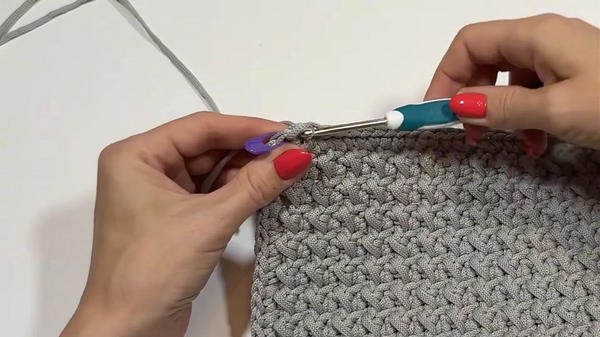
- Repeat this pattern until the canvas reaches 59 rows.
Binding:
- Create two rows of sc around the entire perimeter of the canvas for clean edges. Insert a marker at every corner to ensure proper alignment and sharp turns.
- After completing the sc rows, add a final decorative edge using sl st into each braid, covering the entirety of the canvas perimeter.
2. Side Panel with Imitation Pocket
Small Pocket:
- Leave a 30 cm tail and work ch 13 double loops for the base.
- Starting from the second braid: Work 10 rows, alternating sl st and hdc stitches, using the same pattern as the canvas.
- Bind the edge with sc stitches to finish the small panel. Hide the tail by weaving it into the reverse side and seal the end with a lighter.
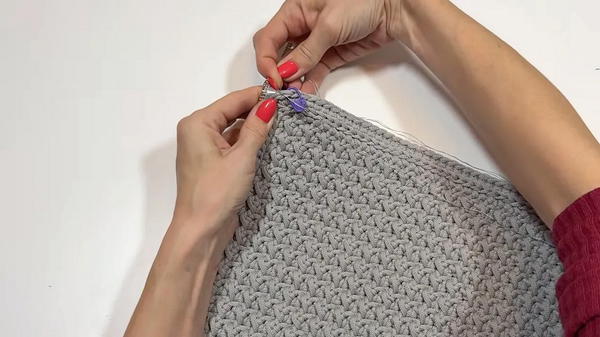
Large Pocket and Binding:
- Repeat the same foundation process: Work ch 13 double loops and crochet 21 rows using the same alternating pattern.
- Similarly, bind with sc stitches around the perimeter, adding markers to corners for assembly alignment later.
Combining Small and Large Pocket:
- Align the braids of the small pocket with the braids of the large rectangle.
- Attach the pockets by working sc stitches, stitching through both fabrics simultaneously.
- Ensure neat alignment as you crochet to create the illusion of double-layered pockets on each side.
3. Reinforcement and Lining
Reinforcing with Mesh Canvas:
- Cut the canvas slightly smaller than the crocheted pieces, leaving about a 2 cm gap around the edges.
- Sew the canvas into the back of the crocheted fabric using strong thread, ensuring it is taut and aligned.
Creating the Lining:
- Cut fabric rectangles for the lining, ensuring they are 2 cm larger than the corresponding crocheted panels.
- Create a pocket measuring 22 x 24 cm:
- Attach interfacing to the back of the lining with an iron.
- Fold the pocket fabric in half and sew along three sides (top edge open). Trim corners diagonally to avoid bulk and turn the pocket inside out.
- Press edges flat and sew a single finishing stitch along the top edge before attaching the pocket to the lining.
- Pin and sew the lining to the crocheted panels, ensuring alignment with cut edges and incorporating the pocket onto one of the main panels.
4. Assembly and Hardware Installation
Sewing Side Panels to Main Panels:
- Use markers to align the braided edges of the side/bottom panel to the main body panels.
- Work a series of sl st to sew the panels together, starting at one corner and working around.
- Repeat the process for both side pieces to form the bag’s structure.
Attaching Hardware:
- Install handle holders on both sides of the bag:
- Align the holders evenly above the top edge of the rectangle.
- Bend antennae into place using pliers or a screwdriver.
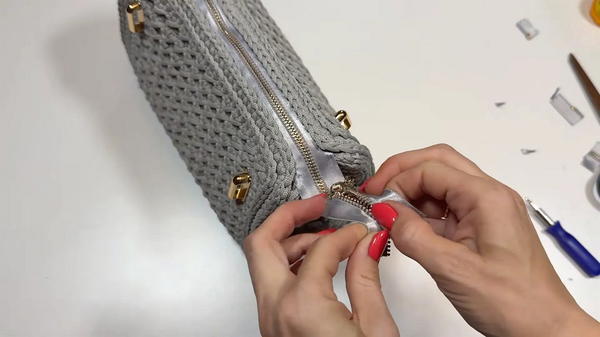
- Attach the zipper to the top edge of the bag by sewing each half to the fabric as demonstrated.
- Install zipper tips using screws to secure both ends of the zipper in place.
Creating the Handles:
- Work ch 8 for the foundation.
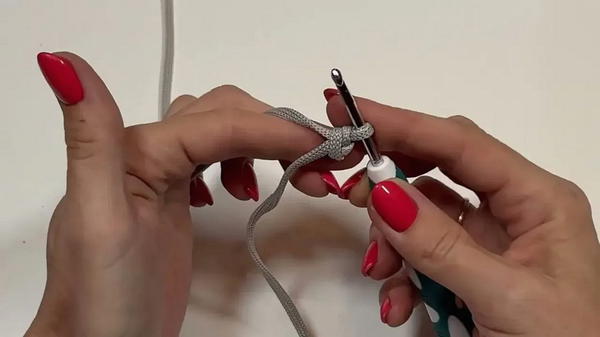
- Join the chain into a ring with sl st and continue crocheting connecting loops around the braids to build the handle.
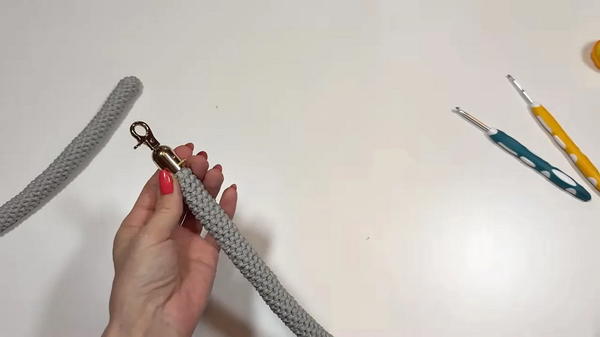
- Create two handles of 65 cm length. Adjust if needed to fit handle holders snugly.
- Attach handles to the holders using carabiners and tighten bolts with a screwdriver.
Finishing Touches
- Trim any excess cord and hide ends on the reverse side of the fabric, using a lighter to seal them securely.
- Steam all panels and the assembled bag for a polished look. Ensure corners are sharp and clean edges are formed.
Conclusion
This lined polyester cord handbag is robust, stylish, and versatile, designed for comfortable carrying on the shoulder or arm. The imitation outer pockets lend extra flair while the hardware and lining elevate the bag’s functionality and durability. By following this pattern, you can create a timeless accessory tailored to your needs. Through adjustments to dimensions, colors, and hardware options, this design is highly adaptable for personal customization.