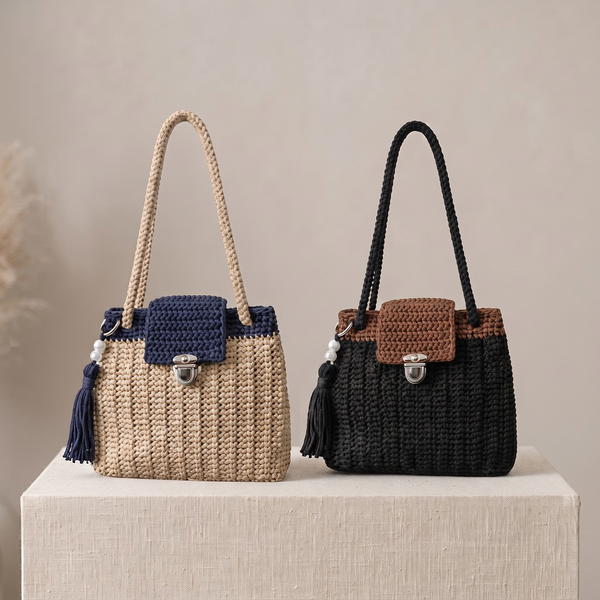
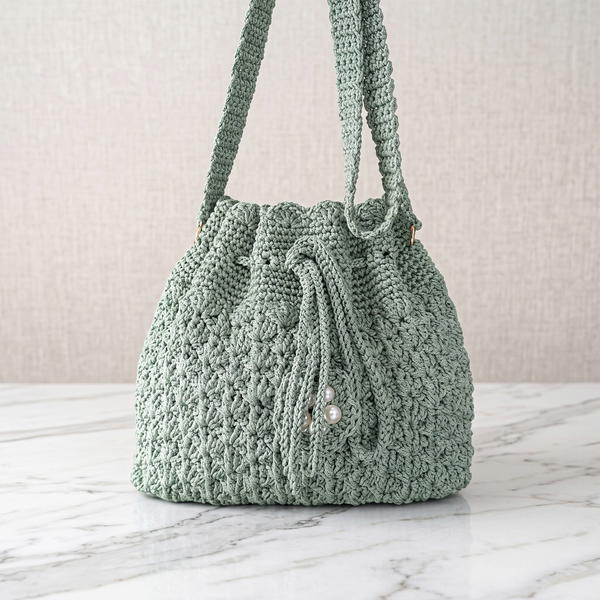
Carry daily items in style with this Crochet Shoulder Bag Free Pattern and enjoy a roomy accessory that fits easily into your everyday routine.
Örgü ütopyası shown the complete making process for this textured accessory in the original YouTube tutorial, providing the source and inspiration for this overview. The Crochet Shoulder Bag features an eye-catching zigzag pattern that gives its compact shape plenty of visual detail while keeping the overall appearance neat and wearable.
Crochet Shoulder Bag Free Pattern For Effortless Style
The patterned surface is the main feature of the design, with carefully arranged stitches forming repeated peaks and valleys across the fabric. This structure gives the finished piece character without requiring extra decorative elements. Its shoulder-style construction also makes it convenient for carrying personal belongings during outings or daily errands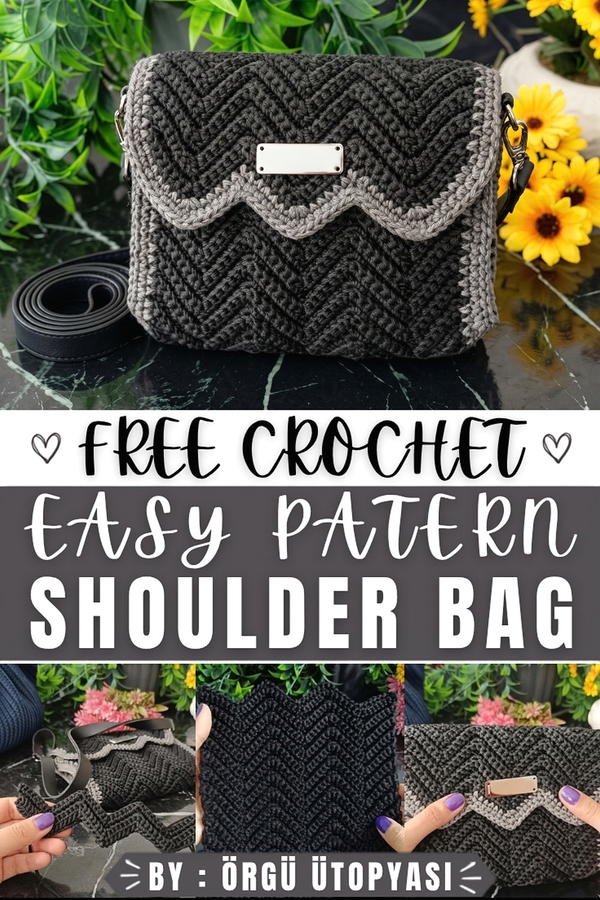 The making process begins with a foundation before the main stitch sequence develops the textured surface. Following the stitch placement carefully is important for keeping each section even and maintaining the repeating pattern. The strap and edges are then completed according to the tutorial instructions for a clean finish.
Color provides plenty of room for personalization. A single shade can highlight the stitch definition, while contrasting or coordinating tones can emphasize different sections of the pattern. When changing the yarn type or weight, checking the gauge and finished measurements can help prevent unwanted changes in size.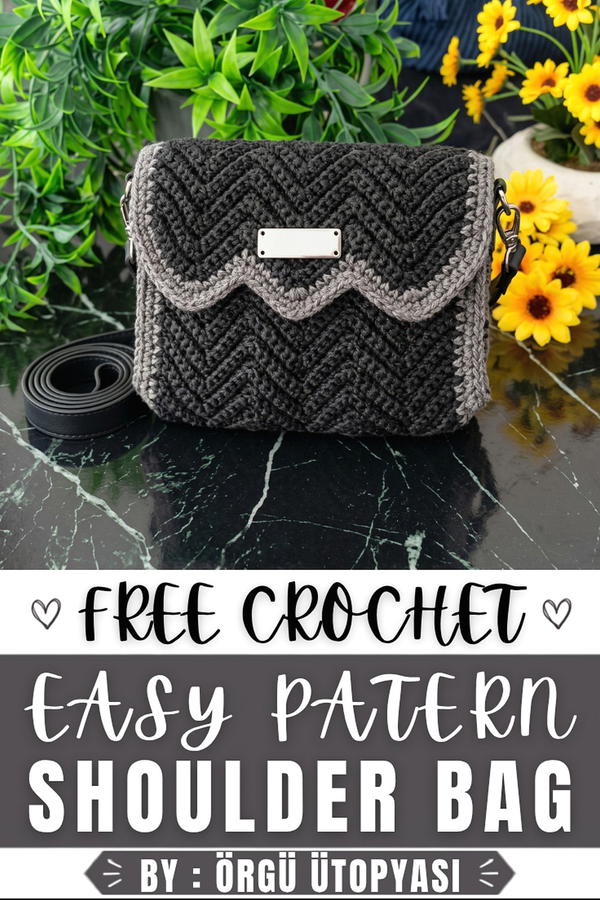 Once completed, the bag can be paired with casual outfits and used for carrying a phone, wallet, keys, and other small belongings. Its combination of texture and everyday function makes it an appealing addition to a crochet accessory collection.
About the Pattern
This project produces a modern, geometric handbag featuring a striking zigzag (chevron) pattern created through meticulous increases and decreases with single crochet stitches. The bag is structured for durability using 3mm polyester macramé yarn, which gives definition and resilience to the textured stitches. Designed for style and function, the bag features distinct shaping, a practical flap closure, reinforced edging, and hardware options for personalization.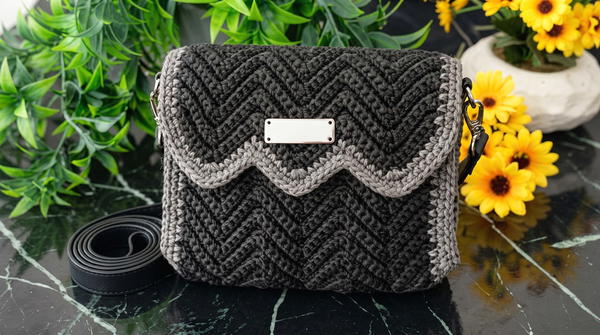
Pattern Basic Points
- Worked flat in rows: Construction begins with a chain foundation and is built in repeated zigzag rows for visual texture and stability.
- Back loop technique: Back loop only stitches used throughout for pronounced ridge effect.
- Strategic increases and decreases: Create chevron “peaks” (increases) and “valleys” (decreases) for the distinctive zigzag profile.
- Detailed finishing: The border, flap, and closure panels are integrated for both form and function.
- Side assembly: Pieces slip-stitched together for a professional, seamless look.
- Customizable with hardware: Add rings and magnetic buttons for enhanced functionality.
Special Notes
- The bag uses a repetitive but precise “chevron” technique; close attention to stitch count and sequence will help maintain symmetry.
- Working in the back loops emphasizes the zigzag texture but requires consistent tension for sharp angles.
- Recommended to mark increases and decreases during the first few rows until the pattern becomes familiar.
- The slip stitch join creates a clean seam but is a snug method—do not work too tightly.
- Magnetic closures can be substituted for alternative fastenings as desired.
- Sizing can be altered by adjusting foundation chain and row count; however, repeat counts may need adjustment to maintain the zigzag pattern.
Skill Level
Intermediate
The zigzag technique, frequent increases/decreases, and back-loop-only stitching call for moderate crochet experience. Seam assembly and precise shaping require comfort with detailed finishing.
Materials
- 3mm polyester macramé yarn: approx. 350-400g (depending on bag size and yarn brand)
- 3mm crochet hook
- Stitch markers (at least 4–6)
- Large tapestry/yarn needle (for weaving and seaming)
- Scissors
- Magnetic closure button (1 set)
- Metal side rings (2, for optional strap attachment)
- Optional: Fabric for lining (approx. 30x34 cm), sewing needle, thread
Measurements, Gauge & Stitch Pattern
- Finished size: Approx. 26cm wide x 22cm high (bag body, without strap)
- Gauge: 13 sc x 14 rows = 10cm x 10cm (in zigzag chevron stitch, back loop only)
- Stitch Pattern: Single crochet chevron/zigzag worked flat with back loop only for emphasized texture.
Stitch Abbreviations
- ch: chain
- sc: single crochet
- blo: back loop only
- sl st: slip stitch
- st(s): stitch(es)
- rep: repeat
Special Stitches Used
- Back Loop Only (blo): Work into the back loop of the stitch only, producing a distinct ridge.
- Chevron Increase: Work 3 SC into the same stitch at the “peak.”
- Chevron Decrease: Skip 2 stitches at the “valley” (no decrease stitch, simply skip).
Handbag Pattern: Step-by-Step
Round 1 – Main Body Foundation
- Chain 47.
- Row 1:
- Skip the 1st ch, work 2 SC in the 2nd ch from the hook.
- 6 SC (one in each of next 6 ch).
- Skip next 2 ch (valley/decrease).
- 6 SC (one in each of next 6 ch).
- 3 SC in next ch (peak/increase).
- 6 SC.
- Skip next 2 ch.
- 6 SC.
- 3 SC in next ch.
- 6 SC.
- Skip next 2 ch.
- 6 SC.
- 2 SC in last ch (total edge).
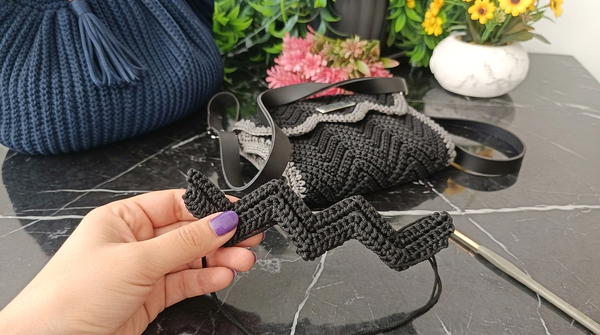
- Count each segment to ensure symmetry.
Round 2 – Zigzag Pattern Rows
- Rows 2–26:
- Ch 1, turn.
- Working in back loops only (blo), maintain the following sequence for each row:
- 2 SC in 1st st (start-of-row increase),
- 6 SC (1 in next 6 sts),
- Skip next 2 sts (valley/decrease),
- 6 SC,
- 3 SC in next st (peak/increase),
- 6 SC,
- Skip next 2 sts,
- 6 SC,
- 3 SC in next st,
- 6 SC,
- Skip next 2 sts,
- 6 SC,
- 2 SC in last st (end-of-row increase).
- Repeat until 26 rows are complete.
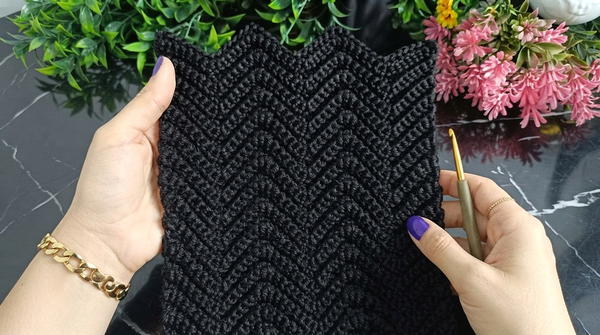
- Always work in back loops; check peaks and valleys for alignment each row.
Round 3 – Border/Edging
- Edging – Round 1:
- With RS facing, attach yarn to the edge.
- Work 1 full round of SC evenly around the entire piece (across top, 2 sides, and base).
- At each corner, work 3 SC into the same stitch to maintain a squared angle.
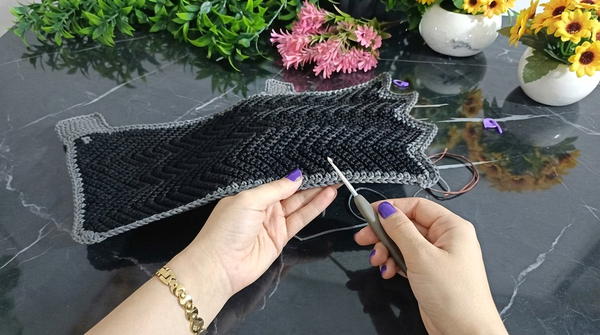
- Ensure stitch count is even along sides to prevent puckering.
- Edging – Round 2:
- Continue with a second full round of SC, again adding 3 SC at each corner for structure.
Round 4 – Flap Construction
- Locate and mark the center 14 stitches at one end (top edge) of the bag.
- Attach yarn to one marked stitch.
- Flap Row 1:
- Ch 1, work 1 SC in blo of each of the 14 sts across.
- Rows 2–18:
- Ch 1, turn. Work 1 SC in blo across the 14 sts.
- Continue back and forth for 18 rows total.
- Fasten off.
Round 5 – Opposite Side Panel (Closure)
- Repeat flap process on the opposite side of the body, again working 14 sts wide and 18 rows long in SC blo for matching closure look.
Round 6 – Side Panels and Joining
- Fold body so that flaps align as top closure panels.
- With RS facing, align sides.
- Seam one side:
- Insert hook through inner back loops of both pieces (front and back).
- Work slip stitch join across 19 sts evenly from bottom edge to top.
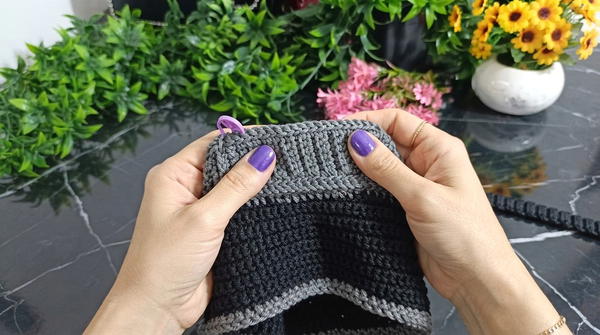
- Repeat for second side.
- This creates discreet, strong side seams.
Round 7 – Final Details and Hardware
- Attach magnetic closure: Secure parts on the flap and matching panel as per manufacturer’s instructions.
- Optional: Attach metal rings to sides for a detachable strap; use yarn or jump rings through corner stitches for extra security.
- Optional: Line the interior with fabric if desired for a structured interior; hand sew with small, neat stitches.
Assembly & Finished Size
The finished handbag measures approximately 26 cm wide x 22 cm high (excluding strap). The crisp chevron stitch gives a strong, bold textile surface, enhanced by the precise zigzag edge and solid construction. The matching flap and closure provide both security and a balanced look. Hardware attachment points allow for a shoulder strap or decorative elements as desired.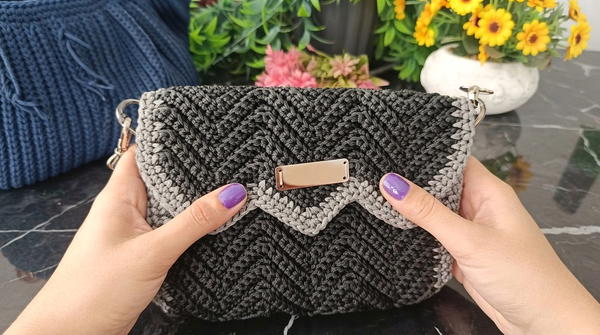
Conclusion
This chevron-inspired handbag pattern demonstrates a fusion of geometric texture and functional design, achieved through repeat zigzag rows in single crochet worked in back loops only. The thoughtful combination of precise increases/decreases and reinforced border achieves a sophisticated shape and structural integrity. The slip stitch join yields strong, subtle seams, and optional hardware adds versatility. Designed for intermediate crocheters, the project blends skillful construction with creative customization. With its flexible finishing options, the end result is a modern, robust accessory ready for everyday use and adaptation.