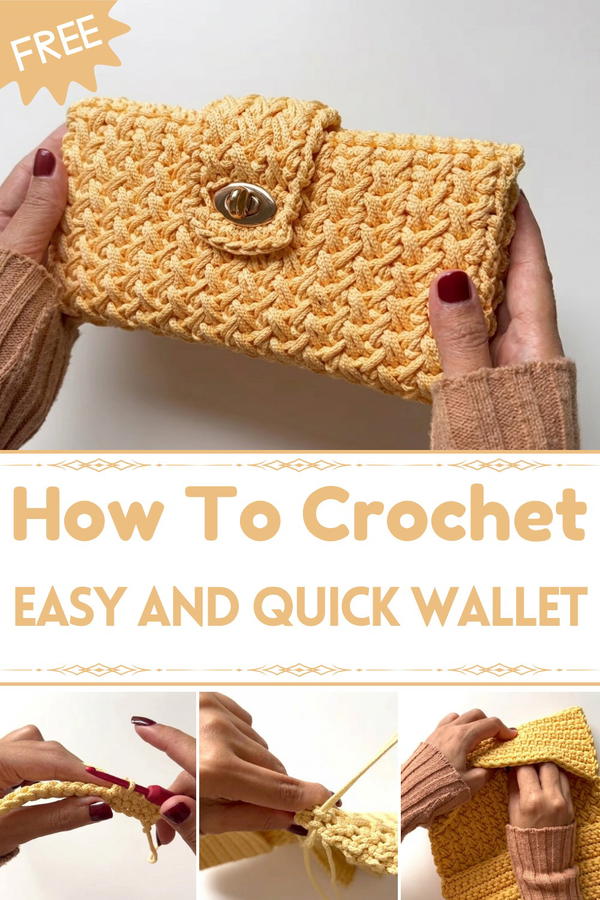
Follow this free crochet wallet tutorial using durable polyester yarn, offering a practical and stylish way to organize your cards and cash with a secure closure.
There’s something special about a wallet that’s handmade, practical, and absolutely beautiful. This free crochet wallet pattern shows off a clean, textured design with rows that look neat and professional. It’s made using strong nautical polyester yarn, which means it’s not only stylish but also sturdy enough to handle everyday use. With just the right size at 22 cm long and 11.5 cm tall, this wallet keeps all your essentials like cards and cash perfectly organized.
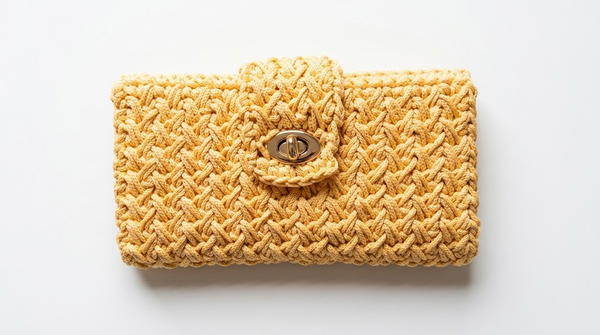
Wallet Easy Crochet Pattern for Free
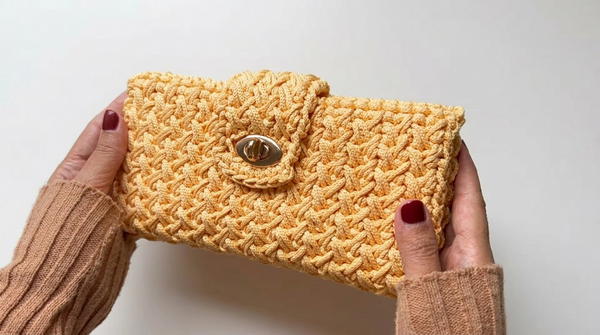
The soft texture of the stitches makes it comfortable to hold, while the turnbuckle closure keeps everything secure. Its unique appearance draws attention, making it the perfect item to carry around or even gift to someone special. This wallet doesn’t just sit in your bag; it shines with a charm that stands out from typical store-bought accessories.
Whether it's for errands, a casual outing, or keeping your daily valuables safe, this wallet is the ideal choice for anyone who loves practical beauty. With a simple process, perfect materials, and a memorable finish, it’s a piece that will make you proud and a little jealous that everyone will want one too.
Isa Crochet Wallet Pattern
Materials
Yarn
- Type: Nautical polyester yarn, approximately 150 meters (100% polyester, 4 mm thick).
Hook Size
- 4 mm crochet hook.
Notions
- Tapestry needle (for seaming and finishing ends).
- Closure: One clasp closure (torniquet, optional decorative chain available from accessories vendors).
Optional Items
- Stitch markers (for marking sections like card dividers or clasp placement).
- Measuring tape (to confirm dimensions).
Skill Level
Beginner: Includes single crochets, elongated single crochets, working rows in both regular and loop-only stitches, and basic seaming techniques.
Key Abbreviations
- ch: Chain.
- sc: Single Crochet.
- sl st: Slip Stitch.
- st: Stitch(es).
- yo: Yarn Over.
- elongated sc: A variation of sc worked into a prior row, with added height.
Special Notes:
- This pattern uses US crochet terminology.
- Maintain consistent tension for the best appearance.
- The textural stitch is achieved using elongated single crochets alongside regular single crochets.
Pattern Instructions
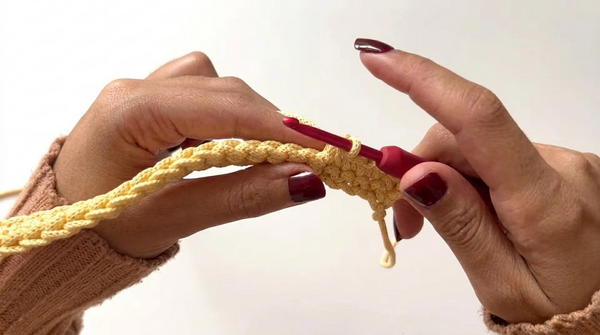
Step 1: Foundation Chain
- Begin with a slip knot.
- Ch 26 (this determines the width, adjust if needed).
- Example Size: Foundation chain measures 20 cm (7.8 in).
- Example Size: Foundation chain measures 20 cm (7.8 in).
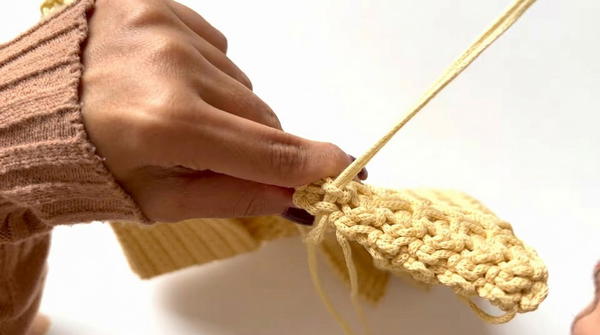
Step 2: Main Body
Row 1:
- Work your first row in the back loops of the foundation chain.
- Starting in the second chain from the hook, sc into each back loop across the row (25 sc total).
Row 2 to Row 14:
- Ch 1, turn, and sc into each stitch across.
- Continue for 14 rows, maintaining 25 sc per row.
- Dimensions after Rows 1–14: 22 cm x 10 cm (8.6 in x 3.9 in).
- Dimensions after Rows 1–14: 22 cm x 10 cm (8.6 in x 3.9 in).
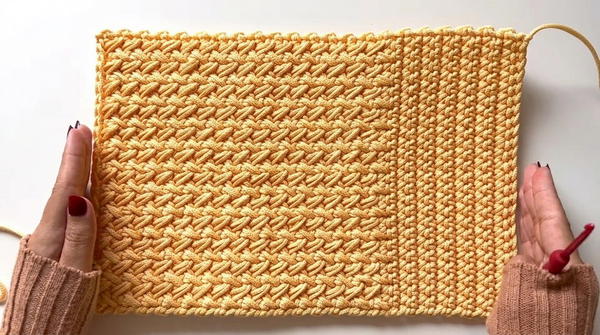
Step 3: Textural Section (Fantasy Stitch)
For Rows 15–44, introduce the elongated sc to create texture:
Row 15:
Begin with ch 1.
Work first sc into the first stitch as usual.
Work an elongated sc:
- Insert the hook into the corresponding stitch directly below in Row 14, yo, pull up a loop with added height, and finish as a regular sc.
Skip the next stitch, then alternate between:
- 1 sc into the current row
- 1 elongated sc into the previous row, following the same directional alignment.
Continue the alternation until the end, ending the row with a normal sc.
Repeat Row 15 for Rows 16–44. Maintain 25 stitches total per row, creating alternating texture.
- Dimensions after Rows 15–44: 32 cm x 11 cm (12.6 in x 4.3 in).
Step 4: Final Stitch Section
Rows 45–53:
- For the final rows, return to standard single crochet:
- Ch 1, turn, and sc into each stitch across, maintaining 25 sc per row.
- For Row 46, work through the front loop only to create a folding edge.
- Rows 47–53: Resume regular sc (working through both loops of each stitch).
Final Dimensions: 22 cm x 11.5 cm (8.6 in x 4.5 in) after completing 53 rows.
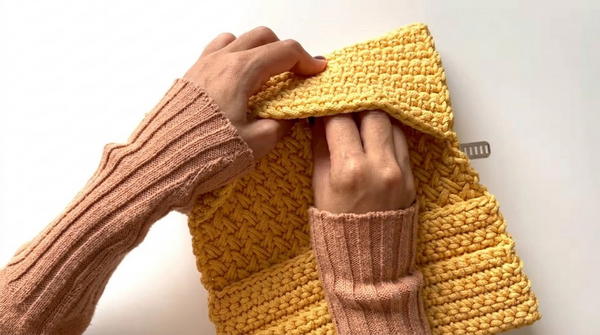
Step 5: Folding and Sewing the Wallet
Identify the fold line (Row 46):
- Fold the wallet at this row where you worked through the front loops only.
- This creates a flap for the card section.
Side Assembly:
- Thread a tapestry needle with 2 meters of yarn (or enough for sewing both sides).
- Sew the sides using the front loops of the edges for neat alignment.
- Leave a small opening at the flap side if you desire split sections.
Card Divider:
- Mark the middle of the card section and sew a divider using leftover yarn, ensuring it aligns neatly and does not warp the fabric.
Step 6: Clasp Section
Clasp Placement:
- Count 9 segments on one side (for the flap placement).
- Leave 7 stitches for the clasp area.
Create Closure Loop:
- In the clasp section, work 7 sc stitches evenly in rows.
- On the last row, create a chain loop by chaining 5, skipping the middle stitches, and securing with a sc at the end.
Sew the clasp to the center back or wherever desired for secure closure.
Finishing
- Weave all loose ends with a tapestry needle for a professional, polished look.
- Block the wallet gently if needed to even out stitches and folds.
Final Words
Congratulations—you’ve completed the Isa Wallet! This project combines practical design with beautiful texture and is perfect for holding cards and small essentials. Whether you're creating it for yourself or gifting it, the wallet showcases functional artistry.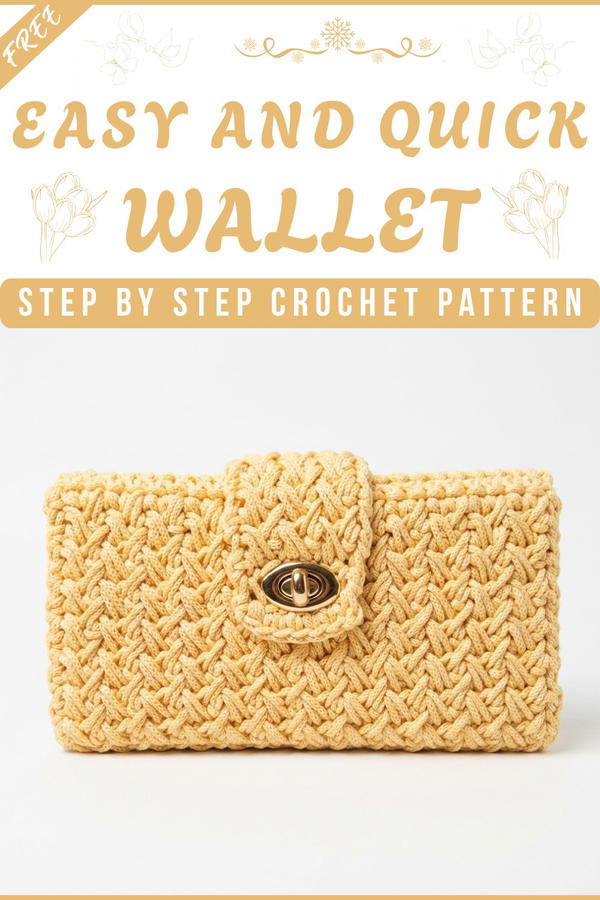
Tips to Maintain the Pattern
- Use Stitch Markers: Mark key areas like the card divider and clasp section for accuracy.
- Experiment with Yarn: Try different textures and fiber types, such as cotton for a softer finish or macramé cord for durability.
- Practice Elongated Stitches: Ensure uniform height for consistent texture.
- Clasp Alignment: Double-check placement before attachment for secure and balanced closure.


