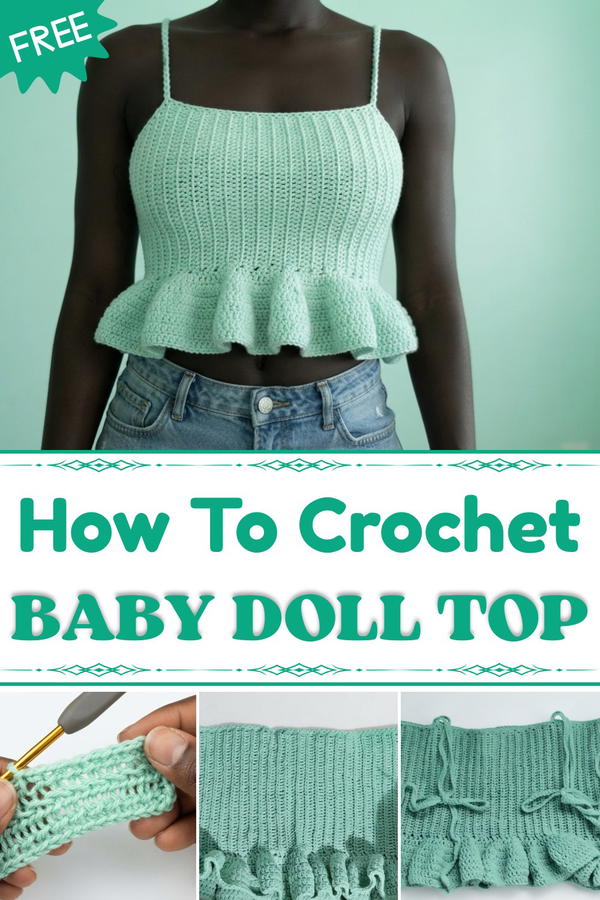
One of the highlights of this pattern is its customizable nature; you can tailor it with a range of colors, add delicate scalloped edges, or sew on tiny buttons or ribbons to reflect the young creator’s personality and style. This project is perfect for intermediate crocheters looking to refine their skills in shaping and stitch consistency while crocheting something quick and delightful.
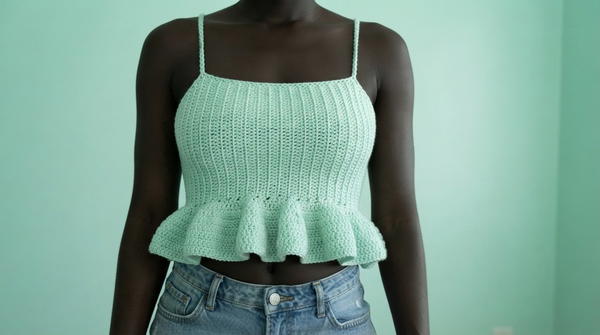
By making this baby doll top, crocheters gain valuable experience in tension control and pattern following, all while bringing joy to the little ones who’ll treasure the finished piece. It’s a wonderfully simple way to breathe new life into a doll’s wardrobe and inspire hours of imaginative play with a handmade touch.
Crochet Baby Doll Top Pattern
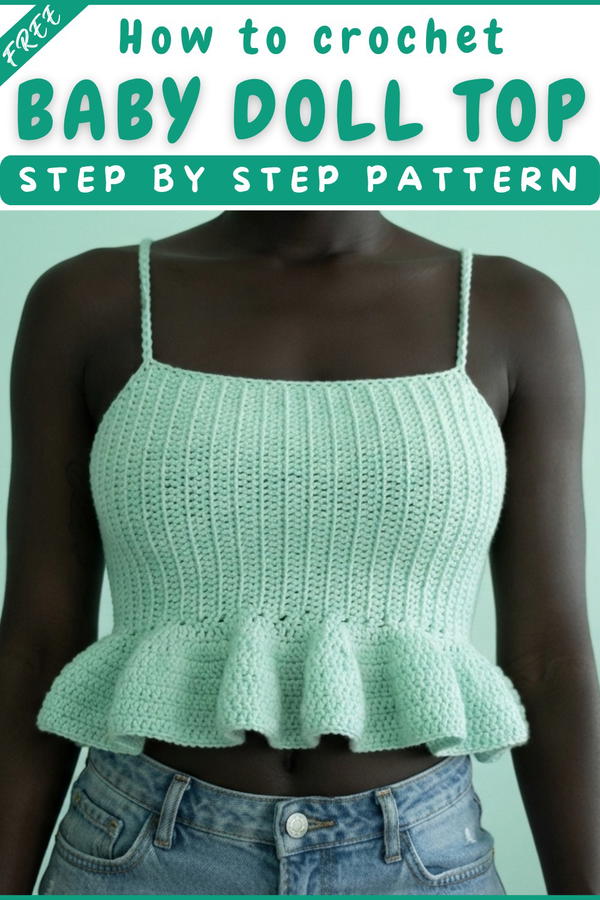
This comprehensive pattern provides detailed instructions to crochet a charming baby doll top using 6-ply combed cotton yarn and a 2.5 mm crochet hook. Crafted with delicate stitches and finished with pretty ruffles and straps, this top fits small dolls perfectly and adds an endearing outfit piece to your handmade doll wardrobe. Follow along the step-by-step guide to create a neat and durable crochet garment that is perfect for gifting or play.
Quick Overview Of Pattern
- Foundation and Main Body: 41 foundation chains, worked in rows of double slip stitches focusing on back loops, progressing to 140 rows, then joined into a tube.
- Top Edging: Two rounds of single crochet across the top rim for a refined finish.
- Ruffles: A ruffled edging created by alternating double crochet and increases along the bottom hem for a decorative flair.
- Straps: Two sturdy straps made from 100-chain foundations, reinforced with single crochets and attached symmetrically on top.
Notes
- Work with even tension throughout to ensure uniform stitch size and structure.
- Focus on working in the back loops only during foundation and body to create distinct texture and stretch.
- The double slip stitch is used extensively; it creates a firm, slightly flexible fabric ideal for doll clothing.
- Count stitches frequently to maintain accurate shaping, especially for strap placement.
- Secure yarn tails carefully with slip stitches and weaving to avoid unraveling.
- The number of rows (140) is recommended for a small doll size; adjust for larger dolls by increasing rows proportionally.
Skill Level
Intermediate Beginner
Techniques required:
- Chain (ch)
- Double slip stitch (dbl sl st)
- Single crochet (sc)
- Half double crochet (hdc)
- Double crochet (dc)
- Increasing (working multiple stitches into one)
- Sewing and joining edges
Materials
- 6-ply combed cotton yarn (color of choice)
- Crochet hook 2.5 mm
- Yarn needle for weaving ends and assembly
- Scissors
Measurements / Sizing
- Finished doll top circumference approximately 30 cm (adjustable by yarn tension and size)
- Length about 10 cm from shoulder to bottom ruffle (modifiable by rows)
- Strap length approximately 20 cm each (chain 100 creates about this length)
Gauge (and Stitch Pattern)
- Gauge is flexible but approximately 20 double slip stitches = 5 cm in width with 2.5 mm hook.
- Body mainly worked in rows of double slip stitches (back loops only).
- Ruffles created via double crochet and increases for volume.
- Edges finished with single crochet rounds and straps reinforced similarly.
Stitch Abbreviations
| Abbreviation | Meaning |
|---|---|
| ch | Chain |
| sl st | Slip stitch |
| dbl sl st | Double slip stitch (see notes) |
| sc | Single crochet |
| hdc | Half double crochet |
| dc | Double crochet |
| inc | Increase (2 stitches in one stitch) |
Special Stitches
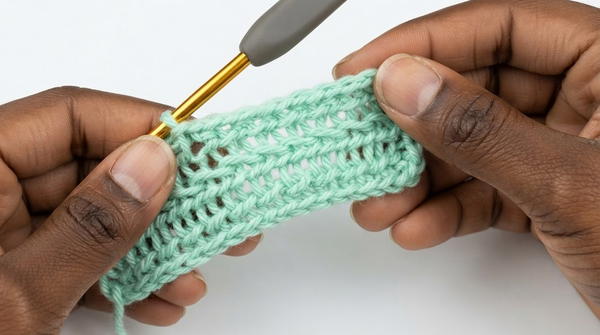
- Double Slip Stitch: A slip stitch performed twice in the same stitch or chain loop to create a tighter, raised texture; focus on working into the back loops of foundation chains and stitches to form a ribbed pattern that offers stretch and durability while resembling woven fabric.
The Crochet Pattern!
1. Foundation and Main Body
- Foundation:
- Begin by chaining 41 stitches (ch 41). These form the foundation for the body.
- Row Setup:
- Working into the back loops only of the foundation chains, perform 40 double slip stitches (dbl sl st) across the row.
- At the end of the row, chain 1 (ch 1) and turn your work to begin the next row.
- Row Progression:
- Repeat the process of working 40 double slip stitches into the back loops only on each row.
- Continue this for a total of 140 rows to build the body length for a small-sized top.
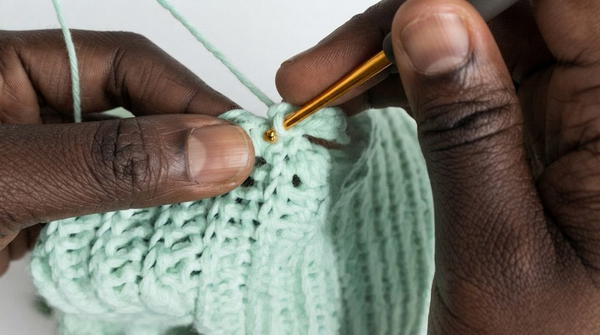
- Closing the Tube:
- After completing all 140 rows, bring both short edges together.
- Join these edges by working double slip stitches across both back loops simultaneously to form a tube shape.
- Make sure the edges align evenly for a smooth seam.
2. Top Edging
- Positioning:
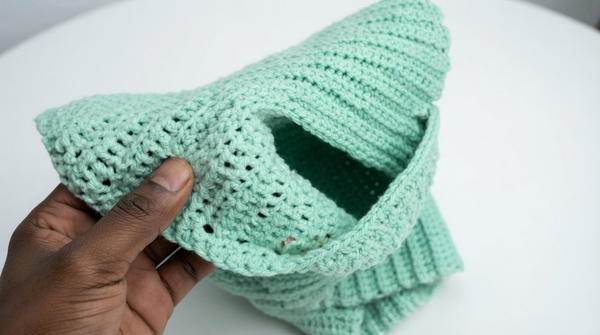
- Turn the tube so the front side faces outward.
- Single Crochet Rounds:
- Work two rounds of single crochet (sc) evenly around the top opening of the tube. This strengthens the neckline and provides a neat finish.
- Finishing:
- Secure the yarn with a slip stitch (sl st) and weave in loose ends carefully to tidy the edge.
- Secure the yarn with a slip stitch (sl st) and weave in loose ends carefully to tidy the edge.
3. The Ruffles
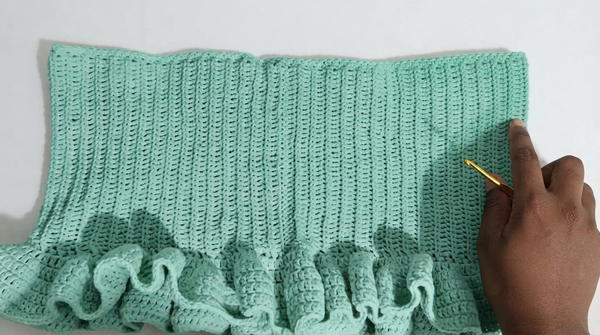
- Base Row:
- Find the bottom edge of the body tube. Join your yarn at any convenient point.
- Chain 1 (ch 1) and work a row of half double crochet (hdc) stitches evenly around the entire bottom edge.
- Creating Ruffles:
- Chain 3 (ch 3) to gain height for ruffles.
- Work 3 rows alternating between:
- Double crochet (dc) stitches and
- Increases (two double crochets in the same stitch) to produce the ruffled effect.
- Finishing Ruffles:
- Continue working additional rows of plain double crochet (dc) stitches to reach the desired ruffle length.
- Secure each row at the end with slip stitches (sl st) for consistency and neatness.
4. Straps
- Symmetry Check:
- Count the number of stitches along the top edge of the tube to find the center points for the two straps so they are evenly spaced.
- Strap Base:
- Chain 100 for the length of each strap. Adjust length if necessary.
- Reinforcement:
- Work single crochet (sc) stitches into each of the 100 chains to strengthen the strap and provide a comfortable texture.
- Strap Attachment:
- Attach the straps securely at the marked positions on the top edge by stitching them firmly with yarn and a needle.
- Make sure the straps are attached evenly to ensure balance when worn by the doll.
Assembly & Finished Size
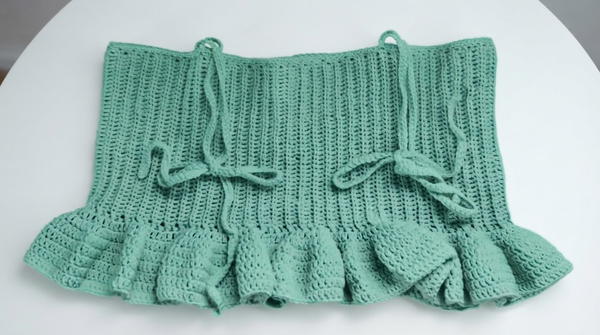
- After completing all sections, your baby doll top should resemble a neat, ribbed tube with a soft ruffled bottom edge and two long, sturdy straps.
- The piece measures approximately 30 cm circumference and 10 cm length, ideal for small dolls (adjust rows and chains for different doll sizes).
- Straps at about 20 cm long each provide secure fit and charming style.
- The tubular construction combined with back loop stitches allows for gentle stretch increasing ease of dress-up and removal on the doll.
- Weave in all yarn ends and block lightly if needed to smooth fabric.
Conclusion
With this detailed step-by-step crochet pattern, you have crafted a delicate and durable baby doll top featuring elegant ribbing, charming ruffles, and supportive straps. The use of double slip stitches and working in back loops creates a comfortable, flexible fabric perfect for doll clothing. Adjust row counts and chain lengths as needed to fit various doll sizes or add embellishments for personalized style.