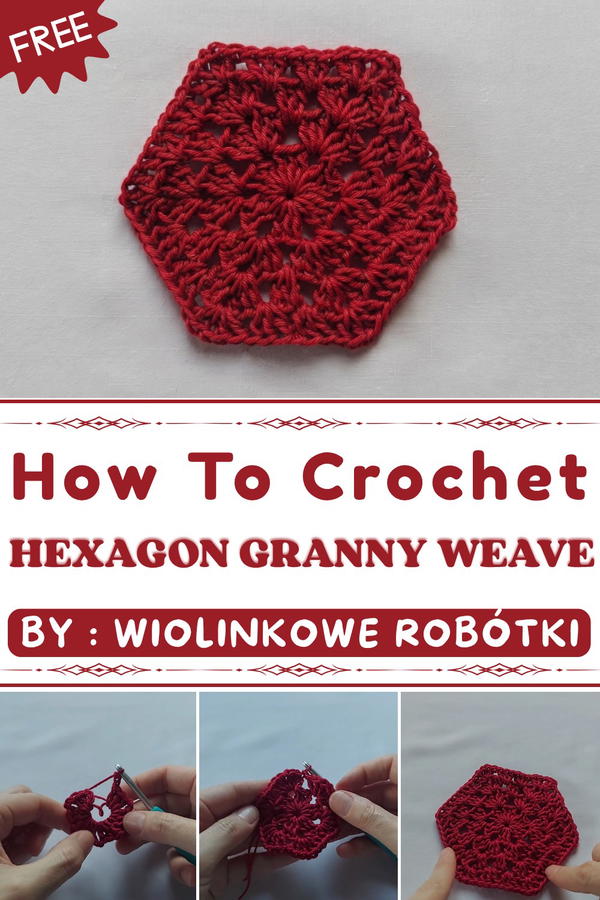
Bring classic granny style into a fresh Modern shape with this Crochet Hexagon Granny Weave Pattern a lovely choice for blankets, cushions, bags.
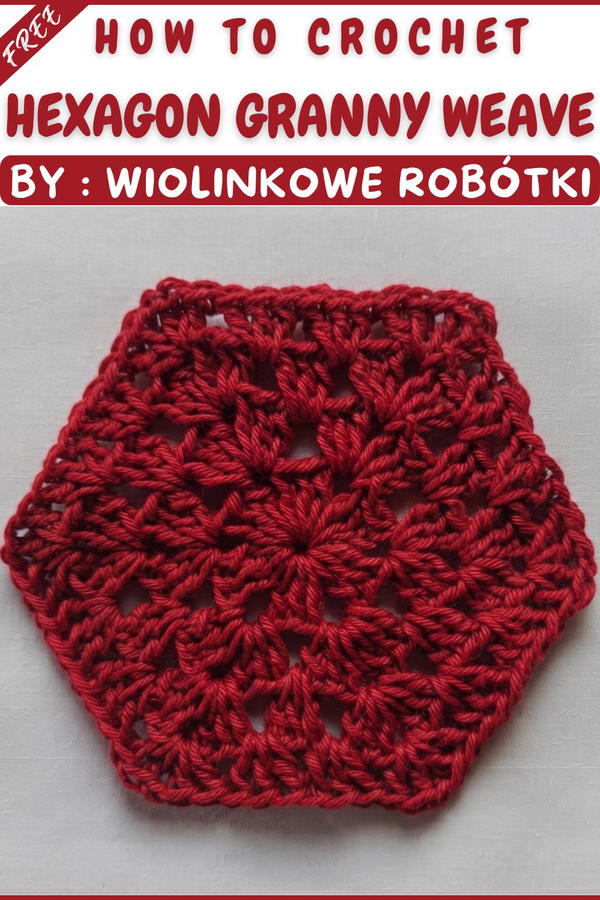
Wiolinkowe Robótki shows a fun and easy crochet project that makes a pretty hexagon shape with a nice woven look. The Crochet Hexagon Granny Weave. You can use it as a small blanket, a table mat, or join many hexagons to create bigger items like throws or bags.
Mini Crochet Hexagon Granny Weave Free Pattern With Beautiful Texture
This project is great for beginners and those with a little crochet experience. It uses simple stitches but has a special texture that looks wonderful. The yarn feels soft and cozy. Each hexagon is a good size for small projects, and you can connect more to make something larger.
You only need basic crochet tools like yarn and a hook that fits your yarn. This project is a nice way to practice making shapes and trying different stitch patterns while creating something useful and nice. It’s fun and rewarding to make.
 Credit:
This overview is based on the original YouTube tutorial by Wiolinkowe Robótki. Big thanks to the creator for the lovely design and clear instructions. Please visit Wiolinkowe Robótki’s channel to watch the full video and support their great work!
Hexagon Granny Crochet Pattern
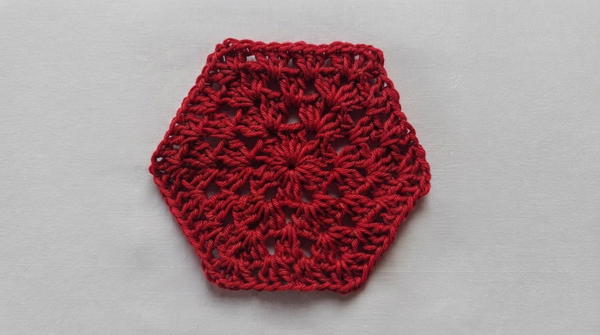
This pattern describes the process for making a granny-style hexagon motif with fence-like sides. The motif is versatile and can be used as a base for napkins, placemats, coasters, or other decorative table items. The hexagon is built from a magic circle foundation and increases rounds, with attention to creating even, straight sides in the last lap.
Pattern Basic Points
- Magic Circle Foundation:
Provides a tight center without gaps, perfect for geometric motifs. - Classic Granny Motif Construction:
Uses clusters of double crochet and chain spaces to build corners and sides. - Increased Rounds:
Each round expands the motif’s size and enhances the hexagon form. - Adjustable Corners in Last Lap:
Side corners are worked with fewer stitches to create straight, even edges. - Easy Joining and Color Changes:
Allows for continuous rounds and optional color changes at any round.
Special Notes
- The motif may be adapted further; simply continue rounds for a larger hexagon.
- For a perfectly straight-edged hexagon, adjust the number of double crochet clusters in corners as described in the last round.
- Changing colors at the corners is possible and can enhance the visual effect.
- Ensure the motif lays flat at the end of each round; adjust tension if it cups or ripples.
- The pattern is suitable for a range of yarns and hook sizes but testing with your materials for gauge is recommended.
Skill Level
Beginner to Intermediate
Basic familiarity with magic circle, double crochet, chain, slip stitch, and working in rounds.
Materials
- Yarn of choice (suitable for granny motifs; cotton or acrylic recommended)
- Crochet hook appropriate to yarn (typically 3.5 mm – 4.5 mm)
- Scissors
- Yarn needle for finishing
Measurements / Sizing
- Size depends on number of rounds and yarn/hook used
- Typical size for 4 rounds with DK yarn and 4mm hook: approx. 12–15 cm across
Gauge
- Not critical, but for reference:
1 completed motif (4 rounds) should lie flat and symmetrical, with sharp angles at corners
Stitch Abbreviations
- ch: chain
- dc: double crochet
- sl st: slip stitch
- st(s): stitch(es)
Special Stitches
- Magic Circle: Loop yarn into a ring, work stitches inside the ring to start the motif.
- Cluster: Three double crochet worked into the same space (granny cluster).
- Corner Cluster: (cluster, chain, cluster) in one space to create corners.
Crochet Instructions
Magic Circle Start
- Begin with a magic circle.
Round 1:
- Ch 3 (counts as first dc).
- Work 2 dc into the circle (first cluster).
- Ch 2.
- Work 3 dc into magic circle, ch 2; repeat from * to * until there are a total of 6 clusters of 3 dc, each separated by a ch 2.
- Pull the ring tight to close center.
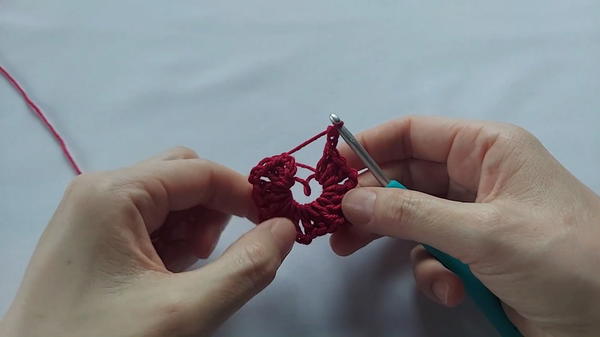
- Join with sl st to top of the starting ch 3.
Round 2:
- Sl st across to reach the next ch-2 corner.
- In ch-2 space, ch 3 (counts as first dc), work 2 dc (first cluster).
- Ch 1 (space).
- Work 3 dc in same ch-2 space (corner cluster).
- Ch 1, move to next ch-2 space, work (3 dc, ch 1, 3 dc) in each ch-2 corner.
- Repeat around, finish with ch 1.
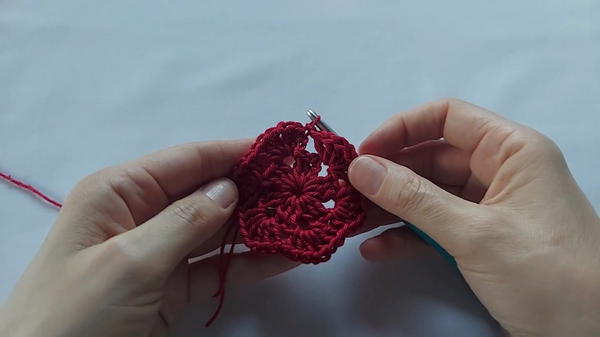
- Join with sl st to top of starting ch 3.
Round 3:
- Sl st across to the corner ch-1 space.
- In ch-1 corner space: ch 3, 2 dc (corner cluster).
- Ch 1.
- 3 dc in same space.
- In each side ch-1 space, work (3 dc).
- In each corner ch-1 space, work (3 dc, ch 1, 3 dc).
- Repeat around, alternating [side: 3 dc], [corner: cluster, ch 1, cluster].
- Complete the round by joining with sl st to top of starting ch 3.
Round 4 (Last Round; Straight Sides):
- Sl st to corner ch-1 space.
- In ch-1 corner space: ch 3, 1 dc (NOT 2; for straight edge), ch 1, 2 dc (corner cluster with fewer dcs).
- Along sides, in each side ch-1 space, work (3 dc).
- In each corner ch-1 space, work (2 dc, ch 1, 2 dc) to keep sides straighter.
- Continue pattern [side: 3 dc], [corner: 2 dc, ch 1, 2 dc] to the end of the round.
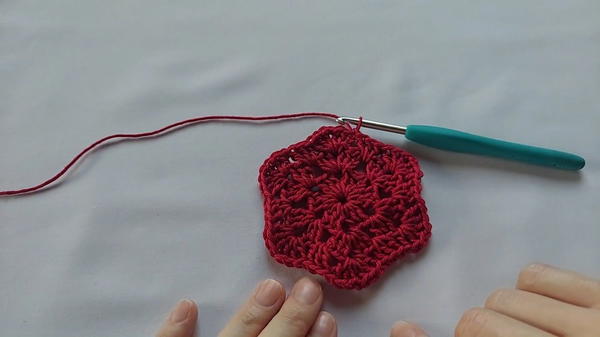
- Finish with sl st to top of starting ch 3; make a final sl st, cut yarn and pull through.
- Weave in ends with yarn needle.
Assembly & Finished Size
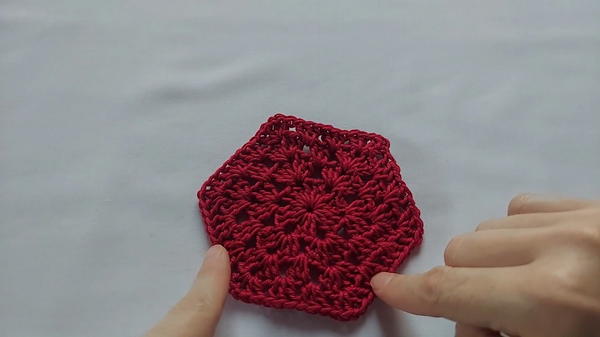
- Ensure motif lies flat and sides are straight.
- Weave in all yarn tails on the back.
- Optionally, lightly block the motif for a crisp, geometric finish.
Conclusion
This hexagon granny motif is built upon simple granny clusters with the addition of chain spaces to form characteristic corners. The pattern ensures flexibility in size, shape, and color by simply repeating rounds and modifying corner clusters for desired edge appearance. Maintaining even tension and following the suggested adjustments in the final round guarantee crisp, straight sides. The motif may be combined for larger projects, or used singularly for coasters, placemats, or napkin bases. With basic stitches and attention to corner shaping, this pattern delivers a classic yet customizable crochet motif suitable for a range of decorative and practical uses.