Organize in style effortlessly with this free crochet granny square bag pattern, ideal for creating a versatile and charming pouch for everyday use.
Adding a touch of handmade charm to everyday accessories can truly brighten your day. That’s exactly how I felt when I discovered the Free crochet GRANNY Square POT pattern, a delightful project that creates a stylish pouch or small bag. This cozy and colorful accessory instantly became a favorite, thanks to the wonderful tutorial by Quiereme Mucho crochet y amigurumis, which made the process smooth and fun.
Free Crochet GRANNY Square POT Pattern for Handmade Pouches
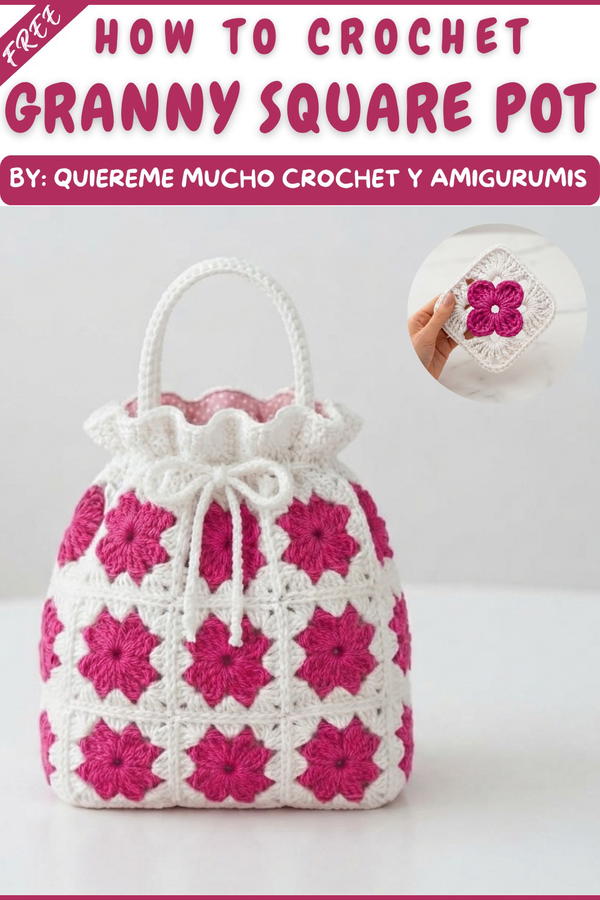
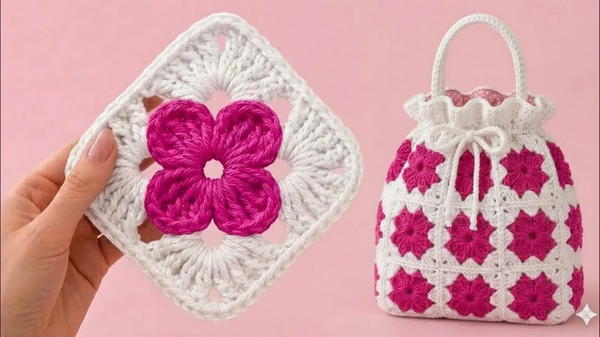
This granny square pouch stands out with its classic crochet motif, offering a blend of vintage charm and modern practicality. Its square design, featuring vibrant colors and neat stitches, gives it a timeless appeal that complements any outfit or occasion. Compact yet spacious enough, it’s perfect for carrying small essentials like keys, makeup, or even your phone, making it a versatile addition to your accessory collection.
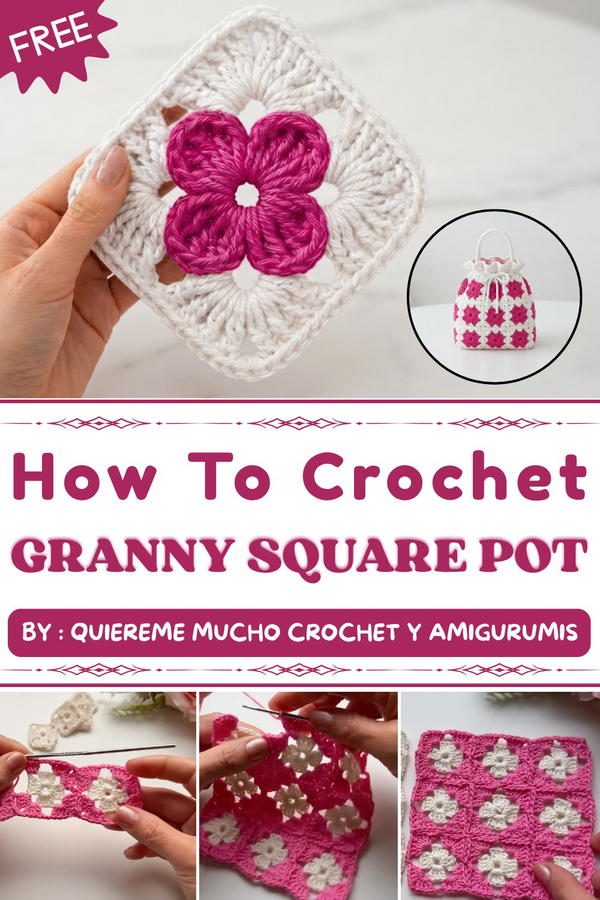
Beyond being a practical item, this little bag shines as a heartfelt gift. Handmade crochet pieces like this granny square pouch showcase thoughtfulness and creativity, making them ideal presents for friends and family. Whether for birthdays, holidays, or just because, it’s a meaningful way to share a piece of your crochet and brighten someone’s day with a unique, hand-crocheted item.
The Free crochet GRANNY Square POT pattern is perfect for those who love combining style with function. Its charming look and easy-to-carry size make it a go-to accessory, and its vibrant crochet texture adds a cozy, personal touch to everyday life.
Seamless Joined Granny Squares Pattern
This crochet technique creates connected granny squares, seamlessly joined with a crochet hook as you work, eliminating the need for sewing. The method produces a tidy, integrated finish and can be used for bags, blankets, or other projects where granny squares are desired. Flexible in both color and size, the seamless joining allows you to adapt the square arrangement to suit your design and project needs.
Pattern Basic Points
Highlights of This Technique
- Granny Squares Without Sewing:
Squares are joined during crocheting, resulting in a smooth, neat look. - Continuous Construction:
Each new square is attached to the previous ones as you progress, building strips or blocks of granny squares without breaking the joining rhythm. - Project Flexibility:
Make as many squares as you need for any project – bags, pillows, blankets, or wearables. - Color Versatility:
Use solid or contrasting colors for more visual impact.
Special Notes
- Keep the right side of all squares facing up as you join.
- Align the corners carefully, as each is key for connecting new squares.
- The “high point” refers to a US double crochet (dc).
- Always begin new squares at the corners for smooth joins.
Skill Level
Beginner to Ambitious Beginner
Suitable for anyone comfortable with chaining, double crochet, and working in the round.
Materials
- Thin cotton thread (e.g., 1.5 mm Peruvian thread mentioned)
- 2 mm crochet hook
- Scissors
- Yarn needle (for weaving ends, if needed)
Measurements / Sizing
- Each granny square as worked is approximately 4–5 cm using the materials specified.
- Adaptable: create as many squares as needed for the planned item.
Gauge
Gauge is not critical for this pattern, but for consistent squares, check that your first square measures 4–5 cm in diameter.
Stitch Abbreviations
- ch: Chain
- sl st: Slip Stitch
- dc: Double Crochet (US Terminology)
- st(s): Stitch(es)
- sp: Space
Special Stitches
Magic Loop Alternative: For the center ring, use 6 chains joined with a slip stitch.
Corner Cluster: (4 dc, 2 ch, 4 dc) into a corner.
The Pattern Itself
Granny Square Center
- Round 1:
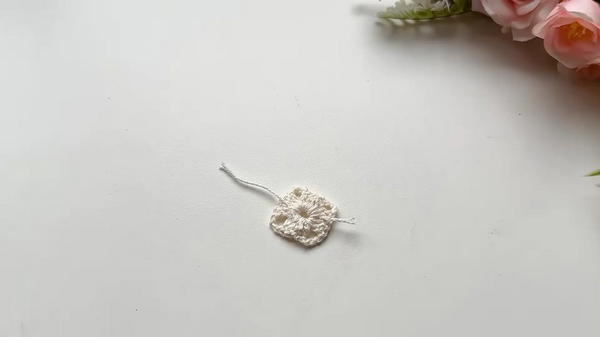
- Ch 6, sl st to the first ch to form a ring.
- Ch 3 (counts as first dc).
- In the ring, work 3 dc, ch 3.
- (4 dc, ch 3) three more times (total: 4 corners).
- Join with sl st in top of beginning ch-3.
- Fasten off if desired, leave a tail to weave in.
Working and Joining New Squares
Begin Each New Square:
- Join new color/yarn to any corner with a sl st.
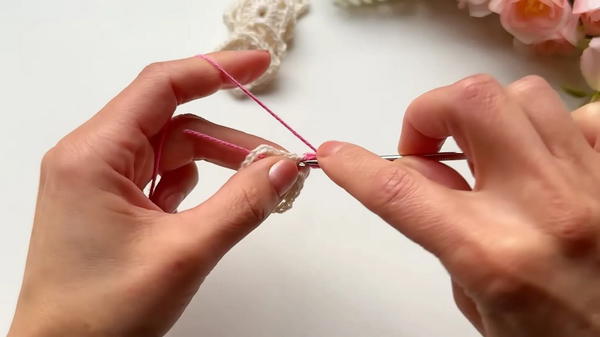
- Ch 3 (counts as 1st dc), make 3 dc, ch 2, 4 dc in same corner.
- Ch 2, proceed to next corner and repeat: 4 dc, ch 2, 4 dc in corner.
- Continue for all four corners, separating with ch 2.
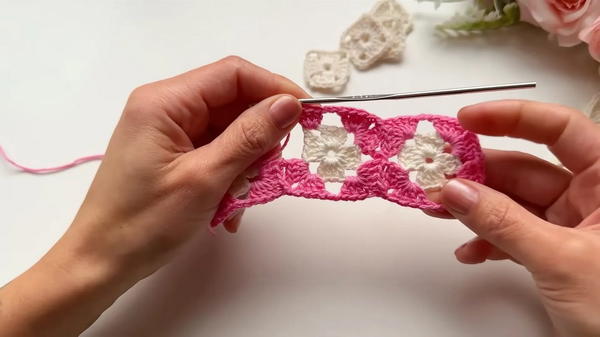
For the Bottom Row (First Strip):
- Complete granny squares as above for as many as you need, and join only at the bottom corners using the seamless technique described below.
Seamlessly Joining a New Square:
- Begin as usual in the next square’s corner: ch 3, 3 dc, ch 1.
- Insert hook into the adjacent square's corner space (from above and outside in), yarn over, pull through loop (joining with sl st), ch 1 to continue.
- 4 dc in the same corner of the new square.
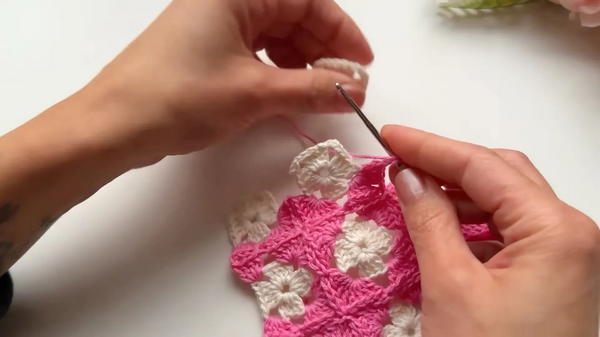
Continue the Sequence:
- In each “outer”/joining corner:
- (4 dc, ch 1, join to previous square’s corner with sl st, ch 1, 4 dc) in same corner.
- In “free” corners (edge of the project):
- (4 dc, ch 2, 4 dc) in same space.
- Move to the next corner by ch 2 between corners or join as needed.
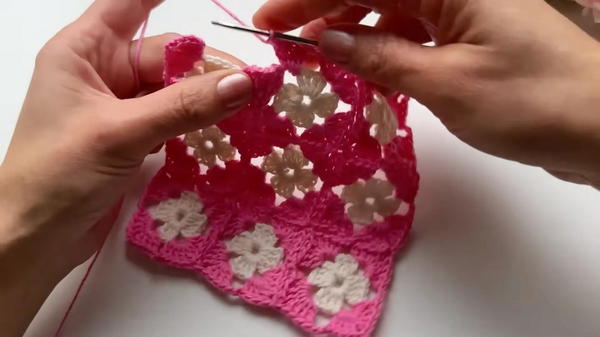
Repeat above steps for each new square, building out your row.
Adding Additional Rows
- When starting the next row, work the first half of the granny as above, joining by inserting your hook through the adjacent square’s corner and working the sequence: ch 1, sl st to neighbor, ch 1, complete the corner with 4 dc.
- When working side joins (not just corners):
- At each side junction where two squares meet, join into the “middle” chains (side spaces) using ch 1, sl st into neighbor, ch 1, before continuing.
Always complete each corner with (4 dc, 2 ch, 4 dc) except when joining, which uses (4 dc, ch 1, join, ch 1, 4 dc).
Repeating the Sequence
- Continue in this manner, attaching each square to its neighbor as described:
- Always start with half the corner (4 dc),
- Join (“hook in” to previous square’s corner or side),
- Complete with another (4 dc) to finish the corner,
- Work across side spaces by joining with a sl st as you go,
- Separate each non-joining section with ch 2 as needed.
- Work all the way around or up until your fabric reaches the desired size.
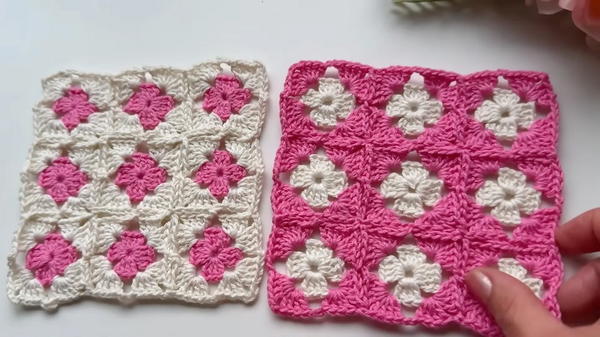
Assembly
- After joining all desired squares, weave in any remaining yarn ends.
- Steam block or gently press your piece if desired for a neat finish.
- For a bag:
- After making two panels, join at side and bottom edges with slip stitches or single crochet.
- Add a chain cord for a drawstring, weaving it through the top row of chain spaces.
Conclusion
The seamless join-as-you-go granny square method builds beautiful, tidy motifs without visible seams or cumbersome assembly. Adapt the quantity and colors of squares to suit everything from decorative bags to cozy blankets. This approach highlights the charm and practicality of traditional crochet paired with modern finishing techniques. With these steps, projects become faster, cleaner, and more enjoyable for crafters of all skill levels.